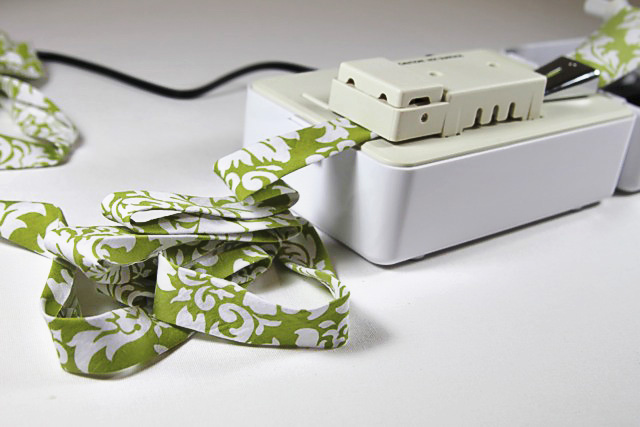
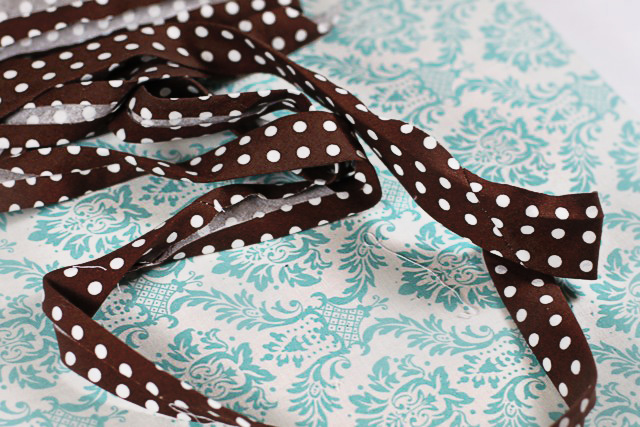
I love bias tape….but I seriously dread making it. My bias tape machine makes it a little more fun…..and Boo LOVES watching it work (I do too).
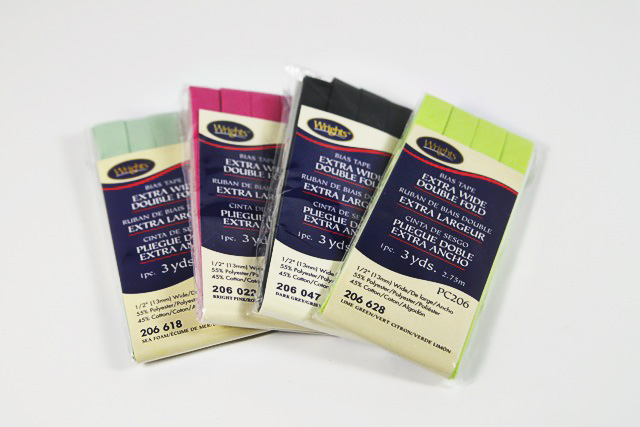
Sometimes I just buy plain colors from the store…..but it’s so much prettier to use your favorite fabrics.
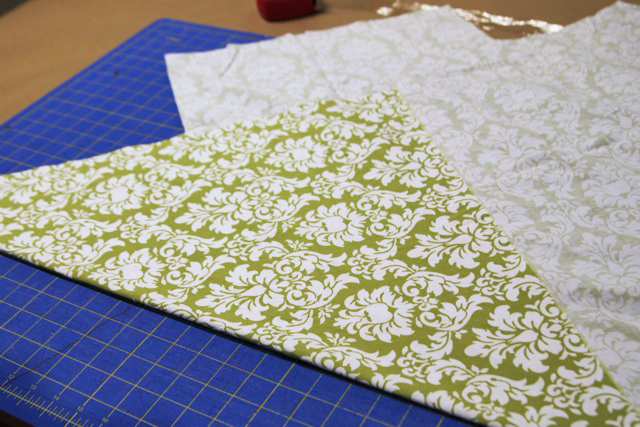
If you’ve never made bias tape before it’s pretty simple. Basically, bias tape is a strip of fabric that’s been cut at a 45 degree angle to the weave or grain. Placing your fabric flat you will fold one corner down at a 45 degree angle so you make a triangle shape like so:
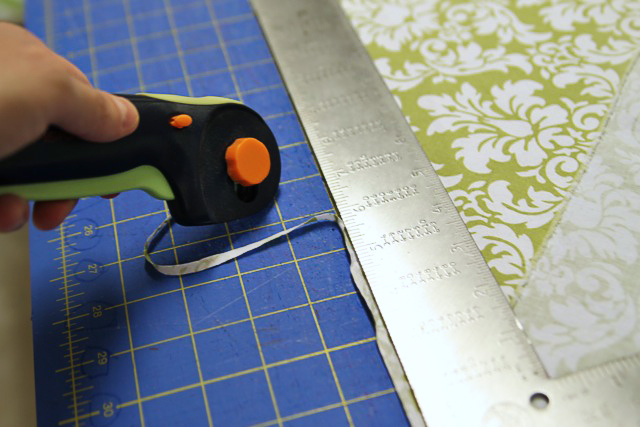
I like to trim off the folded edge so I can start cutting from that end:
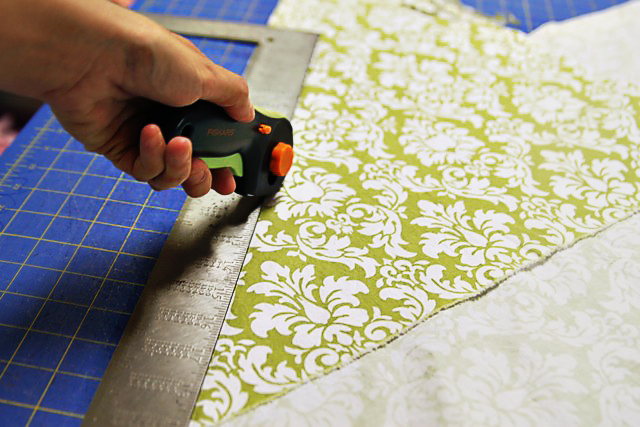
In this example I’m making 1/2″ wide double fold bias tape. So the strips of fabric I need to cut are 2″ wide:
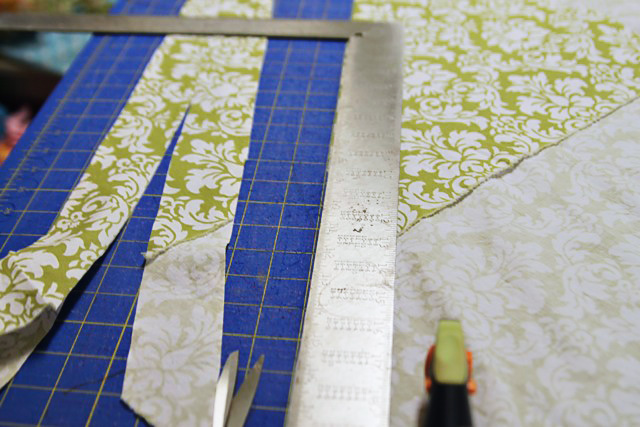
I’m lucky that my big ruler is exactly 2″ wide….it makes it easy to cut continuous parallel cuts:
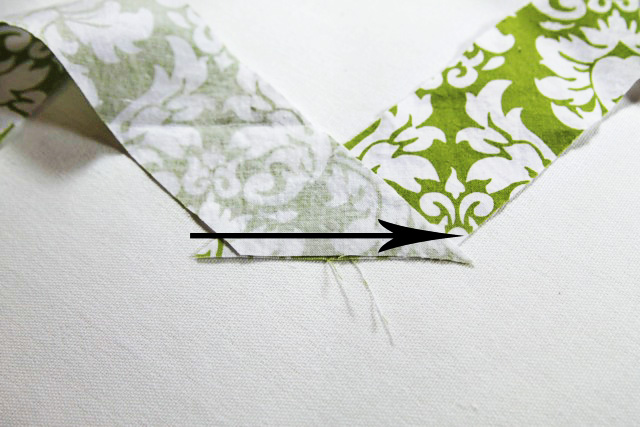
Bias tape needs to be in one long continuous strip so you’ll need to attach as many pieces as needed until you get then length you need. Place two strips on top of each other right sides together as shown and sew straight across where the arrow is with your sewing machine:
Iron the seam flat:
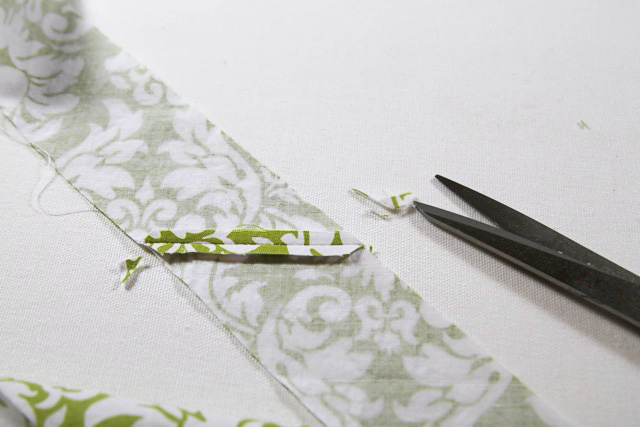
And trim the edges flush:
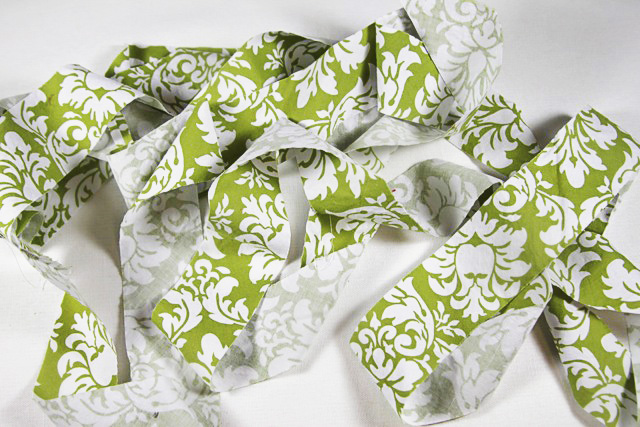
Here are several pieces sewn together into one long length:
So now what? Make your bias tape!
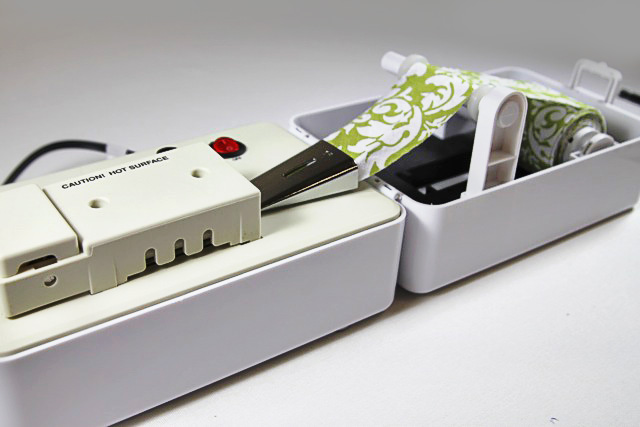
This is my favorite method for making the bias tape….the bias tape machine. You just roll your fabric around the small dowel and feed the end through the bias tape folder…
….then the fabric goes through the machine across an iron….
….and comes out perfect on the other end! Like magic!
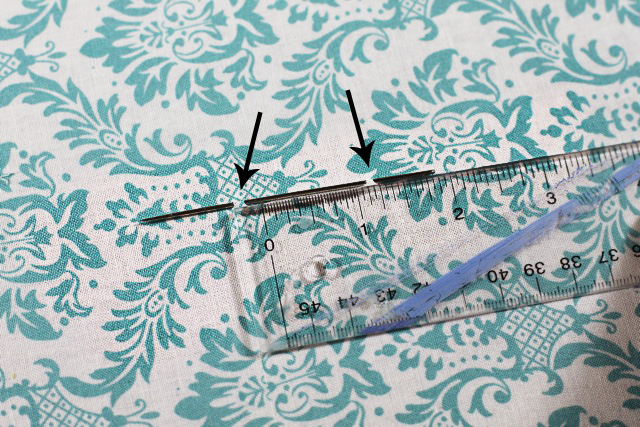
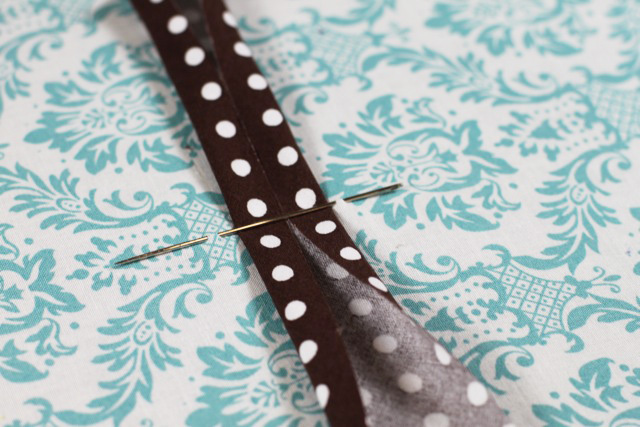
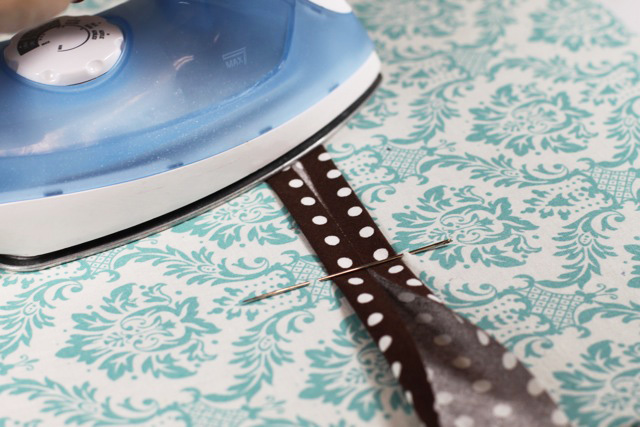
You can use an extra long needle on your ironing board to make bias tape too! In the example below I inserted the needle as shown so the gap between the two arrows is a tad bit over an inch. This will create 1/2″ double fold bias tape:
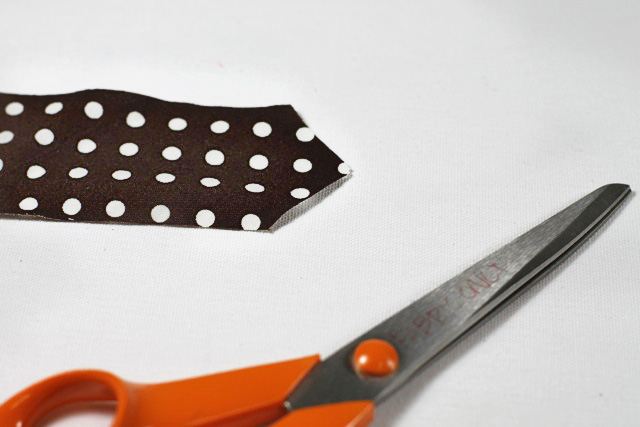
Once my needle is ready, I cut the end of the long strip into a point:
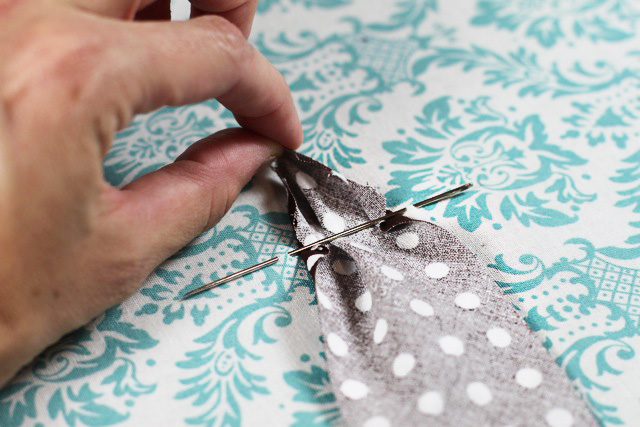
I insert the point under the needle and pull carefully so the fabric begins to fold on either side:
Here you can see the bias tape being formed……
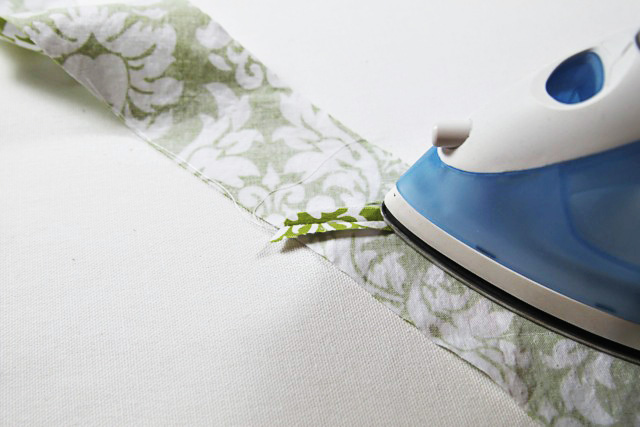
…and just iron it as it comes out the other side of the needle!
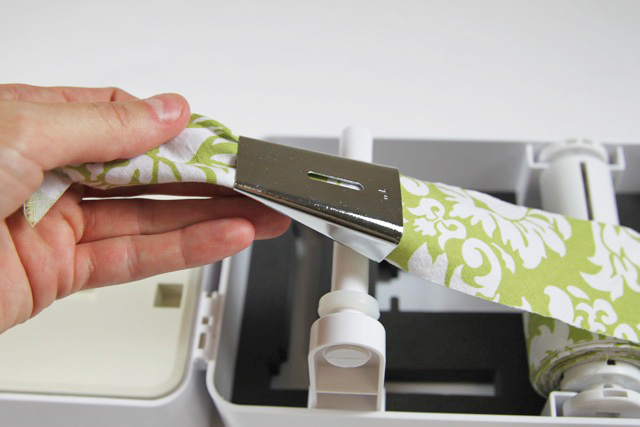
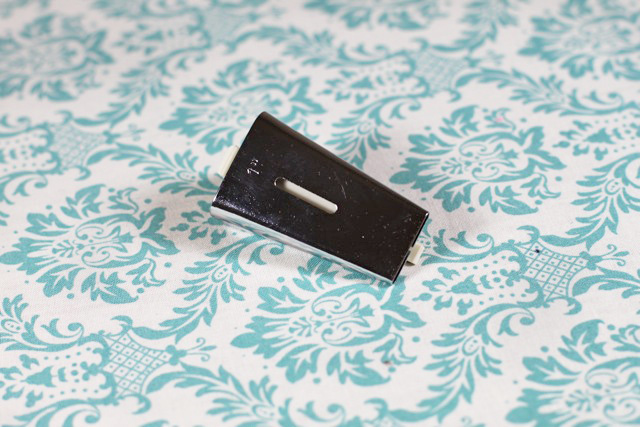
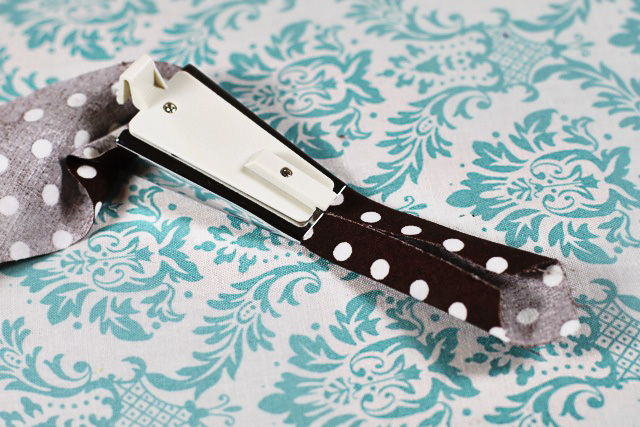
I guess the truly old school method would be to fold your bias tape manually….ugh, could you imagine? But here is a basic bias tape maker:
All you do is pull the fabric through and it folds the fabric nice and neat and you iron it as it comes out the other side:
Which method will you use? If you are making a ton of bias tape I definitely recommend the bias tape machine! It’s made me much more excited about projects recently.
Here are some fun projects from around the web using bias tape! Enjoy!
 1. Bias Tape Tote Bag from Martha Stewart
2. Bias Tape Bib from The Purl Bee
3. Retro Racer Shorts from Made
4. Bias Tape Rosette Earings from Take Heart
5. Bias Tape Bunny Ears from CountyLiving
6. Heart Hotpads from Made
7. Beginners Bias Tape Bag from Prudent Baby
This post is part of a new ongoing series:





Ha! I actually do fold all my bias tape manually bc I always forget that I want to buy one of those little metal thingies. And it sucks big time.
But the needle method looks pretty cool. I’m excited to try it out!
Actually I do the truly old school way of making bias tape and fold and iron it myself. After this post though I might look for a gadget at the craft store next time I go.
I was *this* close to buying the bias tape maker machine last week. I remembered a giant bag of old bias tape in fun colors and shapes I had picked up at a garage sale for like 1.00.
I went home and opened it up so I could throw it in the sink and wash it up and it SMELLED LIKE CAT PEE.
Ugh.
Ew for real.
So, now looks like I’m on the hunt again for a little helper like such, however I will say this. With my first LBB pattern you showed the bias needle making trick and it works like a charm, so I’m not in that big of a hurry yet 🙂 It’s fun to see it come out under the needle like that!
There’s a dandy tutorial out there for making bias tape with only having to sew 1 line down your yardage (which is kind of fashioned into a tube) and then cutting it out at once without having to sew and iron each piece. It’s completely genius . . . I’m trying to remember where I saw it.
Oh . . . found it!
http://pir8.freeservers.com/quilting/CBT/
Between that method and the machine, I think making bias tape would be a total breeze. Now I just have to get the machine . . . 🙂
Wow, I had no idea there was a bias machine. Actually, I didn’t know the cute borders around stuff was even called bias. Cool, I might just have to try a pot holder or something. It looks fun, and that green and white fabric is so cute.
I’ve taken the bias tape machine for a road test there is one of those at my local quilting store that the owner was happy for me to have a go at. Maybe it was me maybe it was the fabric or the machine, not much success for me sadly. I am STILL hand pressing all the bias I use for my own little handmade label.
Thanks for this awesome tutorial! I must admit I procrastinate when it comes to projects that involve bias tape…unless it’s a small amount that is needed:P I think the bias tape maker will be going on my wish list!
I went to an expo today and saw one of those fun bias tape machines but I wasn’t ready to fork out the cash yet. I like the needle method you showed. I think I will try it first. Thanks for the post.
The needle method is brilliant! I think you just saved my sanity. Thank you so much for posting this tutorial.
I had never seen the needle method before and will try it next. I have the little metal tool, but it doesn’t like to stay put. The needle method looks like it will work well so you can pull the fabric along with one hand and wield the iron with the other.
Love the needle method – looking forward to trying it, but…do you have any good tips for attaching bias tape? When I machine stitch both sides simultaneously, I invariably end up missing some on the back side. Sewing one side at a time seems too time consuming. Anybody have any hints?
Here’s a good tutorial on attaching it: http://smashedpeasandcarrots.blogspot.com/2011/01/how-to-sew-bias-tape-tutorial.html?m=1
Ashley, you just changed my life…lol. I had no idea there was such a thing as a bias tape maker. Thank you!
enabler . . . . . . . . . . . . . I use a lot of bias tape but usually go for black or white so I’m not left with odd leftovers and I hate folding and ironing it myself. So I just bought the machine on amazon and two other tips in sizes I would use. Yipeeeeee now I can have fun matching prints and colors without the fuss for my projects. Thank You !!!!!!! I think I’ll be planning what projects to work on next week as I paid for the fastest shipping using amazon prime.