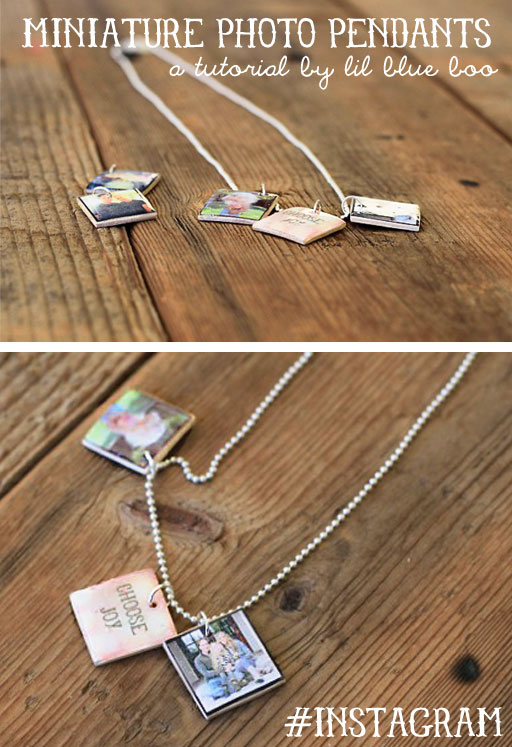
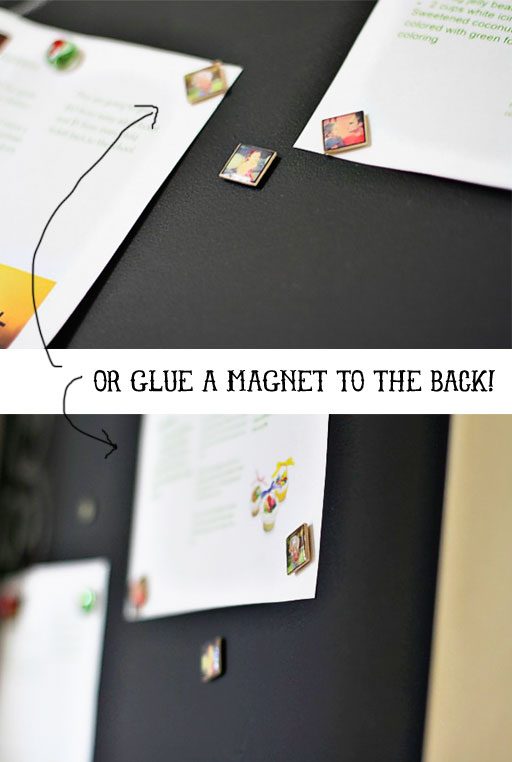
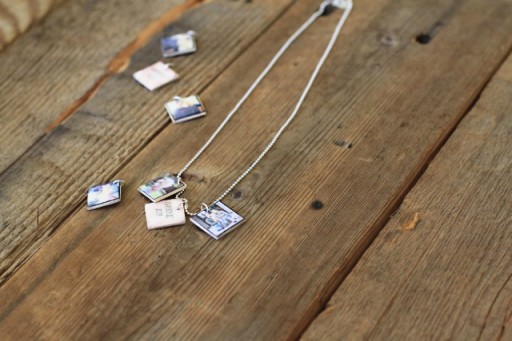
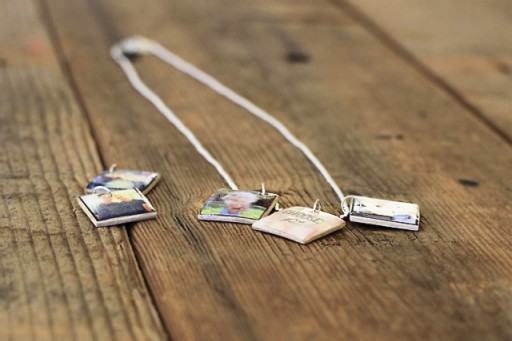
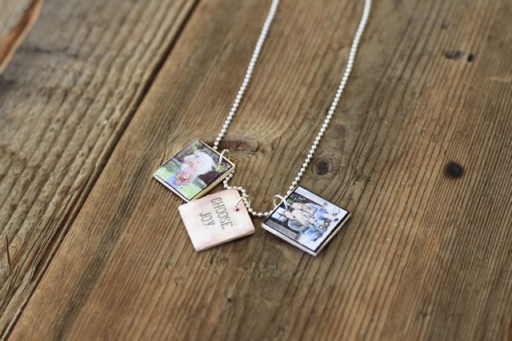
Boo and I made the little charms shown above using Instagram photos and jumbo popsicle sticks. Aren’t they cute? We made a few photo magnets with them too for our chalkboard wall. (Just a tip: make sure to use neodymium scientific magnets.….they are super powerful. But keep them away from kids under the age of 3!)
They were so easy to make we made a “swarm” of them. Great for charm bracelets, pendants etc.
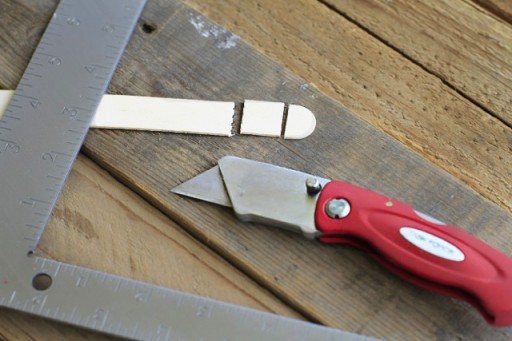
How did we do it? First I took jumbo sized popsicle sticks from the 99 cent store and cut them into square pieces. I used a razor to score both sides of the stick first and then actually cut through. This is the best way to cut them without weakening the wood.
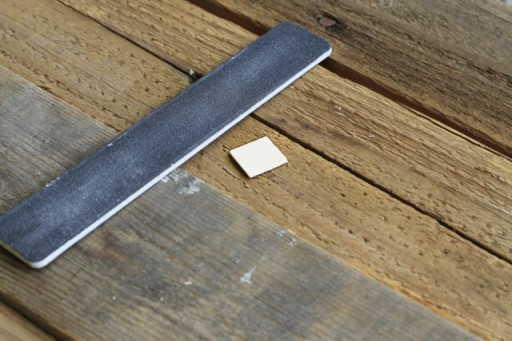
I used a large (finger) nail file to sand the edges to make sure each piece was perfectly square and smooth:
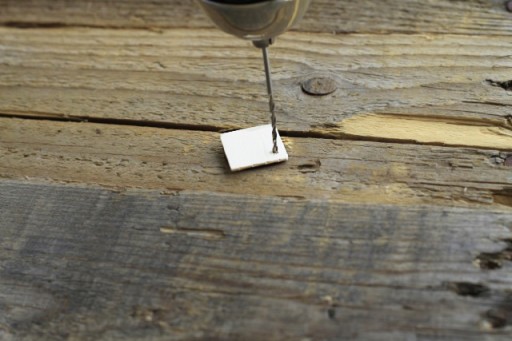
I used a tiny drill bit on my household drill to drill a hole through the wood. Some of them I drilled at the corner (for charms) and others in the top middle (for pendants):
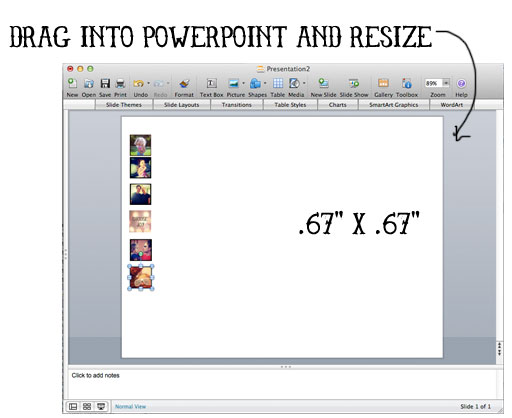
To easily and quickly resize the images I dragged them into Microsoft Powerpoint. You can use any other image editor if you don’t have Powerpoint.
(Note: if you have a Mac I bought the Microsoft Office Student-Teacher version for under $100…it was worth it.)
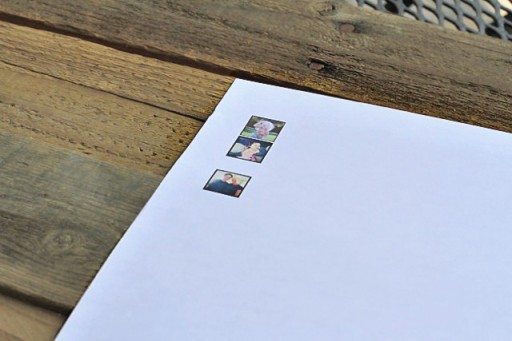
Once I printed off my images I carefully cut each one out….
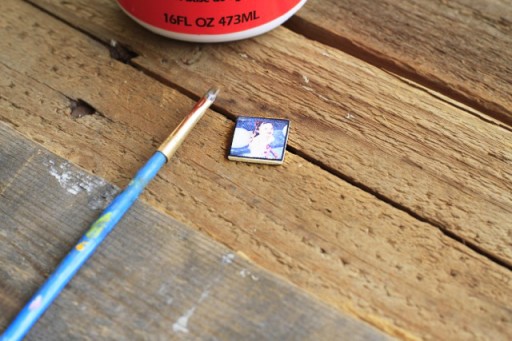
….and glued each image to a wood square using Mod Podge. I also put a thin coat of Mod Podge over the images to keep the ink from running.
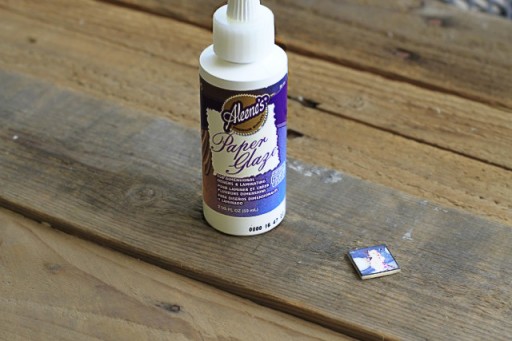
Then I used Aleene’s Paper Glaze (or you can use Diamond Glaze)…….
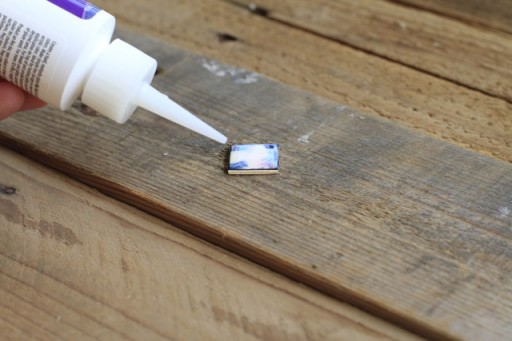
…..and put a thin layer on top. Once it was completely dry, I added one more layer. This gives the “resin” glazed look:
See how the glaze dries with a three dimensional look?
Once the squares were completely dry, I used a needle to poke through the glaze through the drilled hole and I added a simple jump ring!
You don’t have to use photos though! I made one using this “Choose Joy” image…..feel free to save the one below and use it for your own! The background is a bokeh filter from Paint the Moon.
Click here to check out more Instagram projects!


LOVE this! Did you use regular paper, cardstock, photopaper???
Just regular cheap recycled printer paper!
Three of my favorite things – Instagram, Mod Podge, and Ashley! Can’t wait to try this!! Thanks so much!
I love this idea! Adding this one to the holiday project list!As always, thanks for sharing!
Fantastic idea! I love it. Thank you!
I love this! Definitely want to try it out!!
Thank you! I am soooo doing this!
Great idea. I will try doing some myself. Thanks for sharing.
Have fun. Greetings from Germany, ines
hey Ashley! where do you get your ball chains from?
I love this project and I hope to make these for all my family and friends…thanks so much!! I choose joy!!
This is so simple! I can’t wait to print some of my special instagram photos and do this!! The magnets would make great gifts in sets.
These are lovely! BUT to avoid major drama, note that the glaze isn’t waterproof… at least the diamond glaze tends to dissolve when pity gets wet.
pity? Should have said “it”… stupid phone…
Adorable…you so smart!
Love this. I saw a woman at our farmer’s market selling something similar but using old scrabble pieces and random phrases and photographs. I thought that was cool but this is even cooler!!!! thx!
OH, I feel a project coming on….yep, gonna make these for Christmas presents!
This is so cute! I think these would make super-neato Grandma gifts for Christmas! Good thing I only have one to make for! lol Thanks for the inspiration! I’m pinning this right now! 🙂
I love that you made these with popsicle sticks and didn’t have to buy any settings. I’d love to make a charm bracelet – and make the charms two-sided.
Thanks for the super idea!
Love this idea! Great gift for family and friends. I used to make these using Scrabble tiles–perfect size and no cutting needed.
Thanks for the Aleene’s Paper Glaze technique Ashley! Sounds much easier that using diamond glaze. We’ll be trying this one for sure!
I am loving me some resin projects right now.. I do love the new “modge podge deminsional”. I don’t know if it is waterproof.. but I like it lots. Nice tutorial
Just a note of caution, DO NOT use this type of magnet if you have a pacemaker, it can mess with it settings or destroy it.
🙂
Love Love Love your blog! So inspiring and fun…not to mention what a great sense of humor you have through the bad times as well as the good times. You remind me of my mother….she died of cancer in 1991 and she had the same attitude you have about cancer. KICK ITS A$$!!! I love that and have learned that you have to face life head-on no matter what it brings. Oh did I mention my mom’s name is ‘Joy’ as is my middle name. So I love your motto ‘Choose Joy’! Thank you for making every day a little brighter with your blog entries!
BTW………..love the miniature resin photo charms. Decided I’m making all my Christmas gifts this year. If you or any of your readers have ideas or suggestions for using mason jars, I would love to hear them. Have some of my own but am always welcome more.
I can’t wait to do this with my 5 year old!!!!
Love this!! Question…what size and type of jumpring did you use?
In horror board games, the art and story background are becoming more and more involved and realistic allowing the people playing to get into
the game. This could easily pass for a PSP game, but you’d never get this much quality for
only five bucks on the PSP. Race your way to victory in the game Tilt Racing for Android.