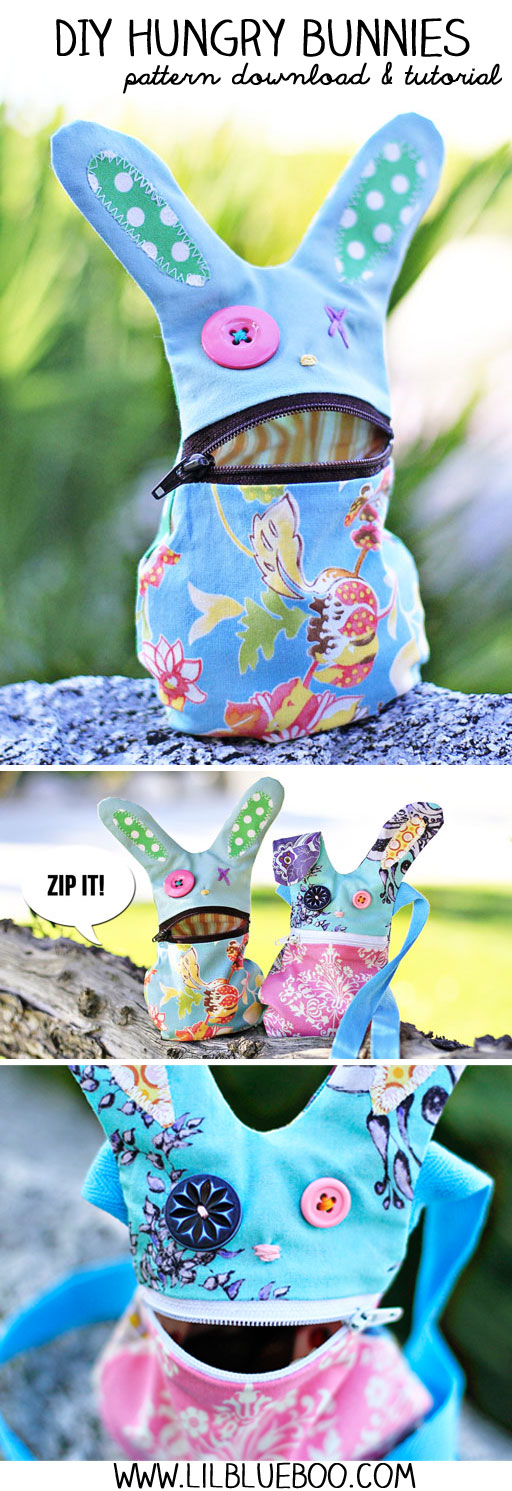
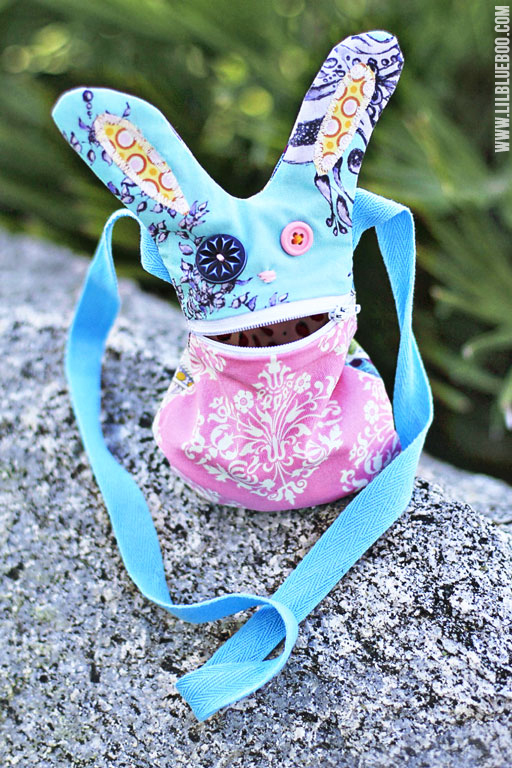
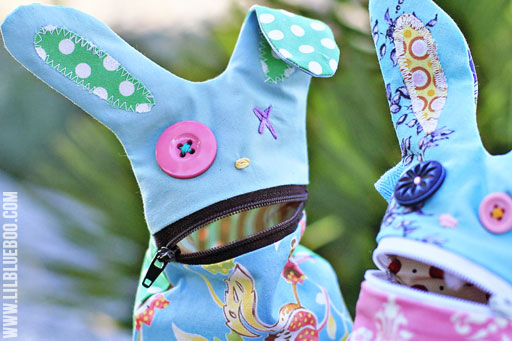
Last year was the Sock Bunny…..this year is the Hungry Bunny! Isn’t he cute?
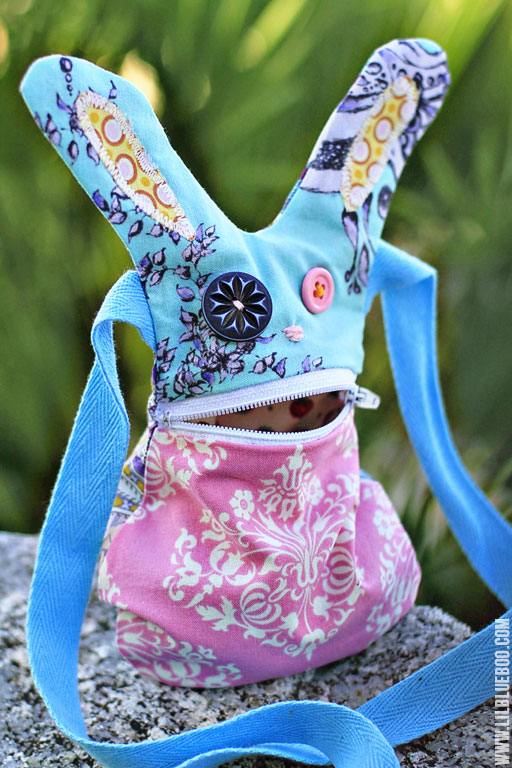
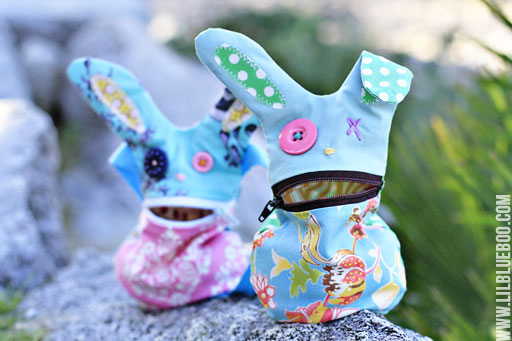
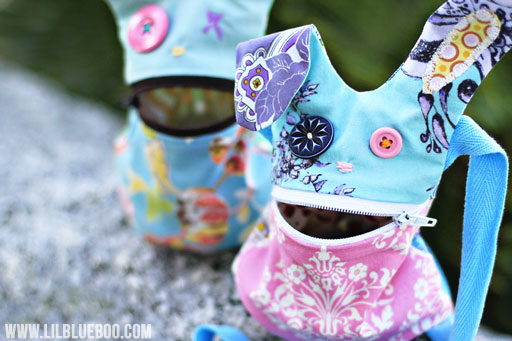
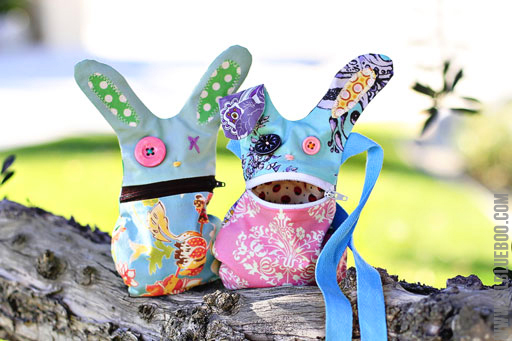
I made one as just a little sack to put little treasures in and the other as a purse for Boo:
How to make your own:
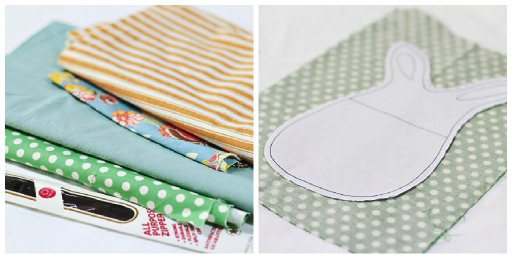
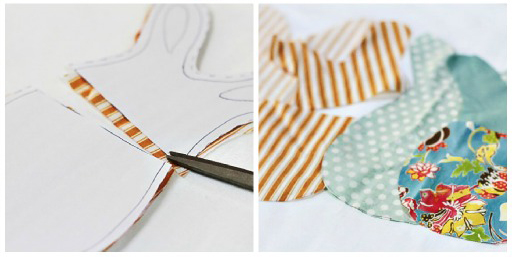
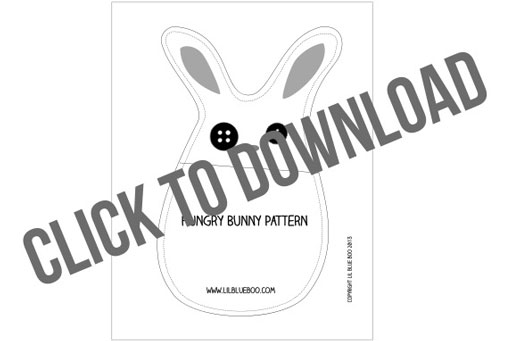
1. Print off the pattern at the bottom of this post. You’ll need some fabric scraps and any size zipper. Cut 2 sets of 2 using the pattern and cutting the fabric right sides together. You’ll have 2 pieces for the lining and 2 for the outer bunny.
2. Take one piece of the lining, and one outer bunny and make sure they match up when placed right sides together (i.e. they should be opposite). Cut using the “mouth” line on the pattern. You can also use the “mouth” line to create mismatched bunnies.
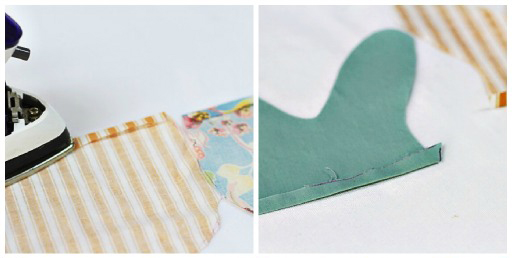
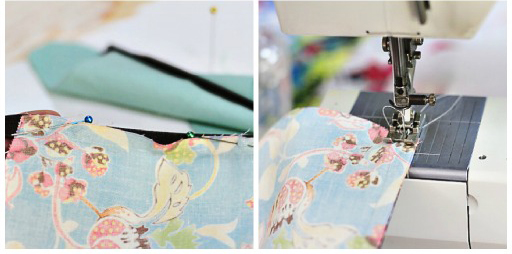
3. For all 4 “half” pieces, fold down the sides shown in the photo below 1/4″ (so wrong sides are together) and iron flat:
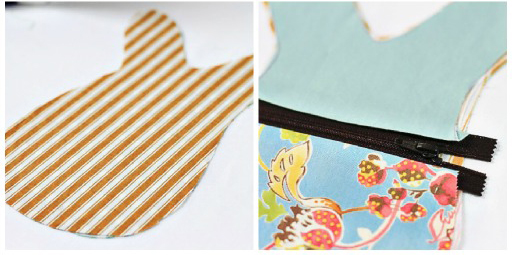
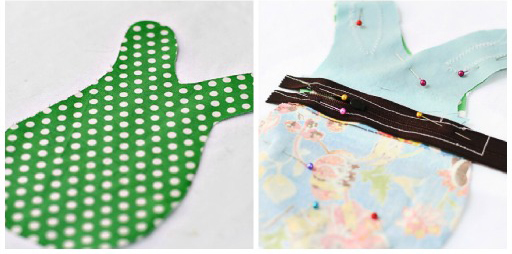
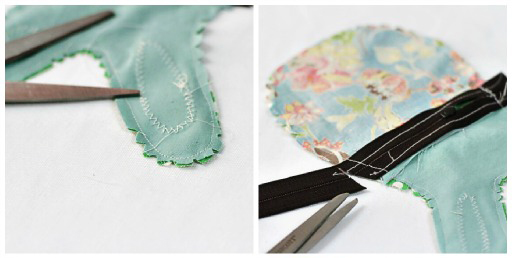
4. Place one of the full bunny pieces right side up and use it as a guide for your zipper placement. Place the two outer bunny pieces on top of the zipper as shown:
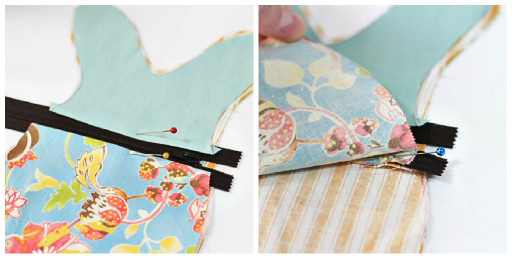
5. Stick a pin in the top pieces to keep the pieces still. Carefully lift up the pieces so that you can pin them from underneath to the zipper.
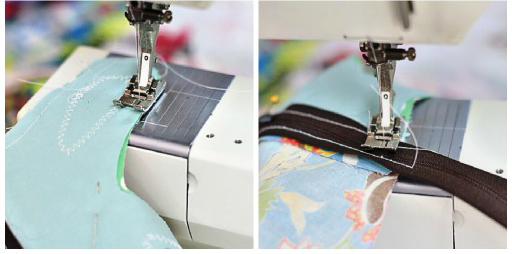
6. Unzip the zipper and sew each piece on the folded seam line to the zipper:
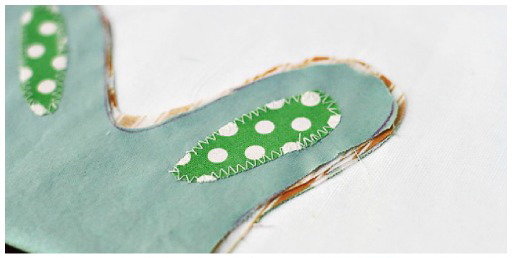
7. Now’s a good time to attach some ears to the top using fusible web or zigzag stitching:
8. Place your outer bunny back right side up, place the front pieces with the zipper face down on top. Pin carefully in place. Unzip the zipper slightly.
9. Sew all the way around the bunny using a 1/4″ seam….carefully sewing over the zipper as you make your way around on either side:
10. Notch all your corners and trim the excess zipper:
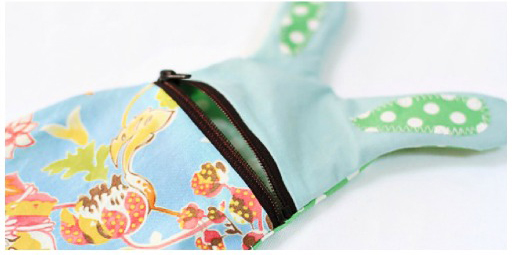
11. Carefully turn the bunny right side out:
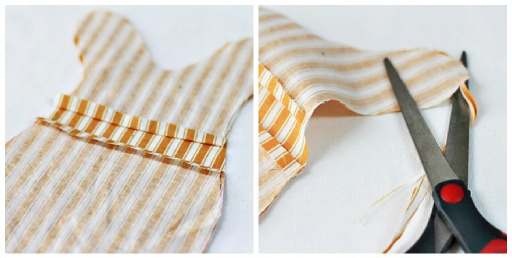
12. Place all your “lining” pieces together as shown below. Sew all the way around to attached the pieces using just OVER 1.4″ seam. Trim all excess edges:
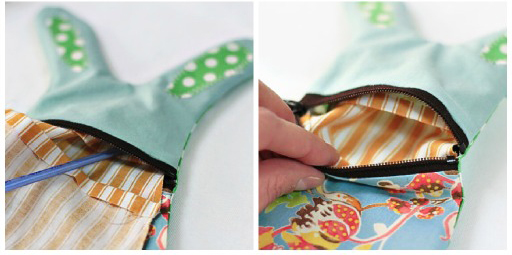
12. Insert the lining into the outer bunny. Use a pencil or stick to get the ears up into the outer ears:
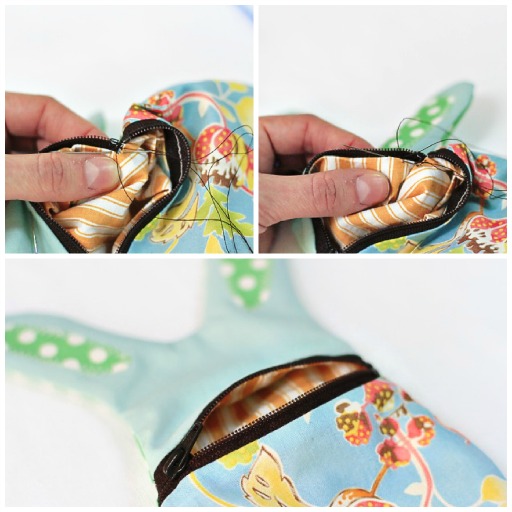
13. Using thread that matches the zipper, turn the sides of the lining under and tack them in place to the inside of the bunny. Using a slip stitch or hidden stitch attach the lining to the inside of the zipper:
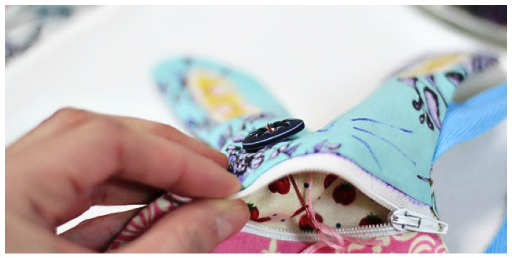
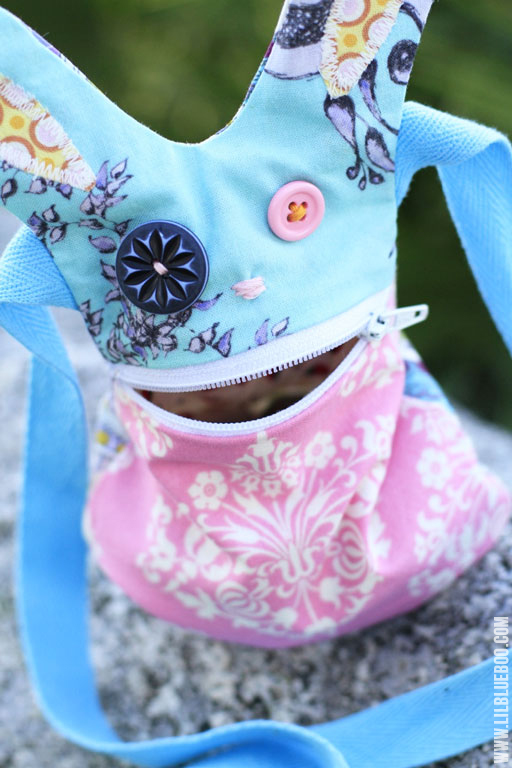
14. I always leave the face until last because each bunny has its own personality! Add buttons for eyes:
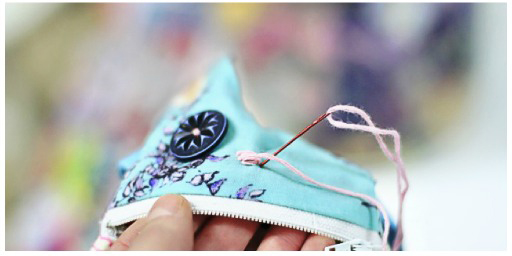
And carefully stitch a nose:
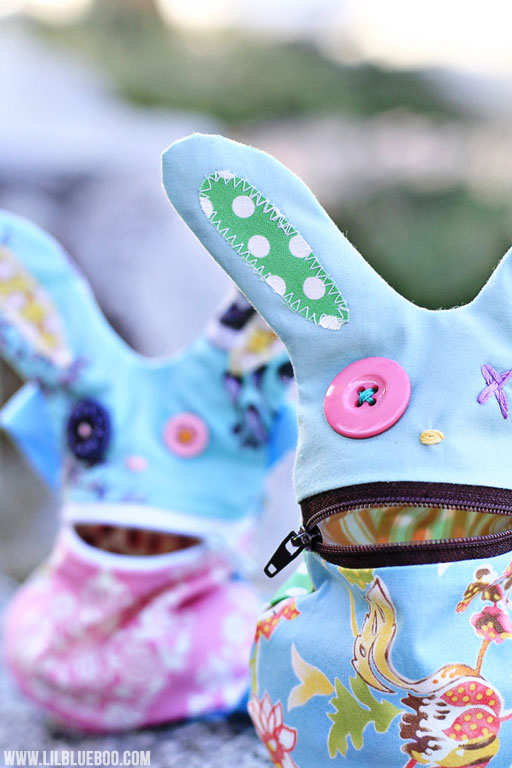
A finished bunny!
Add some webbing or cord before you sew the outer bunny together to make it a handbag or purse:
Such a cute face:
Here is the pattern download….you can enlarge it as well:
A great addition to an Easter basket!
They look like they are chatting:
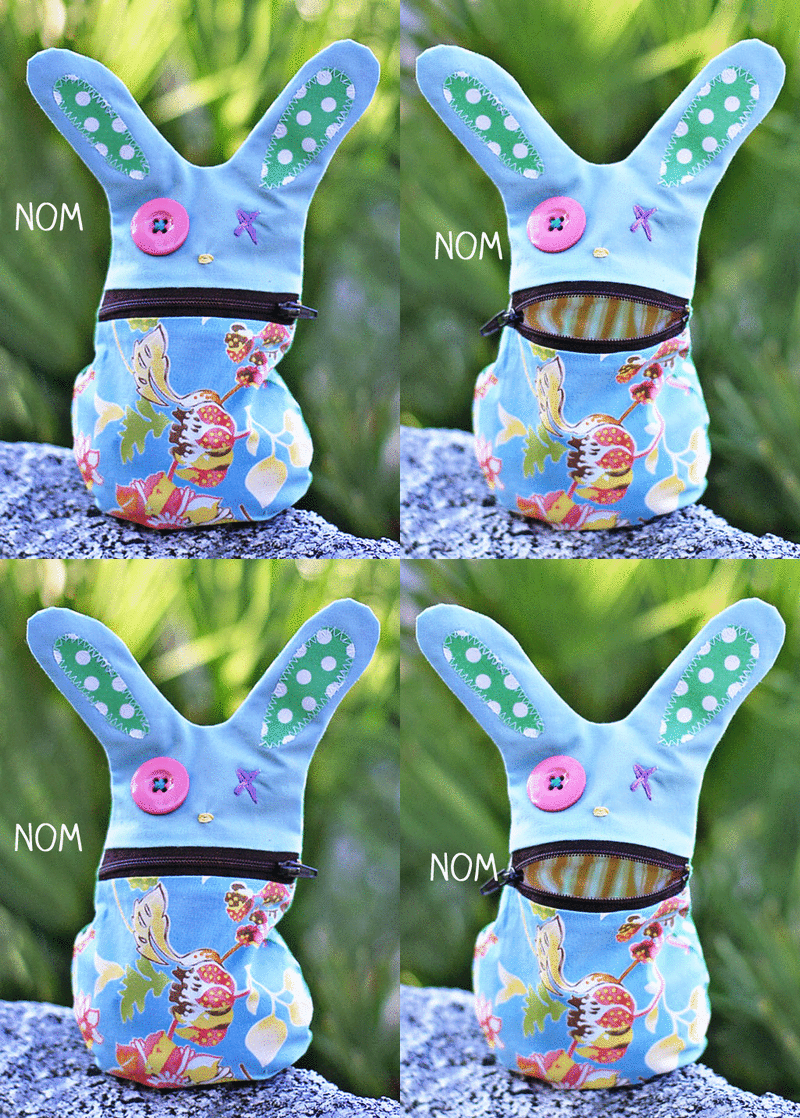
Fill the bunny with coins or treats:
Add pipe cleaners into the ears to make them bendable!
Click the image below to see last year’s Easter basket goodie!

Love it! I may have to attempt this for the Easter basket this year. It would definitely limit the amount of sweets that could be given. Thanks for the pattern.
I have to make these! By far the cutest Easter tutorial out there. Thanks for sharing!
J’adore!!!!!!!! merci pour le tuto!
Thanks LBB, I made the sock bunnies last year and my daughter loved them. I plan on making these for her basket this year. I am sure she will love filling them with treasures. Thanks ;).
I Love this. I see two munchkins and their 2 little cousins that might need these!
Sigh. I love these little dudes! I need these for my classroom. But, I don’t own an iron, or a sewing machine, or a needle and thread or patience. Can’t I just send you some fabric and you can make a couple for me?! Please!!!
“Will you make me a cool rabbit?” my 3yo niece asked yesterday. This is definitely the one! Need to get the sewing machine out asap. Thanks for an awesome pattern!
I got it to print the instructions and I plan to make a few of these. the girls are going to love them. Thanks again for sharing.
Trop trop mignon, bravo et merci pour le tuto!!
il est adorable ce petit lapin, un immense merci pour ce tuto
bises de france
Cocotte
I love its wonkiness!
o.m.g adorable!
these are awesome!!! thank you!
These are just adorable! Thank you for the tutorial and download!
These bunnies are awesome and perfect for my two boys. I whipped up a pair this weekend, and I can’t wait to have them eat a few cars while in the Easter baskets.
Thank you for tutorial!
I love this tutorial! Am going to share it with my friends and try and make some for an Easter party, thanks for the tips!
Thank you for doing a tutorial on these. I made some of these last weekend for Easter. The girls in my family are going to love these. So easy and lovely x
Hello your bunny in my blog :
Many Thanks Bien amicalement Amie’lie
Merci beaucoup pour ce patron HUNGRY BUNNY, c’est très amusant à réaliser. En France il fait très froid en ce moment, vous avez de la chance de vous promener en robe légère un 31 mars !
Amicalement NICOLE
Bonjour !!!
Je suis bien ennuyée car ton tuto me plairais mais en …FRANCAIS serais t’ il possible d ‘en avoir la traduction??? Ou alors dis moi comme le traduire…
Merci et bonne journée
Amicalment
Patricia ( de la Basse Normandie France )
I made my first bunny today and if I do say so myself, he is ADORABLE! Thank you for such a cute project – I linked back to you on my blog, and have already started to cut out more bunnies – I’ll be giving them to the greats (niece and nephews) for Easter, and a few may hop their way over to my neighbour’s house for their kids 😀