This is the 2nd post in the tour….the first one was the exterior of the house (before and after) plus the landscaping. Now we are on to the kitchen and laundry room and pantry….all links for associated tutorials are at the bottom of the post.
Just a note: you’re going to see kind of a trend in our house….I’m a little OCD. I don’t like a lot of knickknacks or clutter….everything has it’s place. I like white and gray, and white and gray. All our walls are basically the same color or just a shade different: Requisite Gray from Sherman Williams. It’s typical for me to just pick one color for the entire project….then I don’t have to make a lot of decisions. I just kind of like everything to blend together….and then I like to make fun art to make it interesting.
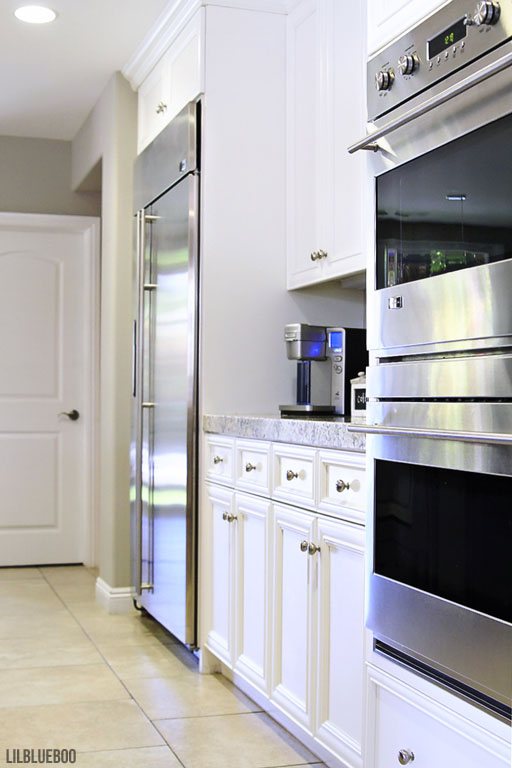
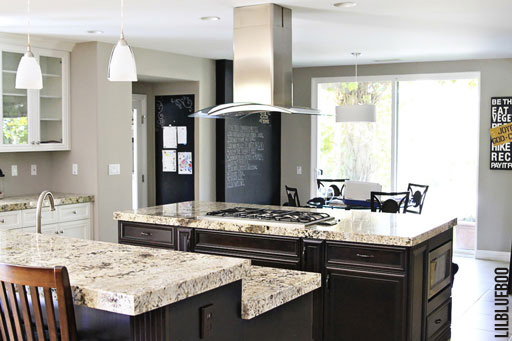
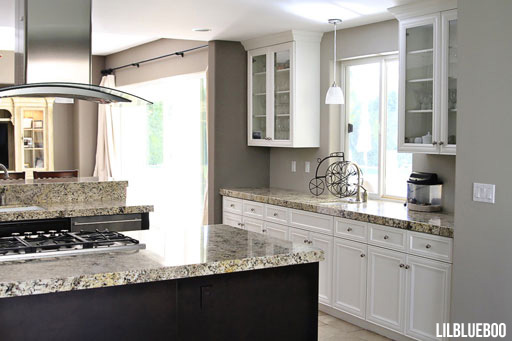
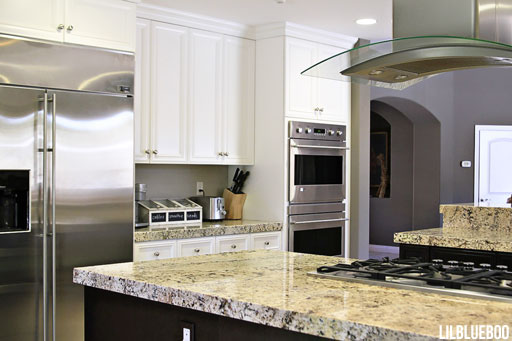
The Kitchen. I will probably always have white cabinets for as long as I live. I think it’s always classic. This is one side of the kitchen:
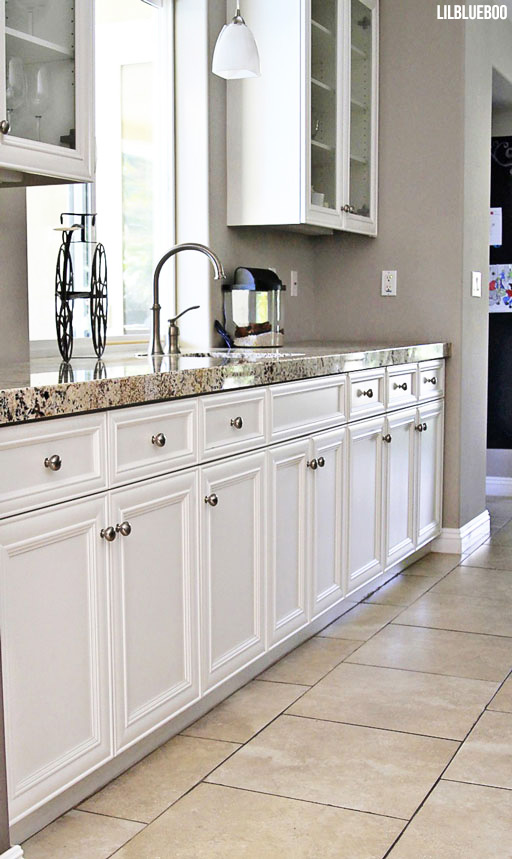
And this is the other side. The pendant lights were meant to just tide us over until I figured out what I wanted in their place, but I’m still looking, so we still have frosted pendant lights:
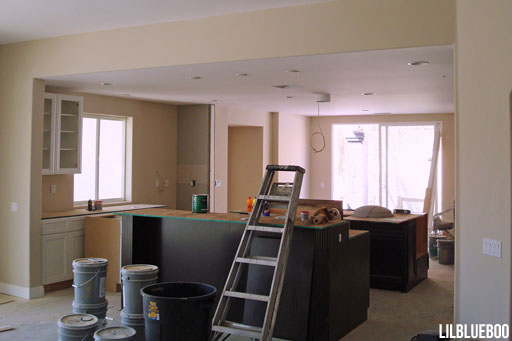
This is one of the only before photos. I WISH I had photos before we took down the walls. The kitchen used to have a wall between it and the living room and then there was another wall on the other side of the islands that separated the kitchen from a small dining room. None of the walls were load bearing….yay! So we just took them out and opened the entire living space up. (click continue reading)
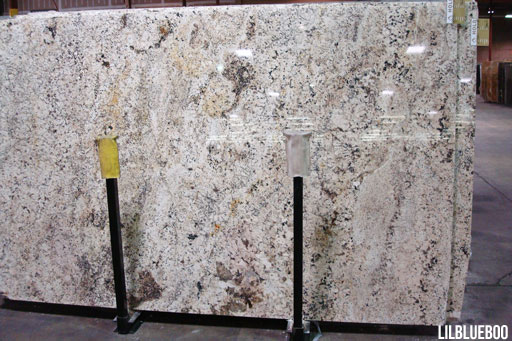
More than anything I wanted two big islands. I didn’t even care if we had to have plywood counter tops for a while in order to make up for the cost. As you can imagine, for 2 eight-foot islands, 2 walls of counters, a butler’s pantry, and the laundry room….we needed a LOT of granite. I did a lot of research on prices….I mean I probably stopped at every granite yard for 50 miles. I finally ended up driving down to a huge wholesaler in Santa Ana, CA that my brother-in-law Jason uses and picked out all the slabs. Then, I made a bunch of calls and found someone to bring my slabs back to the desert for me…they were making the trip anyway so I just paid them 50 bucks. I ended up saving about 50% of what I would have paid otherwise.
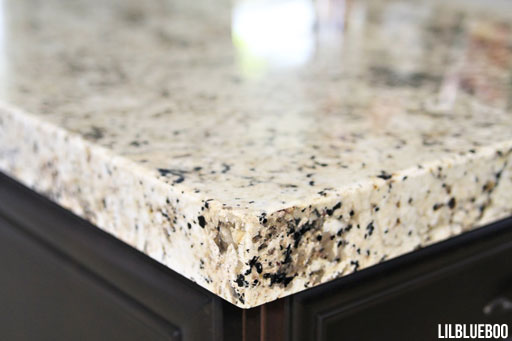
The granite I picked was Delicatus. I say “I” because Mr. LBB doesn’t really have an opinion about most of these things, or maybe he just pretends he doesn’t. It’s mostly white, black and gray with a tiny bit of beige in it. And it’s not uniform….I like the big chunks. I’d pick it again today. It’s still one of my favorites. For the fabrication, I went with the most simple of cuts, but had the installer make the edge 2.5″ so it looked pretty substantial on the large islands.
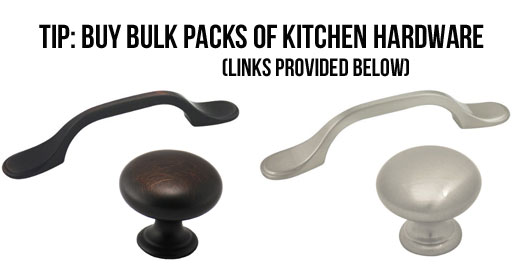
We got an amazing deal on the cabinets. I would have loved to have had them made locally but all the quotes were way over budget. We ended up having them made in Canada and they were shipped down on a truck and installed in one day. I wanted the bronze hardware to be exactly the same as the brushed nickel hardware….so I bought them in discount 25-packs. They ran between $1.00 and $1.25 each.
Cosmas Rubbed Bronze Knob (also available in 25-pack)
Cosmas Rubbed Bronze Drawer Pull (also available in 25-pack)
Cosmas Satin Nickel Knob (also available in 25-pack)
Cosmas Satin Nickel Draw Pull (also available in 25-pack)
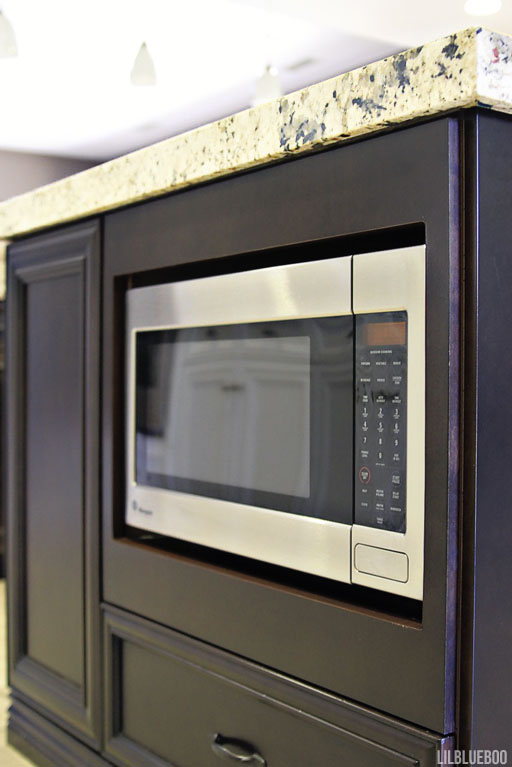
We put the microwave in one of the islands:
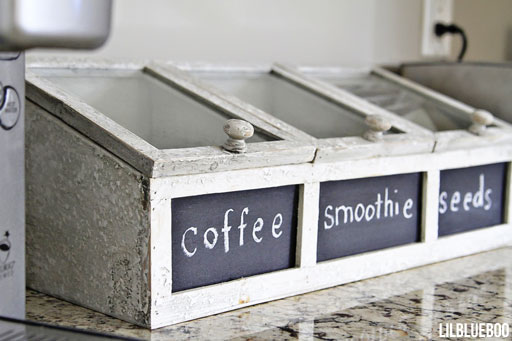
This is a new addition…I found this little garden container at Michael’s for 40% off. It holds all our coffee and smoothie supplements etc:
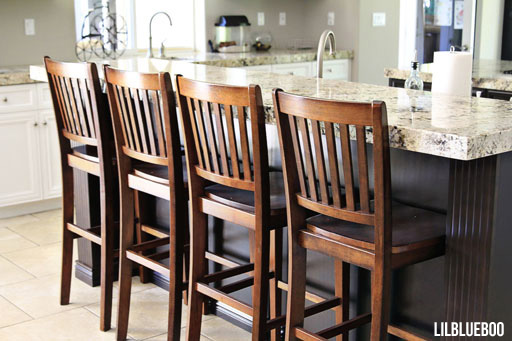
I got the bar stools at World Market. I was going to repaint them at some point….maybe gray, or turquoise? But now I’ll probably just sell them at our big yard sale we’ll do when the house sells. But I’m going to call it an estate sale…..I asked my friend Megan’s 7 year old daughter one day where she got her adorable vintage earrings and she said “A yard….no, I mean it was an Estate sale.” I do think there’s a difference…don’t you?
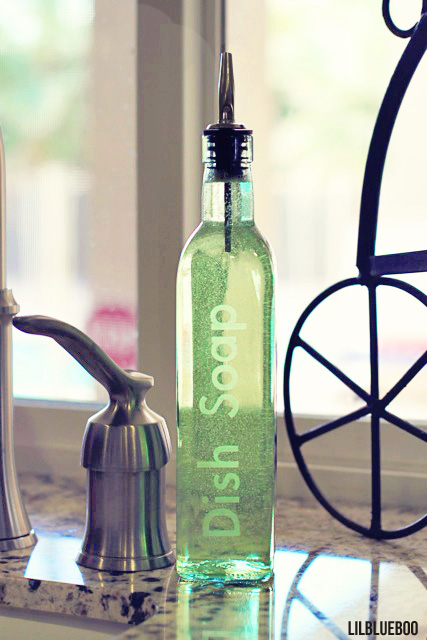
My pretty handmade soap dispenser. I made it using an olive oil bottle and glass etching cream:
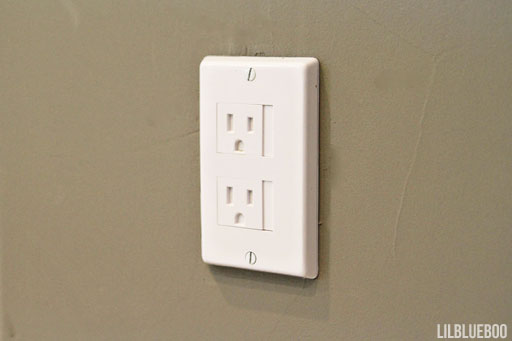
Safety First. Just like the pool fence, another thing I did when we first moved in was cover every single outlet with childproof sliding safety locks…because I can never get those plugs out. These are easy to use…just slide it sideways and insert plug. For the islands I spray painted the outlet covers dark brown so the would blend in.
Safe Plate Outlet Covers (25 pack)
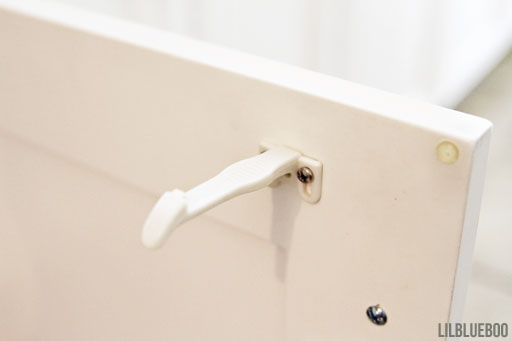
I also installed cabinets locks on every cabinet….yes I drilled into my brand new cabinets. I just made a little template for the drill holes using a 3×5 card.My cabinets needed the extra long latches, standard didn’t fit. With the long ones you are less likely to catch your finger too. So you don’t drill straight through your door mark the 1/4″ mark on your drill bit with blue tape so you won’t make a mistake!
Safety 1st Wide Grip latches (42 pack)
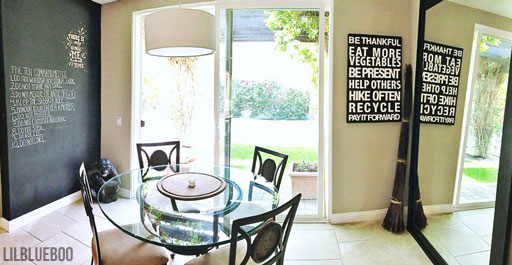
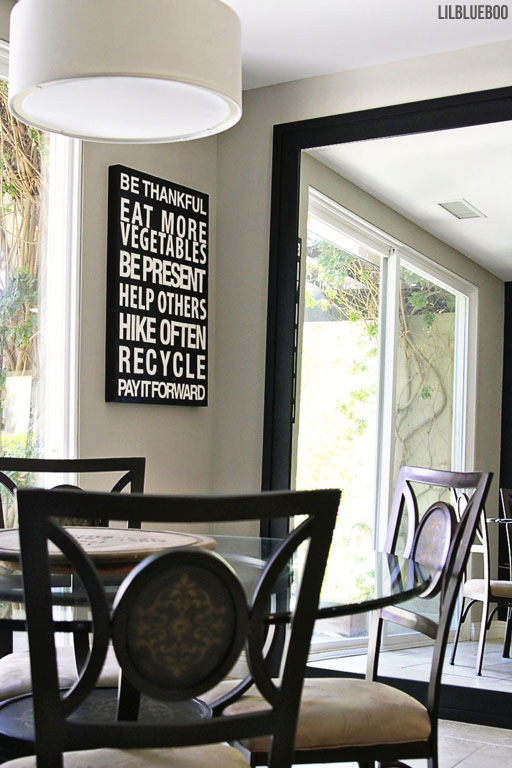
The Breakfast Nook. This was formally a dining room. I bought the glass table and chairs for $200 at a discount furniture place….the place didn’t even have a sign.
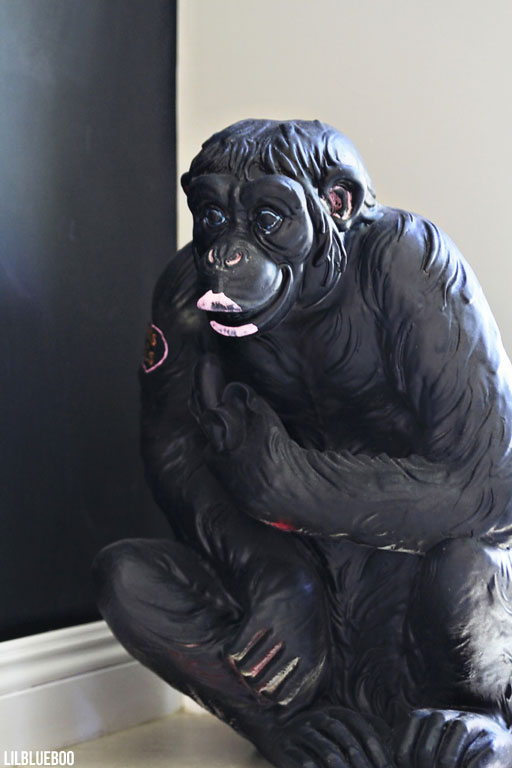
This is our scary monkey. It was Mr. LBB’s grandmother’s. He’s been painted over several times, mostly recently with chalkboard paint. Boo added lipstick.
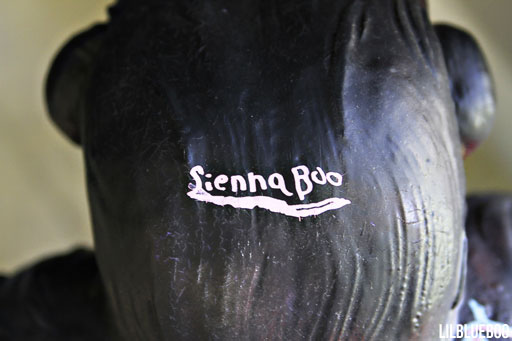
We were going to use it as a guest book but I forget to tell people to sign it. One friend did….Shari….she signed it “Shari signed the scary monkey.” Now I can never paint over it. Oh Boo signed it too….a guest in her own house. We used Chalk Ink markers. They wipe off with Windex.
The mirror was made using a extra large mirror piece and molding. I made the wine-barrel-inspired lazy susan from a cheap used one I found at the thrift store:
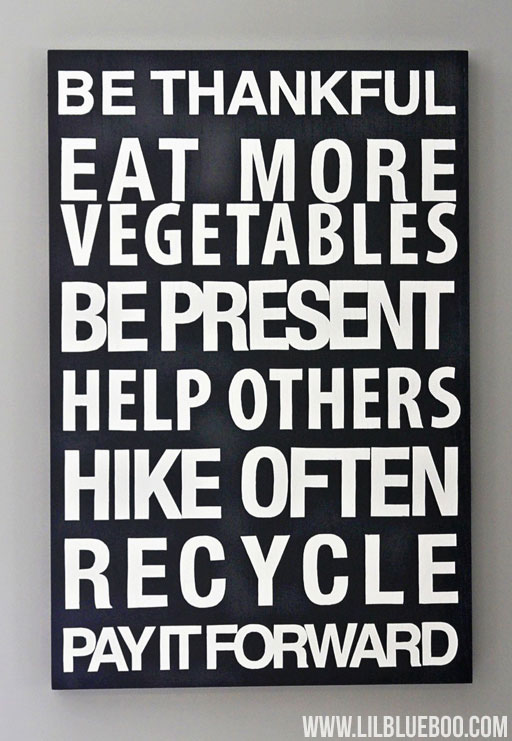
This resolution art I made a few years ago. I was inspired by the subway art from Restoration Hardware:
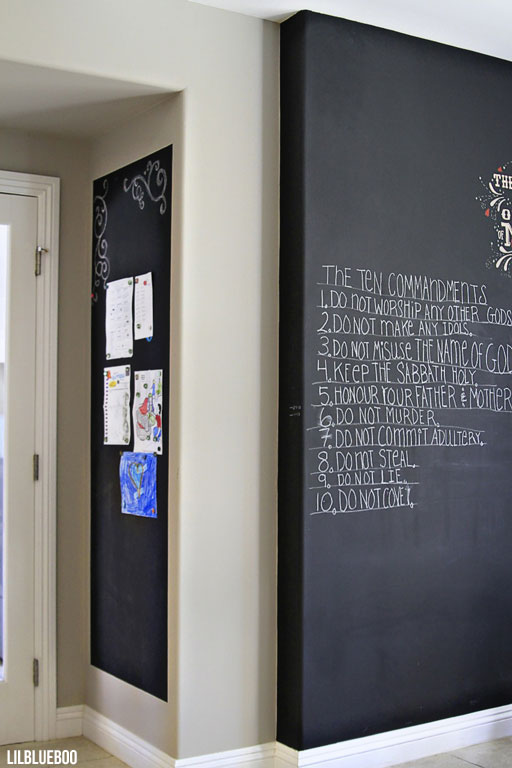
There are 2 large chalkboards I made. The smaller one on the left is a magnetic chalkboard so that I can use magnets to hang Boo’s artwork. I’ve found that only super neodymium magnets work on the magnetic board with any success….but note these are NOT SAFE for small children who might put them in their mouths. I glued each of my magnets to buttons or glass pebbles to make them easier to handle. The other wall is just a plain chalkboard. I use the Chalk Ink Markers if I want something to stay for a long time without getting smeared. It’s easily removed with Windex and a Magic Eraser.
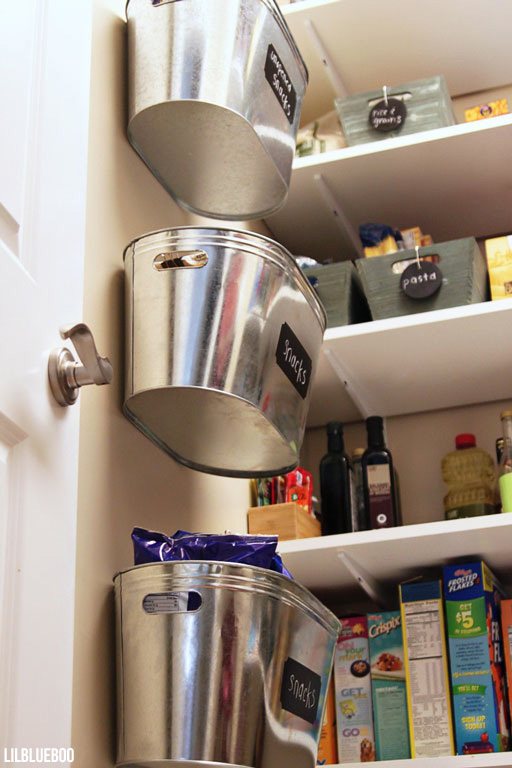
I installed all the shelving in the pantry myself. I bought the large metal bins from Michaels Craft Store and hung them on the wall for snacks:
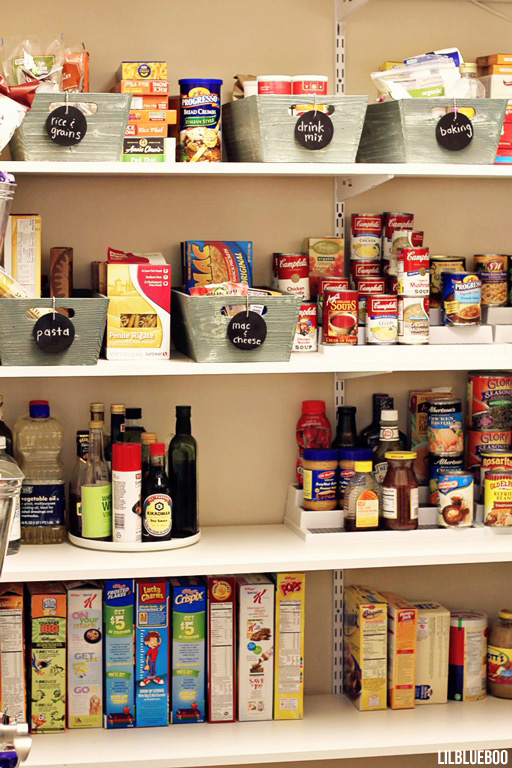
I made the little chalkboard tags for the bins so that everything has a place:
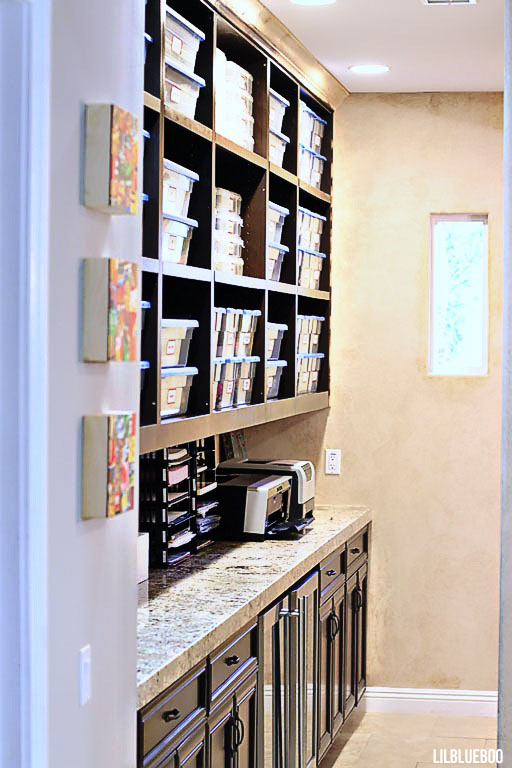
Off the kitchen is a step down butler’s Pantry…it did not come with a butler. There are two wine refrigerators. Mr. LBB built the shelving for me last year for Christmas. It’s where I store all my art supplies and the wireless printers. Next post I’ll show you the office that it’s connected to. Originally I had faux painted the entire house…you can see the remnants on the back wall. We repainted last year. I made the vintage labels for all of the boxes on sticker paper. You can download the template here.
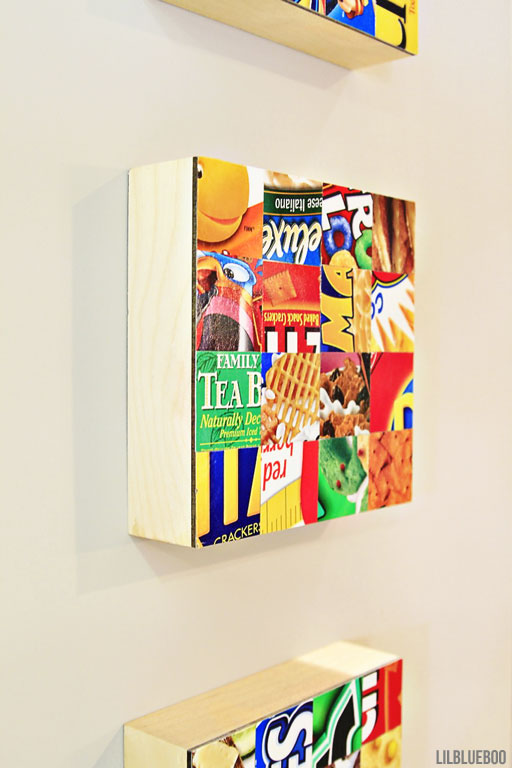
The art on the wall I made back in 2009 using old cereal boxes and food boxes. Each one is one 8×8 inch deep cradle Gessoboard and coated with Krylon Triple Thick Glaze.
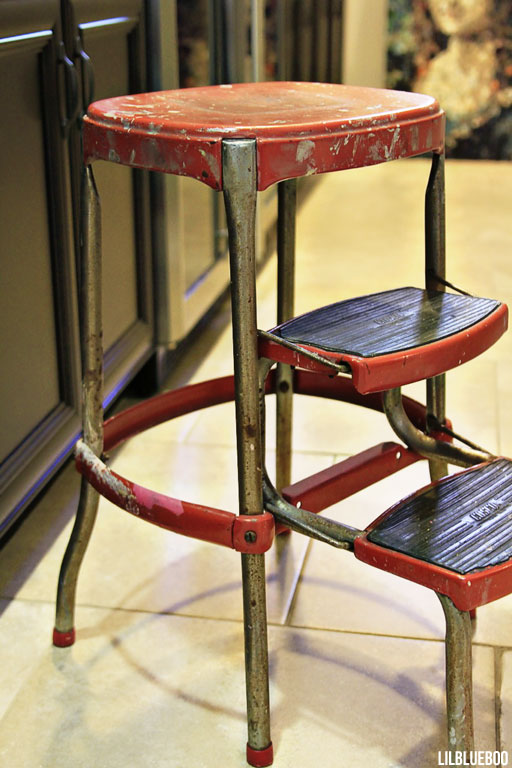
My plans for the butler’s pantry was to add a rolling ladder to reach the tall shelves….but that hasn’t happened yet. One thing I kept of my grandfather’s when he died in 2003 was his awesome vintage step stool….so that’s what I use right now:
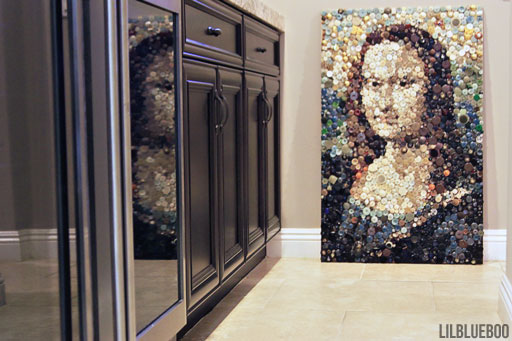
One of my pieces of button art. (I’m officially an art hoarder….going to have an art and furniture sale when our house sells….I’d like to lighten our load so I’m willing to part with just about everything. I’ll be putting some vintage and art items in the Etsy shop too to try and get some of it on it’s way before then.)
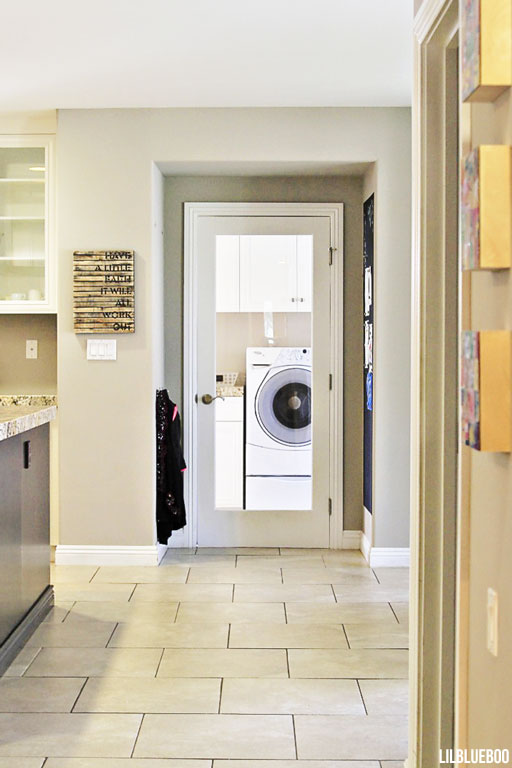
Looking from the butler’s pantry across the kitchen to the laundry room:
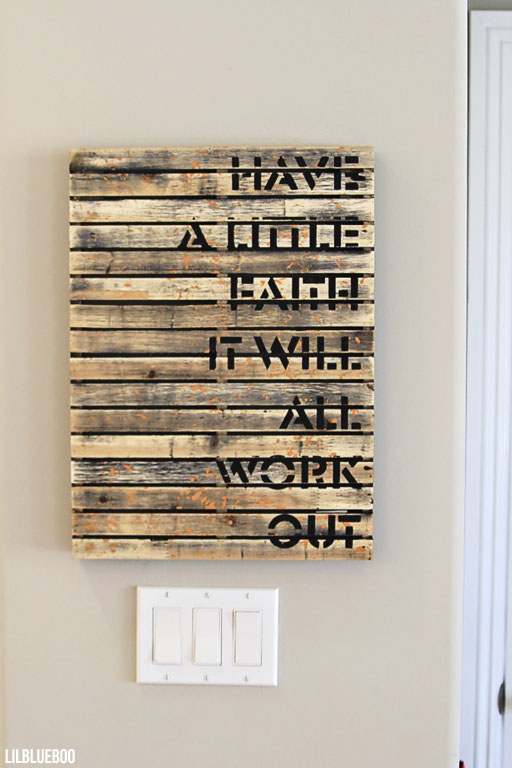
A recent piece of art. I didn’t hang it there. Mr. LBB must have.
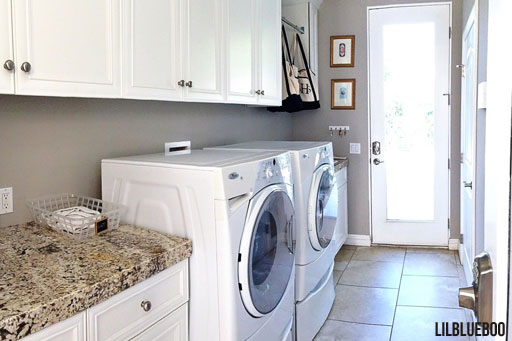
The laundry room was actually a breezeway that connected the driveway to the back yard before we enclosed it:
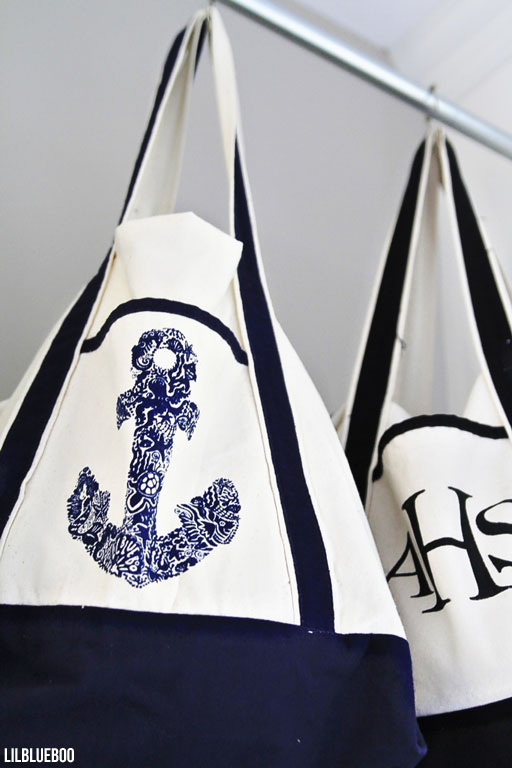
I installed a bar over the cast iron sink to hang wet clothes for drip drying….but it has been a great place to store beach bags as well:
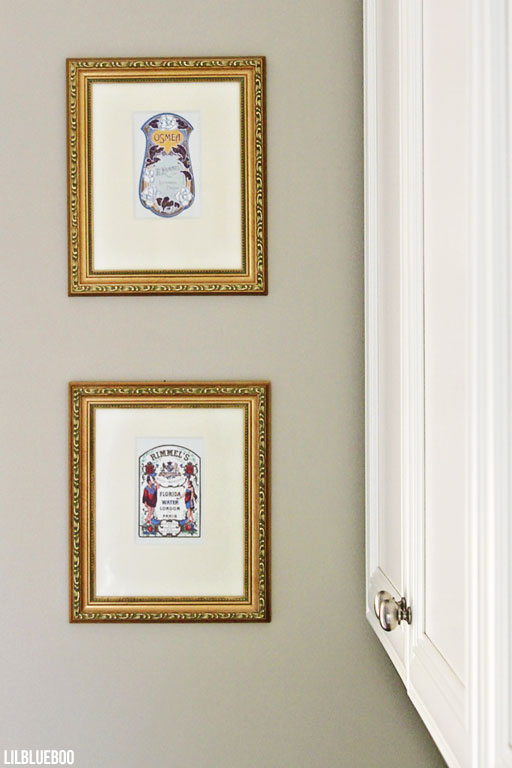
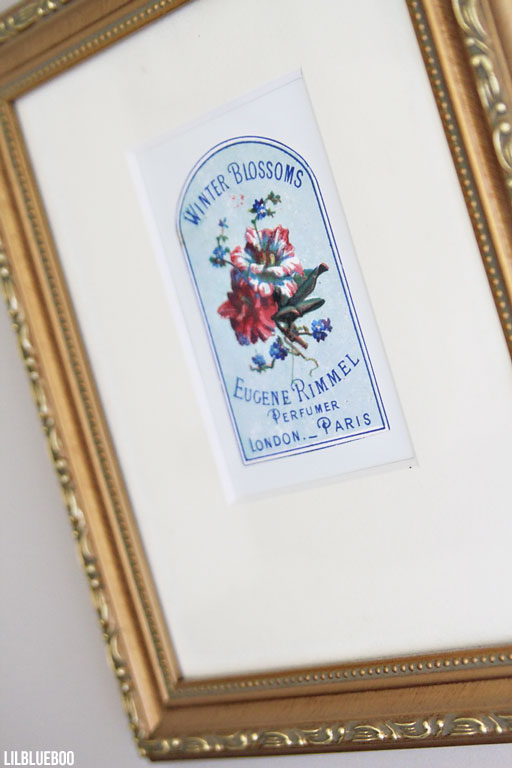
I framed a few postcards that featured vintage soap labels for some artwork:
You can buy antique labels. vintage seed packets etc…..just about anything you can think of at Label Man.
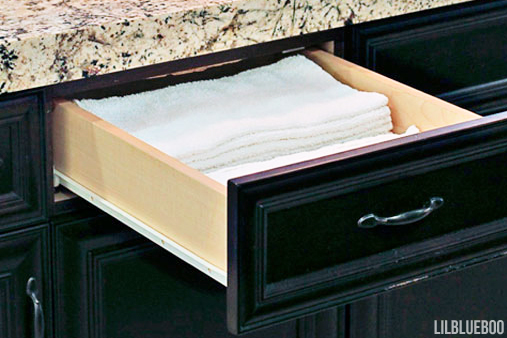
I try to be as eco-friendly as possible and having a drawer right next to the sink is a great place to store terry towels to cut down on the use of paper towels:
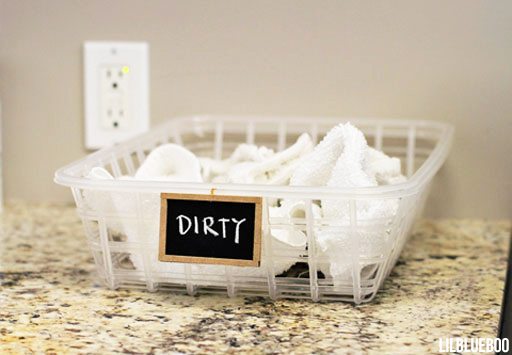
When they are dirty they just go in the “dirty” basket in the laundry room:
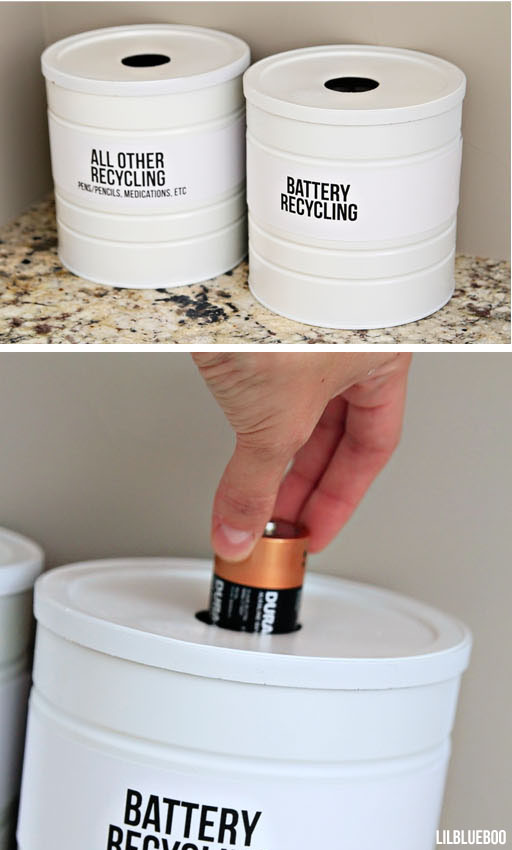
This is my recycling station for “anything that can’t be put in regular recycling”…made from coffee cans:
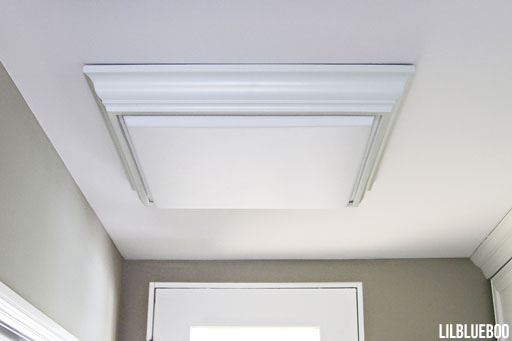
One last thing I love….we went with energy efficient fluorescent lights in our laundry room….but I wanted them to blend in with the cabinetry. I love these lights with the crown molding around it. They come that way! (you can also get them unfinished)
I’ll try to get the living room post up in the next day or so. But so far I’ve shared:
A Tour of Our House – Exterior and Landscaping:
Oh yeah….and the house is for sale. I’ll even sell it furnished ; )
Tutorials featured in this post if you want more information about anything I’ve made:
Kitchen & Organization:
Recycling Station and Organizing Junk Drawers
Craft Storage and Vintage Label Download
Artwork:
How to Make Subway Inspired Art
How to Make a Wine-Barrel Lazy Susan
Chalkboards:
Make a Chalkboard Inspiration Wall
Make a Magnetic Chalkboard and Growth Chart
How to Make Painted Glass Magnets
Other:

Your house is beautiful. I wish I lived around there, and could afford it, haha
your house looks amazing! we have just bought a 1974 bungalow that needs A LOT of work so I’ll be stealing ideas from these posts!! I also love clutter free counters and love your ideas for the pantry and laundry. Thank you for sharing!
Dreamy!!! Thanks for sharing part of your beautiful home.
Wow! I love your house! I wish I had half your OCD, I’m more ADD/ADHD :).
Hi, gorgeous pantry, but did you know the “Pin It” feature on your photos doesn’t seem to be working? At least, not for me. I click Pin It and it opens up the Pinterest window but doesn’t load up the photo and says I must select a photo in order to save.
Love your house! How do you keep your chalk wall so black!?! Is it because you don’t actually use chalk, just the chalk ink??
Did you prime it first with chalk or just paint it and start drawing?
THanks!!
Beautiful house. I would love to come to your estate sale. Will you let us know when it’s going to be?
I really like seeing your spacious home. And what changes!
I like the white and gray paint you chose, very calming. Will use as I paint.
I live in a little house with basically two normal sized rooms and two half rooms. Seeing all your space was wonderful.
Glad you all will put touches on a new place… making the world a bit prettier one house at a time.
What can I say. Wow, gorgeous. You are a talented young woman. My husband and I are retiring from missionary work in Switzerland to a retirement community for Presbyterians pastors in Pasadena. (Didn’t think I wanted to hang with Presb. pastors, but California is calling us.) Originally we are from Minnesota, so California is a foreign place to us. Thanks for the tip on Santa Ana granite. Can you give me a name of the place? You have really inspired me, regarding our little cottage we will get to remodel at the old folks home. Right now, I have had a modern Italian kitchen and feel out of touch with what is available in the US. Moving back to the US feels like Rip Van Winkle waking from a deep sleep. So many things have changed. Clinton was president when we left. I will stay in touch reading about your next big change. From someone who is aging, I have no regrets selling it all and moving many times. I say go for it and don’t be afraid to make big changes in your life, especially in sacrificing and doing for others. Your wealth is in your relationships with God and your loved ones. God created you in his image and boy are you using all your creativity in all areas of your life!