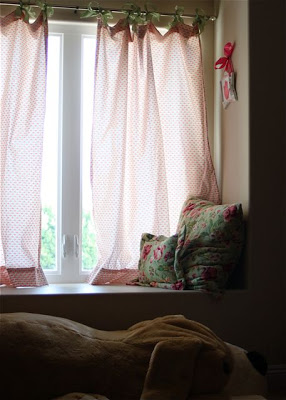
These are as easy as curtains get. I used ribbon to hang simple square curtains and then used the same ribbon throughout my daughter’s room to tie everything together (no, Sienna does not have a mural yet). I’ve also used this ribbon technique for shower curtains. Sienna doesn’t have an overhead light in her room, so I made her curtains so light would show through. In this tutorial I also include an option for adding a liner or blackout fabric.
Here are some curtains in Sienna’s room, the lighting makes it hard to get a good photo.
Materials needed:
Fabric
Fabric lining or blackout layer (optional)
Coordinating thread and sewing needle
Ribbon
If you’ve never made curtains or drapes before, here is any easy tutorial I put together for the main curtain piece, I made it a download so you can print it off easily. You will need to create this piece/pieces first.
Main Curtain Piece Tutorial
I like to hand stitch the sides of the curtains with a slipstitch like I show in the download. For me, the slip stitch looks nice and I think it is relaxing to do in front of the TV while I am catching up on my taped reality shows! Make sure to have some quilters beeswax (I use Dritz) on hand to run your thread through or you will be cursing the thread as it tangles!
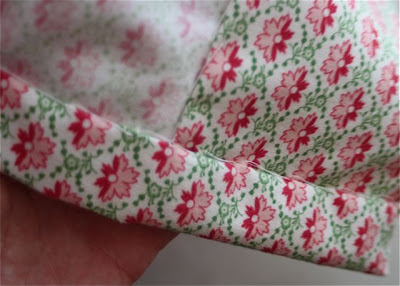
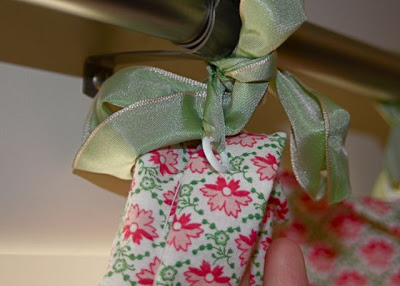
Once you have your main curtain pieces finished, sew 1/2 inch plastic drapery rings (you can find them in the drapery section of your fabric store) onto the main curtain piece about 1 inch down from the top edge. Space the rings out about 6 to 8 inches apart making sure that you have one ring at each corner.
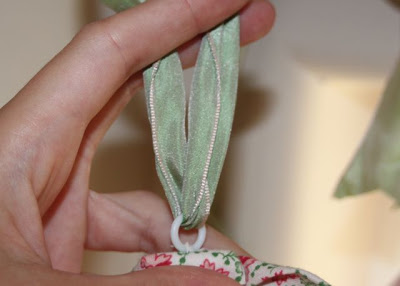
Next for each plastic ring, you will need 30″ of ribbon. I like to use the kind with wire in it so I can shape the finished bow. Thread your ribbon through each loop like shown below:
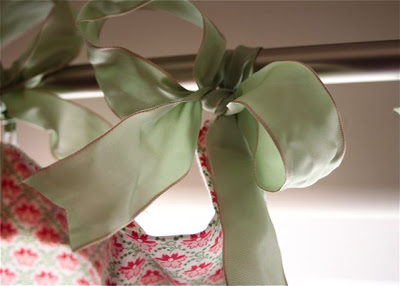
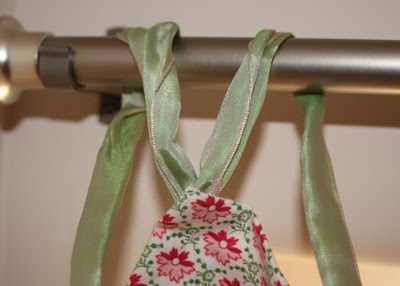
For each ribbon, drape both ends over the curtain rod pointing away from you….
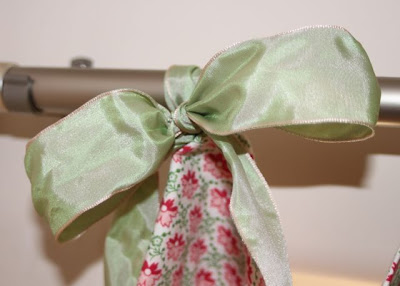
Bring both ends of the ribbon around and tie in the front…..
And then complete your bow!
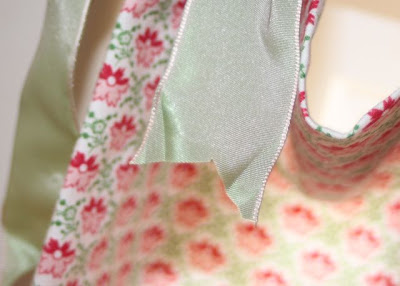
Cut the end of each bow into a “V” and add some Fray Check to the ends to keep them from unraveling.
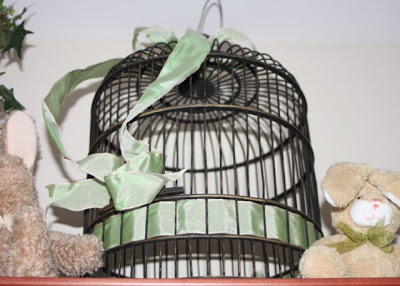
I used the rest of my ribbon around my daughter’s room to tie everything together. I added some ribbon to this bird cage on top of the hutch……
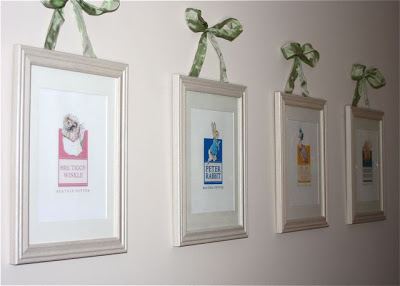
….and made bows to decorate these Beatrix Potter-themed frames I put together (the bows are only decorative, the frames actually hang by themselves).
Let me know if you have any questions about making the curtains! Anyone can do this tutorial….


i love using ribbon like this! i used blue ribbon to tie together my daughter's room…on a birdcage like you and on some wall pics. your room looks great!
I've done this before with too short curtains before. Yours look great! Love the pink and green!
Cute idea! Love the Beatrix Potter, prints. ;o)
Just wanted to let you know that I added a picture of my sweetness wearing her knit skirt in the post I wrote about your tutorial. Here's the direct link –
Hope you're having a happy week!
I need to make some curtains and I am looking for different options. I will link to this so I can remember it. Your daughter's room is so cute! I do like the ribbon look!
Those turned out just beautiful! Thanks so much for doing a tutorial! And thanks for the tip about the beeswax, I've got to get me some.
Adorable! I like it that
you added the rest to other
things in the room too!!
God Bless You and Yours!!!
The ribbon bows are so pretty!!! I posted a link to your tutorial on Craft Gossip Sewing:
http://sewing.craftgossip.com/tutorial-ribbon-tie-top-curtains/2009/08/06/
–Anne
I think I'll use this instead of fabric tabs at the top of the curtains I'm making to close off a closet. Just lovely! I actually used a similar technique (without the drapery rings) to keep a duvet cover closed. The button hole function on my machine is finicky, so i have to find alternative solutions. 🙂
Thanks for the great tutorial! I'd love to share a link to this tutorial on sewwhattoday.blogspot.com on February 7!
Well, I finally did it! I added the ribbon to Eliana's curtain and they are too cute! I kinda cheated though. I used shower curtains and threaded the ribbon in thru the ready-made holes instead. Super easy!
Thank you so much for your tutorials, Ashley.
wow!! this blog is absolutely amazing!!! i really liked, i think all the information contained in this blog are very useful and very interesting. i really enjoyed reading. i am very curious for everything, usually i want to know new things. this is the reason why i like to know
buy viagra
Your Story is amazing. Some similarities with my own. And, like you, at a certain point I had to decide to be happy. Changed my life around.
I am having trought signing up to be one of your Associates; my computer just doesn’t like the link. Could you please help me?
Thank you.