I’ve was blessed as a young girl to be able to travel with my family, though I always felt like we could have been in a National Lampoon movie with all our adventures. Most of our trips revolved around golf courses with my dad and sister’s golf. One of my most vivid memories growing up is my brother saying “what a tourist trap” about every place we went. We all loved the “tourist traps” though and I would collect little things from each place for my art journals. My one regret: the Loch Ness Monster Visitor Center in Scotland. Picture this: my sad, longing face pressed against the car window as my dad sped straight through the town of Loch Ness because he and my sister were late for a tee time (I was 20 years old).
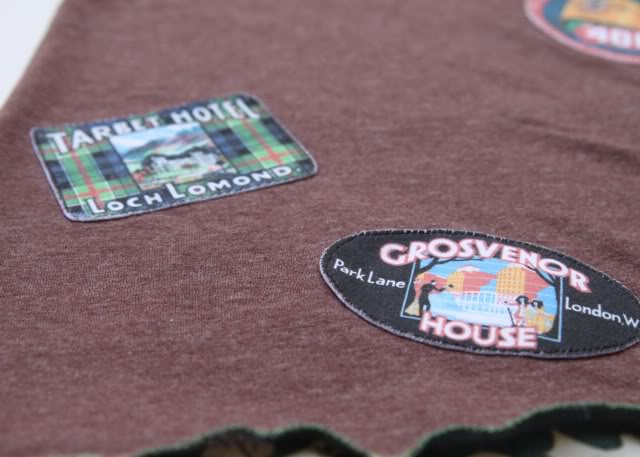
Anyways, in the spirit of the world traveler, I made patches to resemble those vintage luggage stickers that covered suitcases long ago……
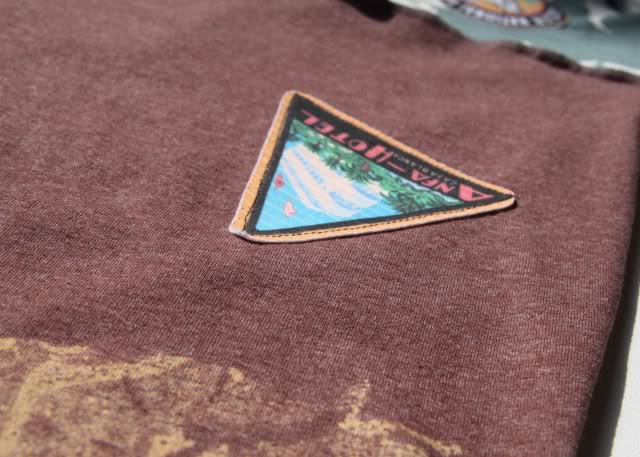
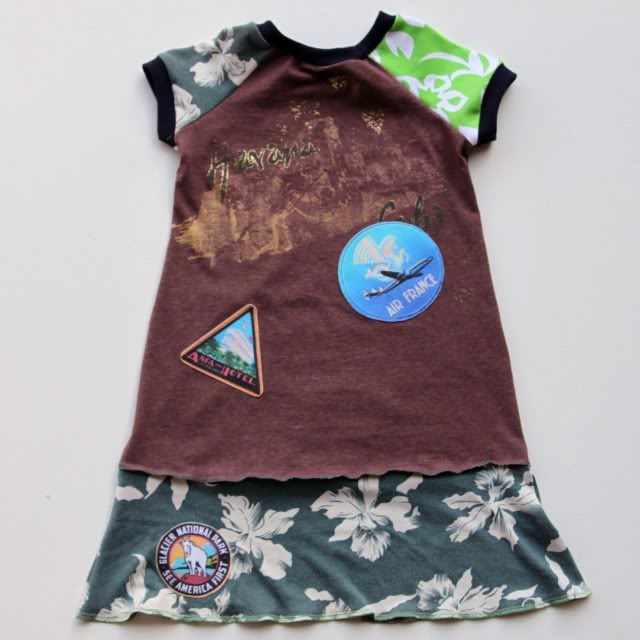
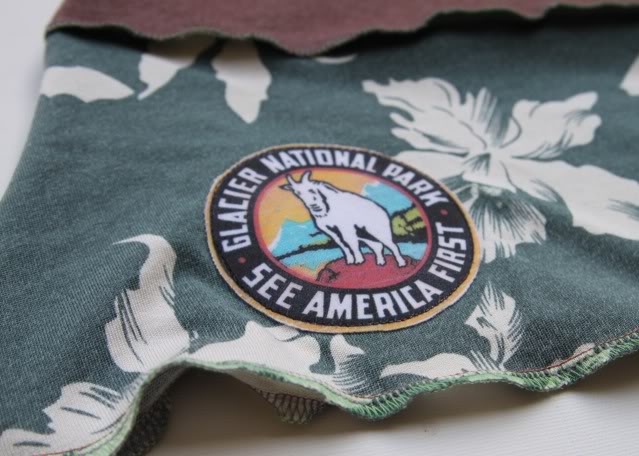
…..and covered this little “Tourist Trap” dress in them. My favorite part of the dress is the “touristy” knit print for the skirt…..Clark Griswold would be proud!
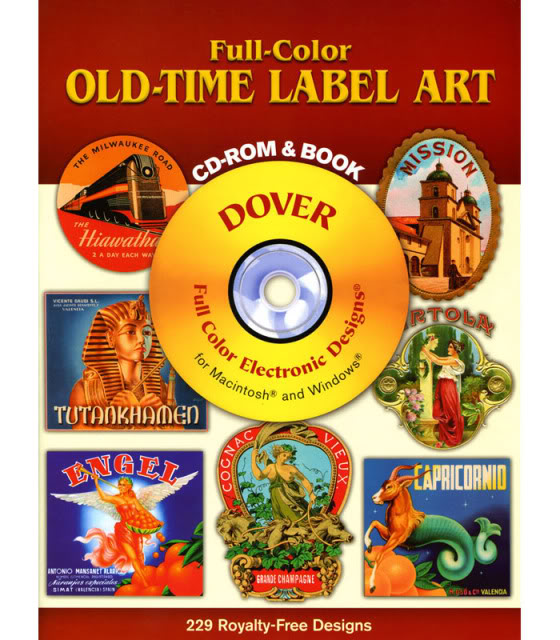
I can’t get enough of these clipart book/CD sets. The one I used for this project is “Old-Time Label Art” and it is full of vintage travel labels, crate labels, etc…..all high resolution and royalty-free:
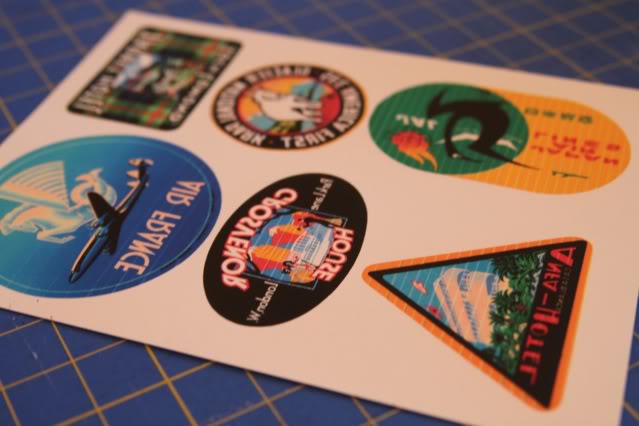
First, I printed out the images on transfer paper. (I’ve said it before, but I am now officially hooked on Dharma Trading’s Super Soft Transfer Paper.) Just make sure to print your images in reverse! Note: the fine lines you see in the bottom images are from my dying ink-jet printer….RIP printer.
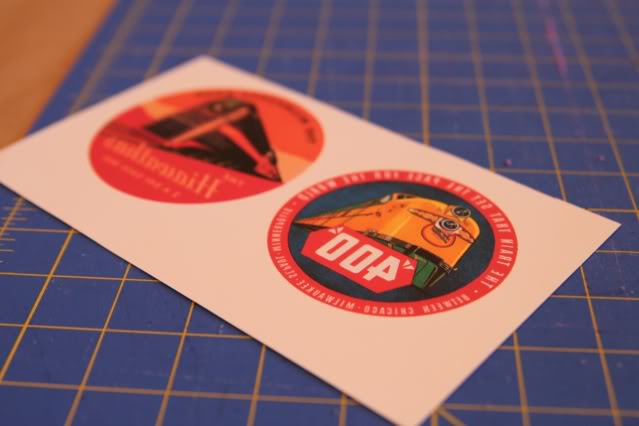
Then I ironed the images onto a plain white knit. Note: The secret to the transfer process is ironing on a hard surface….using all of your body weight (i.e. don’t use an ironing board!)
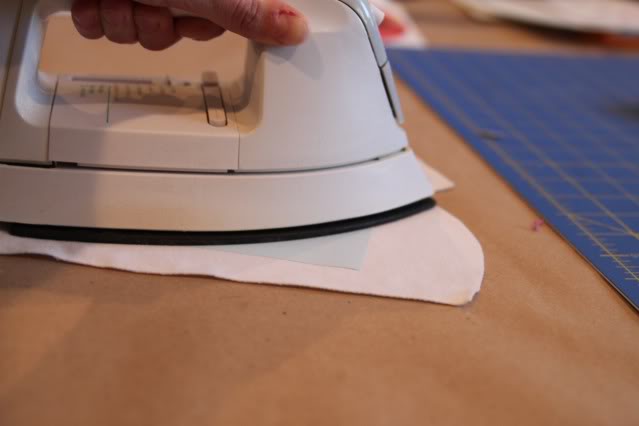
I cut out each image and used fusible web to create an “iron-on” patch (you can actually IRON on top of this brand of transfer paper!).
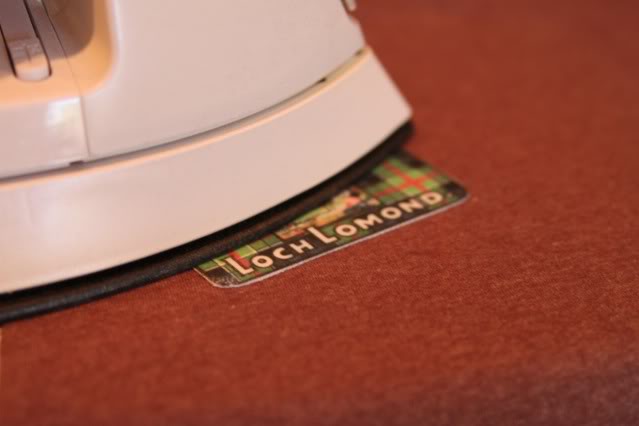
I stitched around each patch to secure to the dress.
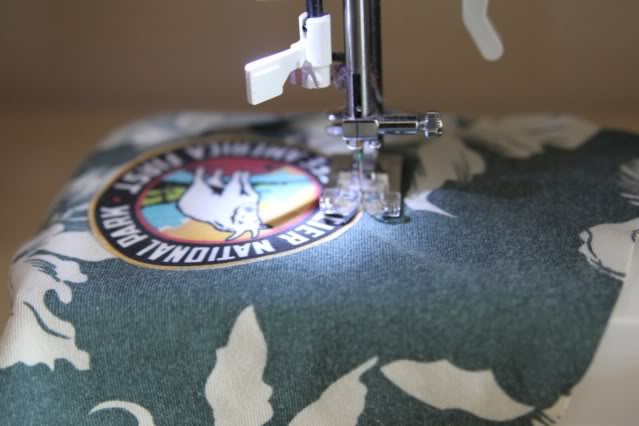
Before sewing the dress together I washed all the pieces again to lightly fray the edges of the patches to give them more of a vintage feel.
The main part of the dress was a travel shirt that read “Havana Cuba.”

Patches from all over the world!

Even one that reads “See America First”……which we plan to do as a family this summer in the west!

That is so neat!! Thanks for tutorial.
My dad loves patches, whenever we travel I always bring him back one. I think for Fathers Day, I'll make him one that says "My daughters Rock!" heehee I think he'll get a kick out of it. Thanks for the technique!
Love it. Thanks for the tutorial.
As always you are Amazing Ashley, thanks again for this!
Thanks so much for this tutorial! I think I haven't been putting enough pressure on my transfers…crossing my fingers and going to try it again! Of course you are totally selling me on the Dharma paper 😉
Oh, How cool!
Thanks for sharing. 🙂
man…how do you come up with this stuff? I would have just thought, ho hum…no "real" patches, guess it won't work. But NOOOO, you go and find them!!!! LOVE IT!! thanks for being all inspire-Y for the rest of us.
man…how do you come up with this stuff? I would have just thought, ho hum…no "real" patches, guess it won't work. But NOOOO, you go and find them!!!! LOVE IT!! thanks for being all inspire-Y for the rest of us.
Thank you! This blog post will be advertised on CraftCrave in the Handcraft category today (look for timestamp: [20 Feb 01:00pm GMT]).
This is such a cute idea! Has to be one of my favorite dresses you've done yet.
So neat! Your creativity is amazing! Great job
i am looking here at your blog thinking: really cool!
I like your idea because it's unique!!! ( besides pretty & functional.)
Am inviting you to come show it off here also, so that my readers can find you and be inspired also:
http://www.finecraftguild.com/diy-tutorial-linky-party/
Rose