While I don’t have a tiny baby of my own anymore, I still have the opportunity to make things for my baby nieces, nephews and my friend’s babies.
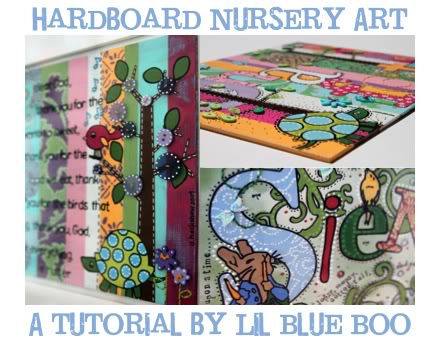
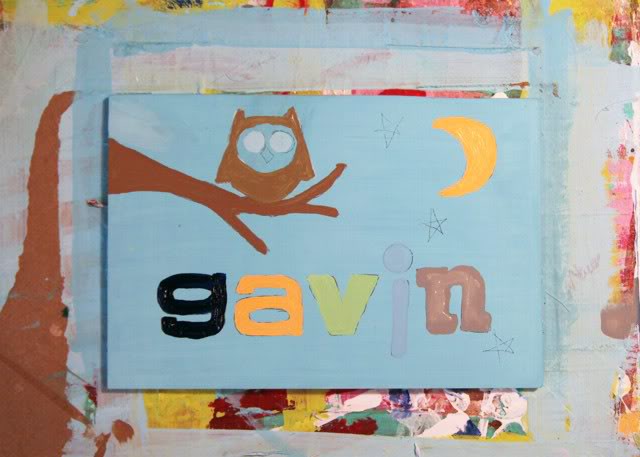
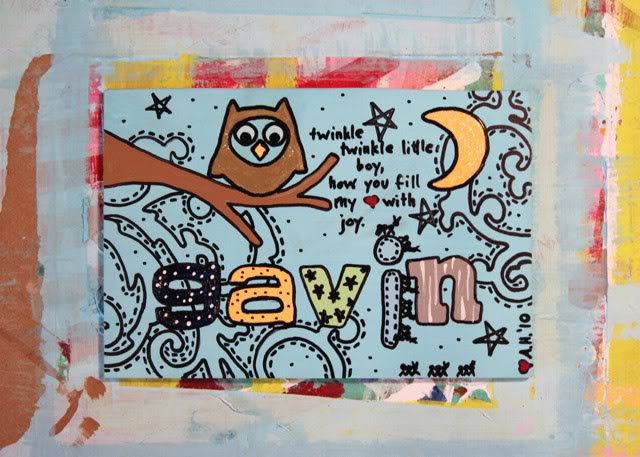
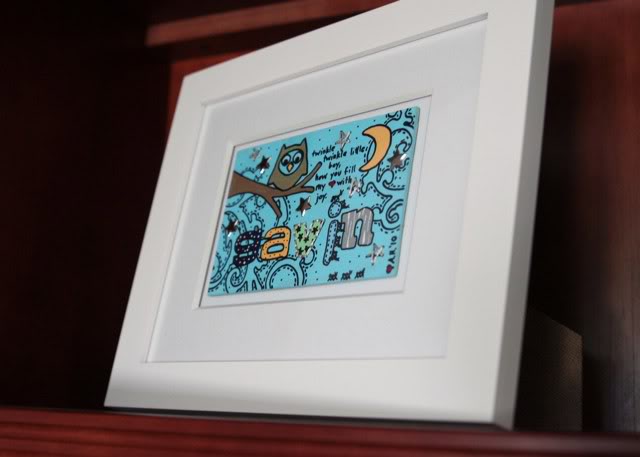
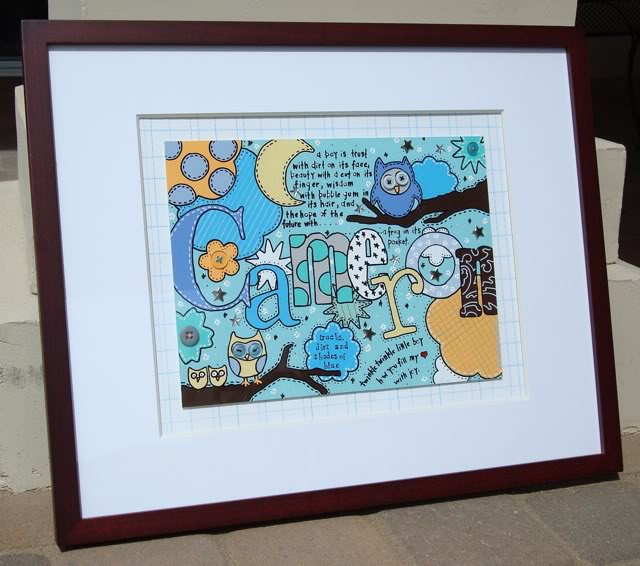
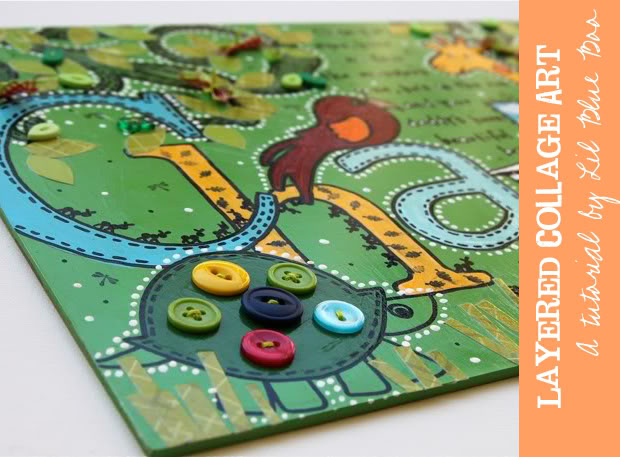
I love making elaborately layered personalized nursery art pieces…..unique to each child.
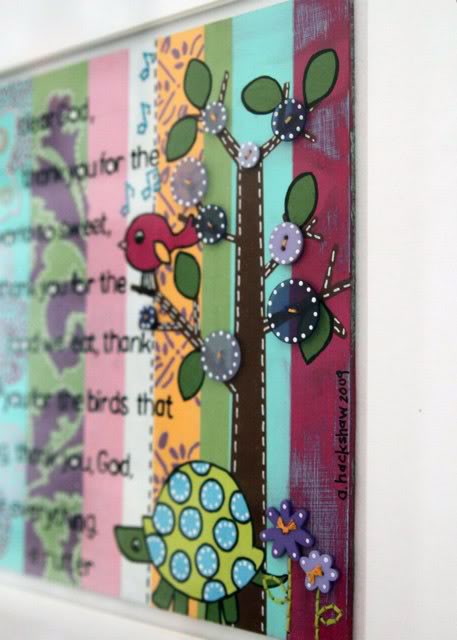
The secret is the layering of paint, buttons, brads……
…stitching, tiny bows, decoupage, stamping….
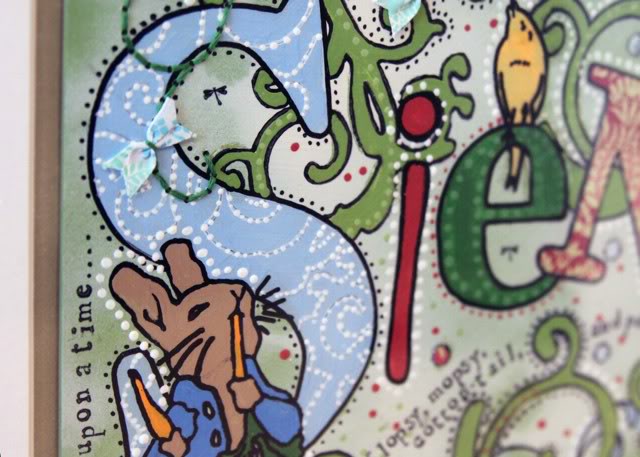
….resulting in a truly unique piece of art for a special little one!
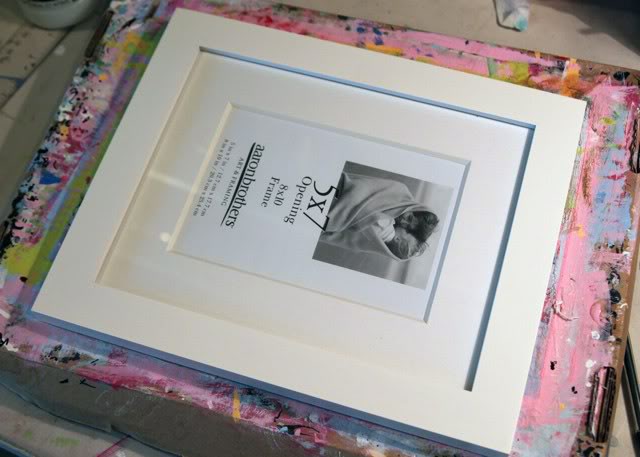
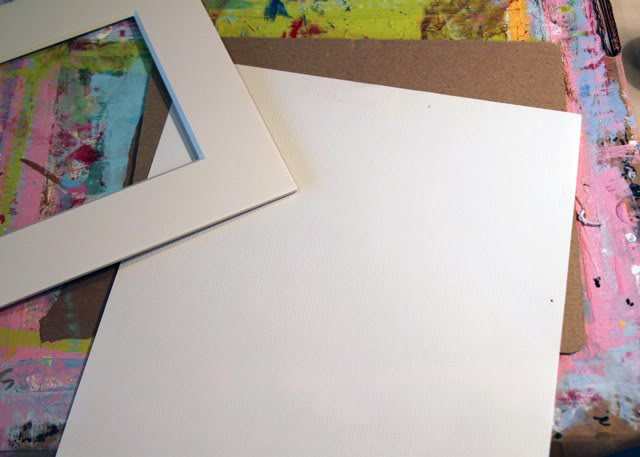
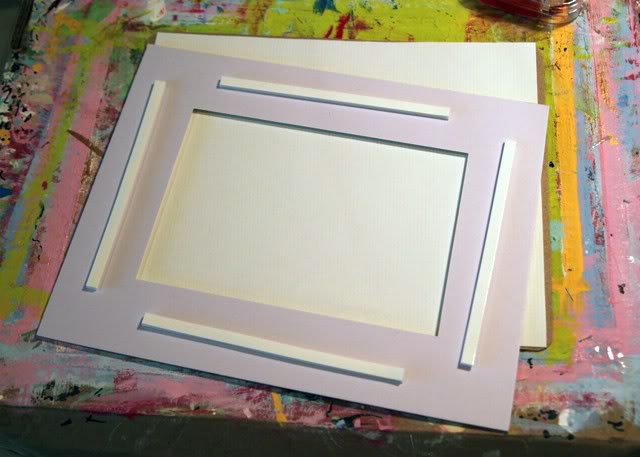
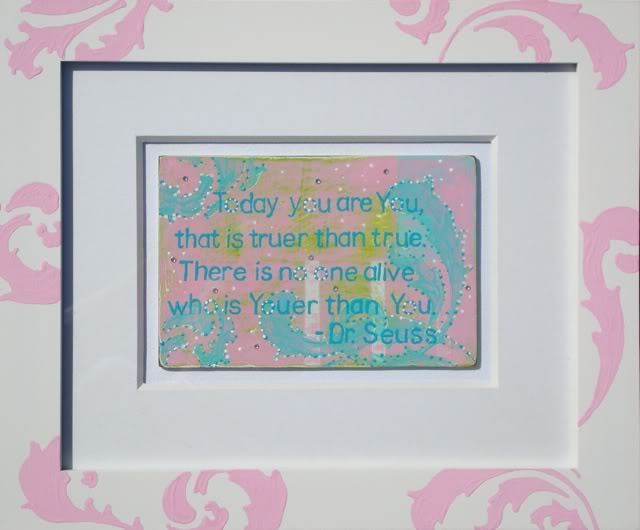
I always start out with a ready made (and matted) frame. Custom framing can be ridiculously expensive…I once asked a store to custom cut a mat for me (JUST the mat)…and they quoted me $90! So I decided to start making my little paintings to fit frames that I could buy right off the shelf!
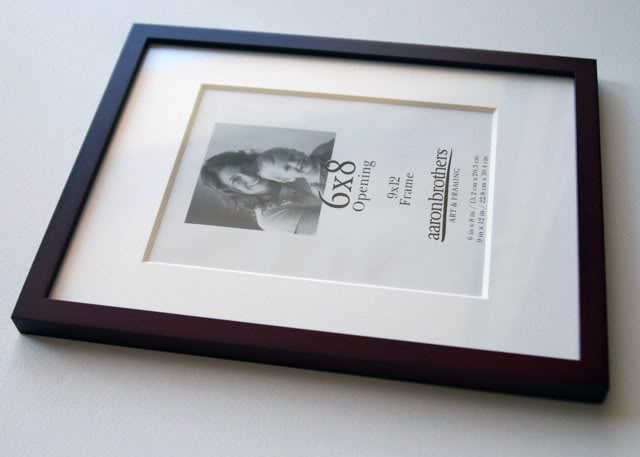
You’ll want to use a hardboard or Gessoboard (gesso means it is pre-primed) for your painting. It won’t warp and it doesn’t have sap or woodgrain. It is also thin enough to frame under glass. You can buy it in several sizes. For the 6×8″ frame shown above I would typically use a 5×7″ piece of Gessoboard. You want there to be a small gap between your mat and painting because the painting will be “float” float framed in the middle.
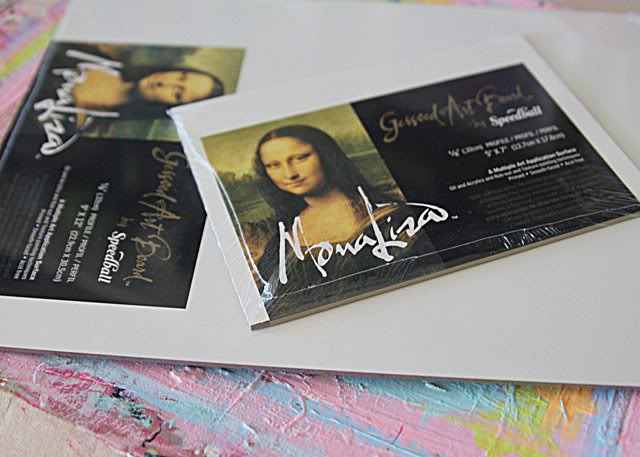
For the frame I use in this example (5×7″), I had to custom cut my board to 4×6″ so it would fit.
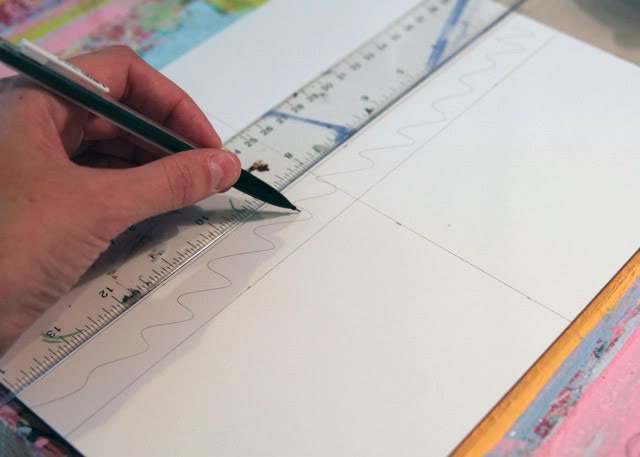
Cutting a custom hardboard piece:
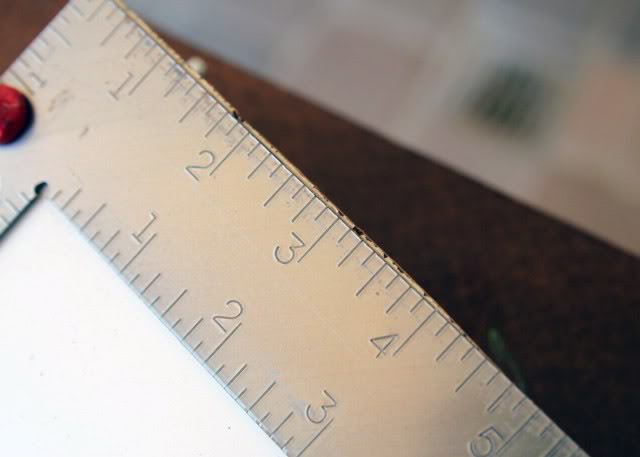
I use larger hardboard pieces so that I can cut several pieces out and reduce waste. First, I measure the 4×6″ shape out:
Then I attach a metal ruler using small C clamps:
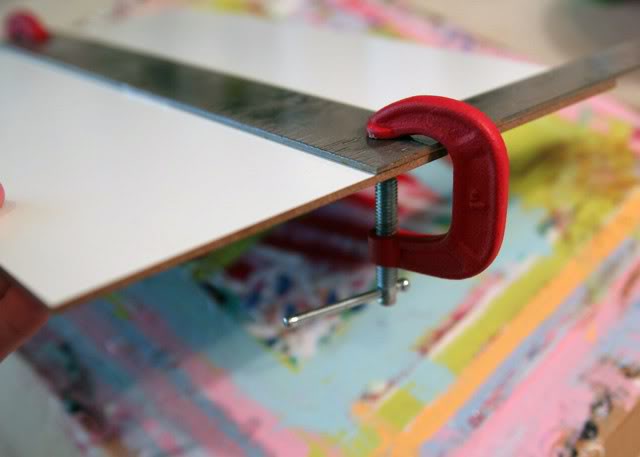
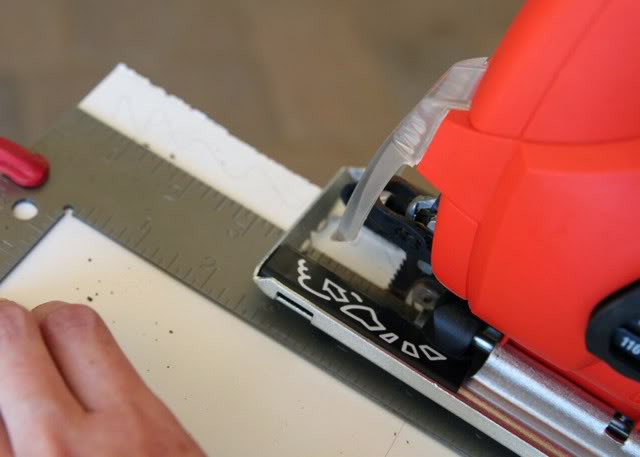
I use a hand skill saw……
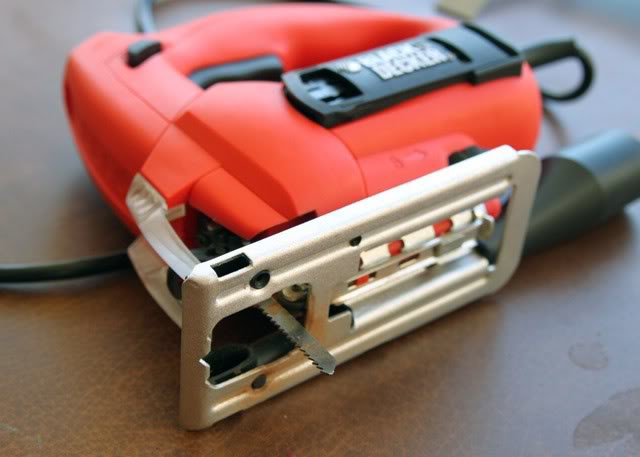
……to carefully cut against the ruler:
Then I use a sandpaper block to fix any edges:
Starting the design:
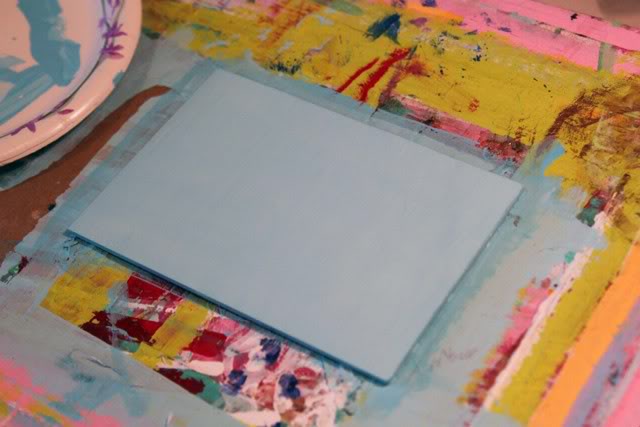
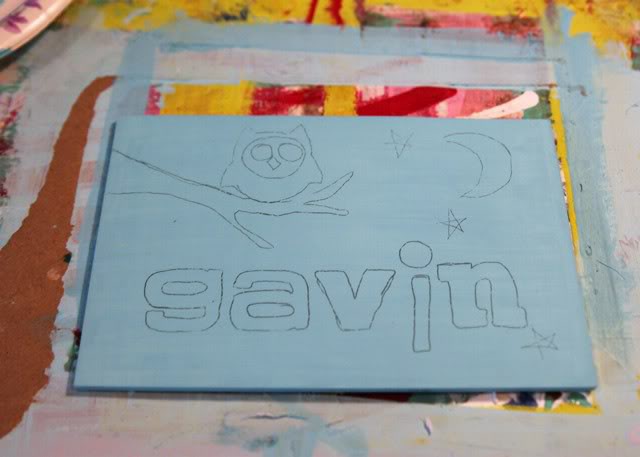
I started with my piece of Gessoboard. This is pre-primed…..if you are just using plain hardboard then you’ll need to prime it with Gesso first. You can even add some paint to your Gesso for your background color.
I painted my background with acrylic craft paint (mixing a little Gesso in with my paint to make it more opaque for less coats):
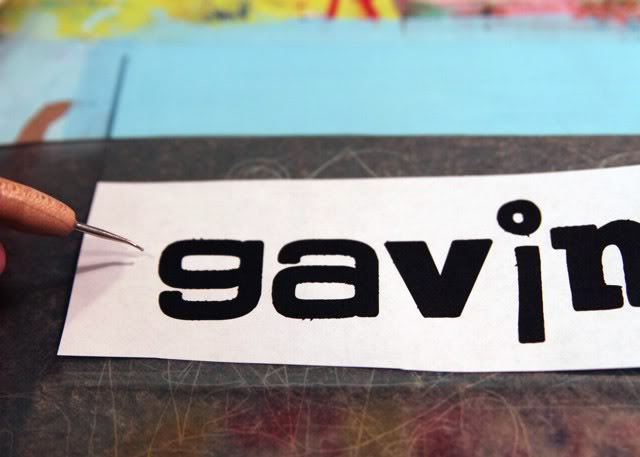
The easiest way to draw a design is to print out the name and use graphite transfer paper to transfer it onto the board:
I use a piece of tracing paper to draw in my other designs……
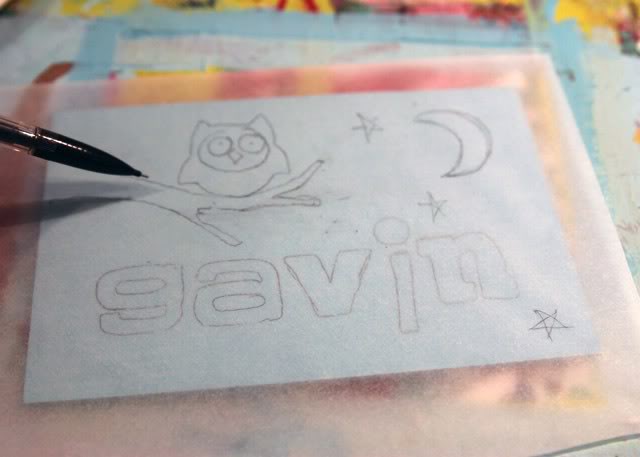
…..and then transfer them with graphite transfer paper too.
Painting and decorating the piece:
First I block in the colors…
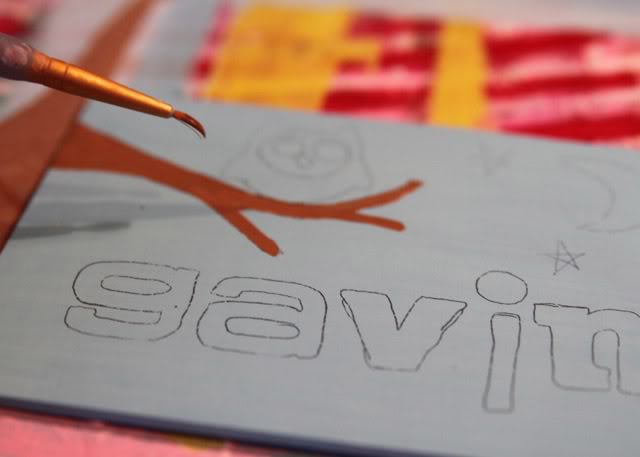
…..these don’t have to be perfect because I’ll be outlining and adding to them:
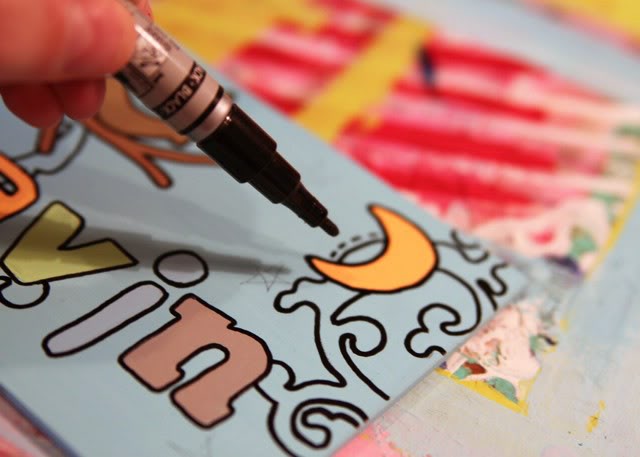
I outline all my letters and designs using a black paint pen.
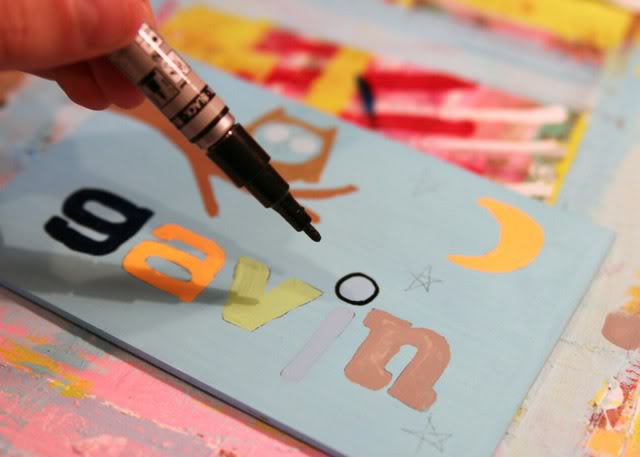
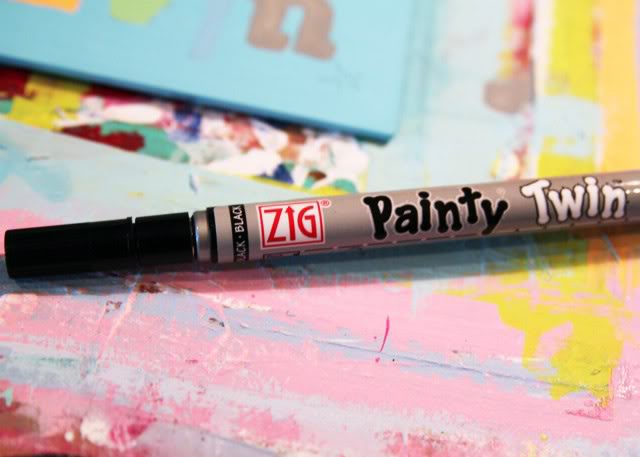
This is the best paint pen I’ve found: the Zig Painty Twin…it writes very smoothly….as if I was hand painting each detailed letter:
A little trick: Once your paint pen tip starts to become rough and at its end, pull it out and stick it in the other way….you’ll get paint all over your fingers, but you’ll have a new pen!
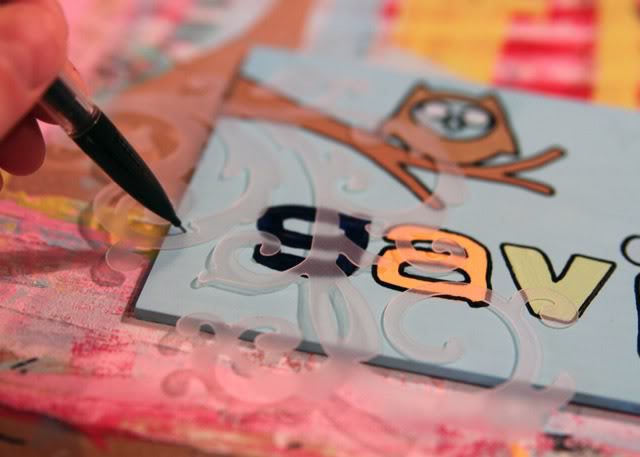
To make the entire design more cohesive I take a decorative stencil…….
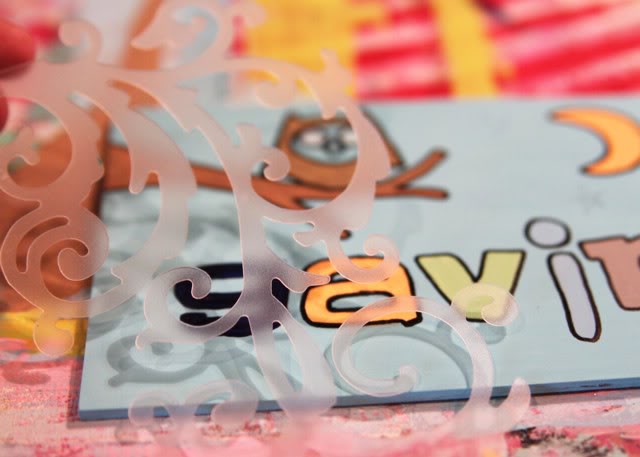
…….and draw it into the background in several places. Then I outline it with black paint pen too.
I add in “faux painted” stitching around many of the designs and letters:
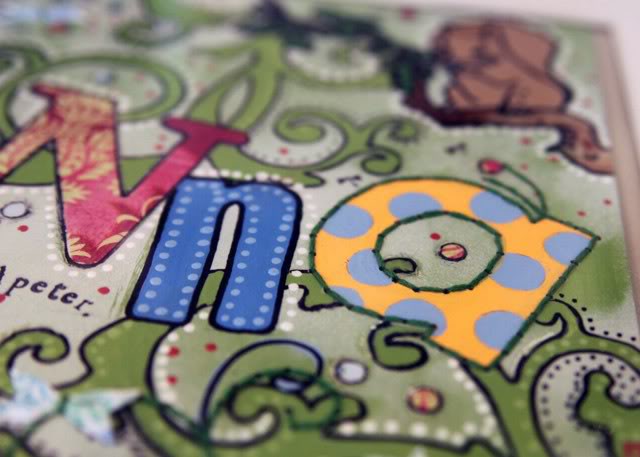
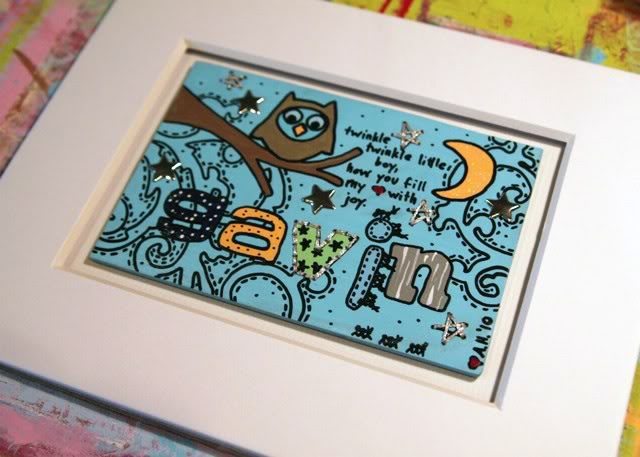
I begin to decorate each of the letters slightly different….here I added some white dots to mimic stars and constellations:
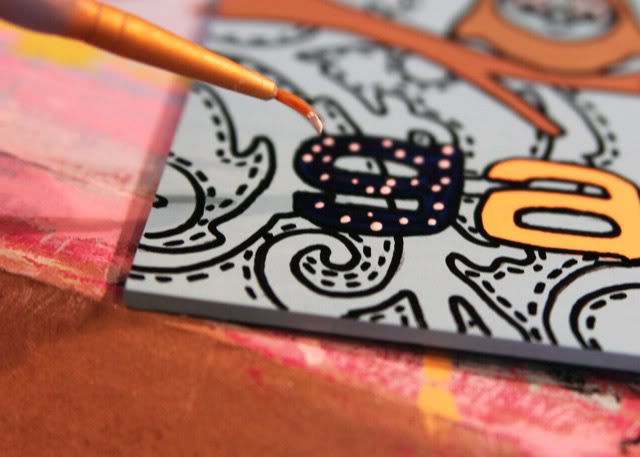
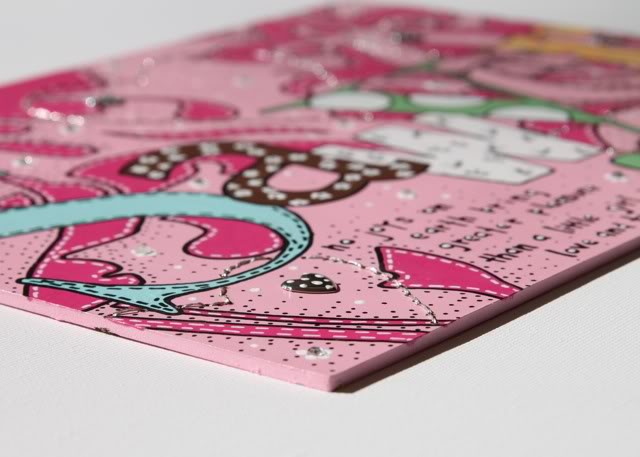
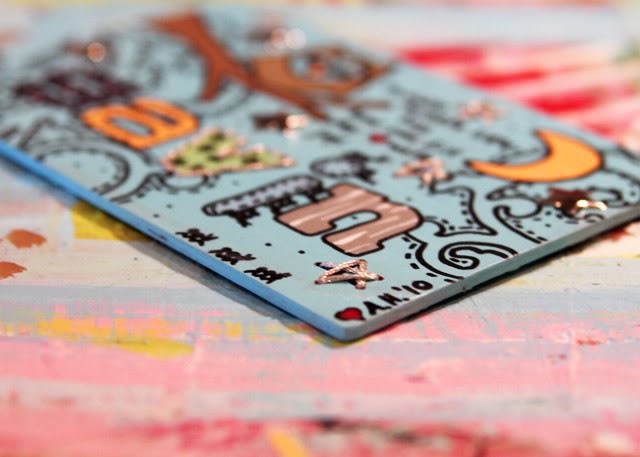
I love adding sparkle paint to some of the letters and images:
Here is what the painting looks like at this stage:
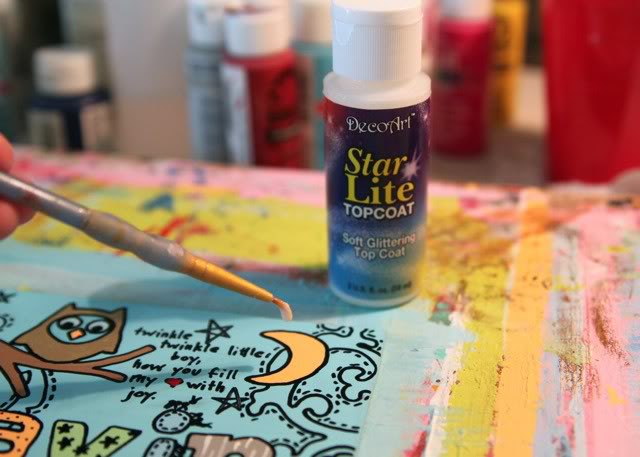
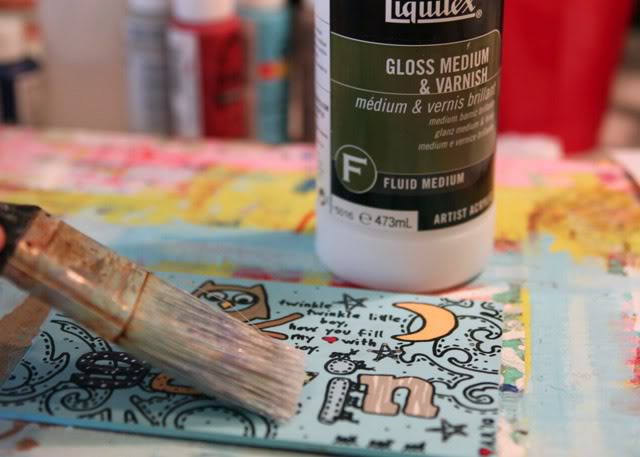
Before adding my three dimensional details, I apply a glossy acrylic varnish coat to the painting:
Adding three dimensional details:
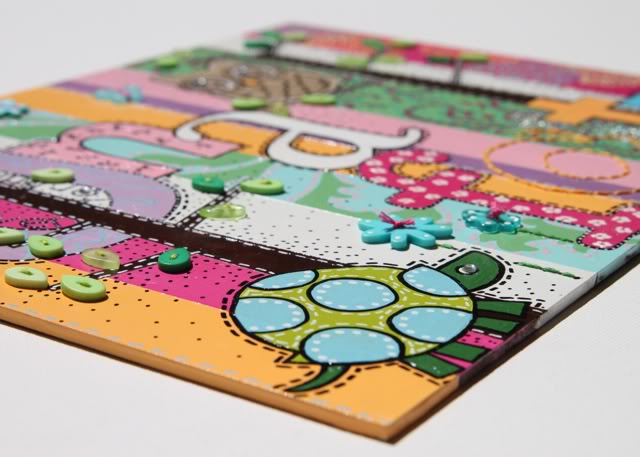
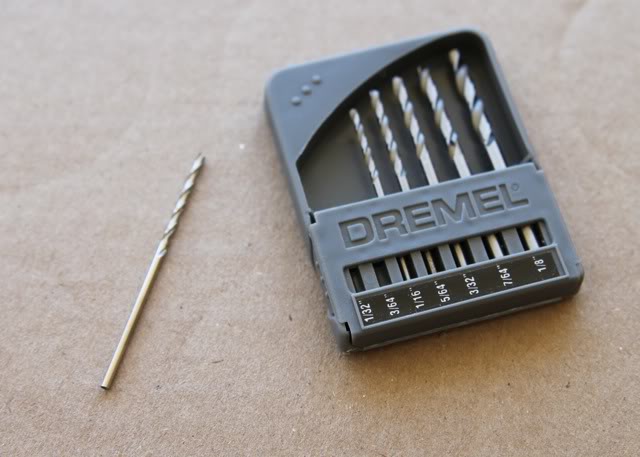
To add buttons, stitching and brads I use a tiny drill bit with a regular household drill. (I use either a 3/64″ or a 1/16″…..just make sure your needle will fit through the hole.) You might want to take your drill to the hardware store with you when buying the bits….some cheaper household drills can’t grip the small bit tightly.
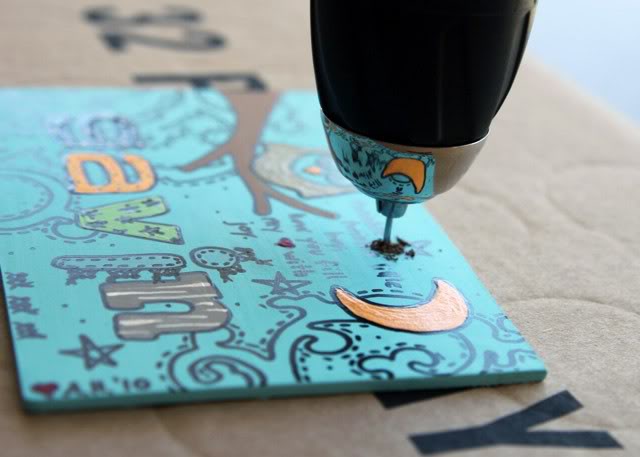
I set the painting on top of a box top (from a pack of sodas or a file box) so that I don’t drill into my table…..and drill each tiny hole that I need:
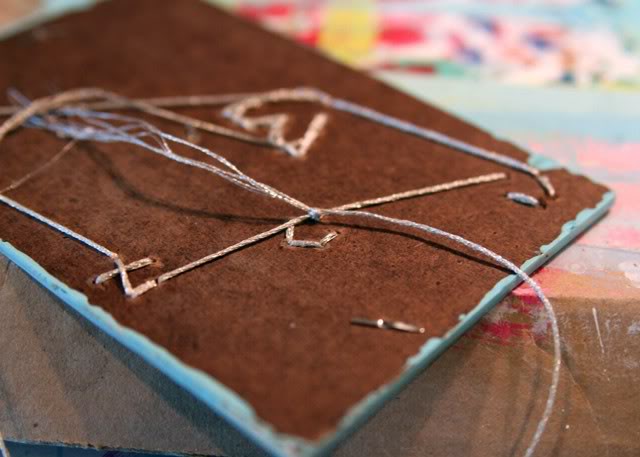
I use metallic or regular DMC thread to sew around letters or to attach buttons…..
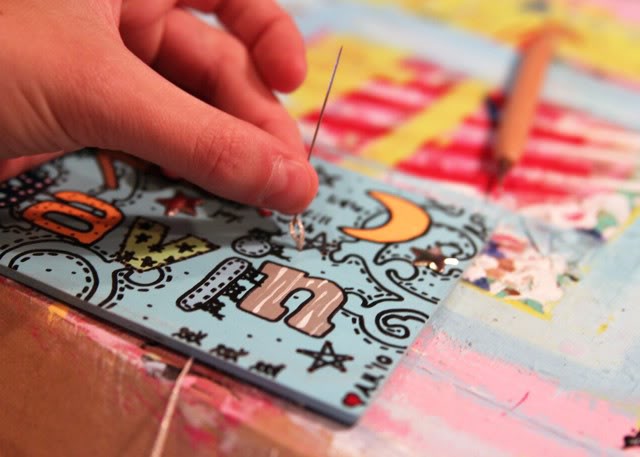
….and tie them off tightly in the back.
Adding these tiny details completes the painting!
Float framing your final piece:
I take apart my frame and add a decorative piece of paper to the cardboard backing using double sided tape:
I add adhesive spacers to the back of the mat so that it will be raised slightly from the backing (you can find these in your scrapbooking section of your craft store):
I use a heavy duty double stick tape on the back of the hard board…..
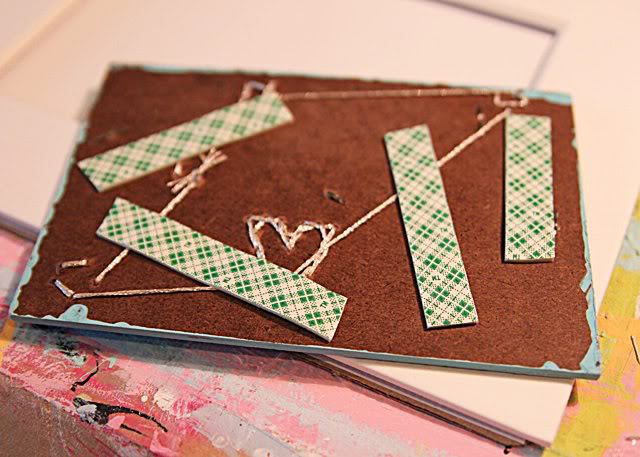
…..and place it directly in the center of the mat.
The reassembled frame and finished piece!
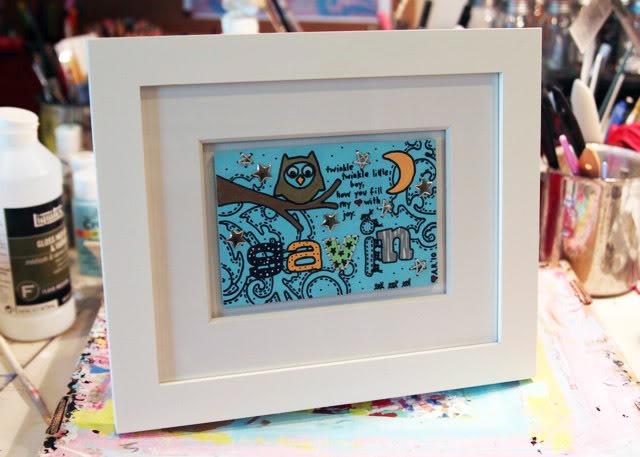
Perfect for a nursery wall or a shelf!
Variations:
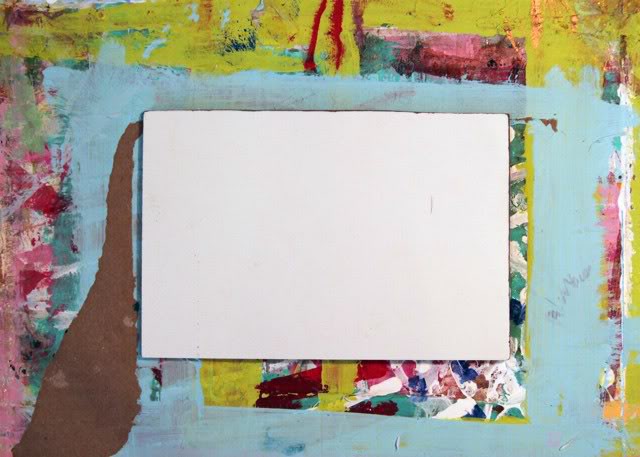
You can decorate a plain white backing behind the painting with stripes:

….or checks:
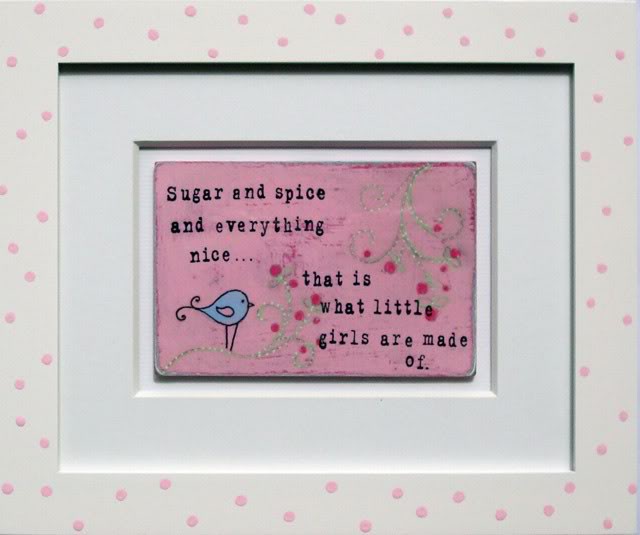
Decorate a plain outer frame with hand painted polka dots……
…..or use tiny cork stamps to stamp a design….
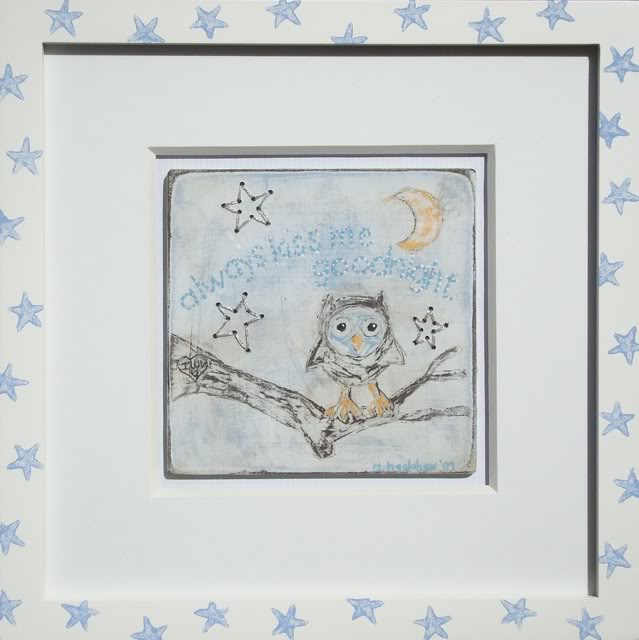
…..or a stencil to paint flourishes:
A gift they’ll treasure forever!
Visit this tutorial for more layering techniques:
OMGosh this is just amazing! Wow, are you talented. This is so unique and not one detail missed! I love how you showed all the steps to this masterpiece. I'm sure the families you have given these to were just so touched and amazed by your creativity!
thanks for this tutorial! I have loved your layered nursery paintings forever n ever. I'll have to refer to this for inspiration when I do the room signs for my kids' rooms… I have some board already, once I find out the gender of the wee one on the way I'll know whether I want to use colors that coordinate a bit (if I'm having anothe girl) or no. The signs will hang on thier bedroom doors.
You are an angel! Thank you so much for sharing, i will really enjoy trying this one out! Thank you, thank you, thank youuuuuu.
Great tutorial!
I loved those pieces you have done! I'll put this tutorial in my ToDo list so someday… when I have the time I can make it, hope it is soon!
Thanks for sharing, you are really very talented!
Que lindos!!!! Adorei e me inspirei!!!
Bom dia!!!
beautiful! You are so talented & Creative. Thanks for sharing your secrets with us : )
Very beautiful and creative!
LOVE this idea! I have so many friends having babies this year that I could start working on some of these now to give as gifts! (the ones who know the name already… or generic boy/girl sayings)!
These are great! Thanks for sharing. With all the instruction, it makes it seem possible that I could do this too! (I'm not a very good painter!)
Thanks again for being part of the bonanza Ashley 🙂
I am beyond thrilled you shared how to do this! It finally clicked what hardboard was and how you do your stitching! Your pieces are so gorgeous – each and every one! I can't wait to try this! Thank you, thank you, thank you!
Ashley this tutorial is incredible!!
Thank you for sharing this tutorial Ashley! I know it must have taken some time to do and photograph. I LOVE these collages and think that any mother would simply adore a handmade gift like this! You are wonderful to share your talents and techniques with everyone!
It's like you created a personalize tute just for me! I've been wanting to do something for my son Gavin! This is a perfect. Thanks so much.
These are so beautiful… I absolutely LOVE them. I think I might actually try to make one… thanks for the WONDERFUL tutorial!
Just a quick note to let you know that a link to this post will be placed on CraftCrave today [21 Jun 02:00pm GMT]. Thanks, Maria
Beautiful. Perhaps an artistically-imparied mom like me can pull this one off!
Those are amazing. Of course.
Andrea @ TheTrainToCrazy.com
Gorgeous!! Thanks for the tutorial!
OMG! These are really great baby gifts for a friend's upcoming baby shower. Love what you have made. I would probably try to make one. Thanks for sharing this wonderful thing! =)
Hi Ashley, Another great tutorial! 🙂 Thanks for sharing. You are truly inspirational!!!
Tracey
so much luv in those pieces. u r one crafty soul.
This is absolutley amazing! I can't wait to try and make one. I'm not super crafty so we'll see how it turns out. where did you get all the cute sayings? I just love it!
I'm so happy you posted such an incredible step-by-step tutorial on this!! Looking at your art & imagining trying to do it was really overwhelming…but by breaking it down into steps, I think I could try one of these for one of my nephews! You are so talented!
WOW! I can't believ you gave away your secrets!!! 😉 THANKS!
Brillance…..I LOVE IT!!!
These are beautifully whimsical! Love your style.
Sorry that I didn't say sooner how much we love "POW" Love it! I posted about it…
Love it! 🙂
Inspiring!
WOW. These are insanely wonderful!
What talent you have! I am jealous! lol!
What lucky babies, I wish my boys had these. Homemade gifts are truly my favorite gifts to receive your friends are so lucky!
Fantastic!!
Oh no! Yet another project to add to my ever-growing list of want-to-dos. I love this. Maybe one day…. 🙂
Thank you for posting this and with such great photos, it is a wonderful project.
I am AMAZED at how gorgeous your work is!! very creative, very inspirational… I have a 1year old baby girl, Salma, and can't wait to give this a try – will surely share with you the results… Please do check my blog & let me know your thoughts xx
Thank you for posting this. I love the ideas you come up with. I was asked to make painting for a friend and you have inspired me with some new techniques. I just love your blog. Please keep creating!
Awesome! Where did you find the scrolling plastic background template?
Ashley, THANK YOU SO MUCH!
I made one!
http://forwhatitsworth-ornot.blogspot.com/2010/07/birth-record-for-samantha-brynnfinally.html
Thank you so much. I am really excited to try to make one of these for each of my kids. It's so generous of you to share your time and talent.
Shared your links on my latest post. I made a sign for my girlfriends baby with your tutorial. Thanks for sharing. Loved it! Now I am going to make some for my kiddos!
Tara from Trendy Treehouse
OMG! Love this!! Definitely bookmarking it!
Those are such amazing pieces of art! Just amazing!!
I absolutely love these. Such a brilliant idea! I can’t wait to make them for upcoming baby showers 🙂
Oh my!! These are JUST BEAUTIFUL!! DO you sell? I would buy them from you if you do…;)
Hi Ashley!! This is the cutest stinkin’ project EVER!!! ♥ it!!! 🙂 I can’t seem to find a Zig Painty TWIN Marker… all I can find are the Zig Painty Markers… Do they work just as well or is there a different brand you would recommend purchasing?? Also, do you use fine or medium point? You can email me at happyisyellow (at) gmail (dot) com. Thanks so much!! 🙂
-Jess
P.S. I absolutely LOVE your blog!!!!! And congrats on the little one! 🙂 How far along are you??
Ooh!!!
This is a wonderful tutorial.
So very inspiring.
I will totally try thar.
Thank you!
🙂
Okay, I have loved this tutorial ever since you first posted it, and I’m finally ready to try it!! I’ve been a reader since you had about 20 followers, but I’m not a frequent commenter. 😉 I have loved reading your attitude through your journey with cancer – what an encouragement and a blessing. Prayers to you, I’ll have to come back and leave a link if I *ever* get my projects completed, lol.
Did this for xmas gifts for my nieces here’s a link to my blog if you wanted to see and I linked back to you for the tutorial!!
Hello Ashley!!
J’ai découvert votre blog via pinterest et
je le trouve formidable!!!
Une naissance est prévue dans ma famille,
j’aime beaucoup votre idée de tableau et je vais essayer.
Un grand merci pour le tuto qui va être fort utile!
Bisous de France!
Nanou