I was so excited when Kirstin and Jordan of Kojo Designs asked me to be a part of their “the sincerest form of flattery” series! I love a good challenge so I’ve been keeping my eye out for something on my “wish list” that would be fun to do!
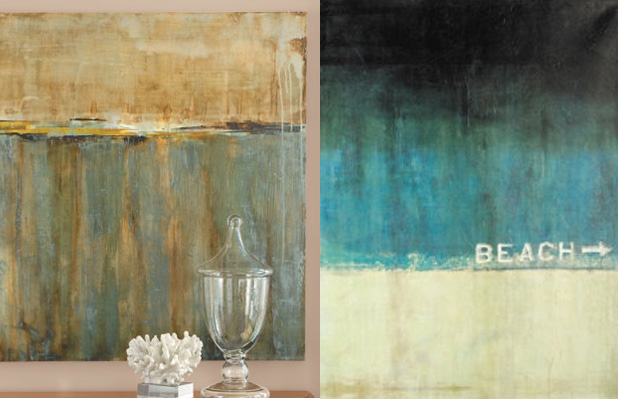
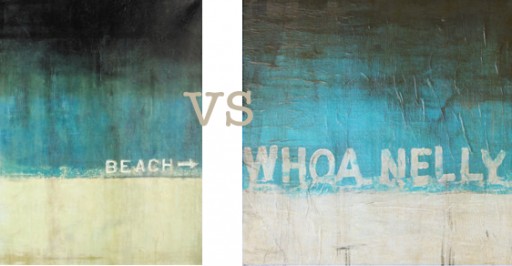
I love these prints of glazed paintings from Ballard Designs and decided to make a miniature version of the beach themed one:
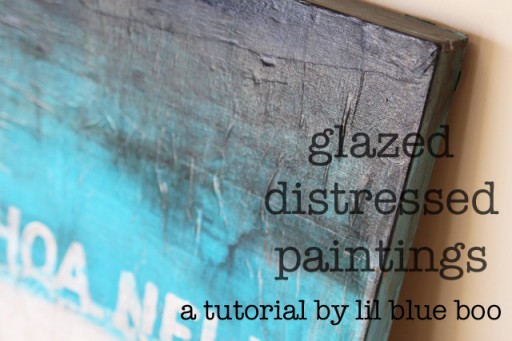
With a few simple steps (and an eager toddler), I was able to mimic a similar glazed effect to create my own beach painting! I use a paper mache layer underneath the paint so that I can get a peeling-paint-aged-look.
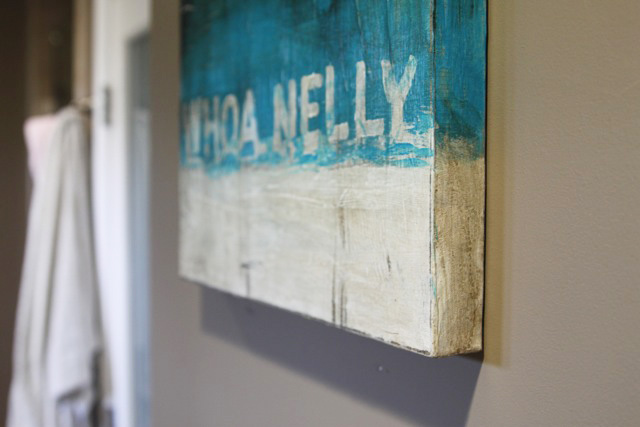
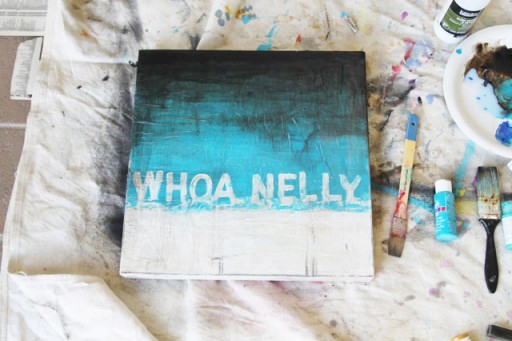
My family spent most of the summer at Debordieu beach (near Georgetown, S.C.) when I was growing up. It was so secluded and natural and peaceful…..just like the painting. Once distinct memory is my mother always warning us of large waves by yelling “WHOA NELLY!!!” I decided to add those words as my own personal touch to the painting instead of the “Beach” text:
Here’s how to make your own!
You’ll need:
Acrylic craft paints (I use the 99 cent bottle ones)
Art canvas
Newspaper or phone book pages
Matte Medium
Gloss Varnish
Step 1: I started with a plain gallery wrapped canvas….
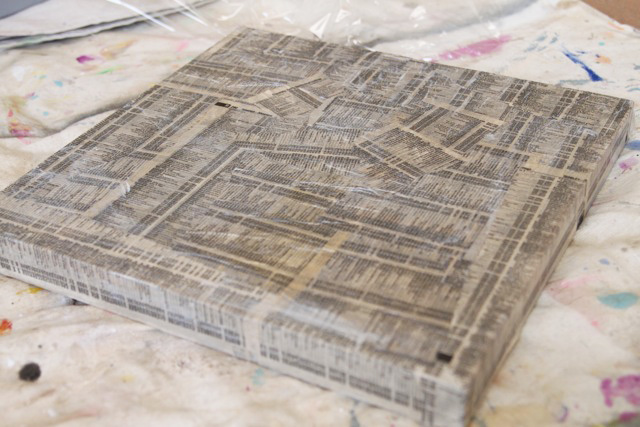
….and covered sections with a generous amount of matte medium using small sections of old phone book pages and adhered them using the excess medium. You may have to add more medium as you go. It is similar to making a paper-mache layer (you can use newsprint as well, I just prefer the way the small font looks from the phone book pages).
I use my fingers to smooth air bubbles and wrinkles….Boo loves to help with this part:
The prepared canvas looks like this:
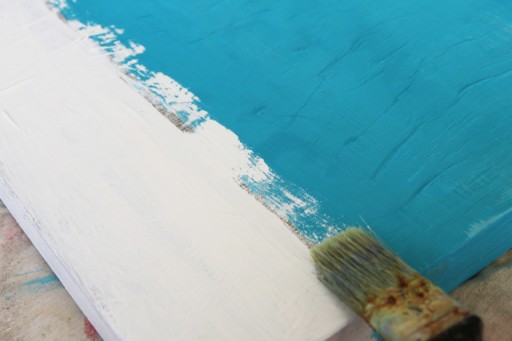
Step 2: I painted the first paint layer using basic acrylic craft paints:
I painted the small white strip for the sandy beach:
And I painted the blue for the sea/sky:
I dragged a dry brush loaded with white paint along the line where the two colors met to blend them:
Step 3: Using a simple stencil and some willow charcoal (it is easily painted over), I sketched out the letters:
Step 4: I painted the letters with white paint:
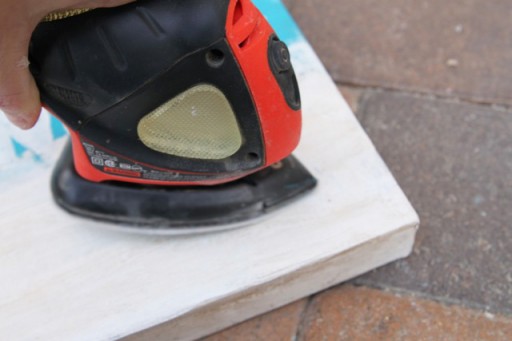
Step 5: Using an electric sander (you can also use a sanding block), I distressed areas of the canvas:
Step 6: I mixed up a glaze using darker acrylic colors (I prefer the liquid acrylics by golden for glazes)

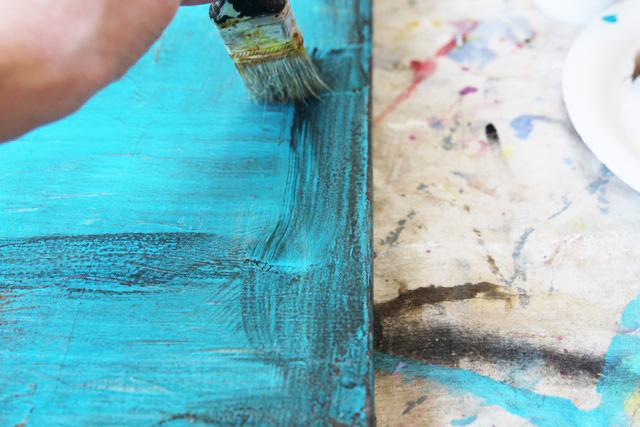
Starting at one end of the canvas I began layering perpendicular lines of glaze…letting layers dry in between.
Building and building…
…..so that the top end turned darker and darker.
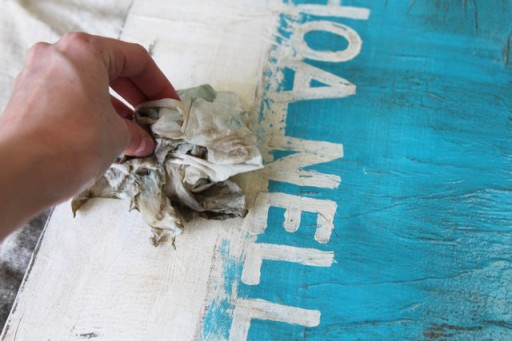
I used a damp paper towel to dab areas that got too dark and to blot color into the bottom white portion of the canvas to age it:
After several layers of painting, dabbing and removing I ended up with this:
I’m really happy with how it turned out! Rich layers of glaze and texture:
Now you can make your own original instead of buying a print! Here’s a comparison of the original and the inspired version:
Thank you Kristin and Jordan for letting me play along! This was so much fun!











Wonderful tutorial! I love the rich colors and texture…and the fact that it will remind you of your childhood is lovely.
This is so awesome! Whoa Nelly is something my sister and I say all the time (likely too much) so I like it so much more than the original and I think I will have to make one now! Thanks for the amazing tutorial as always.
You always make painting look so easy, Ashley! Such a talent (one of many!) you have 🙂
This is amazing! I want one! Thanks for giving step by step!
Megan
love this! the “whoa nelly” is great! I love those SC beaches (orig. from NC so frequented the SC beaches a ton during my childhood!) … what an awesome memory piece! 😉 -Sara
ps- the new blog layout looks great!
I loved this tutorial. I did my very own paint over the weekend and made me realize how much I truly loved painting when I was really young. I’m already planning on doing a few more projects like this around the house. Thanks Ashley!
What a great tutorial! I used your technique for my own project – which turned out pretty dang well – thanks to you.
Whoa Nelly! this is AWESOME!!! Thank you!!!!!!!!!!!!!!!!!!!!!!
That came out awesome! Love it!
Awesome tutorial- thanks for sharing!
Really good instructions. Nice result! Simple to follow and I’m gonna try it myself.
perfect and I just love it.
Many men chose to have urine infection 24 weeks pregnant surgery to remove the
prostate gland is recommended for good results.
Can you be more specific w #6? Do you use gloss glaze mediums (by Liquitex) w acrylic paint colors that are darker than the ones used in the painting already? What does “liquid acrylics by golden for glazes” mean? What is golden?
Thank you.