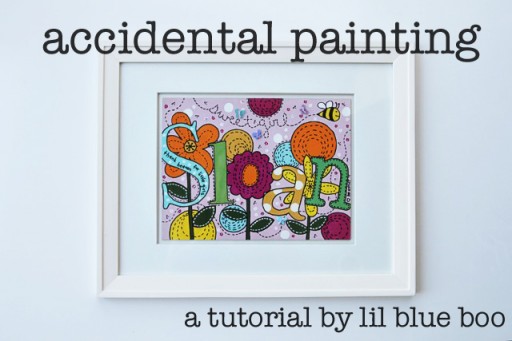
Each and every time I finish one of these little hardboard nursery paintings I laugh a little at how “accidental” they are. I don’t plan them ahead of time…..and I never quite know how they will turn out until I’m about 80% done with them.
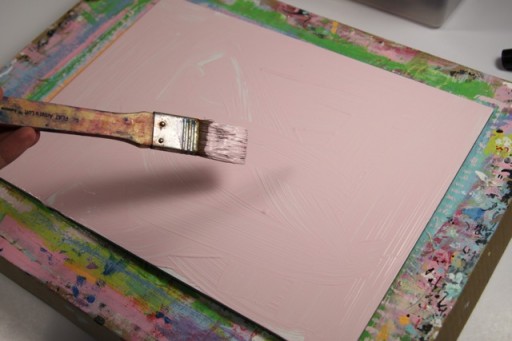
I took photos as I painted this recent painting to show my design process. I always start with just a basic light color. It’s easy to paint over and allows me to use the broadest range of colors.
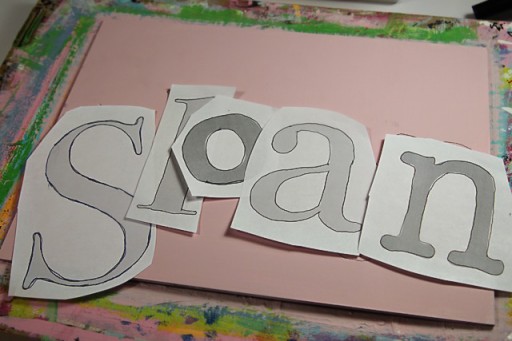
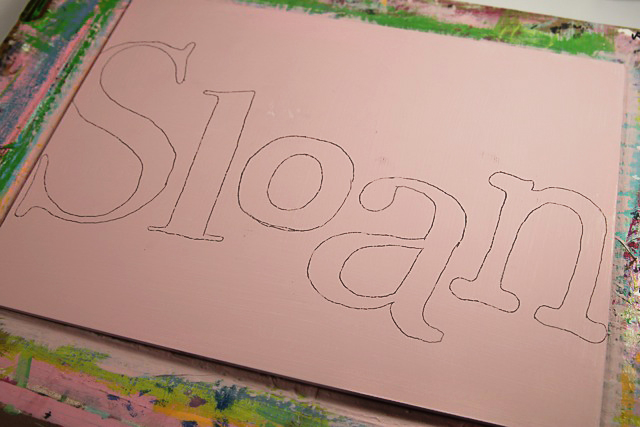
I usually print out a few different mixed fonts and sizes of each name letter and cut them out so I can visualize the layout.
I start with the first and last letter and then fill the center letters in.
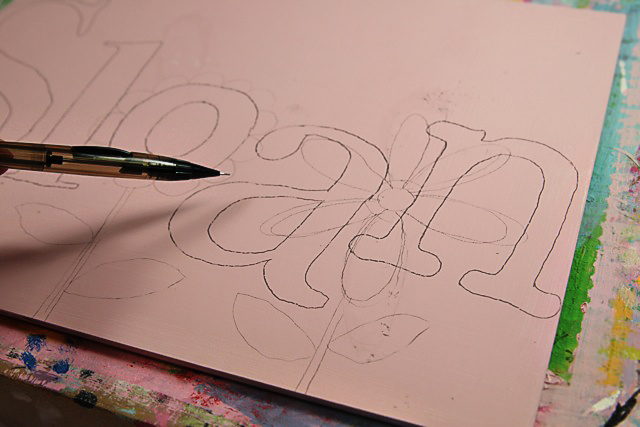
I kind of have a theme in my head….like flowers, or animals, or geometric shapes. For this particular painting I was trying to match some floral bedding so I started by sketching what I thought would be the largest objects in the painting: flowers.
Before I even have the rest of the painting planned I’ll start blocking in large areas of color:
I even start outlining letters and detail:
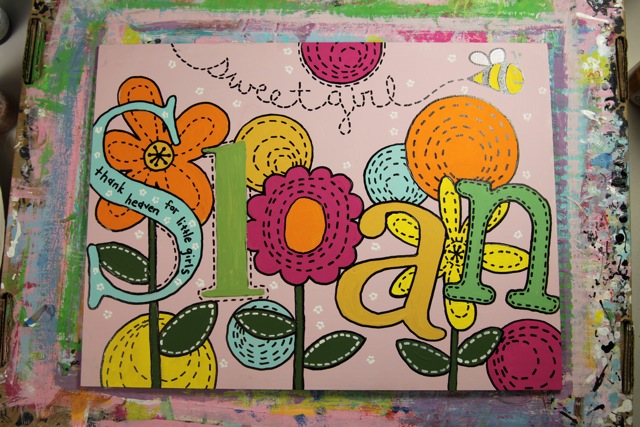
The first thing I noticed about this painting was the large empty space at the top. It needed something large and sweeping…..so I added a bee spelling out “sweet girl.”
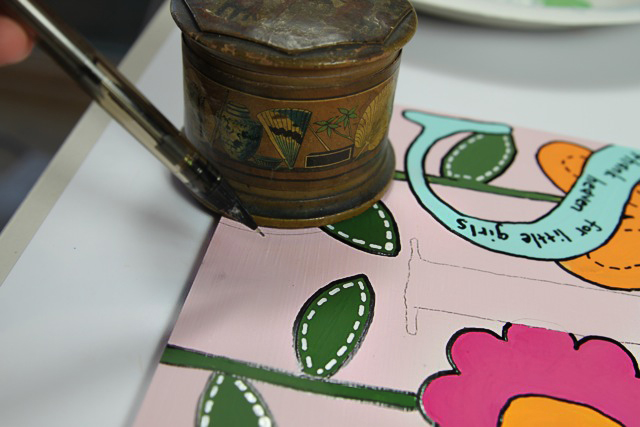
To unify the painting, and add some cohesion between the flowers and letters, I added some large circles. I grabbed a few random objects in different sizes to trace:
I then blocked in the circles with colors that would balance the painting. If an orange flower is on one side of the painting, I try to pull some orange to the other side of the painting by painting one of the circles. Light blue circles balance the blue “S” and pink and yellow pull the other colors around the painting:
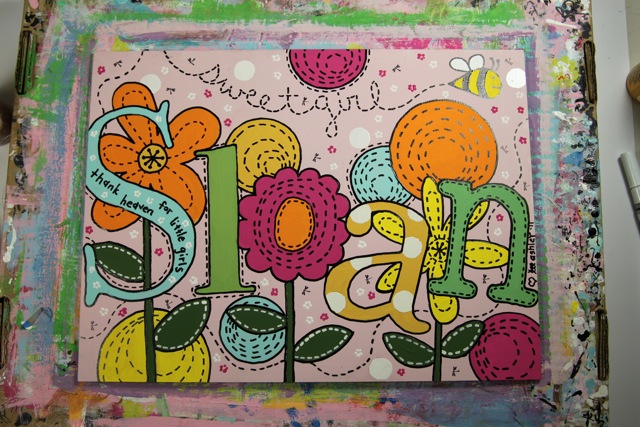
I then started to add some more detail in the painting using my black paint pen….like the dotted line pattern in the large circles:
Tiny white dot flowers were a good way to subtly fill in some of the background area:
More detail:
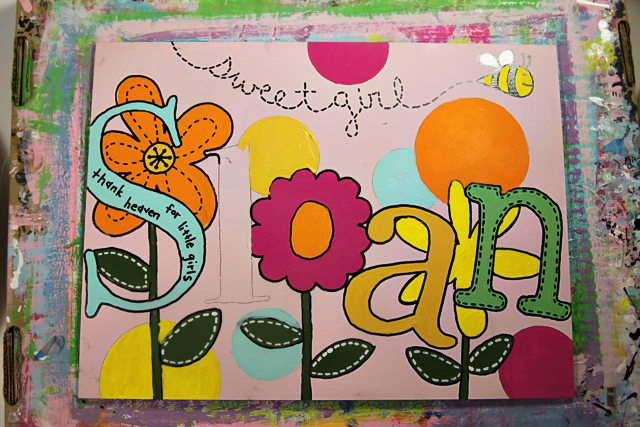
The letter “a” looked bare and a little too mustardy so I added some white polka dots. I added a few white polka dots throughout the background as well as some dark pink dot flowers. The last thing I added was a dotted line throughout the painting as if the bee had flown through almost every letter….an easy way to help unify the painting:
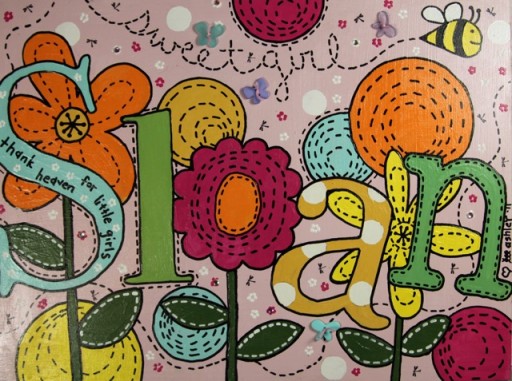
Once the painting portion is finished, I placed little butterfly buttons throughout and marked them once I was happy with their location:
The last thing I do is drill and sew the buttons and embellishments on:
This “accidental” painting is for my new niece Sloan!
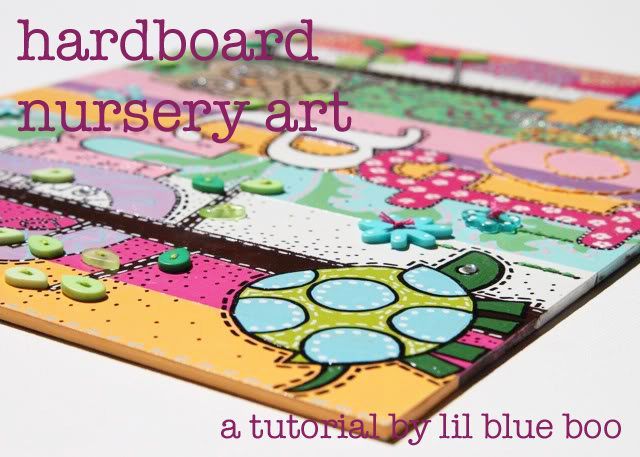
I float frame every painting myself…..see my other tutorials to see how to easily frame your own with a professional look!
Don’t even know where to start? Take a look at these:

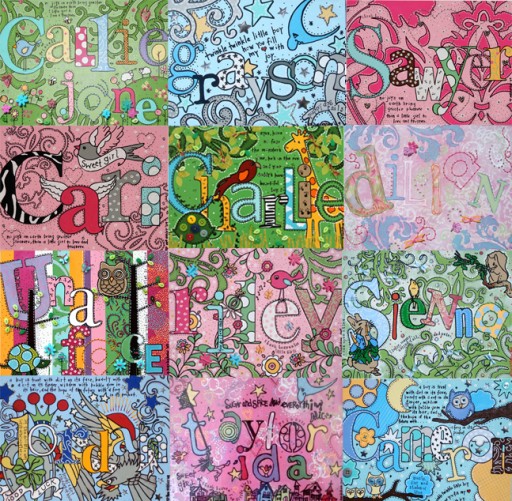







These are my absolute favorite tutorials that you do! I started doing these several months ago for some baby showers at our church and the mothers absolutely love them. Thank you for sharing your creativity and keep sharing your paintings with us!
Awesome! I have to give that a try, looks fabulous!
I absolutely love these! I think I might try making some for my girls, hopefully they are not too old to appreciate “name” art 🙂
you’re so creative. Thanks for sharing your process, love your tutorials! I’m putting a link to this in a post on my blog. Cheers!
I love these!!!
Accidental? Wow! I love all of them so much! I’m still of the thought that you should host a workshop – preferably in the south!
I am so in love with these. I think I am going to make both my kids one and TRY and make one with my last name on it lol. I have a long one And of course one for my god daughter!
These are darling! Thank you for all of your wonderful tutorials and for sharing your talent with us!
Oh my! I must try this out!!!!! Beautiful! What is the material you use as the base? You say hardbaord……is that the name of it at art store? It can’t be too hard, right. I mean you do sew through it……
I am so not talented enough to pull off this project. 😉 I love it though!
Love it. And I LOVE the name “Sloan”. Reminds me of Ferris Bueller, only the best movie of all time for oldies like me.
These are so adorable! I’m so going to make one for my babyniece/nephew (due in about three weeks).
I love these…everytime I visit your blog I look at them. I will be doing one soon…just need to find someone having a baby, because my baby having days are over! Once again…great job and I love all your creations!
Have a wonderful day!
i would LOVE to make one of these for my sweet little girl – but i think her name is too long?! what would you suggest?
Thanks so much for posting this tutorial! It makes someone who can’t paint, like myself, believe I can do this! I featured you as one of my five favorite finds for the week on my blog. Check it out and pick up a button if you’d like! Thanks for sharing this awesome project!
http://copy-cat-crafter.blogspot.com/2011/05/five-favorite-finds_14.html
I can’t wait to try this! Thanks so much for sharing your awesome tutorial! I featured this on my Inspiration Friday post…
Ashley, You are so inspirational. I have loved these little name signs since I first found your blog (along with just about everything else you do). Thanks for the beautiful things to look at!
Please tell me you have an etsy shop or somewhere I can order one of these for my little guy! PLEASE!
Jessica
This is so flippin’ cool!!!!
I stopped by as a friend of mine linked to your tutorial after making her own.
OK, so I’m thinking I may be doing something wrong. I love, love, love these painting. My daughter and I are giving it a go and running into a problem. When painting the colors you can see all of the brush strokes and it looks aweful. Using all of the same stuff you showed in the tute. We’ve done a couple of coats and it looks a little better, but still very “strokey”. Do you have any tips? Maybe it just needs more coats? Or is this just how it’s supposed to look?
These are adorable!
These are just adorable.
I have included them in a list of great tutorials to make for little boys and girls for Christmas.
If you would like to have a look you can see it here…
http://allysonadeney.wordpress.com/2011/11/28/handmade-gift-ideas-with-tutorials-kids-little-boys-little-girls/
Thanks for taking the time to put this together for us.
Ally on harrysdesk
This is AMAZING. I used to paint all of the time (pre-kids) and now when I try to get back into it, I never know where to start and end up flaking out! My husband is over all of the wood pieces and random canvases I have laying around with no purpose. I think you just reminded me how to get inspired and just break it down step by step to see where it leads. Loved this. thank you!!!
You are so awesome! LOVE your designs! 😀
I love this project Ashley! I was wondering what brand of paint marker you use? I have tried a couple different kinds and they aren’t that smooth and fluid.
Thanks!
I am so glad I stumbled upon your website! You’re amazing! Love the tutorials!
I love these as well. I just finished my first one today! Instead of floating it in a frame though, I made it a 16*20 canvas because I needed something larger for the nursery wall. Great ideas and wonderfully creative! Thanks for sharing!
Do you use acrylic paint? I love these and would like to try one for my twins’ room
Yep just regular acrylic craft paint!
Gorgeous! When you are making the words and dashes are you using a brush? I noticed you were using a marker…what type of marker was that?
Keep up the great work!