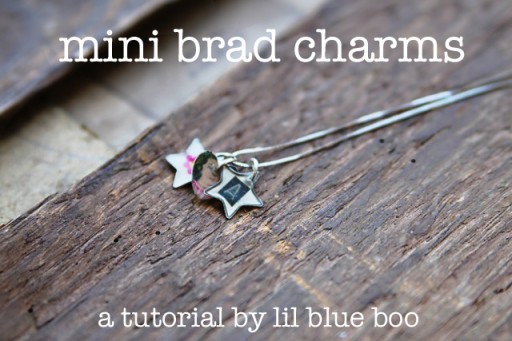
Mother’s Day is coming up and here’s an easy, inexpensive gift idea that can be personalized and special! To make these little charms, I took ordinary metal brads in different shapes…..
…..added different embellishment and then sealed them using embossing powder. All of the items I used can be found at your local craft or scrapbooking store.
Basic materials needed:
Embossing powder
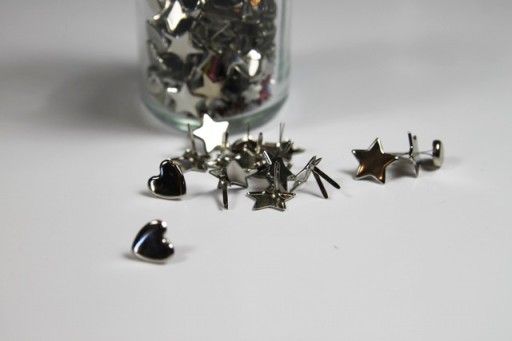
Metal brads
Metal jump ring
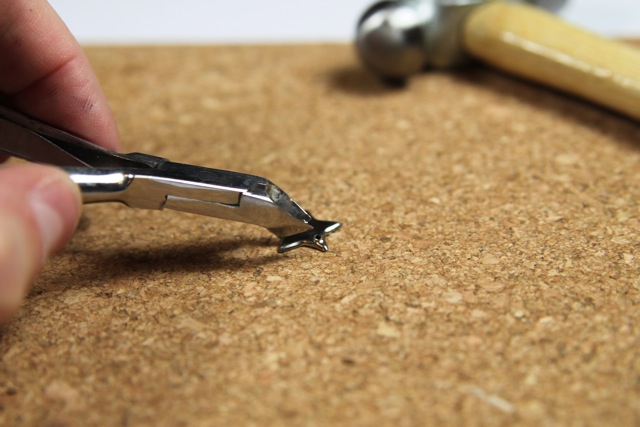
Step 1: Carefully break off the brad’s prongs by moving them back and forth until they fall off. You can use a nail file to smooth any sharp edges.
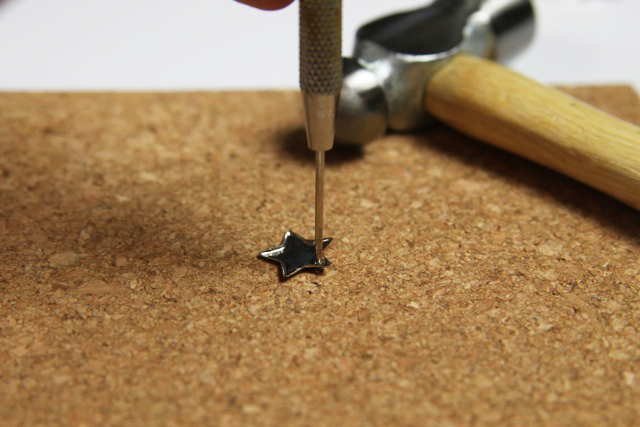
Step 2: Using a small nail or awl, punch a hole in the top where you will insert a jump ring.
Use nail clippers to cut off any sharp edges from where the hole was created.
Step 4: Decorate the inside of the brad. There are a gazillion possibilities here….
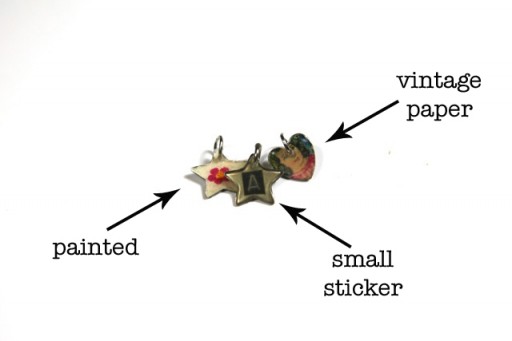
Paint a tiny design:
Apply a small sticker, rhinestone or other embellishment:
Or….paste an extra small photo or picture to the back (I used nail nippers to trim the edges):
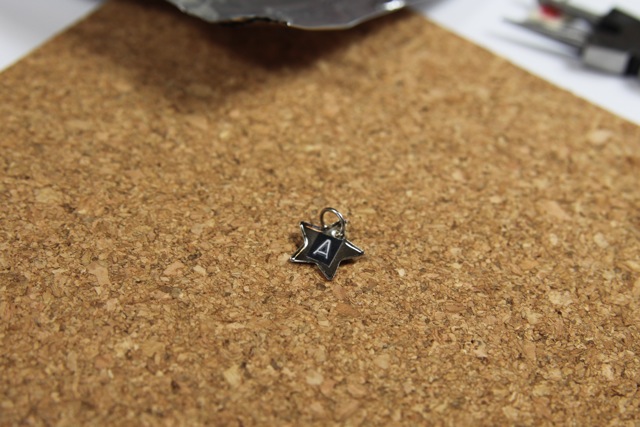
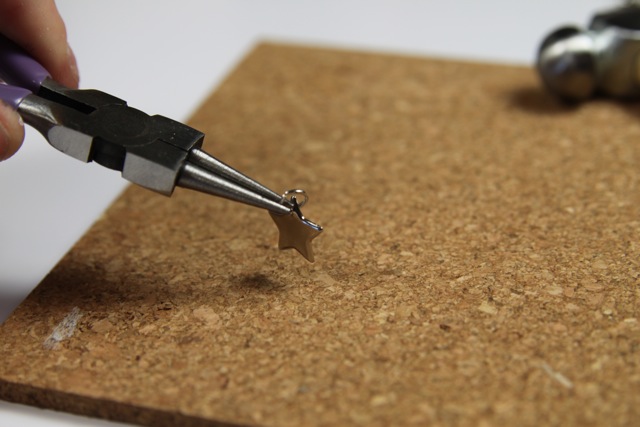
Step 5: Add a jump ring to the charm.
Step 6: Flatten out a piece of tin foil to use as a tray that can be placed in the oven. You’ll need embossing powder for this step.
Cut a small strip of paper to use as a little “spoon” and fill the brad with powder:
Carefully place the tinfoil tray into a toaster oven or oven (350 degrees). Watch as the embossing powder slowly melts into a smooth clear covering. Take out of the oven to cool.
If the clear melted covering is a little uneven you can hold the charm carefully and reheat it with a heat gun or blowdryer until it levels out. Use a nail file to carefully smooth the edges if needed.
Finished charms!
I love how they look when they are all bunched together as eclectic charms! What will you decorate yours with?






Super cute idea! great idea for lil girls friend necklaces or birthday presents
What a great idea! This is so cute. I am highlighting this today at somedaycrafts.blogspot.com
thank you so much for this tutorial! i will have to try this! i want one for myself!
this is amazingly creative.. i wish i could think up stuff like this.. i’m totally going to try it now, my daughter’s name is una and i’ve had a time trying to find cute monogram necklaces with the initial U.. this makes the search much easier, now all i have to find is a nice chain.. thank you!
Wow, I never would have thought to make these into charms and I have a lot of heart and star brads.
These are so cute & tiny, I love them! I’ve used embossing powder for years (w/ stamps) and never knew you could use it like a filler or covering as shown. Thanks!
I’m completely in love with this idea! I’ll be giving this a shot this weekend. Thanks for posting it.
Hi Ashley! the day I saw these I made them that same night–they’re posted on my blog 🙂 http://anngelasprettylittlethings.blogspot.com/2011/05/brad-charm-necklace-tutorial.html
Thanks for the great idea, I LOVE them!!!
<3 Anngela
This is completely brilliant! I love this, I am going to highlight this in a Mother’s Day gift idea round up on my blog tomorrow!
What an adorable idea! A great project to make personalized gifts for your little girl!
Great tutorial! Love it, thanks for sharing