(more after the jump)
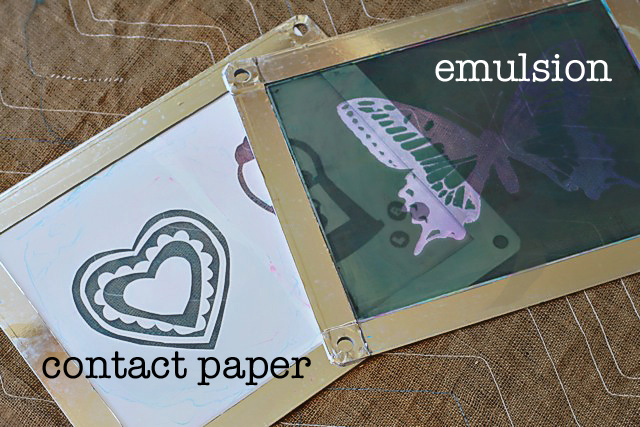
I get so many questions on how to clean a silk screen I thought I’d do a tutorial on it! There are two types of screens that I use over and over again: the contact paper stencil screen and the photo emulsion screen. Here’s the difference:
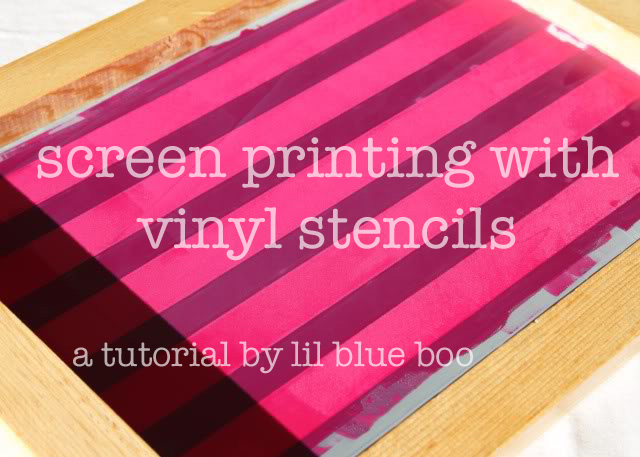
Contact paper: I hand cut a design into adhesive paper and apply it to the screen. After screen printing the ink can be washed out of the screen and the contact paper still stays in place and can be reused for multiple prints.
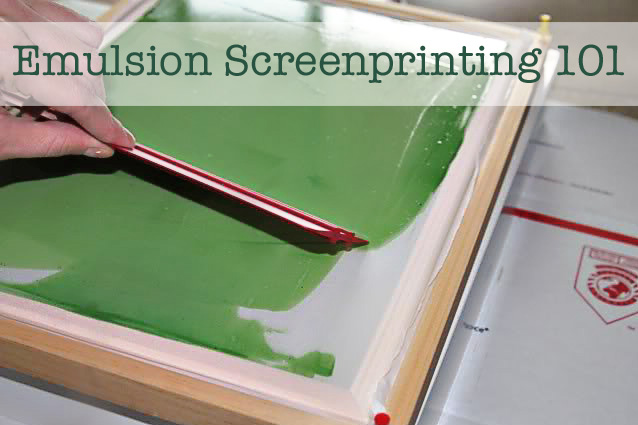
Emulsion: Photo emulsion is a substance that you apply to a screen and let dry in the dark. If you print out a design on transparency paper, place it on top of the screen and expose it to light…..the photo emulsion will expose and become permanent on the screen except for where the design blocked out the light. Photo emulsion allows you to screen print very detailed designs over and over again. The ink can be washed away after use and the design will not wash away. Only emulsion remover can remove the design so that the screen can be reused with a different design.
Note: I tend to use Yudo screens to screen print because they are flat and don’t take up any storage space….however the there is no protection on the sides against flinging your ink out across the table like a larger frame would have so I have to be super careful.
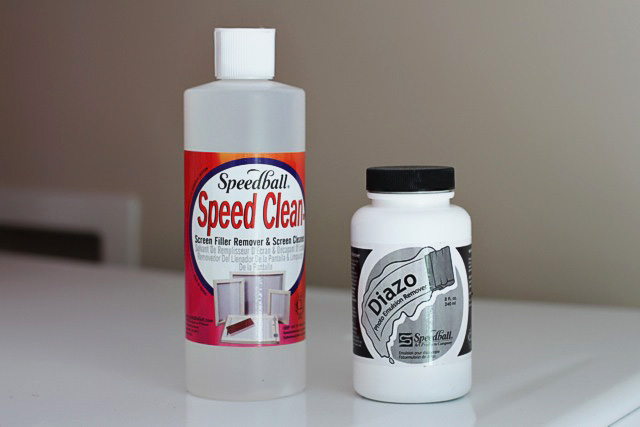
I keep the following on hand to clean my screens:
Speedball Screen Cleaner
Diazo Photo Emulsion Remover
Distilled white vinegar
Scrubbing Sponge or nylon scrub brush
Magic Eraser
So, if you are finished with an emulsion design and want to reuse a screen here is how you remove the emulsion:
Before I remove any emulsion I remove any excess ink or screen filler that was used to patch up the screen. The Speed Cleaner removes ink and . I also use distilled vinegar and a Magic Eraser for stubborn stains. Any ink or screen filler will keep the emulsion remover from working.
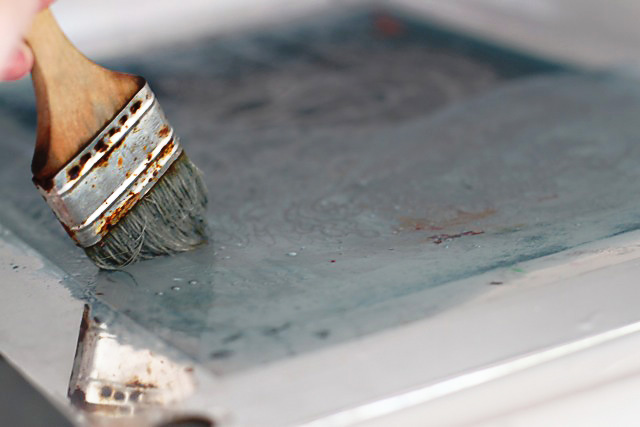
I use Diazo Emulsion Remover to dissolve the photo emulsion from the screen.
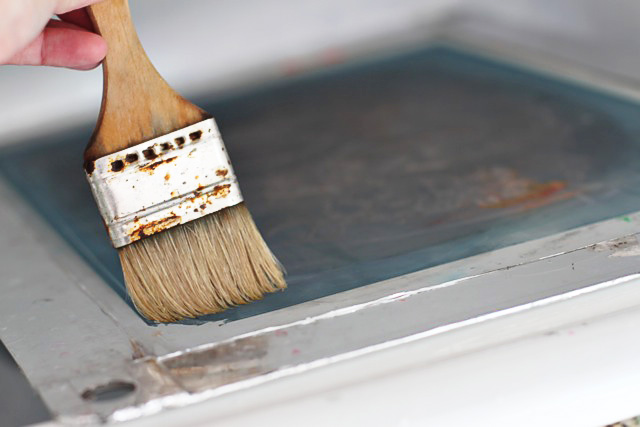
I take a paint brush and coat one side with the remover and then flip the screen over and coat the other side as well.
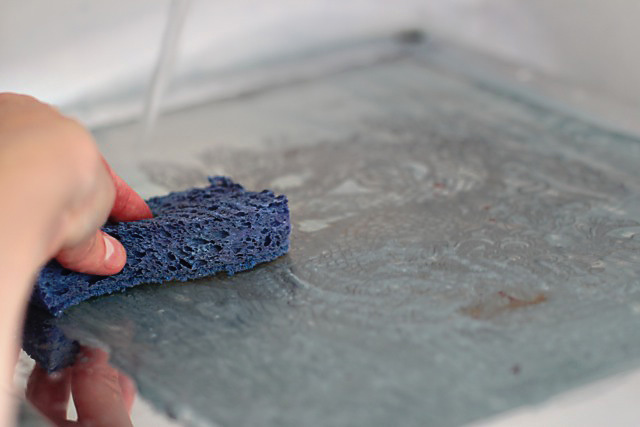
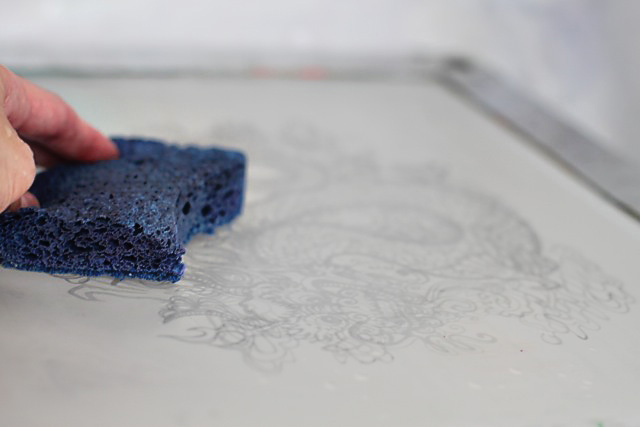
Allow the emulsion remover to soak in exactly 1.5 minutes and then scrub with a nylon brush or scrubber. Once you see the emulsion start to dissolve away you can spray with water and continue scrubbing until the emulsion is completely gone:
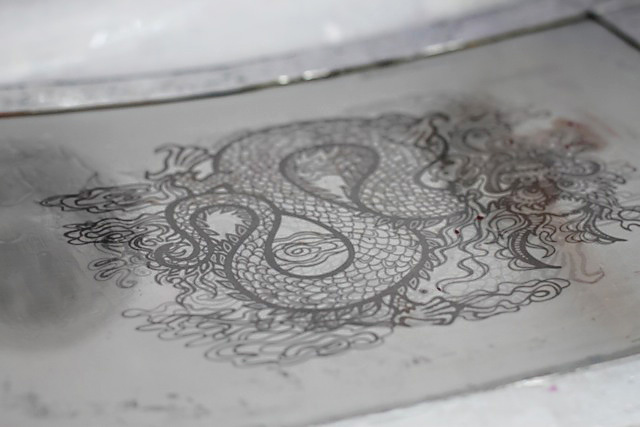
Once the emulsion is gone sometimes I still have stubborn ink left behind:
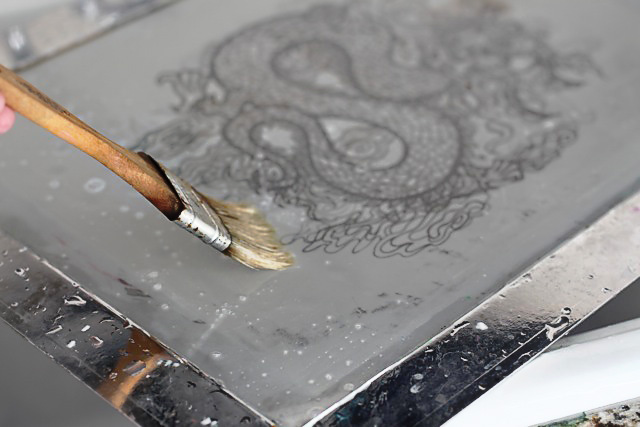
I use Speed Cleaner first and try to remove it:
A good scrubbing usually does the trip but sometimes I use distilled white vinegar and the Magic Eraser to help. Once the screen is completely clean it’s ready to use again for a new design!
Here are some other screen printing tutorials to check out!

Do you make your own screens? The ones shown do not seem to have the wood frame on them. I would like a more economical way to make screens without having to buy the premade ones. Where did the screens with the metallic edges come from?
Thank you, Ashley, for teaching us all your tips! You’re like an expensive art class for free! You’re wonderful!
Hi! I just LOVE your blog and all your tutorials! You are a rel inspiration. This may be a dense question but, if you just use your contact paper screen printing technique, can you simply wash the screens with soap and water to reuse them?
Thanks so much,
Stephanie
Yep!
Thank you very much
this is good tutorial
I have one problem I need a help of you after printing how to remove a ink from a screen what to use to remove the ink please explain me by mail thank you very much