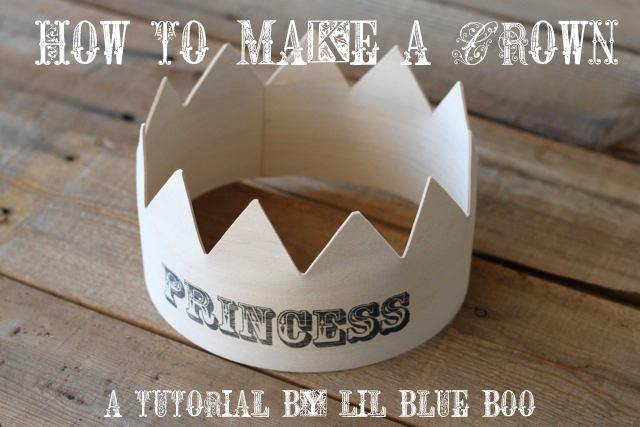
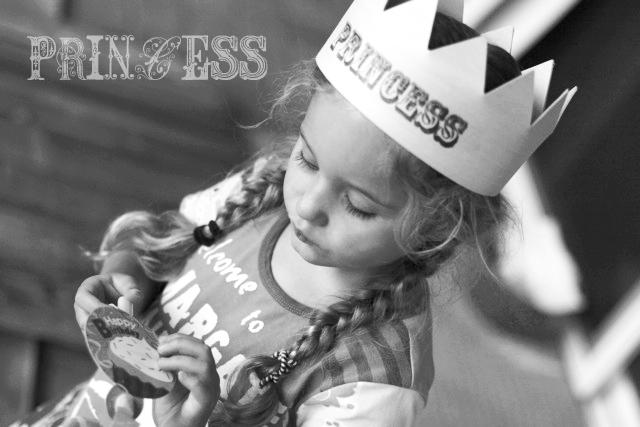
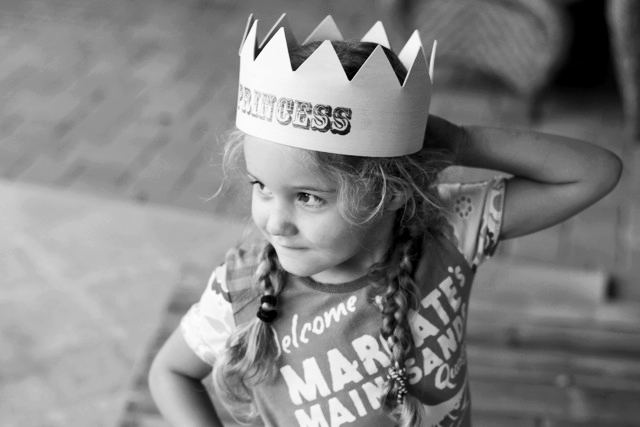
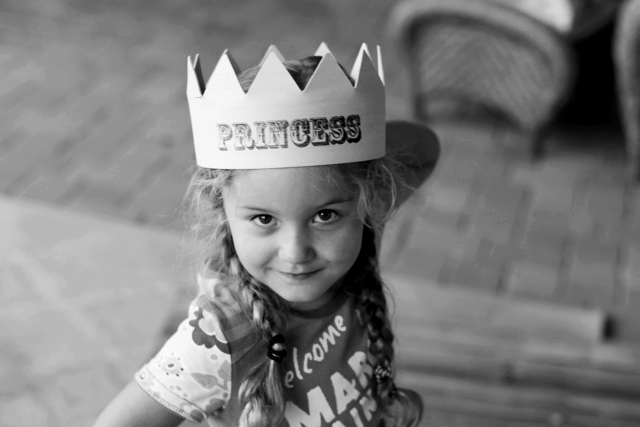
Boo loves her new wood princess crown…..perfect for a party!
Part I of this tutorial shows how to take an ordinary piece of 1/16″ basswood and mold it into a curved shape to make a crown. Tomorrow’s Part II will show how to do a toner transfer onto the crown for decoration.
Note: you can find 1/16″ basswood in most craft stores in the wood craft section.
(more after the jump)
Step 1: Cutting out the crown.
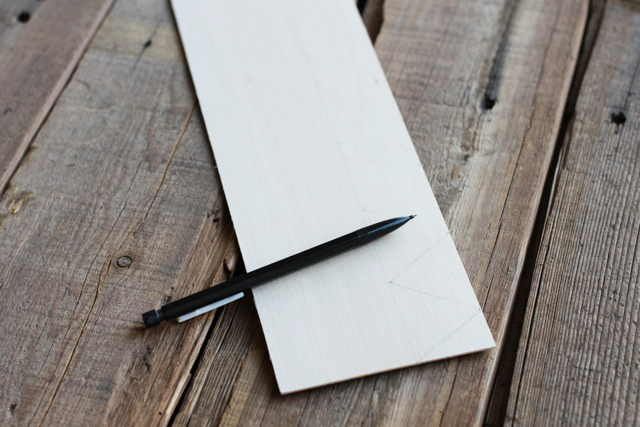
First, I drew a line down the wood and started sketching out the points of the crown:
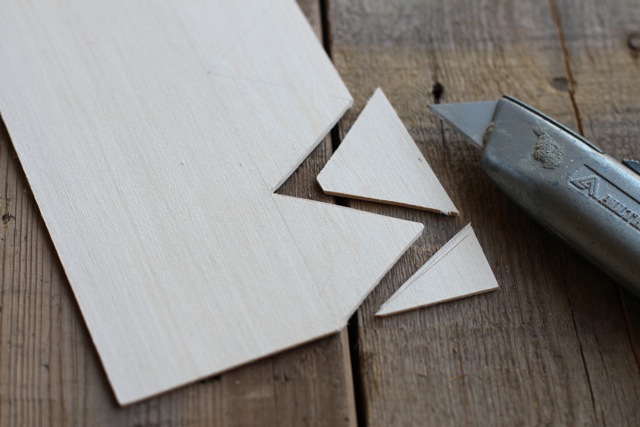
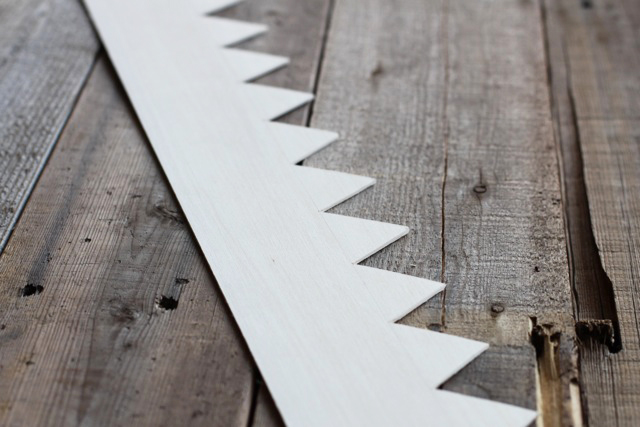
I used a razor blade to carefully cut the points from the wood:
After cutting:
Step 2: Mold the wood into a curved shape.
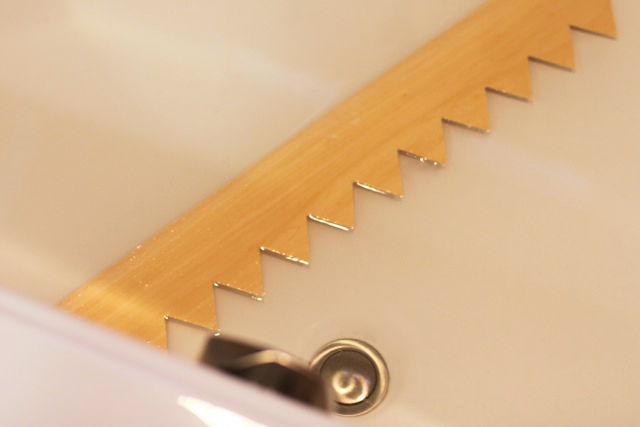
First, I soaked the crown in hot water (using the bathtub so it could be completely submerged) for about 30 minutes:
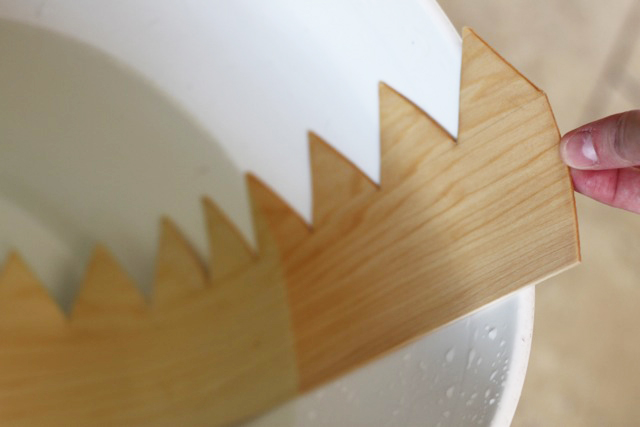
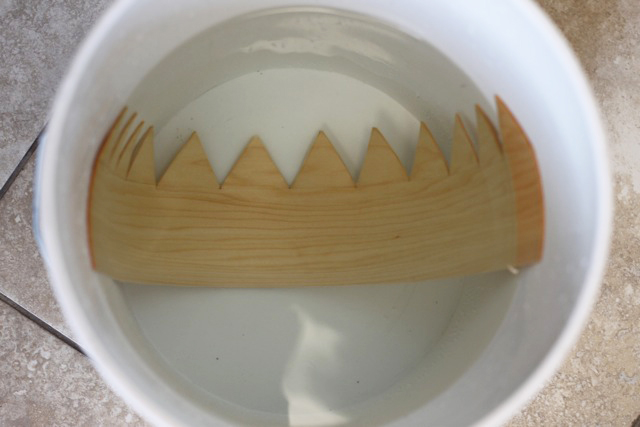
Next, I filled a large 5 gallon bucket with warm water and stuck the crown down one side and began working it slowly and carefully into a slight curve at the bottom:
Every few minutes I pushed the wood slightly farther down to it would curve up the other side of the bucket….
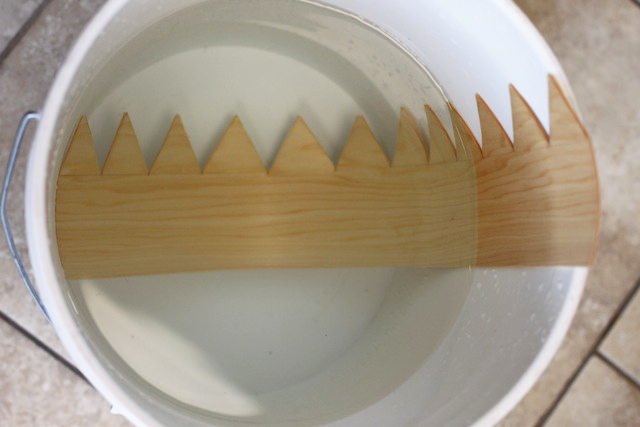
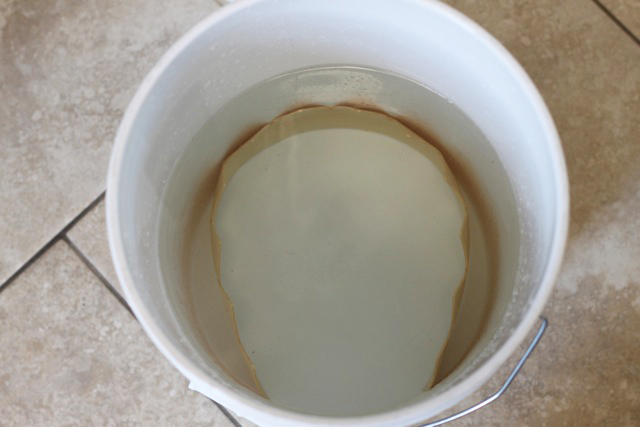
….and continued to do so until the wood was completely curved and up the other side of the bucket:
Next, I slowly worked the crown down into the bottom of the bucket and let it sit in that position for about 10 minutes.
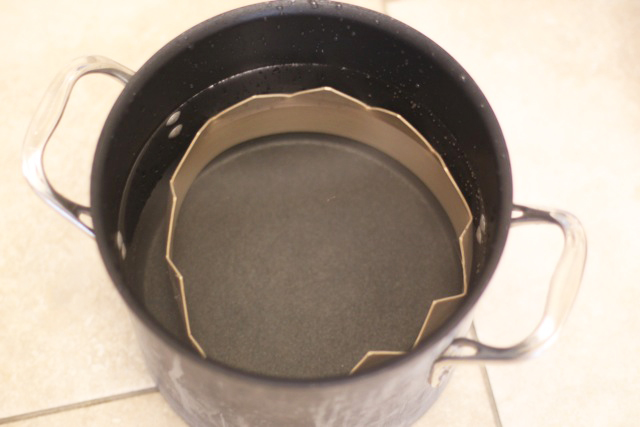
At this point I started reducing the size of the buckets. A large soup pot was a good step down from the 5 gallon bucket….I carefully worked the crown into this smaller space and let it sit for 10 minutes:
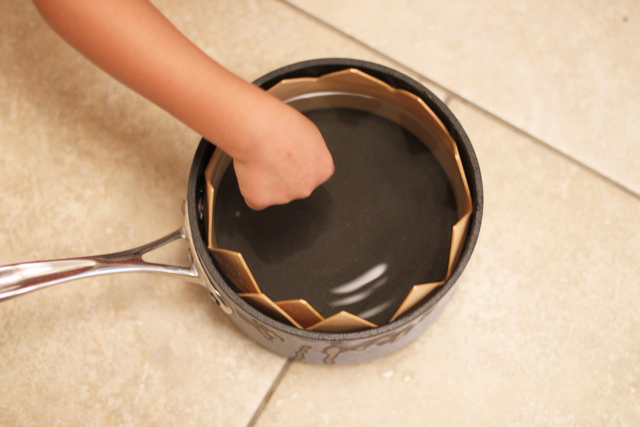
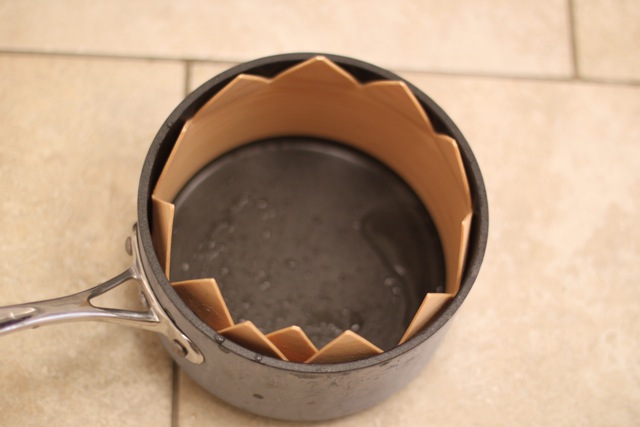
After the soup pot I used a smaller sauce pan to shape the crown. Once the crown fit into this pan…..
….I emptied out the water and let the crown dry overnight in this position:
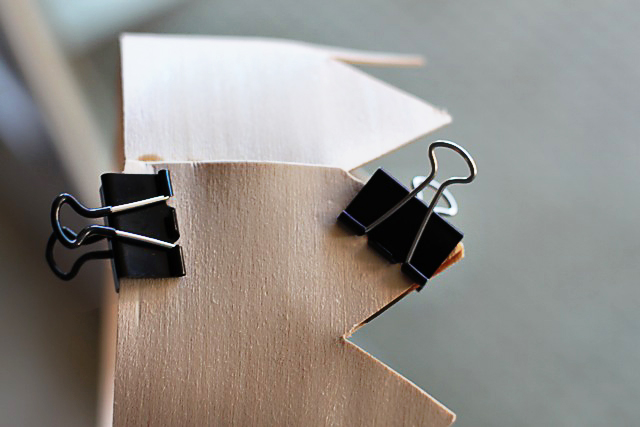
Once the crown was completely dry, I fit it to Boo’s head and used wood glue and clips to close the end:
Stay tuned for tomorrow’s Part II tutorial on how to add text and/or decoration!
Perfect for a birthday party or photo shoot!

Such an elegant and lovely crown and a great tutorial too! Beautifully done all the way around!
Jenn
Thank you so much for sharing this! I can’t wait for just the right occasion to make this.
Thanks so much for the tutorial! I made 3 for a where the wild things are birthday party and they’re awesome.