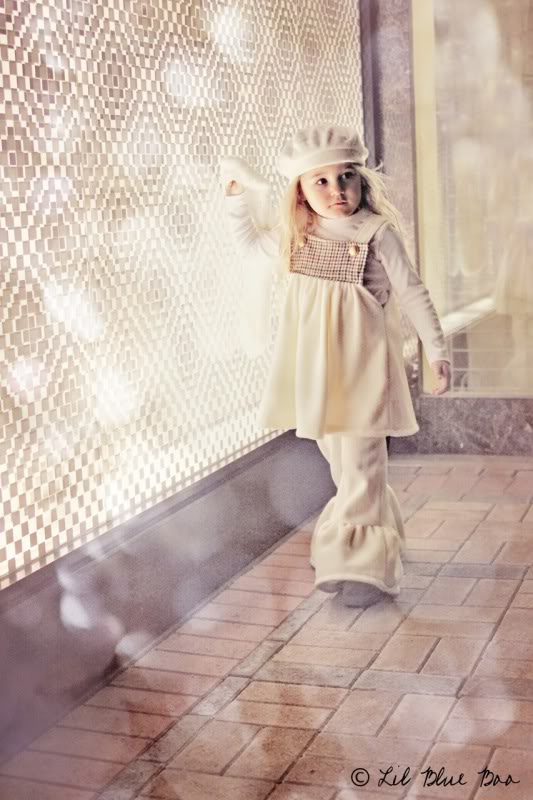
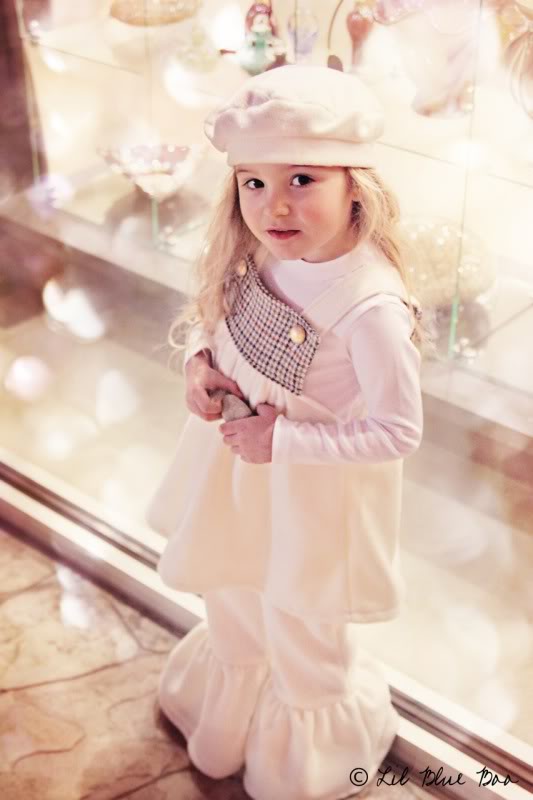
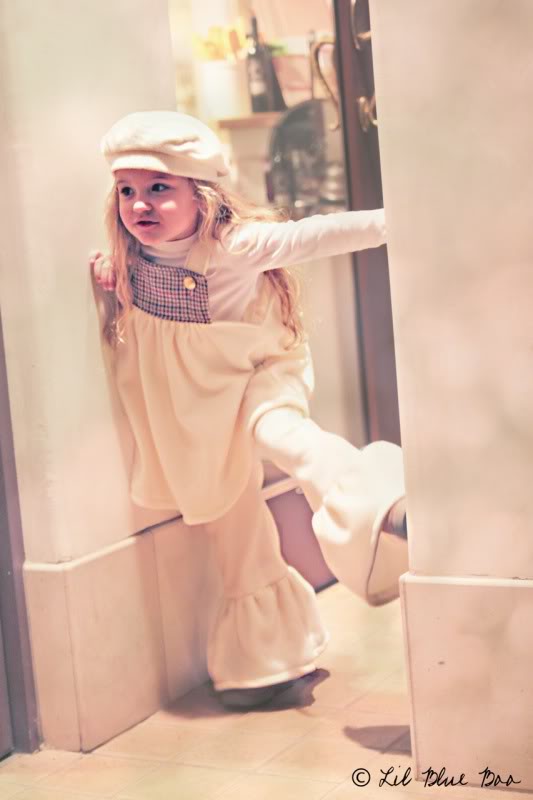
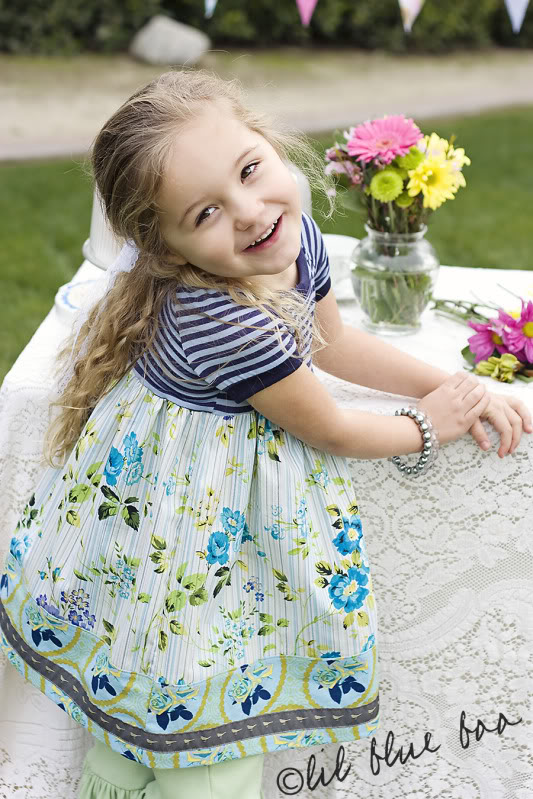
Project Run and Play is finally here! Six designers….only five will move onto the next challenge! Here is my interpretation of Winter Wonderland….click the photo to go and vote on your favorite!
Archives for 2011
"No Sew" Bunting and More Spring Peeks!
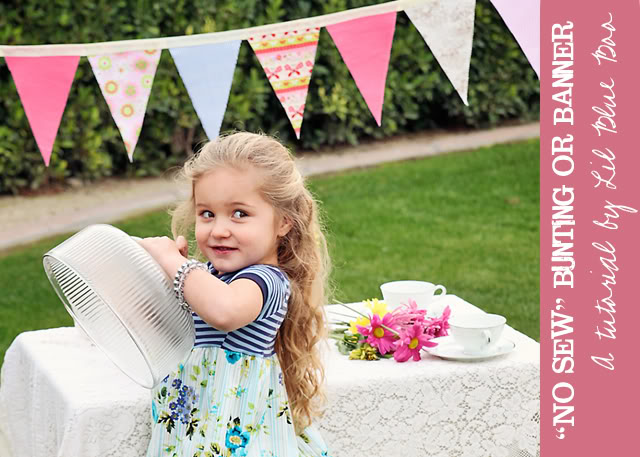
Lisa and I planned a quick little photo shoot in the backyard on Tuesday and invited a few friends over. Lisa couldn’t find her fabric banner/bunting she’d stashed away so we had to make a quick version because we wanted it to hang in the background. It turned out so cute and added just the right amount of color:
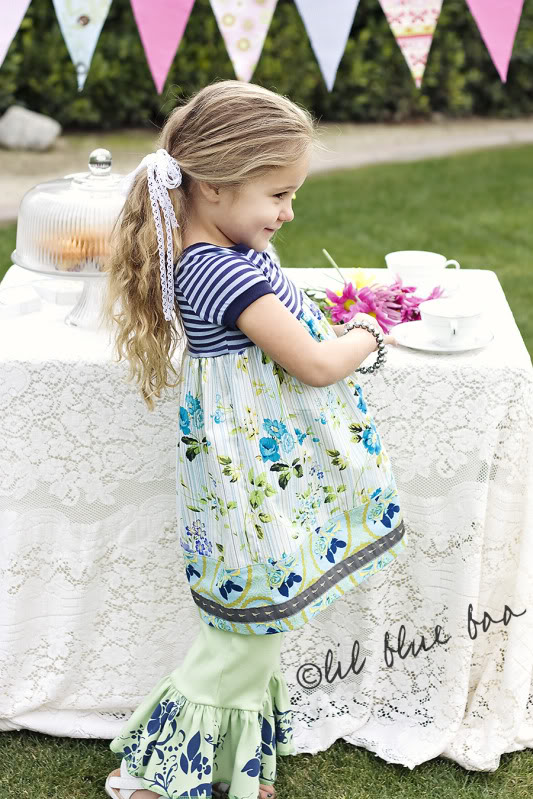
I know many of you don’t sew and this is an easy way to make a birthday banner or some pretty bunting for a boy or girls room!
Materials needed:
Spray adhesive (acid free)
Liquid Stitch
Variety of fabric for flags
Pinking shears (or regular scissors if you don’t mind a straight edge)
3 yards of 2″ grosgrain ribbon
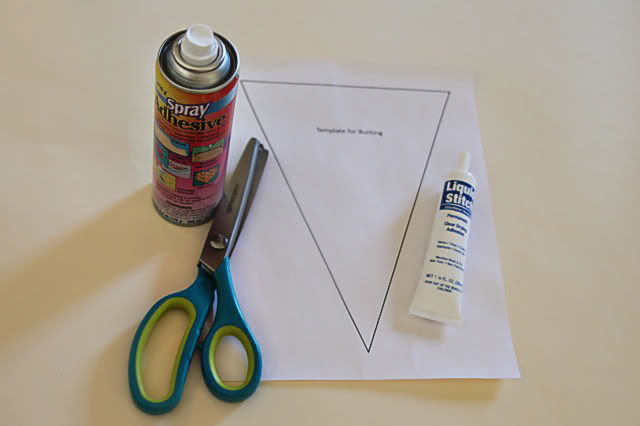
Here is a template you can use……just resize it depending on the size of banner you want.
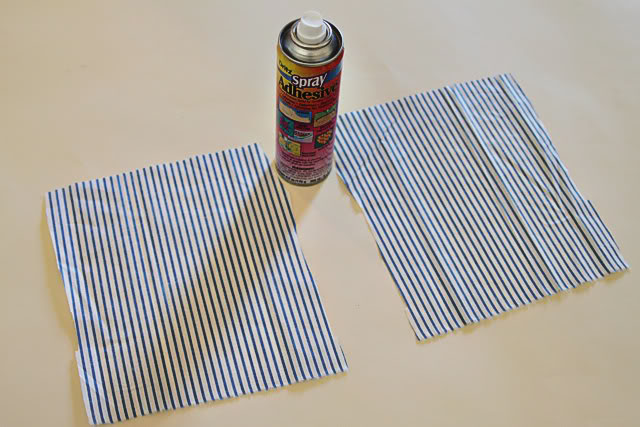
For each individual flag, spray a layer of adhesive to the wrong sides of 2 pieces of fabric:
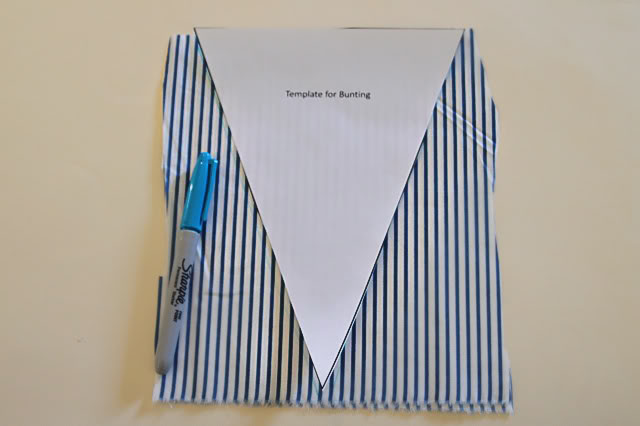
Press the two pieces together flat and trace out your triangle:
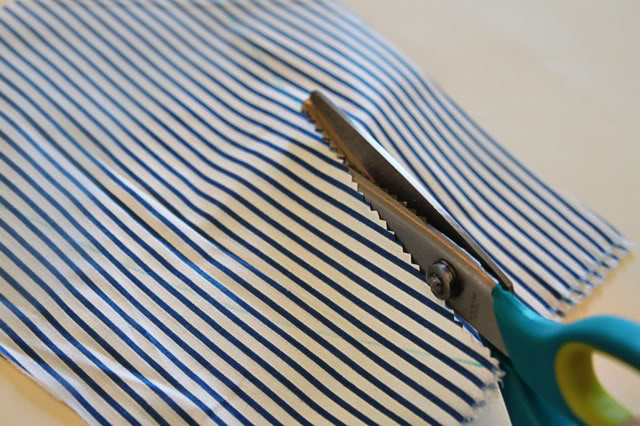
Use pinking shears or regular scissors to cut out each flag. Pinking shears will give you the zig zag edge:
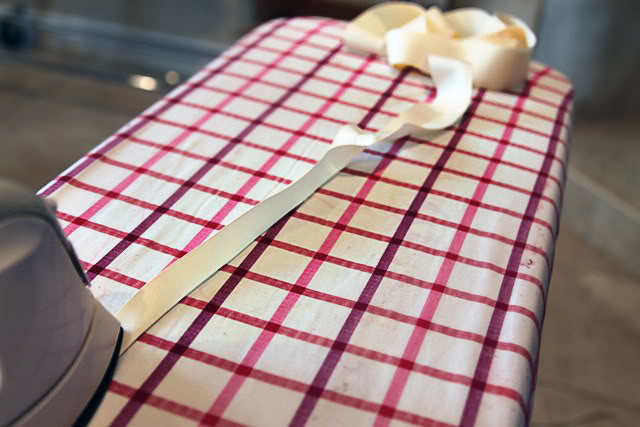
Iron your the grosgain ribbon it in half along the entire length:
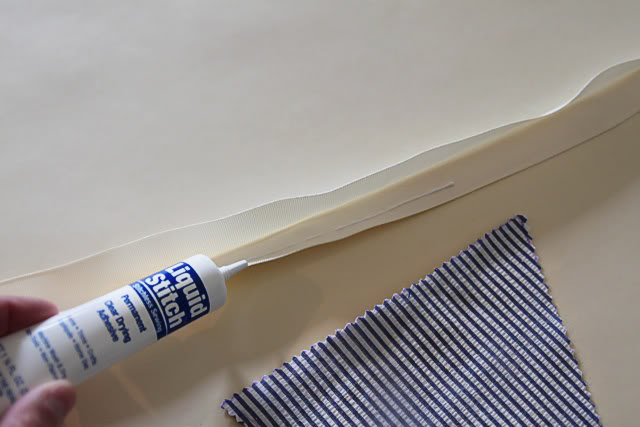
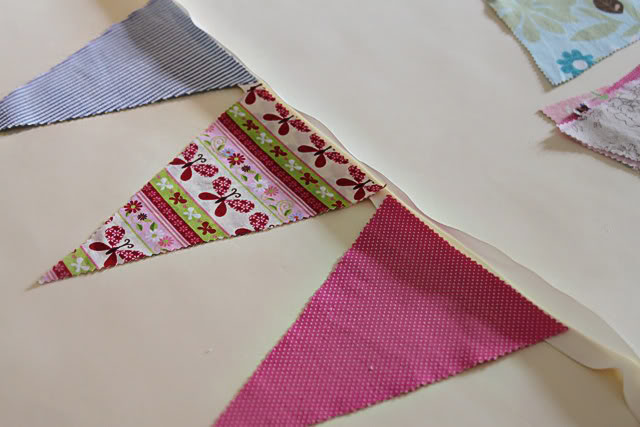
Using Liquid Stitch, attach each triangle to the bottom half of the ribbon…..
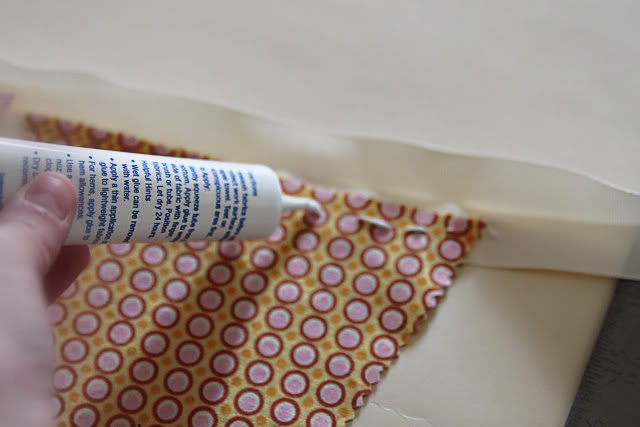
Lastly, apply liquid stitch to the top of the triangles…
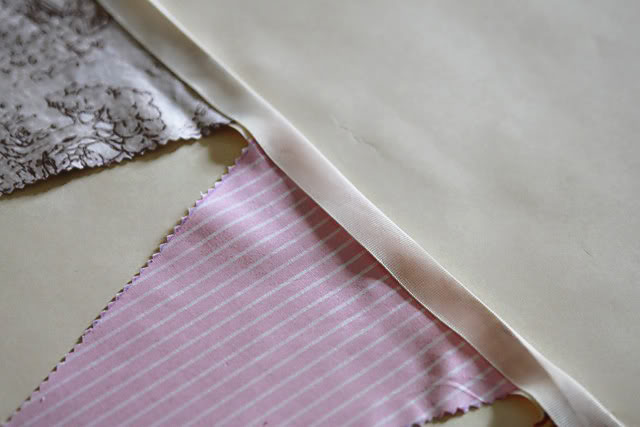
…and press the top half of the ribbon closed:
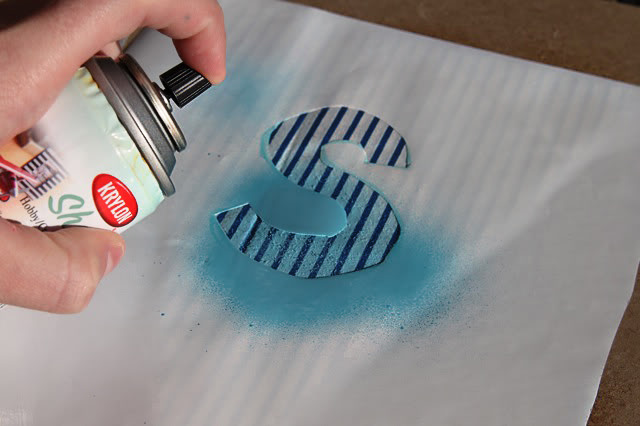
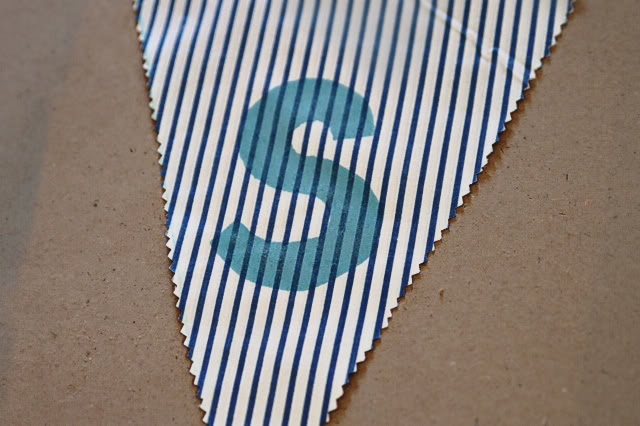
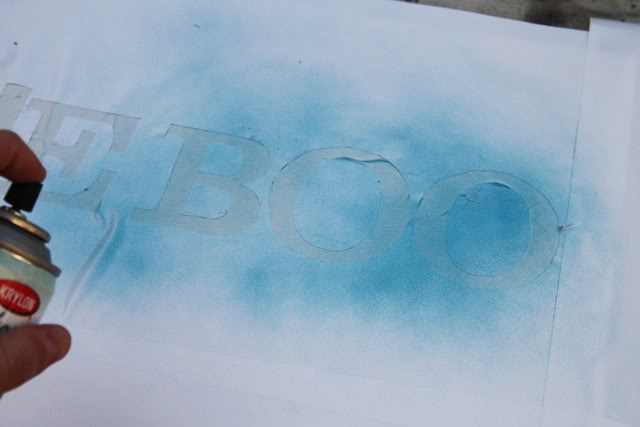
You can easily personalize or spell out a message using spraypaint too! Just cut out your shapes or letters to make a stencil using contac paper or adhesive shelf paper:
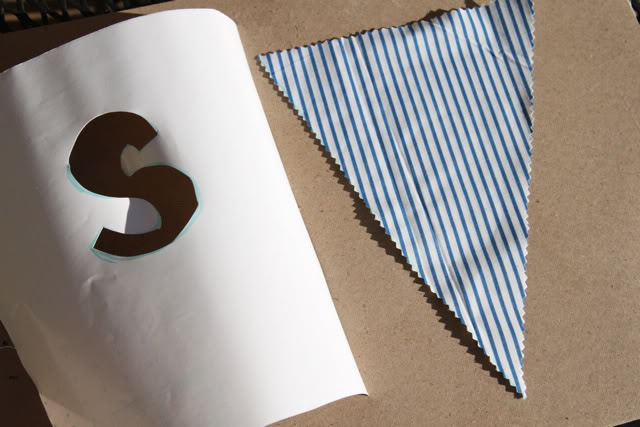
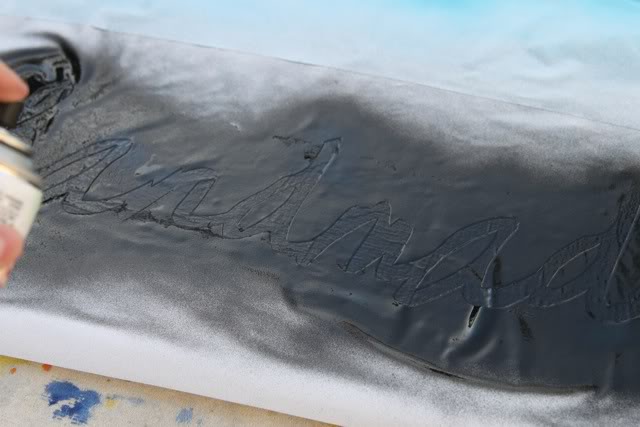
Stick the stencil directly onto your triangle flag and spray a thin layer of paint across the top:
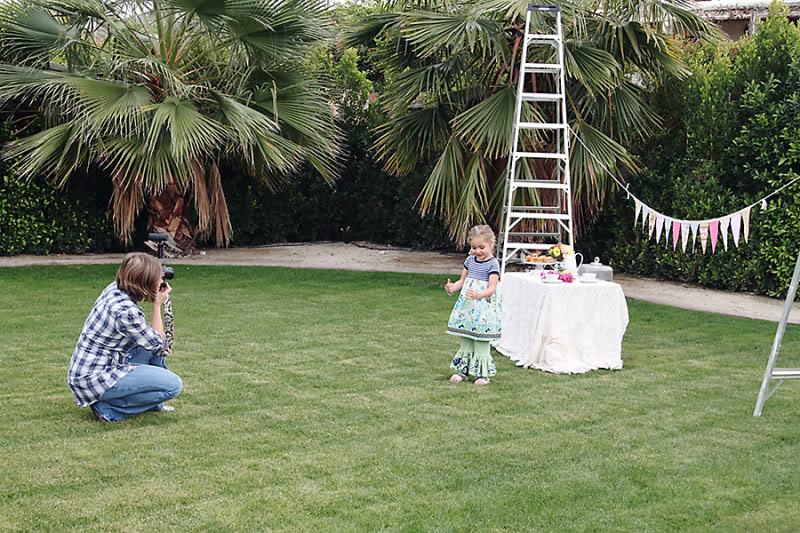
Here’s a behind the scenes shot of Lisa photographing Boo. We strung the bunting between 2 ladders in the corner of my backyard:
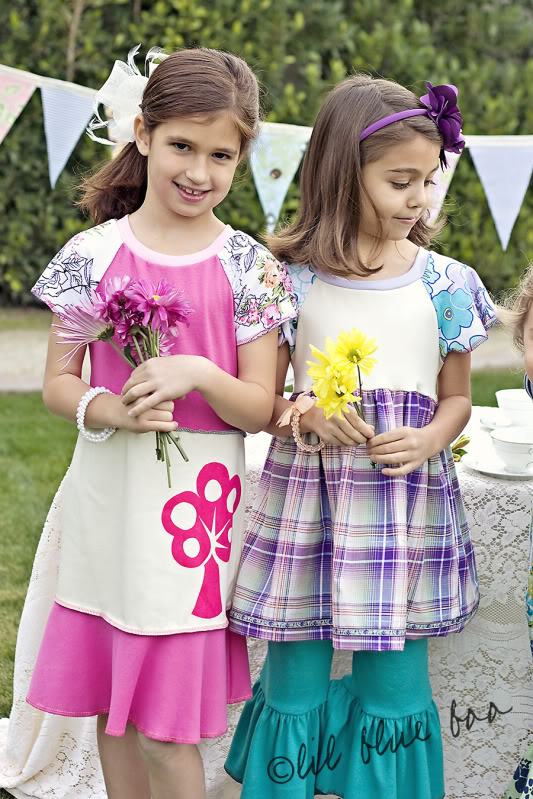
I was so happy with how both the banner and mini photo shoot turned out! We invited a few friend with older girls over to model some outfits for the spring line.
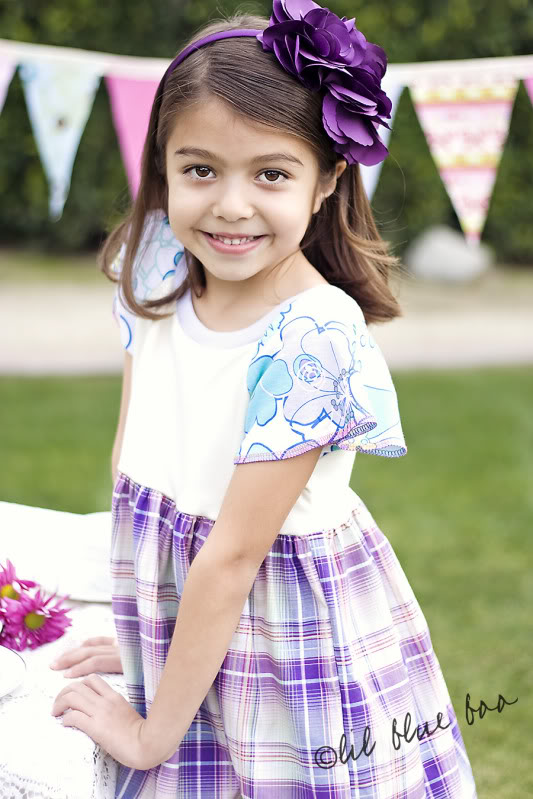
It’s amazing how much easier it is to shoot a willing model than a toddler! These girls were naturals!
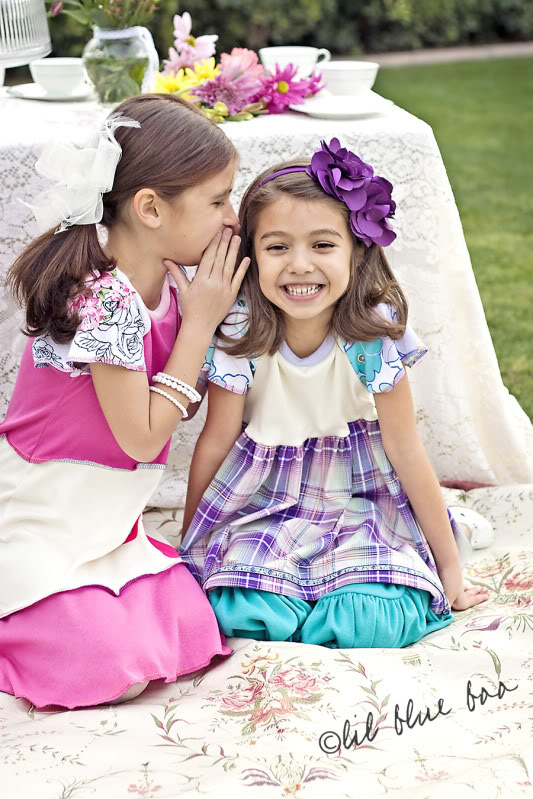
Boo was sulking at first because she didn’t get to wear the purple headband….she informed me that purple is her FAVORITE color:

Once she saw the older girls having fun she changed her mind:
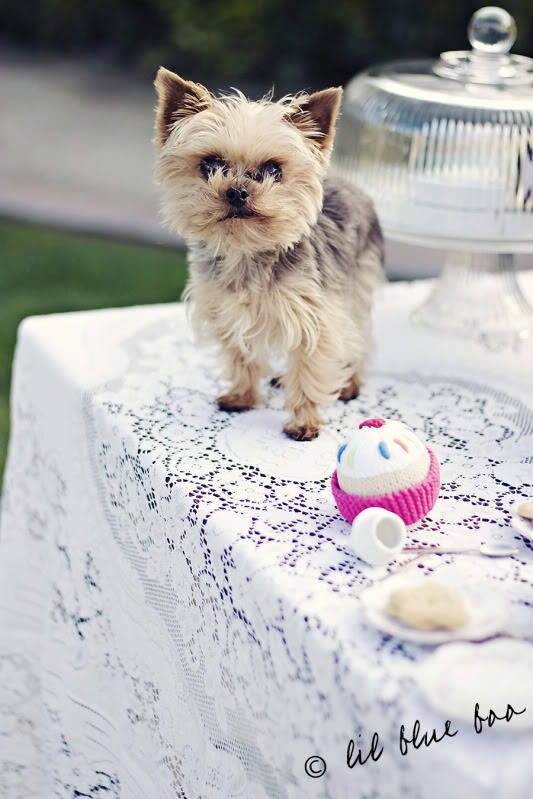
Even Diesel was thrown into the mix!
I’ve had so much fun designing a full spring line! More to come this week! Spring line should be in the store on January 24th!
Speaking of designing…are you working on your next big design?
A Handmade Sign
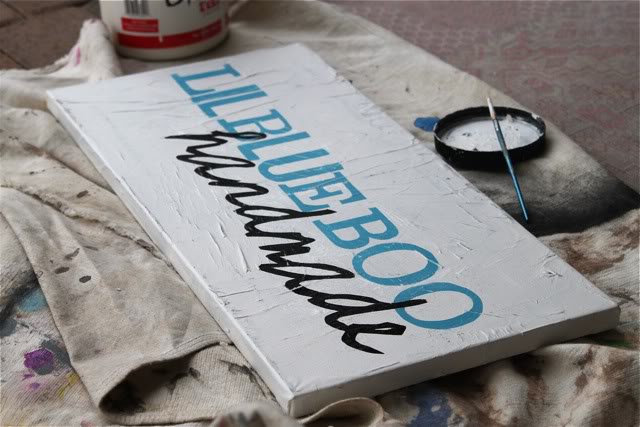
…literally. Here’s a small distressed Lil Blue Boo sign I made using a small canvas and spray paint. So easy to do….and endless possibilities: an old sign for your kitchen, a large piece of artwork, a sign for a booth at a boutique, or even a personalized “shabby chic” name plate for a kids room.
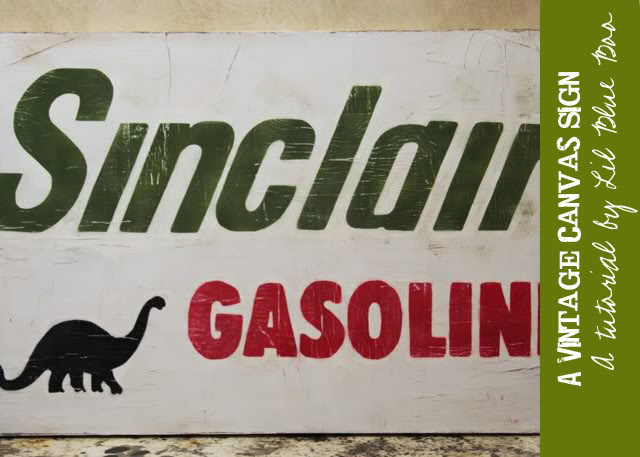
I used the same technique as I used for this sign (click on the image to see the full tutorial):
I use just a basic collage layering process of newspaper or old phone books (a good way to recycle too!) so you have something to flake and distress on top of the canvas. This layer I painted white once it was dry:

I use a razor blade, Cricut or Silhouette cutter you can cut ordinary Contac paper or adhesive shelf paper to make a stencil. First, I spray painted the “Lil Blue Boo”:
Next, I spray painted the “handmade”:

