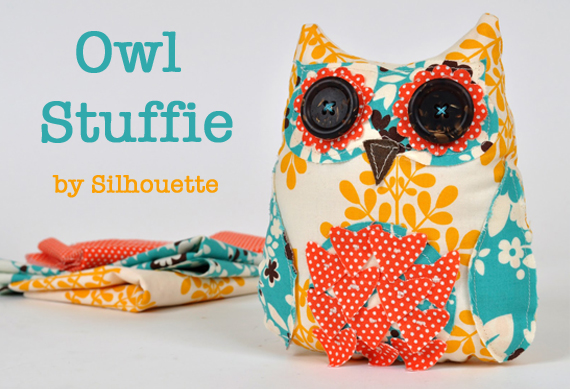
Just a few Silhouette projects that I love (click images to visit):

A rocket ship applique! Click the image below for the free PDF template so you can make your own. You don’t even need a sewing machine…..use knit fabric so it doesn’t fray and hand stitch the edges with DMC thread.
It’s so hard to find good quality boy t-shirts without pockets….so I usually just end up taking the pockets off with my seam ripper:
Applique basics: apply adhesive web to the back of the fabric, cut out the pieces and adhere with an iron:
Hand stitch with a simple running stitch:
A finished rocket ship!
You can find more detailed applique instructions in these two tutorials:
Super easy summer top…..made from a simple square piece of knit fabric. This top definitely has its roots in my mathematics background. I kept trying to visualize how to make it work with minimal sewing and finally one day it just clicked. So here it is…..the Square Top. It’s a perfect project for a beginner!
Step 1: I cut a 30″ x 30″ square piece of knit fabric for Boo’s size (a solid 4T)…..I got that measurement by measuring from her shoulders to below her hip (15″). I folded it in half on the table and marked the center:
Step 2: I marked two 2.5″ semi circles on the fold about 3.5″ to the left and right of my center point for the arm holes (the 3.5″ measurement because I want the front and back piece to be about 7″ wide to cover her chest):
Step 3: I carefully cut out the semicircles:
Step 4: I cut the fold connecting the 2 circles…..creating the front and back edges of the top.
Step 5: I cut 3″ strips of fabric for the trim. Two pieces 32″ long for the ties and 2 pieces long enough to trim the front and back edges (about 8″ each):
Step 6: My least favorite thing to do is make bias tape….so I cheated a little here. I folded the trim pieces in half and sew the edges shut….
…….very close to the edge:
Step 7: I ironed the pieces flat so the sewn edge is in the center where the fold will be:
Step 8: I folded the front trim around the top edge of the top and stitched carefully so the needle caught both sides:
The trim was slightly longer than the top edge so I just trimmed off the edges. Same process for the back top edge.
Step 9: I started at the center of the arm holes and pinned the center of the longer trim in place…..and pinned along the rest of the exposed arm hole edge.
Step 10: Starting at one end of the folded trim, I sewed the trim shut and all the way around to attach it to the arm hole and back up the other end. I did this for both sides/arms.
Step 10: Lastly I trimmed the ties at an angle to make them look neater:
Updated: A few closeups of the finished top and straps:
Quick, easy, comfy and stylish.
Fun and billowy.
Long enough to be just a tunic with leggings.

