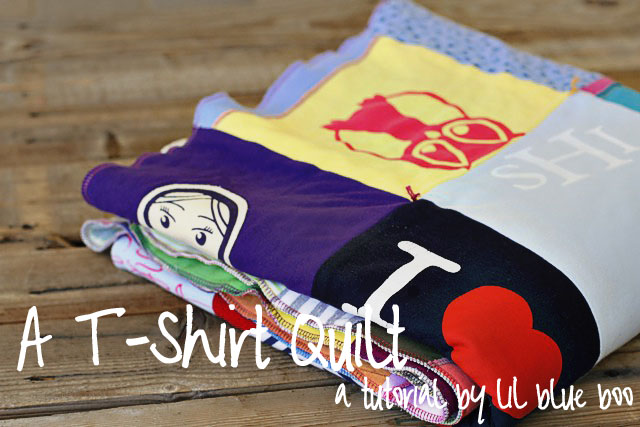
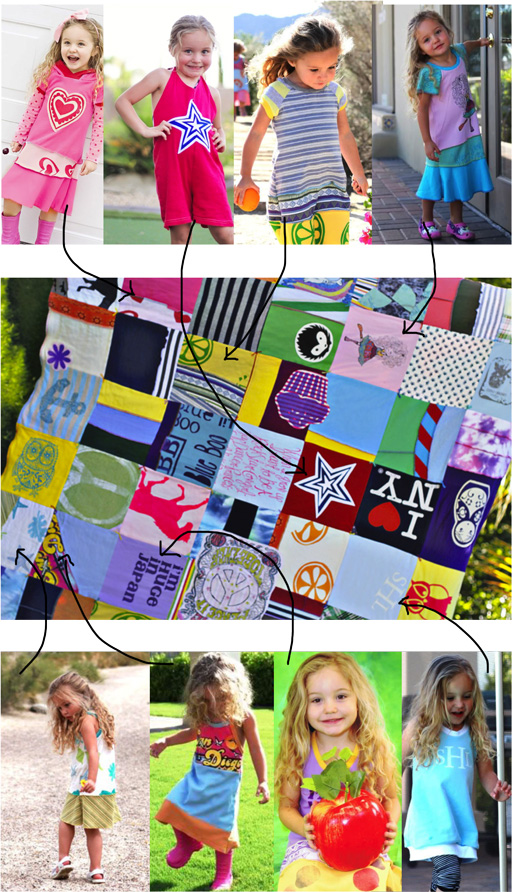
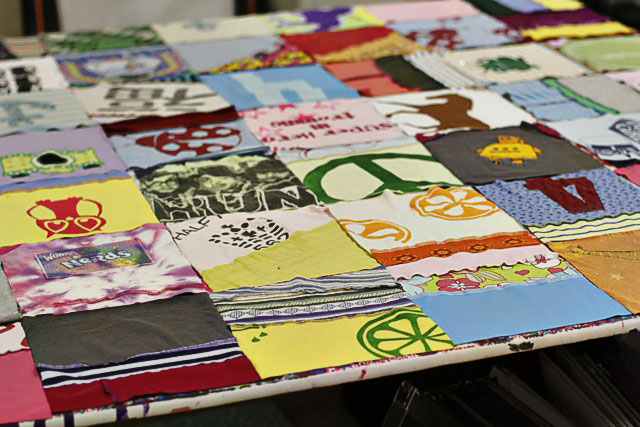
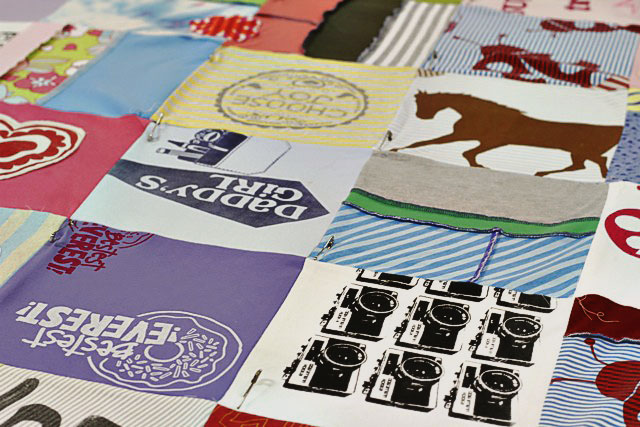
I made my first memory quilt…out of Boo’s old dresses! I’m sure there are many of you out there that are quilting experts, and that there are certain ways of doing things the “quilting” way….but I wanted to take a fresh look at quilting and make it up as I went along. I love that each square tells a story! Boo can point to each square and remember a special outfit she had and a memory associated with it!
I love the way the quilt turned out. It’s sturdy, double sided, and full of memories….it’s upcycled/recycled!
Instead of actually t-shirts I took Boo’s dresses from the last few years…..all the ones that I’ve made for her. Most are pretty worn out and had some stains on them…..so they couldn’t have been sold or donated.
Each dress has special memories and instead of putting the all into storage I decided to cut them all up and make them into a big quilt that she can enjoy for years to come.
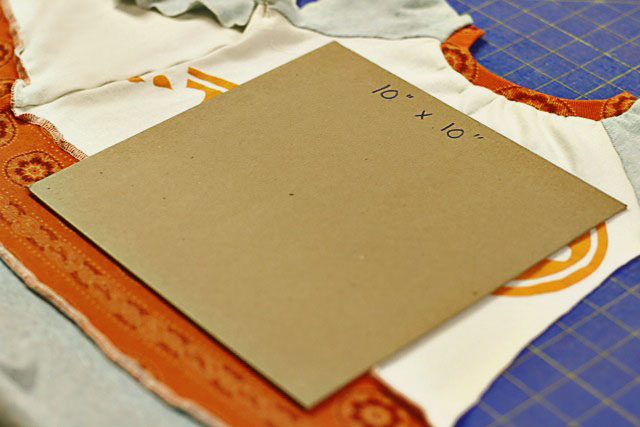
First I made a square template: 10″ x 10″
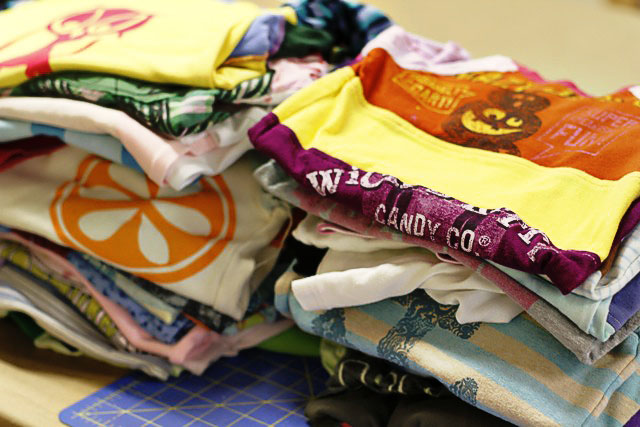
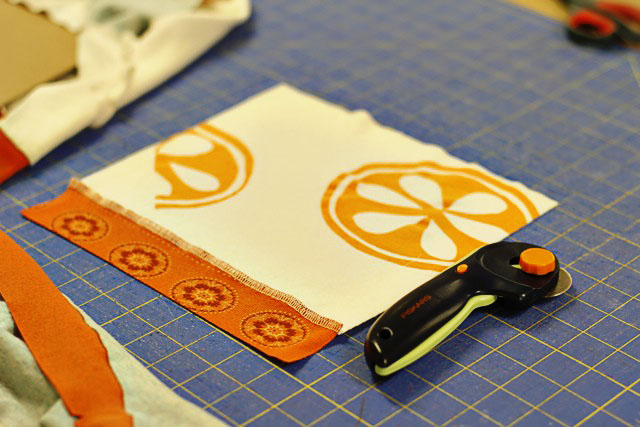
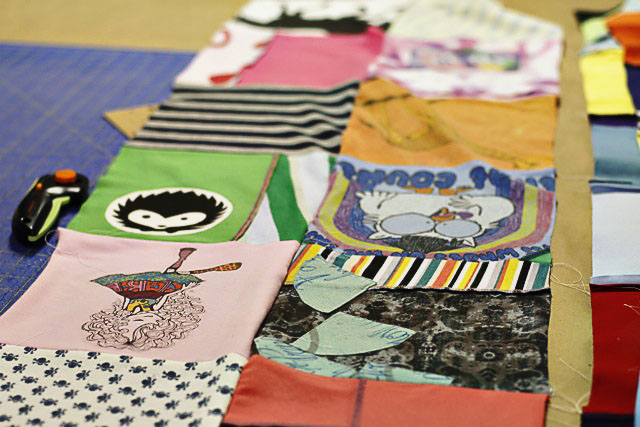
I used a rotary cutter to cut out as many squares from each dress as I could:
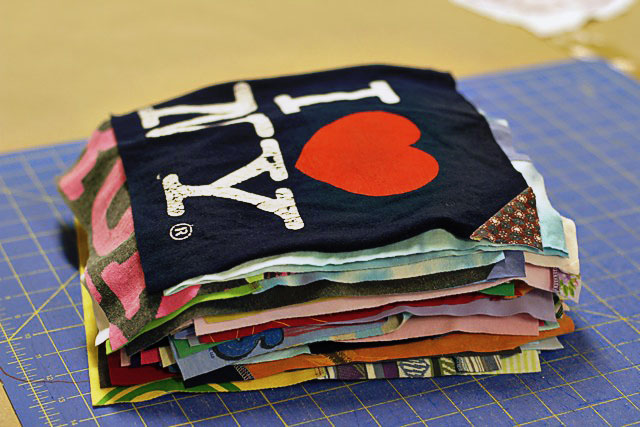
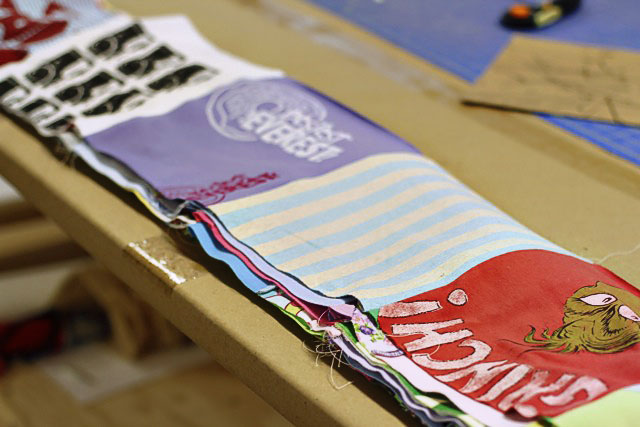
Here’s my big stack of completed squares:
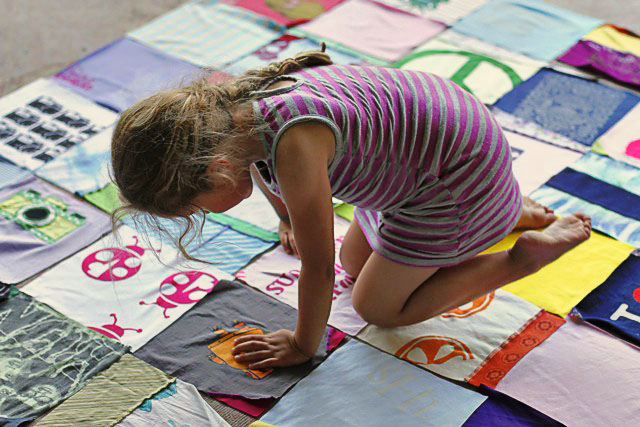
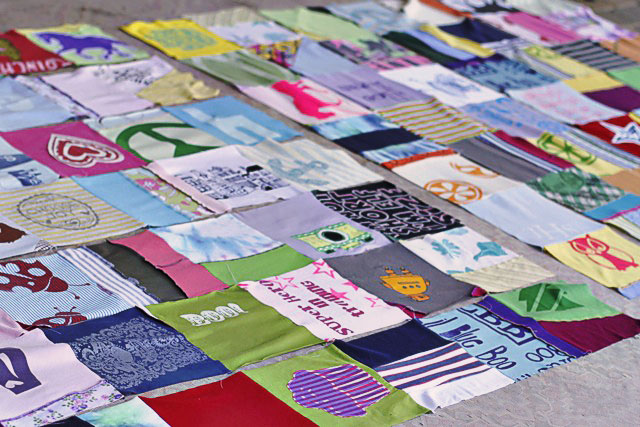
Boo helped me to place all the squares in a pattern. It’s double sided so we had 7 squares by 7 squares for each side of the quilt. I then stacked them up in order so I could keep them straight.
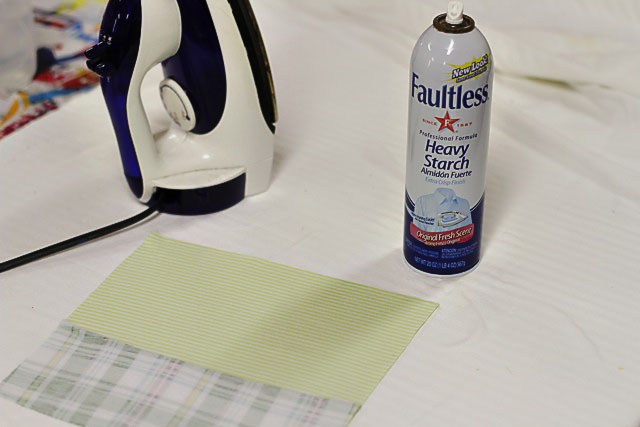
Instead of interfacing, I used spray starch to coat each square and I ironed out each piece. Then I rechecked my square template and trimmed any wonky edges so that each square was perfect.
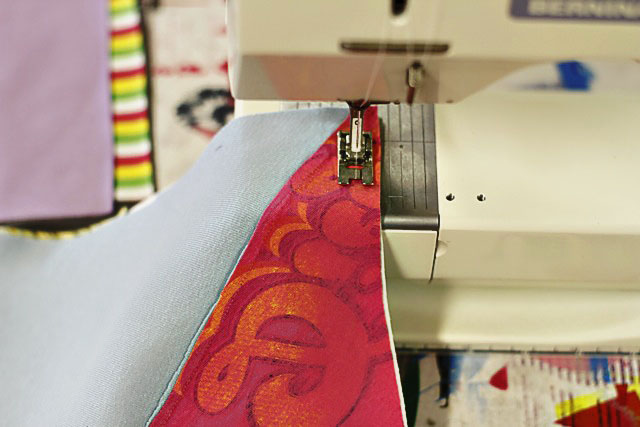
I began to sew each square together in rows. 7 squares made up each row.
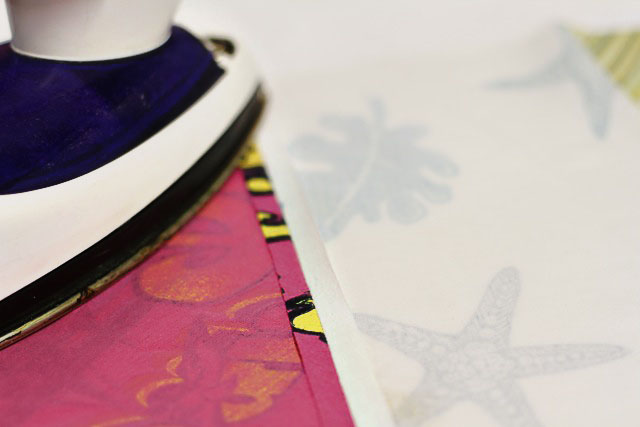
After each row was finished I ironed the seams flat.
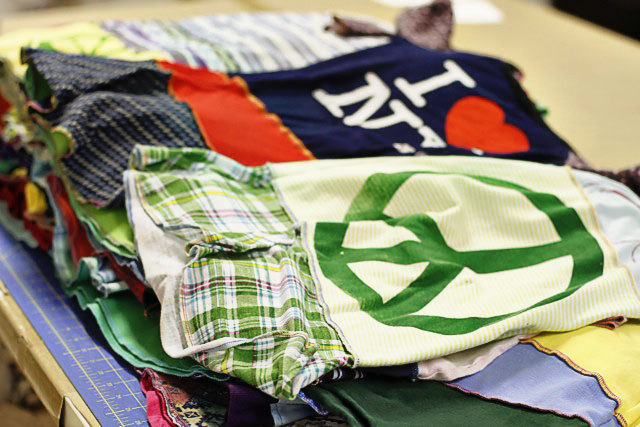
Here are all my rows finished:
I laid out all the rows again just to double check my design.
Then I began to sew all the rows together.
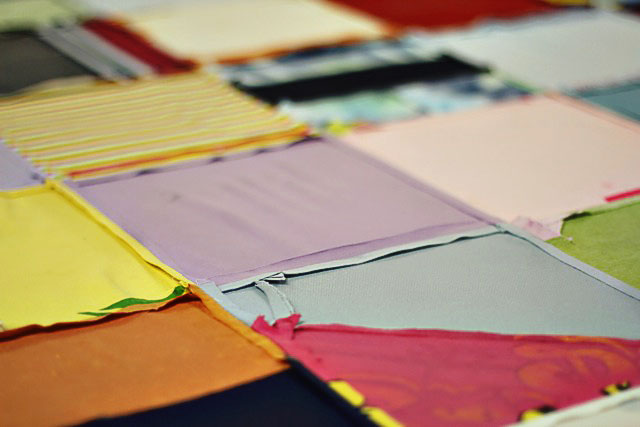
After both sides of the quilt were completely assembled I ironed all the seams flat again. I used spray starch to make sure they stayed nice and flat.
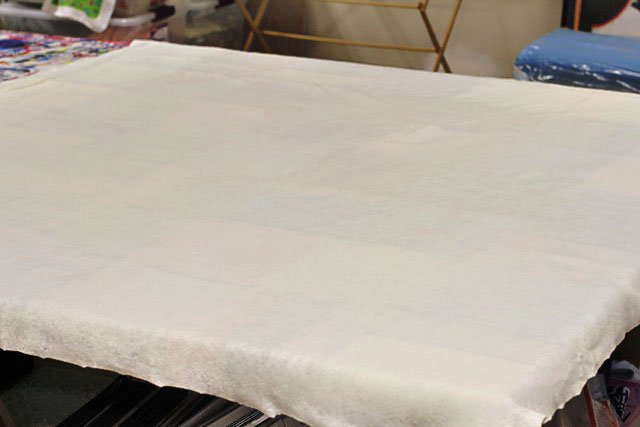
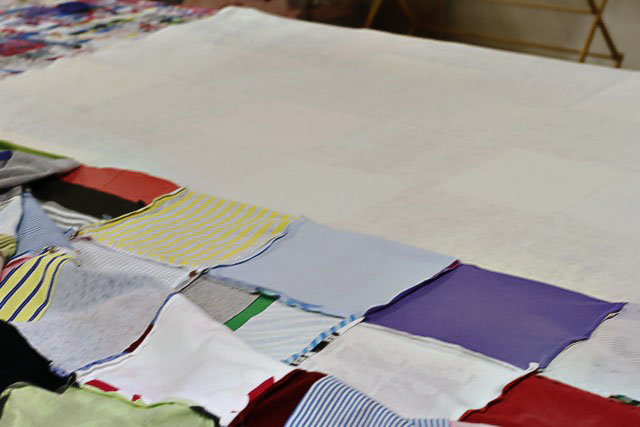
I laid one side of the quilt face down on a large table and then laid a large piece of batting on top of it. I used an iron to press the batting completely flat and smooth.
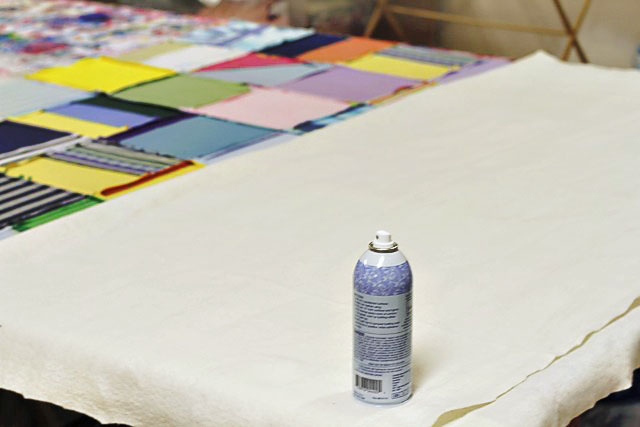
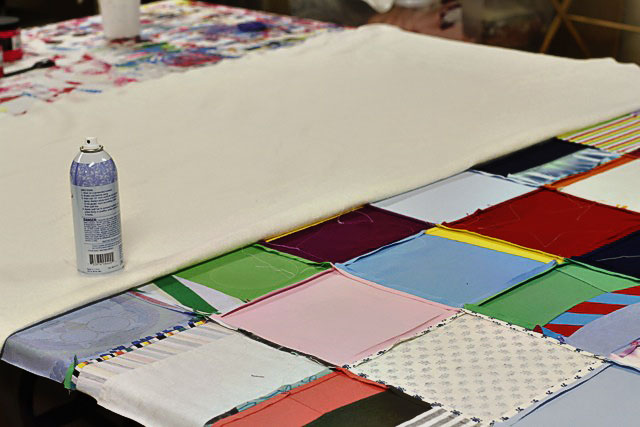
I rolled back one side of the batting and used a spray adhesive (made especially for quilting and basting) to coat the top of the batting. Then I carefully rolled the batting back into place making sure to smooth it into place.
Then I rolled back the other side of the batting and repeated the adhesive spray.
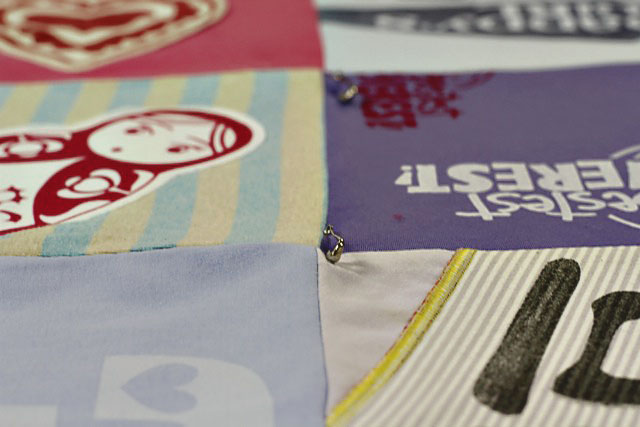
I finally laid the top of the quilt into place on top of the batting. Starting at the center of the quilt I carefully lined up the squares and seams to the other side of the quilt and used safety pins to pin it in place.
I rolled back one side of the quilt top and sprayed enough adhesive to cover the area of one row of quilting squares. Then I carefully rolled one row of the squares back in place and used safety pins to secure just that row in place by matching up the seams (mostly where each section of 4 squares meet together).
I slowly repeated this process for every row in the quilt until I reach the edges. Then I repeated for the other side of the quilt. By the end, my entire quilt was pin together with all the seams matching from front to back. If any of the squares look a little wonky or tilted I used a little bit of tugging back and forth to smooth out the entire quilt.
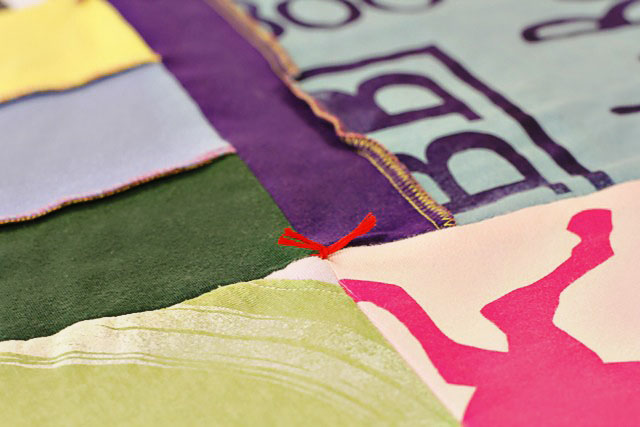
I used embroidery thread to make little ties at each intersection of squares. This holds the entire quilt together and secures the pieces in place. On the entire quilt was secured I removed the safety pins.
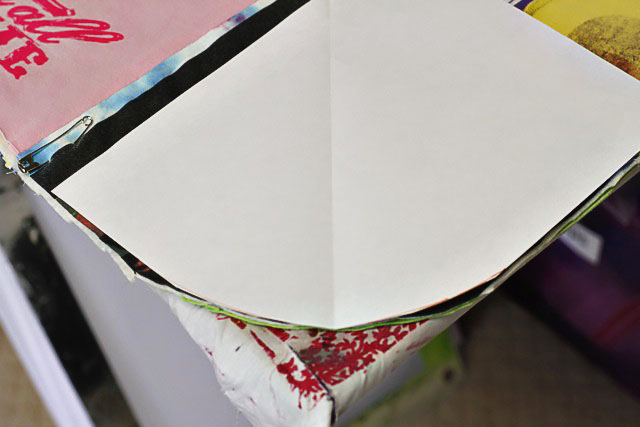
I made a little template to round out the corners of the quilt:
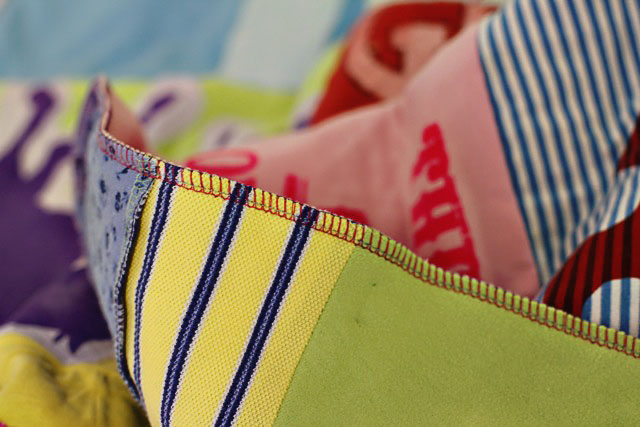
Instead of binding the quilt, to keep with the exposed seams used in the dresses, I just used my serger to add color thread all the way around. You can add bias tape around the edges if you don’t have a serger.
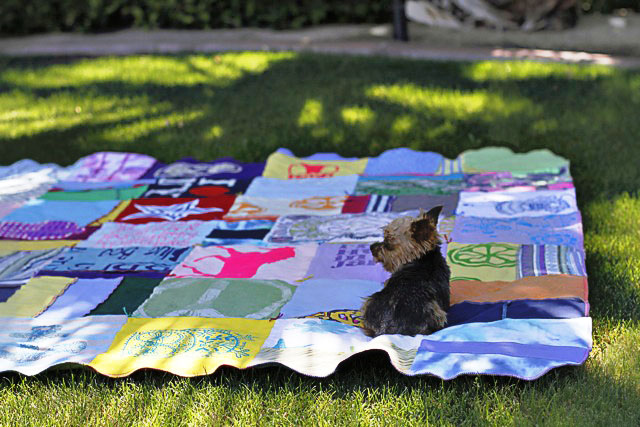
Here’s Diesel enjoying the blanket this morning out in the yard!
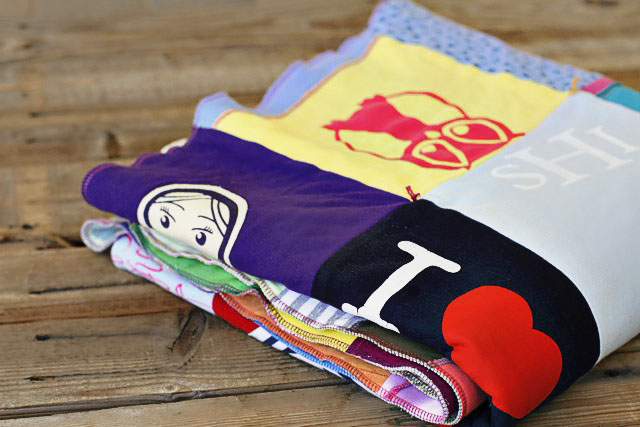
I added a few extra appliques from t-shirts that weren’t able to be added as a square…..it made the quilt a little more interesting. A t-shirt quilt (or dress quilt!) is a great way to preserve memories so that they’ll be enjoyed every day!


I’ve been saving my tshirts from high school and college groups that I was involved in to do something like this! Unfortunately, I was very involved and have too many shirts to pick from! I love the way this one turned out.
The Too Cool T-Shirt method (Google it!) uses up a TON of shirts because it only uses the part with a design. I’ve made one with my race shirts and it’s fabulous!
LOVE it! 🙂 Great job Ashley!
This is so awesome! I’ve been saving my girls clothes since I saw a website that made these, thinking one day I might just tackle it myself. Thanks so much for the tutorial!! The finished quilt is amazing!!
Adorable and full of great memories!!
That turned out beautifully! What a great memory piece that you’ll all treasure for years …makes me want to rethink my donate pile 🙂
I started something like this years ago but never finished. I don’t own a sewing machine (yet) and had to take lessons at a high school. The teacher was pretty busy so I put it up. Now may be a great time to break it back out! Thanks for the tutorial!
my hubby has collected tshirts from way back and all over and i keep saying this is what i will do to them one day…he gives me the meanest look as if to say: back off, leave me tshirts be alone….!!! i just might surprise him one day…make one and then give it to the kids to enjoy!!! (he’d be too old by the time i actually get to make it!hahaha).
nice work you did with Boo’s, its going to really be a memory keeper. hugs
Love, love this! I have my oldest daughter’s softball tournament t-shirts I am saving to do this, my son’s baseball ones, and my youngest just started softball so I’ll start a pile for her. My mom quilted a quilt for me out of my old dresses and clothes and gave it to me for my 21st birthday. Within each square, she stitched something that happened in my life….something my grandfather always said to me, “run with the wise” bible quote she used to tell me, the date when I got my first toe shoes, date when I first rode on two wheels, etc. Such fantastic memories…..PS: I love the word “wonky”and glad to see someone else uses it!!
I love the raw edge of the quilt, that is the worst part to quilting for me, the binding! I just finished a t-shirt quilt last week for my sister who is graduating high school. I’m curious if the spray starch was as easy as the interfacing? I feel the quilt is kind of heavy, I wonder how much is just the t-shirts and how much added bulk the interfacing was! we skipped the batting inbetween though to make it a little more flexible! Yours looks gorgeous!
I think the spray starch was easier. A light coat and a few swipes of the iron and I was good to go. I didn’t want the bulk of the interfacing….mostly wanted it still to feel like a t-shirt. I did use the batting though so it would be a thicker blanket! Hope that helps!
So adorable! I have a tshirt container I keep in the garage, that I put all my kids favorite shirts in. One day, I will make a quilt for myself with all their old tshirts that were my favorites. I am so glad to see how you did it! Thanks for sharing!! Hugs!!
is it sad that I remember most of those dresses?
that quilt is awesome! you did a fantastic job. . .
I LOVE this! I have been saving my daughter (and now my son’s) special outfits, the ones that hold memories for us for quite a few years now with the intention of doing this someday!
Your quilt turned out absolutely beautiful!!!
Thank you for this tutorial! I have been meaning to start a t-shirt quilt with my boys” old shirts this past week but couldn’t find a tutorial I liked (I also couldn’t afford the interfacing) so this is a perfect tutorial at a perfect time. You are so generous to document your process and share it with the rest of us. Would I had your creativity.
That turned out REALLY, REALLY cute! I love that there is hardly sewing(quilting) involved.
It looks soooooo soft;)
Fabulousness!! I cringed a bit at the thought of you cutting up those adorable dresses but the end result is priceless. 🙂
I LOVE this!!! Maybe I will have the patience to be able to do something like that for my daughter one day. 🙂
Beautiful!!! I have wanted to make one of these for my kids for so long now! You always inspire me!
I have to do it! Thanks for the tutorial and inspiration! 🙂
So adorable! You are so talented and that was such a great idea!
Looks great! I know she’ll enjoy it! My mother made quilts using the scraps from the clothes she sewed for us. The memories are wonderful.
It’s really pretty and has inspired me to make one for my daughter. I like the rounded/serger edges a lot. Nice job.
I’ve been waiting to have this done for my daughter as I’m not a sewer but I may give it a try now or at least cut out my own squares. Would this come out OK with wovens & knits? I have been saving her favorite outfits since birth & wouldn’t want to pass up all the beautiful wovens. So glad you are feeling well enough these days to tackle such fun projects! 🙂
I love the serged edge. The whole thing looks fabulous.
love love love!!! what a cherished keepsake… and so cute at the sam time. i wanted to meet you last week when i was in palm desert… but no car, it was 100 degrees and we were with my mom… next time for suer. i know you don’t know me, but for some reason i believe we will meet. like thousands, i am truly blesssed to follow your story. tracy fisher gig harbor, wa
I’ve been wanting to do this for so long!
Thanks for the tutorial.
I’m in the middle of making my own t-shirt quilt out of my husband’s old baseball t-shirts. My enthusiasm had stalled, but I have new energy after reading this. I love the serged edges. Thanks for sharing this!
What a sweet way to save memories… mine are just stuffed in a bin – maybe I need to start getting creative!
How precious and sweet. I love it Ashley! 🙂
Spray starch instead of interfacing: Brilliant.
I have saved all my daughter’s dresses/outfits that I made her from the time she was five until she was twelve. I have always wanted to make a quilt out of the fabric, but have never taken the plunge. You just inspired me to get out those bags of dresses and try my hand at it now. Thanks for the step-by-step tutorial. By the way, my daughter is now 23 with a daughter of her on and another on the way.
*own
So pretty! My mother-in-law passed last summer, and I have been making memory quilts for my in-laws. I love the idea of the spray adhesive. I always have trouble keeping things lined up. That is brilliant. Two down, three to go.
Oh, I wish I had the desire to learn how to sew or at least a mom who could sew this for my kids! I love it!
Ashley J – there are companies that can make the quilts for you. Some are pricey, but if you don’t know how to sew it might be an option for you.
I have boys & saving all their sports uniform shirts & other special items to make them a memory quilt from, you definetly made it less daunting of a task 🙂
You Rock!!!
Amy
Still praying for great labs 🙂
What a great idea — to do with all those tshirts that have memories attached. A lot of work and looks so great!
Beautiful! Love it! What a special treasure for your daughter to have for many years to come! I still have blankets and clothes that my grandmother did for me (42 years ago) and I love them! Beautiful work!
Sending prayers and hugs your way!
Michele
I have been wanting to do this for my children for YEARS! Thank you for the post and the inspiration 🙂
Dude, this is awesome. Thank you for sharing how it was made.
Wow!! This turned out great!! Fantastic job!
LOVE LOVE LOVE LOVE LOVE!!!!! So awesome:):):)
My question is… How long did it take??:)
Probably about 6 hours total 🙂
1st place award! I love it! I am a quilter but do not belong to “quilt patrol”. :). We have quilts my mother-in-law did years ago that are tied in the intersection!
I am happy you didn’t interface – love soft cuddly quilts! The tutorial is great – I
Will be using some of these techniques
and also a great summer project for my grandloves !
Love the pic where Boo is gently moving around the quilt! 🙂
I do this when I am arranging and rearranging blocks !
xoxo to you!! Great job!!!
What a beautiful quilt!! I’m a total novice and may be asking an obvious question but what’s interfacing? Also what does the spray starch do? I don’t really see spray starch here in the UK.
I would love to make one of these for my girls thanks for inspiration it’s been a tough year here and you’re keeping me going.
What a great job you did! This looks fantastic!
This is absolitely gourgeous! Such a great way to preserve all of those memories! Thanks so much for the tutorial! I love reading your blog everyday and am glad you are recovering 🙂
so FUN & Precious!! Good Job Ashley!! 🙂 My Grandma made a quilt out of some of her old shirts – but she made them in the shape of a Girl in a dress. (that was the center of each square) I still have it & my daughter uses it on her bed in the winter! 🙂 It’s fun to look at all the Girl dresses & think of the shirt she wore in that pattern. maybe I’ll send ya a pic. 😉 (maybe) lol
That’s so cute and colorful!
She’ll sure enjoy it, especially when she’s older.
I wish I had a childhood dress quilt with all the fun patterns of clothes I wear. Sometimes I think people have to prove to me that I had a childhood… it’s so easy to forget those times. This quilt and all the photos and stuff you do for Boo sure will help preserve memories.
Ash, you are awesome. This makes me smile…and weep. Boo will always be wrapped in your love.
I’ve been meaning to do this with my AJGA golf towels! Back in junior golf you got a huge golf towel with the ajga and tournament logo for that week. These towels were like gold and the more you had, the “cooler” you were. I still have ALL of them, in mint condition!
I am so inspired to do this! Your quilt is so beautiful and creative! Thank you so much for sharing!
Love the quilt! I made one a couple years ago out of my husband’s running shirts. If I ever do another one I’m going to use some of your ideas — template and spray adhesive. Definitely would have made the process easier the first time!
Absolutely stunning! What a wonderful keepsake for your daughter! You are so talented. Blessings to you & your family.
Hi. Just a little tip when sewing your seams. If you sew on row together and press all the seams one way in the same direction (don’t open the seam and press it flat). Sew the second row together and press the seams in the opposite direction. then, when you are going to sew the rows together, line up the seam and the kind of slip together perfectly and every seam matches. then press those seams one row one way, the next row the other way. very easy.
So awesome. And it is gorgeous!
I love this. I have been saving my kids tshirts from sports and school activities to make quilts like this. Thanks for the tutorial…now I have no excuses to not make the quilts!
Kendra
I love, love, love this idea. But I stink at sewing t-shirt fabric. Also, was each square the same kind of material?
Very pretty, well done.
Dang! About six months ago, I got rid of a lot of tee shirts because I never got around to making something out of them. I couldn’t find a tutorial easy enough to follow. Now you tell me how to make a quilt easily!!! We have tons more tee shirts or I may start buying tee shirts just to make a quilt like this one! Thanks
Sin palabras! queda impresionantemente bonita!!!!! y además llena de recuerdos!!!!————————
No words! is breathtakingly beautiful!! and also full of memories!!
I love it!!!!!
Wow…I don’t sew but I seriously think I could make this. I have rubbermaids full of clothes from the time my two daughters were born up to today; they are 23 and 20 years old. Also, their loving father and my awesome husband passed away from cancer september 2011 and I’ve been wanting to do something with his t-shirts, now I know what I will do. Guess I’ll dust off that sewing machine my Mom gave me YEARS ago and figure out how to use the darn thing. Can’t wait to post pictures of my creation thanks to your awesome tutorial! Hugs and God Bless!
I just love your photos, they arer so helpful!
http://www.decorellaknox.com/2012/09/how-to-make-t-shirt-quilt.html
This is adorable! Thanks for sharing!
Love this!
How do you keep the quilt batting from bunching up when washing?
Oh my word, i have been saving my 3 boys clothes for yrs.. (My eldest is 12) I have wanted to do this, thankyou for the tutorial, hopefully it will help build up the confidence to finally do it..