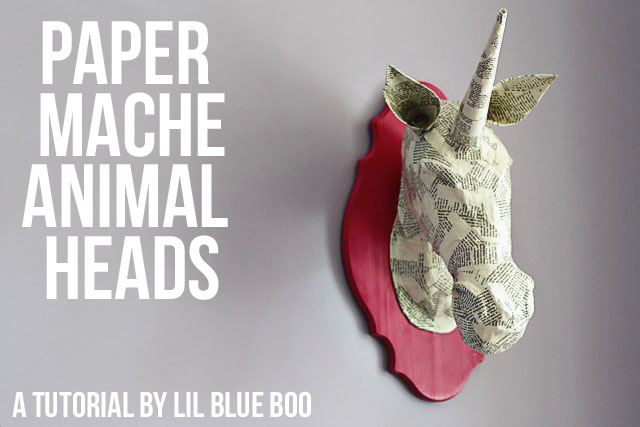
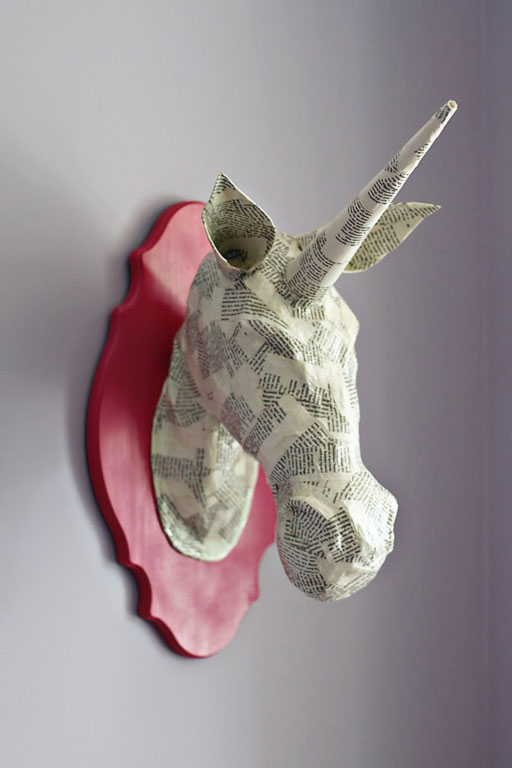
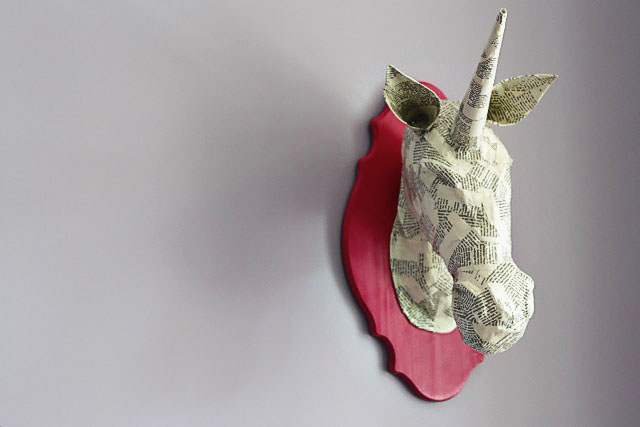
Another addition to Boo’s playroom….a paper mache unicorn head! It took about 4 hours total to make….over 3 days. I love that it’s whimsical 3-dimensional artwork appropriate for a child’s room.
To make the animal head I started with newspaper and masking tape:
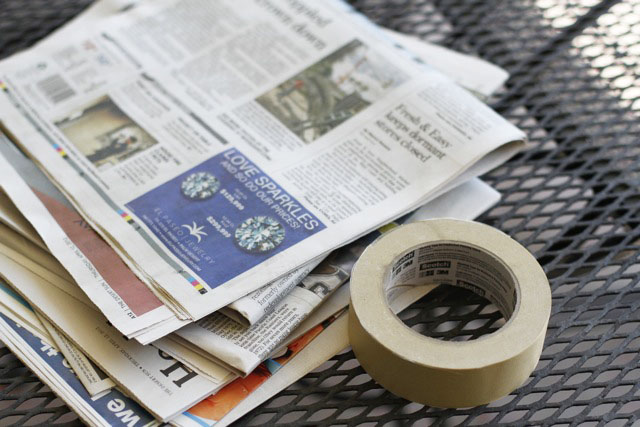
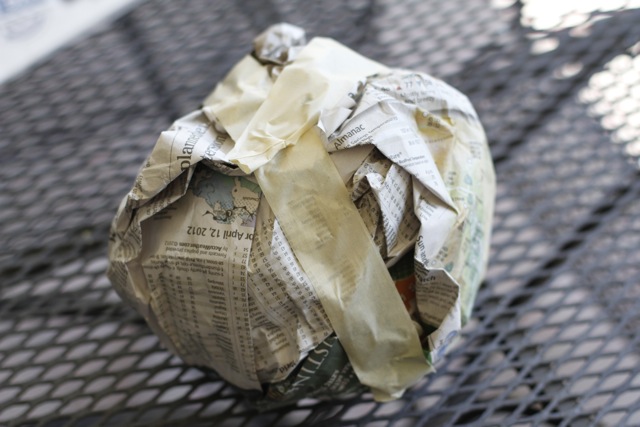
I crumpled up newspaper and kept wrapping it into a ball until it was the size needed and secured it with masking tape:
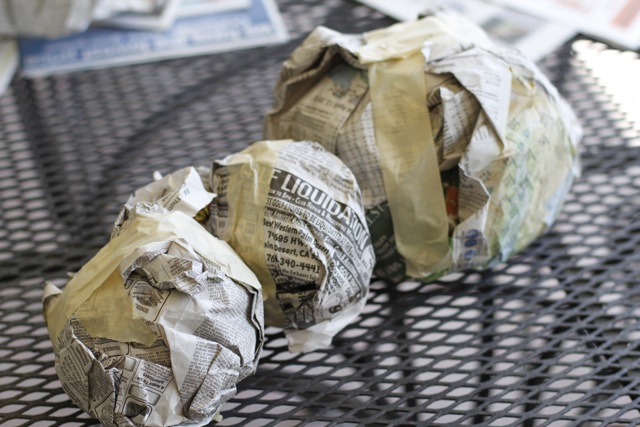
I made three different sized newspaper balls to make up the entire head…..
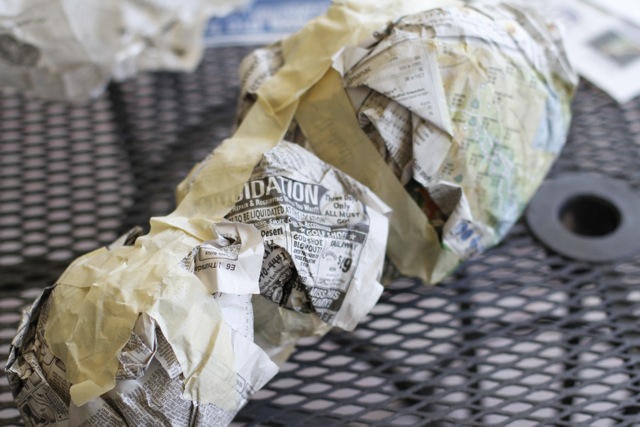
….and secured them together with tape.
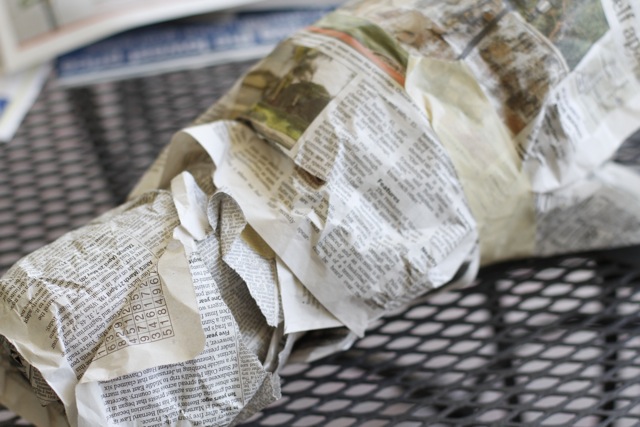
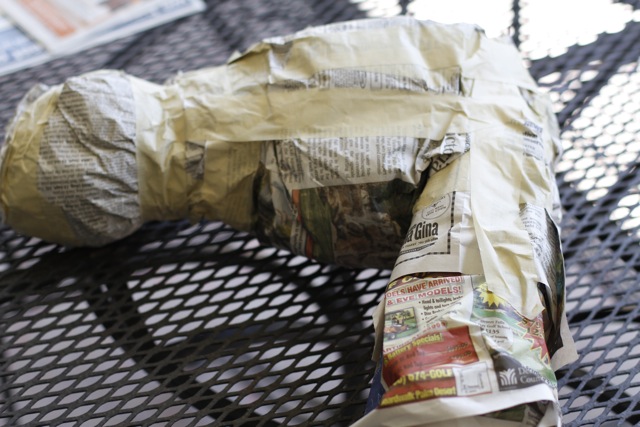
I wrapped the pieces in newspaper to help secure them and used tape to contour different sections:
I formed a neck out of newspaper and attached it:
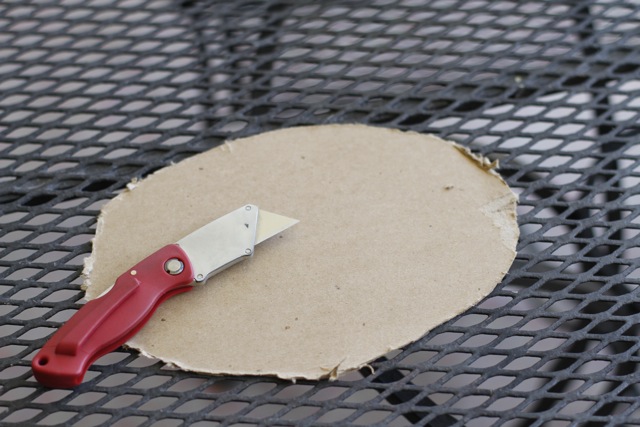
I cut a heavy piece of cardboard to be the backing for the neck (the flat piece that will lie against the wall when mounted):
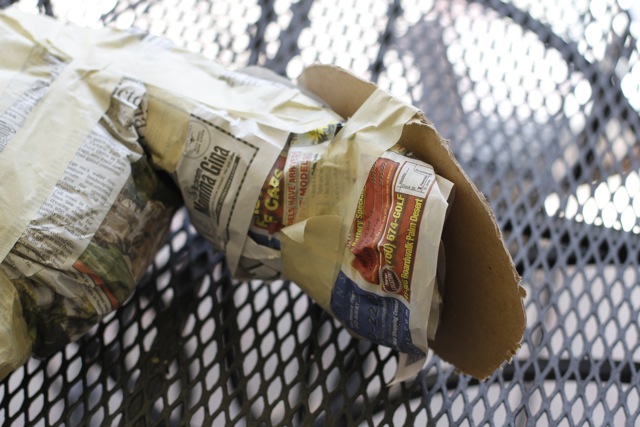
The cardboard was secured with masking tape:
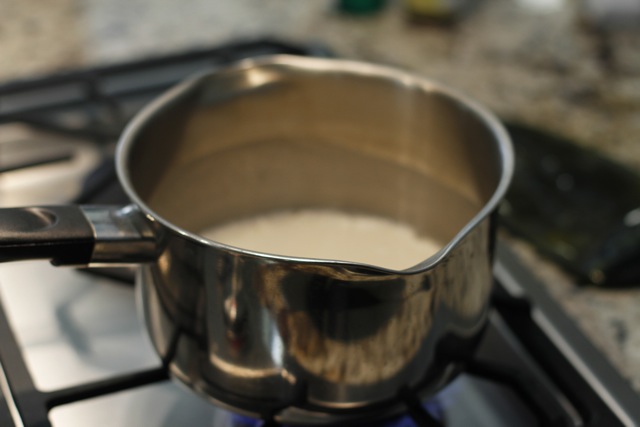
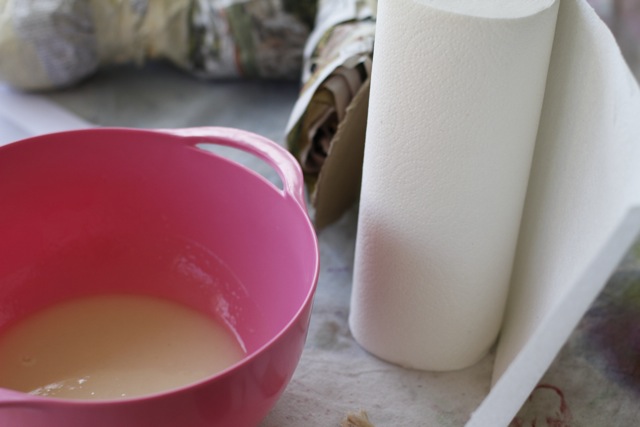
I use a boiled paste for my paper mache mixture. 1 part flour to 4 parts water works for best for me but you can experiment with your own mixture to see what you prefer to work with. I bring it to a boil stirring constantly until it’s a soupy mixture.
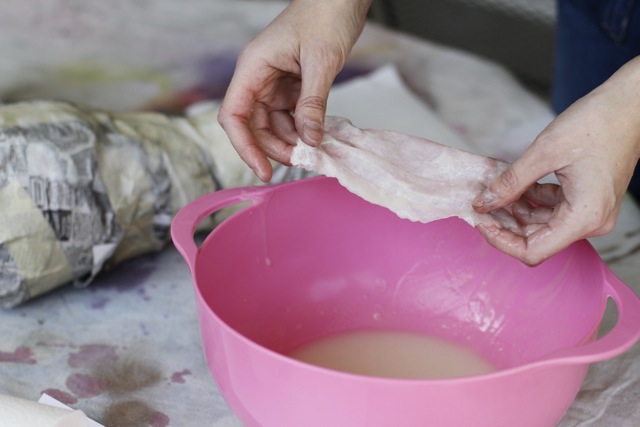
Pouring the soupy paper mache into a bowl I let it cool for about a minute and then start tearing paper towels into small pieces. I use paper towels because they are easier to sculpt.
I dipped pieces of paper towel into the mixture…..
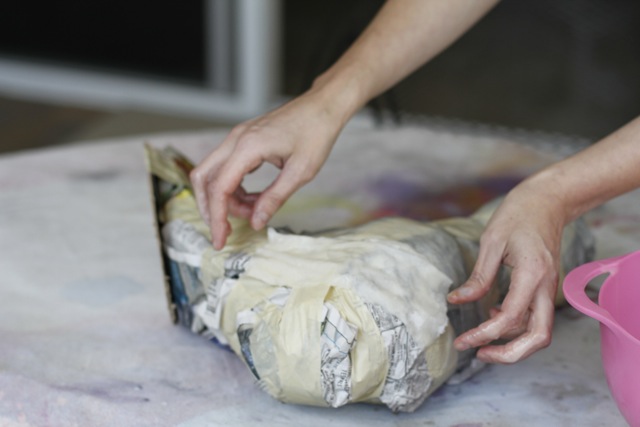
…..and then slowly covered the entire head.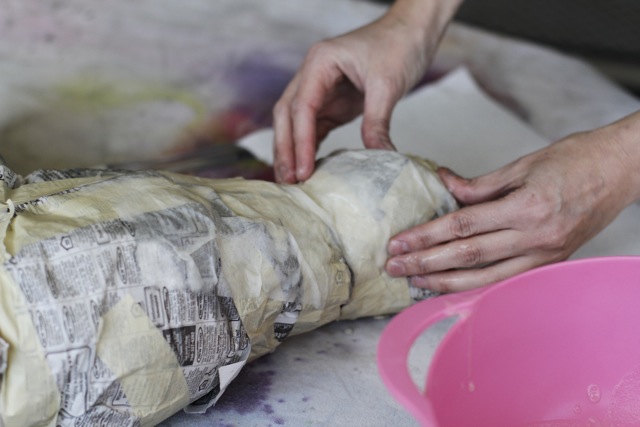
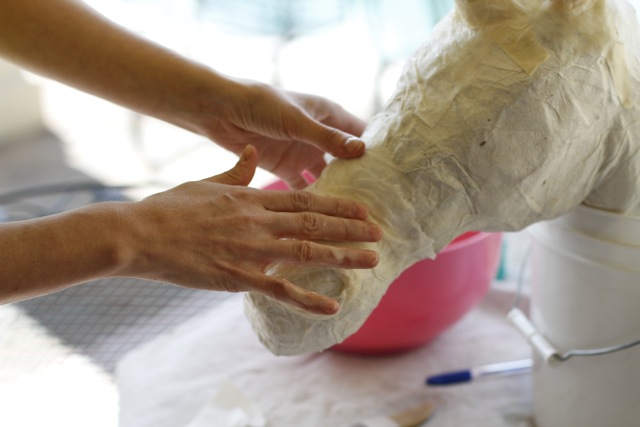
I press and sculpt the head as I go to give it the shape I want:
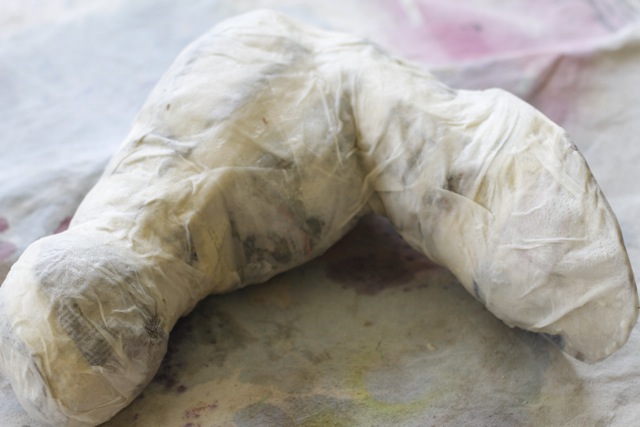
Once the head has been coated completely I let it completely dry overnight:
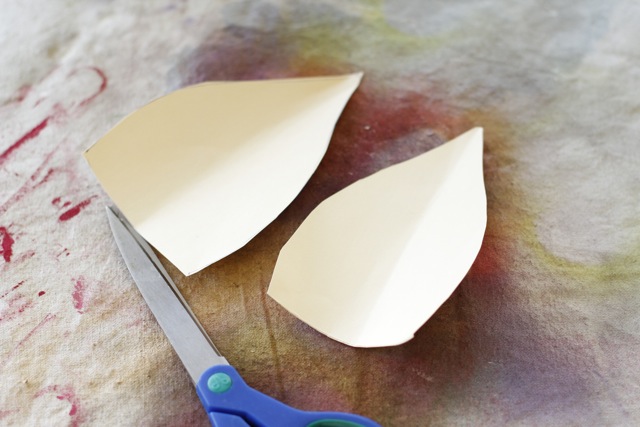
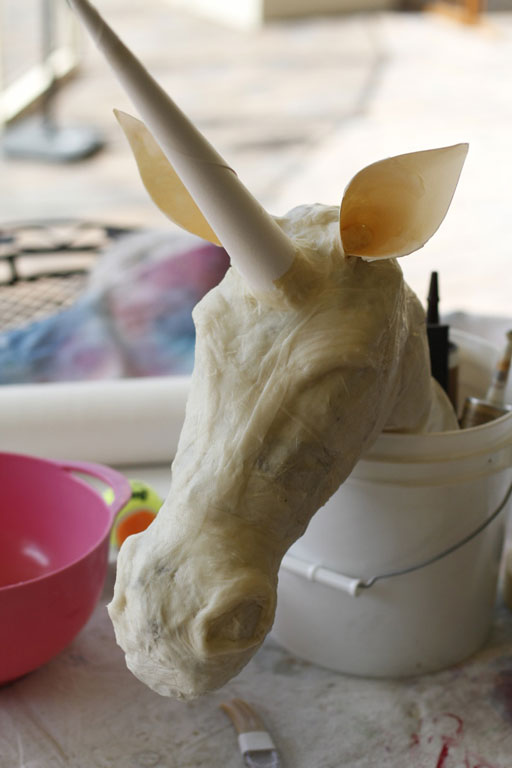
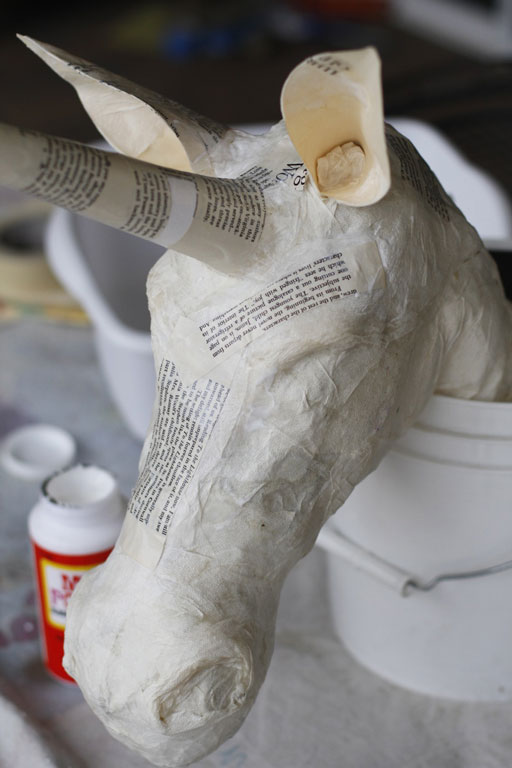
The next day, I cut out some ears…..
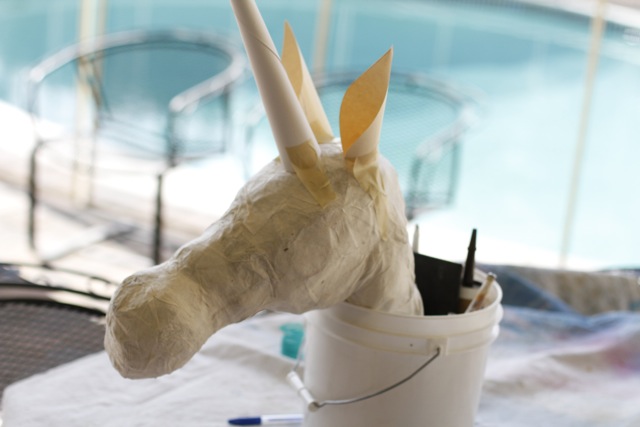
…..and made a horn by wrapping a sturdy piece of paper into a cone. I used masking tape to secure them into place.
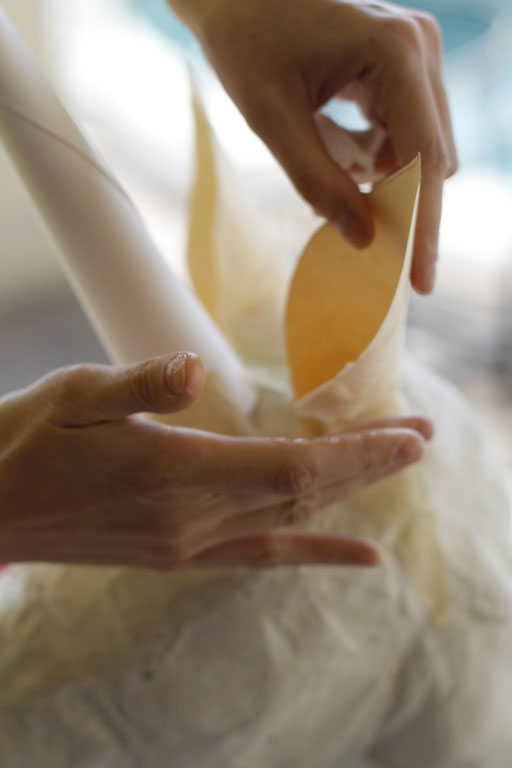
I made another mixture of paper mache and used paper towel pieces to secure the horn and ears securely to the head:
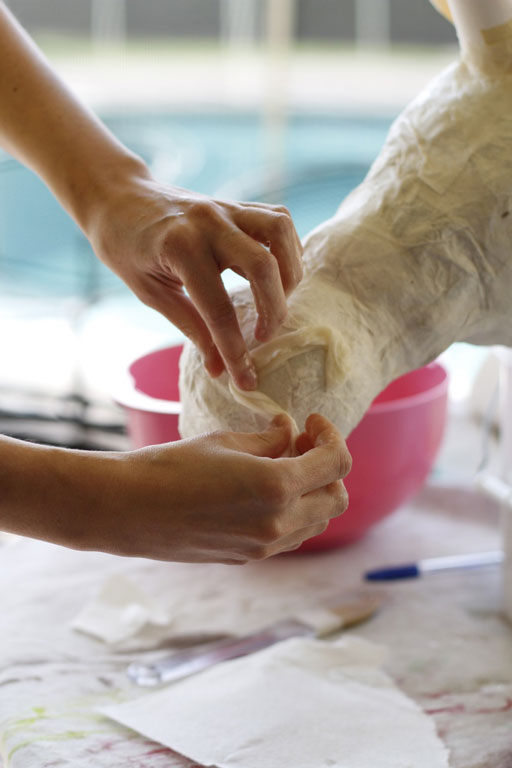
Paper towels are great for sculpting….so I used pieces to create nostrils and more bone structure. It doesn’t matter what it looks like except for the basic structure because I’m adding another layer of nicer paper on top for the finish coat.
I built up layers and layers until the head looked like I wanted it to.
Then I let it dry overnight again!
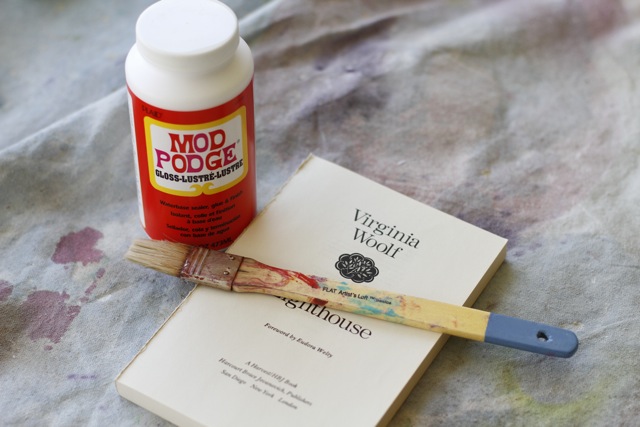
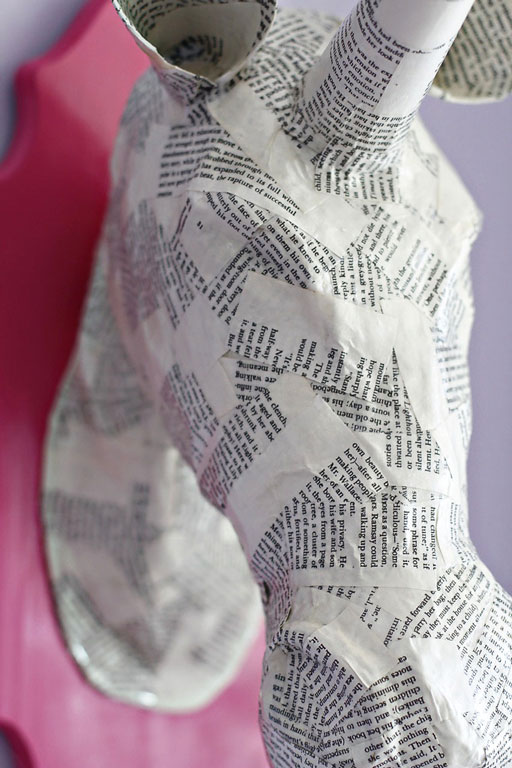
After the paper mache form had ample time to dry….I took an old book and some Mod Podge and used it to cover the entire form.
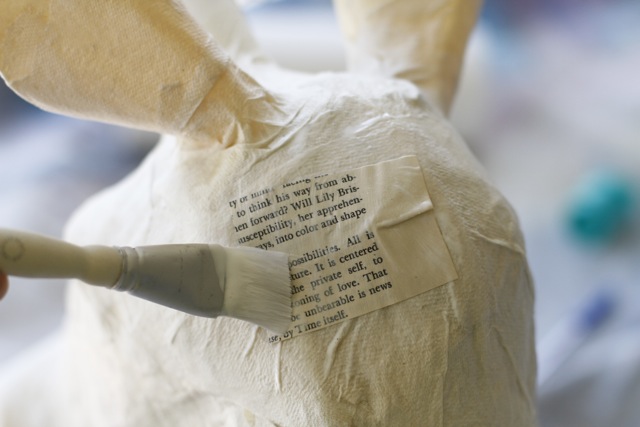
I cut up the pages into small piece and just started layering them over…….
….and over…..until the form was covered entirely.
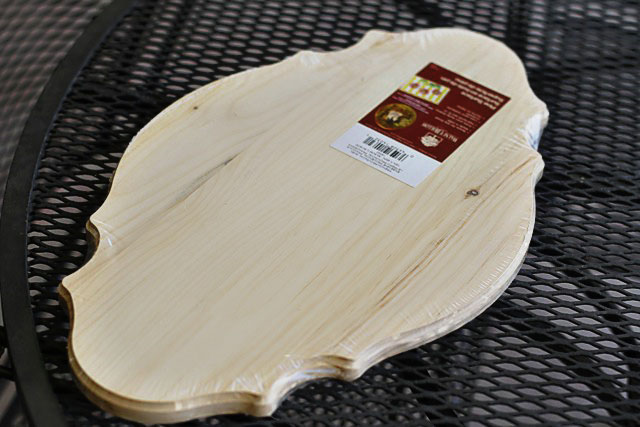
I bought a pre-cut wood plaque from Michael’s for $5.00 using my 50% off coupon and spray painted it hot pink.
The final step was to attach the unicorn head to the plaque! I used industrial glue and a staple gun to secure it. The staples are easily covered with some more paper and Mod Podge.
I can’t decide what animal to make next!
Check out the entire Project Playroom series by clicking the image below!

I freakin’ LOVE this, Ashley!!! I can hardly wait to get started on one for the boys’ room and maybe even our room. Thanks for your amazing talent, friend!
U could mass market these! I love the idea of putting it in a really serious, traditional room as a surprise element! Great job (as always!)
Thank you soooo much Ashley. You are brilliant.
Amazing! How fun for your daughter.
Yay!!! I’m much too excited about this I’m sure but really really glad you did a tutorial. I’ve wanted a moose head with sparkly antlers for my wall since seeing on on pinterest but those things (even not sparkly) are pricey! Maybe sparkly moose will have a sparkly unicorn friend.
Genius! I’m gonna do it. I glittered some antlers that we found and was gonna just mount those on a board but I like this idea now. Thanks for sharing all the steps.
You are seriously amazing! I LOVE this !! xx
This is so cute, very talented my dear. My granddaughter would love this, so may just try to make one. How you feeling keeping you in my prayers 🙂 as always.
This is incredible! Love it!!!!!!!!!!!
This is awesome!!! I love paper mâché but don’t do it nearly enough. Love this!
This is brilliant! my daughter so wants one of these for her wall. off to raid my recycling bin for newspapers 😉
Thankyou for sharing this, hope your feeling well x
Ashley, is there any type of craft or project that you don’t “EXCEL” at????
You come up with the most adorable projects, and the range is endless.
From sewing, to leather, to paper mache, etc. etc…………………………
Your imagination is so incredible, but the thing about it is that you do such an incredible job and anything you do! Your latest creation of the unicorn is unbeliveable.
I love subscribing to your blog, I find it so inspiring. You are an wonderful craftsperson, wife and mother.
Thank you for sharing all your “goodness” with your fans in blogland.
Bless you Ashley and your beautiful family.
Have a great week.
I fell in love with paper mache back in the 60’s when I was in college taking an art class, this makes me want to do it again. Beautiful job. I really like the book pages as the final layer. Take care.
Ashley – – this is simply amazing. I love it! I haven’t done paper mache since probably grade school sometime, so I’m not sure how awesome my sculpting abilities would be at making a unicorn head . . . but your tute sure makes me want to try! You’re the best. 🙂
I feel like you READ MY MIND! I’ve spent the past few weeks googling “paper mache unicorn” because I want to make EXACTLY THIS THING for my daughter’s room. And here you’ve got it all neatly packaged in a tidy tutorial just for me.
I love you.
You seriously amaze me. You are an artist all the way to your soul. I’m glad “met” you here in cyber-space. I love that you captured the exact moment your creation went from odd pieces of paper mache to the obvious beginning of a lovely unicorn. It was like watching the beginning of life!
I am so trying this ! Your blog is the best and I wish you health and happiness . You are so talented and such a strong person . Such an inspiration !
That’s incredible! I’m pretty sure mine would not turn out looking that fab! Very, very cool.
Great job on this head! Really nice work! Thank you for sharing!
How cow girl! This is fantastic! Next I want to see an Elk ha! I wish I had seen this before I bought a cardboard one 😉 Though you are much more artistic then I and mine would probably end up a blob with my kids asking what in the world it is 🙂
I LOVE this. However, it would just love very, very sad if I attempted it.
You are truly talented!
Make a giraffe!!
What?! Only you would go and create a unicorn head. LOVE IT!
That is freakin’ amazing! You rock!
~Beth
That is great! I’ll have to pass on this one. Paper Mache brings back 8th grade memories of my art teacher giving me a pity “B”; 1986 version of a participation award I think … It was so God awful.
I just don’t think she had the heart to crush our dreams. Out of 130 8th graders, there were like 6 really gifted kids.
If only she could see my Draw Something “talent” – she might feel a little better about her gimme grades
Eventhough your talents never cease to amaze me, I’m afraid that this is one tutorial that I am going to have to pass on. Hope you had a great day!
Love ya,
Beth
So awesome – and the possibilities are truly endless! Thanks for the great how-to – I would never have guessed that you started with bulky balls of newspaper!!
I love it! Such a wonderfully creative idea. Beautifully done!
Impressive! I tried a paper mache dressform a few months ago and my results were pretty pitiful, so I am quite impressed with your talent. Also, love the pink background.
You are so talented!! The unicorn looks great. Love the idea of paper towels. We’ve made pinatas but never a sculpture, so this will be a fun project! Thank you for sharing! 🙂
You have an amazing talent for creating things! You are truly a blessing.
Genious!!! I love it!!!!
Thank you for sharing that! I´ve got to try sometime!
Wow! It looks A-MA-ZING!!!
But can I just say ….. I have made stuff out of paper mache for kids school projects, and they have Never come out half as nice as your Unicorn head, lol!!!
You def have a talent at all things creative!!! xxxx
Oh Ashley,
Is there anything that you aren’t great at? Wonderful tutorial.
Blessings,
Shelley
Que cosa mas bella!!!!
En el post anterior vi el unicornio, y me parecio que era una taxidermis de caballo, y que le habias agregado un cuerno.
ES PRECIOSO!
i’m not sure mine would ever look that great. that unicorn is perfect and oh so adorable!
This is really cute! I could use some fun decorations like this for my classroom!
What an awesome project! Very creative!
Okay, too complicated for my blood, but I LOVE IT! So great. I hope you are feeling well… seems like you have some of your energy back.
This is truly inspired!! Thank you so much!
You are so talented!! This is super cute!!
i love this! and a unicorn would totally be my first choice! i saw a tutorial very similar to this on vintagerevivals.blogspot.com last year sometime. anthropology sells them for about a gagillion dollars! she made a rhino head!
Woman, you are so insanely talented!! I know God blesses each of us with our own special skill sets, but your cup overfloweth! Great work, Boo is a lucky duck to have you for a mama 🙂
This is phenomenal! Absolutely incredible!
I really have to do this!
Catherine
YOU ARE SO TALENTED! I WANT TO COME LIVE AT YOUR HOUSE 😉
You are one talented lady.
Oh lovely idea!!! I really love your tutorial!
You’re a really great sculpture. My unicorn head would have turned out to be a really large clothes hook.
WOW! What an amazing DIY project!
Seriously and totally cool! What a fantastic project. I know what I’m doing next week thanks to you! Thanks for the inspiration and how-to.
This is so cool! It looks great. And the fact it’s a unicorn makes it even better!
I am now convinced that you can make absolutely anything! Love it!!!!!!
Thanks so much for this tutorial! I made one for my best friend as a graduation gift. She’s getting an MFA in Creative Writing, and this was so whimsical and appropriate–she loved it!
Wow!!! ♥LOVE♥
I will try this with my students! Will try other animals head! Thanks
I am doing this right now! I’m making a chihuahua and a giraffe. So excited!
This is amazing and you have so much patience!!! Seriously.
I love this, but I can’t find a similar mounting plaque. In what section of Michael’s did you find yours?
You should be able to find them in the section with all of the wood material. Take a photo to Michael’s and they should be able to help you find one 🙂
Thanks for the tutorial! I never thought to use paper towel as a paper mache medium, and it works much better than newspaper. I made myself a moose bust, which I featured on my blog and tracked you back as a reference.
Love your website!
This is AMAZING! I was desperate for a faux deer head like some I have seen on etsy. I bought a fake furry deer head but it’s just creeping me out. Now I can make my own instead! Either a deer or a rhino.
Thanks for a great tutorial and I lurve the colour and text combo – well done!
I am curious about where you found the plaque. Can you get them at Michaels or Joanns?? This is gorgeous!!
Hi Liz, I got this plaque at Michael’s in the woodworking section.
Thank you so much! I was going to make that myself. That would have been a waste of time!!
I can’t believe you came up with this idea! It’s so unique. 🙂
I fell in love with these at Anthropologie but didn’t want to pay the $70 they were asking… this is my weekend project. Can’t wait!
i love it
Love, love, love your unicorn! What a great tutorial too, thanks! I have this linked to my animal art post as well today, for inspiration!
you should totally make a peacock
Thank you so much for this post. It is absaloute genius.
I am about to have my first baby and desperatley want animal heads in their room. I have been searching around the internet and the prices of these heads shocked me. So, your blog post has been my life saver.
Would you mind if I pop a link up to this post on my blog please?
of course! thank you so much!
Hi !
I was inspired by your project to make different animals with my students. Check it out!
thanks for all your creativity, it keeps me going!
Saludos, Cristina
Hi! I just wanted to let you know I mentioned this post on my blog. I made the picture link back to your site but if there is another way you would like me to link back please let me know!
Thanks,
Jillian
Very very cool. I have adapted your paper mache’ method to make Christmas angel bodies.
I made the angels wing shape base of heavy paper and then (many!) feathers were cut out from regular weight paper and glued on. A little gold spray paint and WOW!
Thanks and may the spirit of creativity and joy surround you always.
Happy Holidays!
I’ve been wanting to make something like this for a while, thank you for the details tutorial!
The paper towels are a great idea. I’m sort of fascinated that you used a classic book for the top layer. To The Lighthouse is one of my favorites, I don’t know if I could ever cut into a copy…. but it is pretty cool to find snippets of recognizable text on a piece of art.
Um i have done everything up to the first day. So i let it dry and its still really wet. How do you make the paper mache mixture exactly?
Do you live in a very humid area? I just mixed flour and water on the stove top to make soupy mixture. You could try using a hairdryer or put it out in the sun to speed it along.
This is amazing! I love it!!
http://www.mariacroqueta.blogspot.com.ar
I love this.
I need a unicorn head in my life!
Amazing! You are talented and very nice to share. I can see many reasons I MUST try this! LOL Thanks
you should have pinted it
You could definitely see your enthusiasm within the article you write.
The sector hopes for even more passionate writers like
you who aren’t afraid to mention how they believe. At all times follow your heart.
if only all tutorials on the internet were as thorough and simple! This is soo cool. I will try this and let you know how beautiful and easy it was as a direct result of your phenomenal tutorial : )
paper towels, your idea? GENIUS!!!!! AB-SO-LUTELY!!!! I have been making variations of these and this is a bit delicate but much better for weight, quickness, and nicely realistic….LU-UU-UU-UU-UVVV! thx so much for sharing…definitely trying!! ~smiles~
btw….pinned many times…wink & smiles….
So cool! Using this to inspire a middle school art lesson!!
Yay! Thanks for this tutorial! I was having flashbacks to my high school art classes while I made it.
See mine here:
http://thingsthatfloatmyboat.blogspot.com/2013/12/faux-and-mini.html
Thank you for your excellent tutorial. I used it to make a raindeer head which I set into a Christmas wreath on the wall. I used two branches for the antlers. It looks very funky with a touch of Christmas
Could you please to a tutorial on a moose head? This is for a high school art project and is very important.
llooooooooove it tried it myself
This was the BEST tutorial ever. I’m in love with my new unicorn! I blogged about my attempt with pictures on my site if you want to check it out! Thank you for posting this!