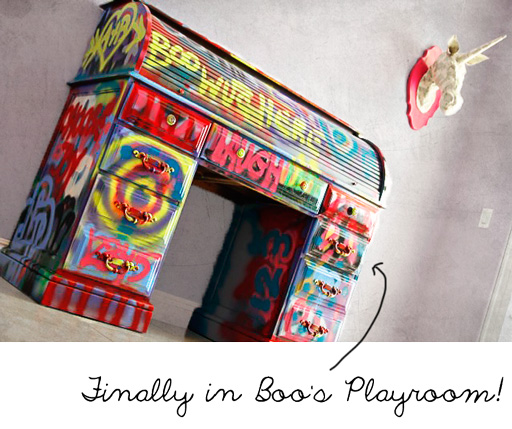
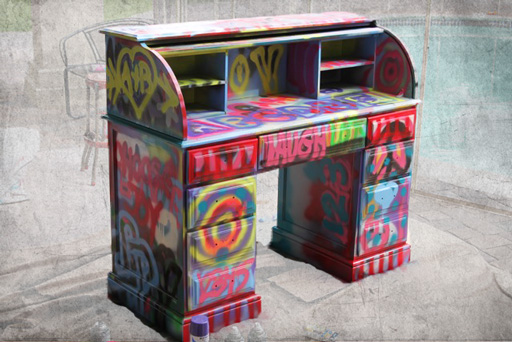
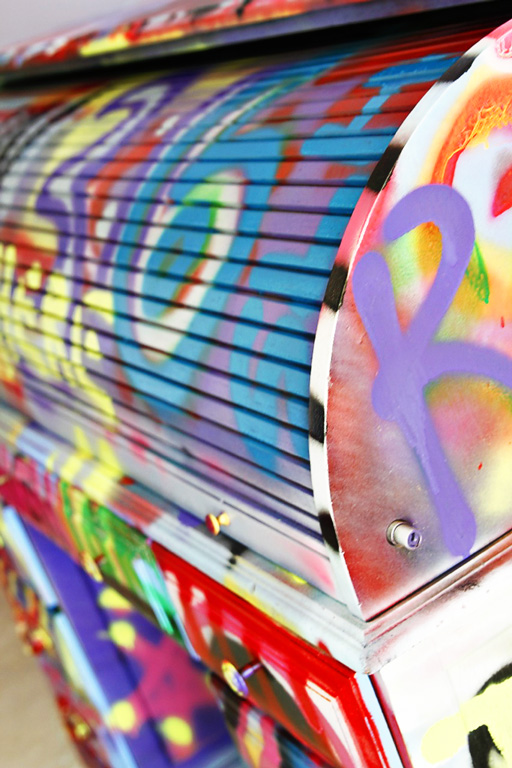
Boo’s graffiti-themed desk is finally finished and in use….it’s like a piece of whimsical artwork in her playroom:
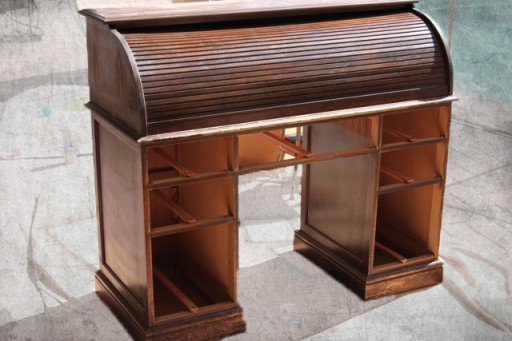
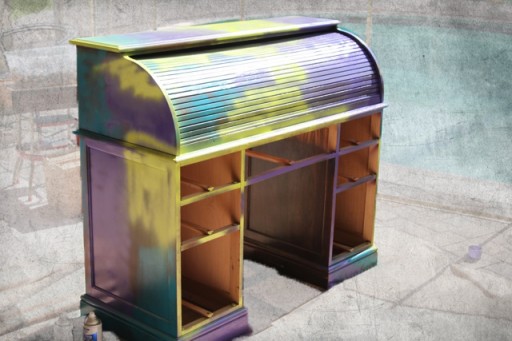
This is a super easy tutorial because if you mess up you just go with it! I started out with a $49 desk I found at the thrift store:
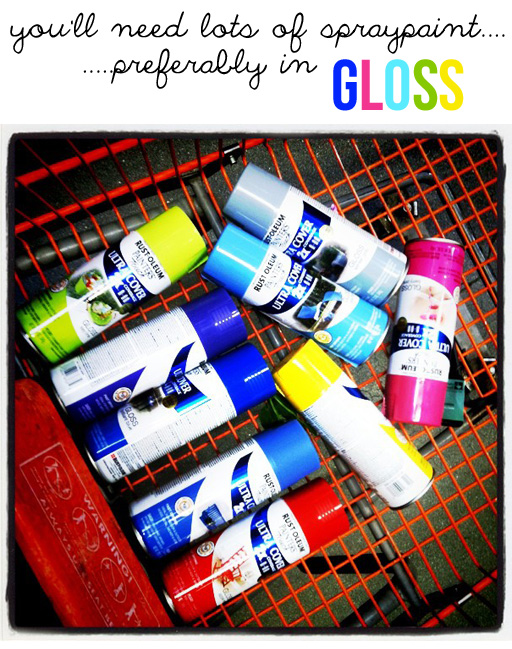
And spraypaint:
I coated it with a few different colors to start:
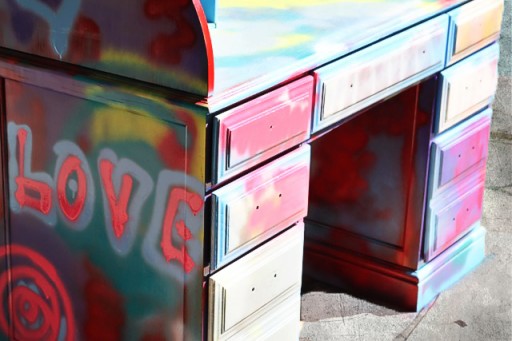
Then started adding different layers of spirals, words and drawings.
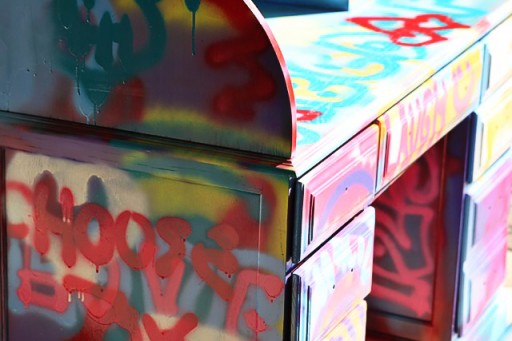
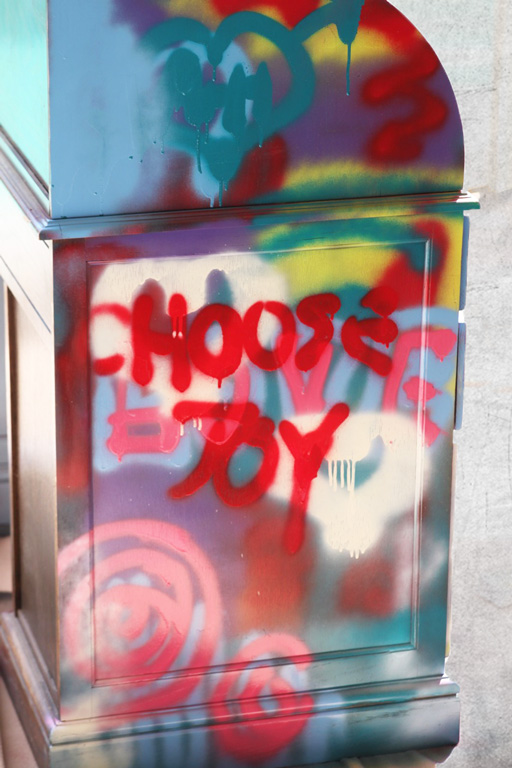
The trick to graffiti is to hold the spray can nozzle really close to your work….so it’s almost like writing. Let it drip! It adds to the effect!
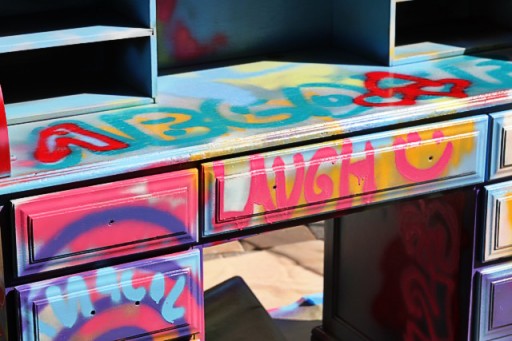
Keep adding words and layers until you are happy with the effect. If you mess up or are unhappy with anything just spraypaint some color over it and start over.
See how great the drips are?
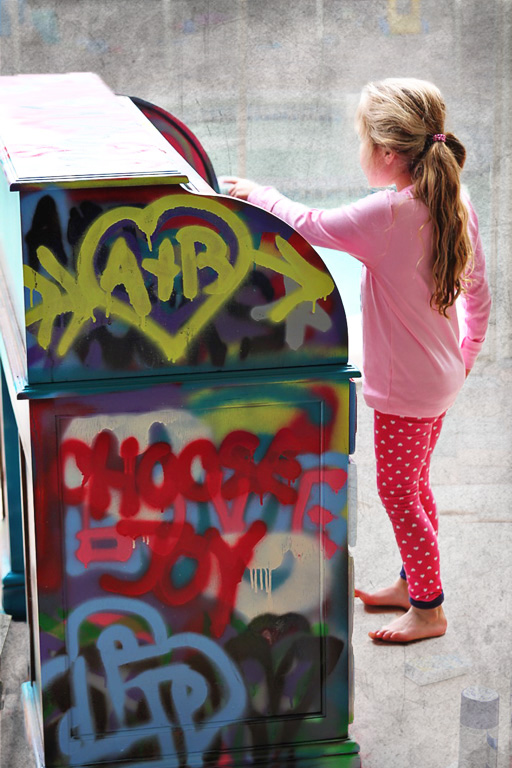
Boo inspecting the finished work:
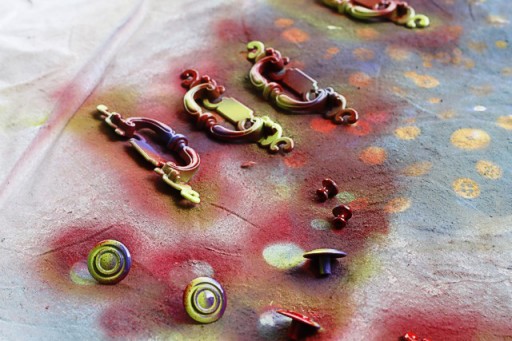
The old hardware was just spraypainted with a few different colors:
Tagged!
Leave it outside to dry for a few days so that the fumes disperse. Then move it inside!
The paper mache unicorn in the background was another project we did:
Check out the entire Project Playroom series by clicking the image below!


Super cute!!
Ahh!!!! Awesome!! My favorite part is her inspecting it out! AND the Choose Joy!!! Great job!
that is too cute! makes me regret selling mine on craigslist!
Just wondering how many cans of paint you used, Ashley?!?!?!
This is neat. I would love to do something like this with a bookshelf.
Not really feeling it, but to each their own…
This tutorial reminds me of that Muppet movie we watched a zillion times where all the muppets were singing in the old school bus painted like that old desk!
Possibly that old movie has been etched into the dark recesses of your mind and emerged on that desk! One never knows. Love you, mom