Ever wanted to try batik? Batik is a method of dyeing fabrics typically using a wax-resist to create patterns and designs. Here’s an easy way to get the same effect but without the hot wax. I’ve seen people use washable glue for easy batik, but the cold wax resulted in a much better effect for me: it dries quickly, provides a waterproof resist, and also washes out really easily. Instead of adding color using dye, in this tutorial I remove color by using bleach.
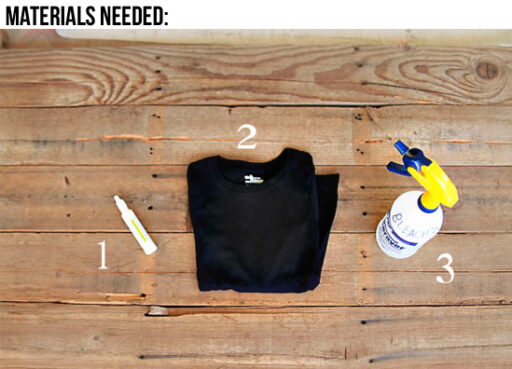
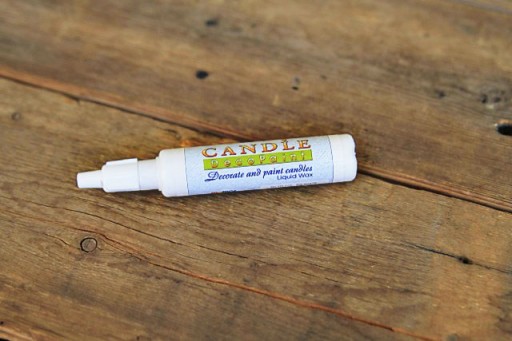
I used a Candle Decopaint Pen. It’s a cold liquid wax that applies in a similar method to puffy paint. It’s meant to decorate candles but it’s perfect for this kind of project.
(Source: I bought my Candle DecoPaint Pen here at Dharma Trading)
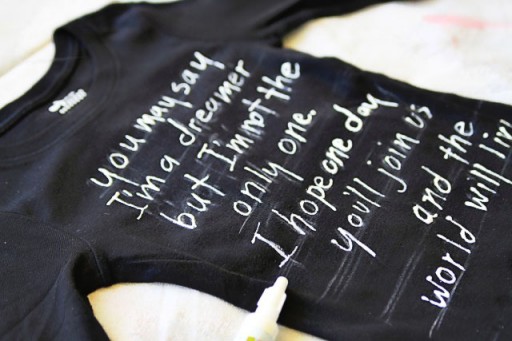
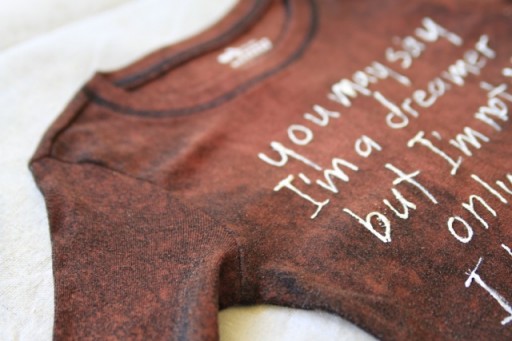
To create my design, I used some regular school chalk to lightly draw a template. You can add any design you want but I wanted to use some song lyrics. Then I used my liquid wax pen to carefully write out my letters. I let the letters dry for an hour.
Then, I took a spray bottle filled with a mixture of 3 parts chlorine bleach to 1 part water. Starting at the top, I misted my shirt with bleach and worked my way down to the bottom.
I sprayed more at the top to achieve this multiple tone effect. Once the spray was absorbed I carefully turned the top over to spray the other side so that the back would match the front.
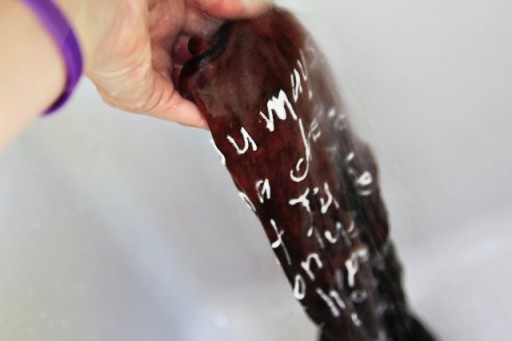
Once I saw the shirt begin to change colors sufficiently, I began to rinse out the bleach in the sink with warm water. (I recommend using gloves….I’m not being a good example here!) The wax lettering will begin to come off. I used a small kitchen scrub brush to help get any stubborn wax off.
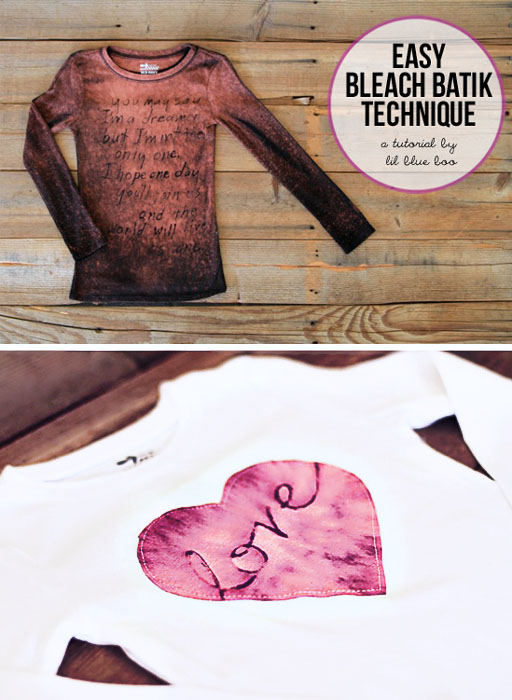
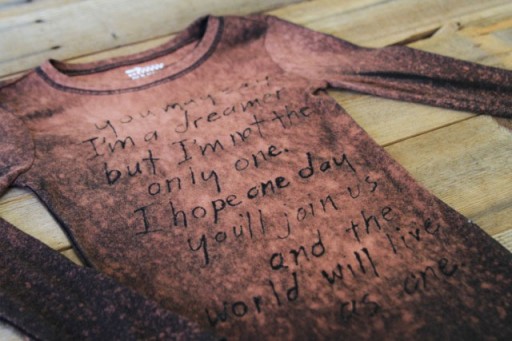
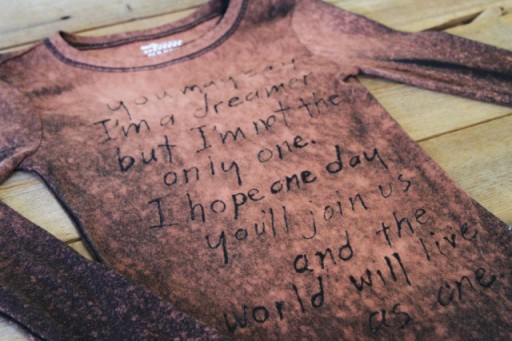
After all the wax was removed, I put the shirt in the washing machine with a small amount of detergent for a quick cycle. Here’s the final result!
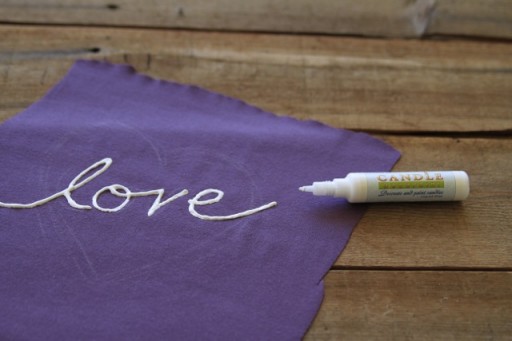
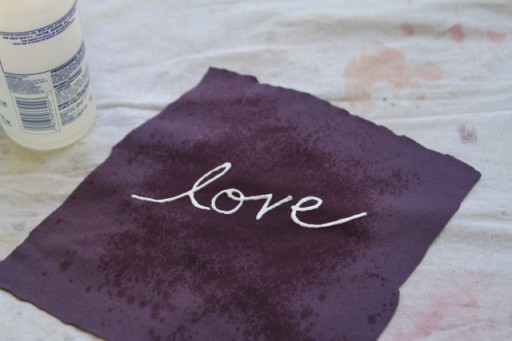
You can also use this effect on just pieces of fabric. I used a small piece of purple knit to make an applique. I started by just drawing out the word “love”:
Using a spray bottle, I sprayed a small amount across the wax:
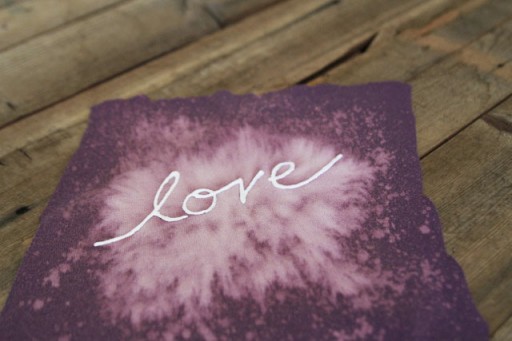
Here’s as the bleach removes color from the fabric:
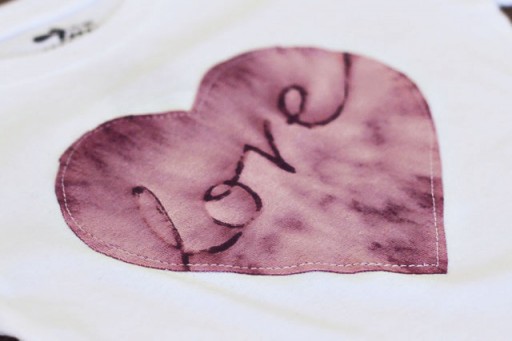
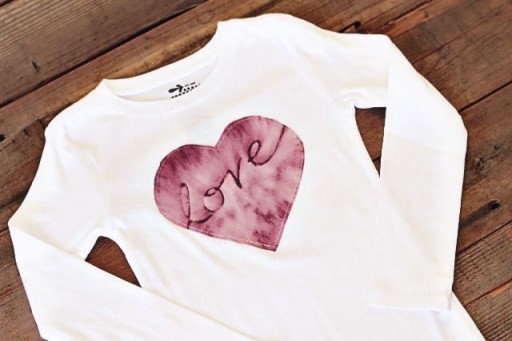
After the wax was removed and the fabric washed, I added fusible web to the back and cut it into a heart shape. I ironed it onto a shirt as a patch and sewed around the edges to make sure it would stay attached:
I love this one!
These song lyrics are from John Lennon’s Imagine. You can draw a picture, add a pattern, write out a quote or scripture etc. What would you add to yours?
Stay tuned for 2 more variations on this project in the next 2 days!



Wow, Thanks for this Ashley! This is looks so much easier than the wax/dye method!
It looks fabulous! Love the Lennon quote,too. I can’t wait to see the other variations.
Thanks for sharing!
Ahh! Love it! I’m going to make some for my kids and I! Ty for all the great dyi’s!
this is amazing! I’m going to use this technique to make floral shorts! (I’ll credit you of course 🙂 but the shirts look lovely!
Oh… these are fantastic! 😀
I am totally making one of these for my daughter and me!! I LOVE IT! Thank you so much for the fantastic idea 🙂
I’m so adding this to my list of MUST makes!!
Thanks for the easy to follow tut!!
You’re an inspiration to all!
Awesomeness! Quick question though. Do you put anything inside the shirt to separate the layers? Wondering about the bleach soaking through from the back side?
Omgoodness! LOVE,LOVE,LOVE THIS! The wheels are turning…thanks for sharing!
Love ya too,
beth
Brilliant, I tell ya! Must try.
I love this! I might even be able to do it.
This looks so simple, and I love the results! I’m going to have to give this one a try. Soon!
I just found this site on line and the pins are on sale for $1,,I ordered 3 white ones..shipping is only 4.95,,if you cant find then near you..just thought I would pass on this info..I am going to make my grandchildren shirts using this..thanks Ashley..
Devon
http://www.uchida.com/p-9-candle-deco-paint.aspx
LOVE THIS! thanks for sharing!
oh man, that rocks. easy and fabulous!
I have wanted to Batik for soooooooooooooo long….thanks so much…
the shirt you made is beautiful, i’d buy it at the shops if i saw it for sure.
Question: is there another way to get the same effect without using that liquid wax pen?
Thanks
I was wondering the same. We only have Wal-mart and Target in my city and I’m not sure if they carry them. I don’t want to have to drive so far away for something so small.
Love it, also love that song. I’ll be trying that if I can find a pen. That would be great to do a quilt as well.
Seems simple enough 😀
Love love love it…I need to do this. And I love the Lennon lyrics…
love, love, love it!!!!!! thanks for sharing your genius creativity!
Lady, I don’t have any children, but I absolutely love the projects on your site–so fashionable! Thanks so much for all your time and effort! 🙂
I. Ought the liquid wax from your link in this tutorial and prepared my shirt, wrote the letters in chalk on my t shirt, was all prepared to use the wax and after two letters it froze up on me! Clogged! I used a straight pin repeatedly but still. Oohing. I warmed the bottle over and over. It still nothing! I don’t understand it because I live in Hawaii with warm weather! How did you keep yours from staying unclogged?
I won’t recommend this to anyone unless it works. The idea is grat but the application is awful!
I’m not sure why it clogged up Deb. I used mine in hot weather too….but we have very dry heat…..and I didn’t have any problem with it. It flowed out just like puffy paint. Maybe you need to cut the hole larger in the top….larger than a straight pin. Otherwise any small particle will clog the tip.
Gorgeous technique, I really want to try this! I’m not sure I can get the cold wax pen here. I was going to try the glue method but it does sound a lot slower with the drying time needed. I like quick results!
Thank you, thank you, thank you ♥
This one gave me some idea for my next big sewing project.
Hi, all is going nicely here and ofcourse every one is sharing data,
that’s in fact good, keep up writing.
Wow, fantastic blog layout! How long have you been blogging for?
you make blogging look easy. The overall look of your site is wonderful, as well
as the content!
Hi there!
Love this project, thank you so much for sharing~ Was wondering if I use a white shirt with dyes…. should I still use the WHITE candle marker or should I use one with color? MANY THANKS in advance.
Hugs,
Carla
I have done a similar project only instead of wax we used a mixture of flour and water (mixed until it was about like pancake batter), put it in squeeze bottles and applied to our shirts. Let the shirts dry for at least an hour. The mixture hardens. We used fabric spray paint but I am loving the bleach look as well.
Love this! Thank you so much for the tutorial. I can’t wait to use it on my clothing.