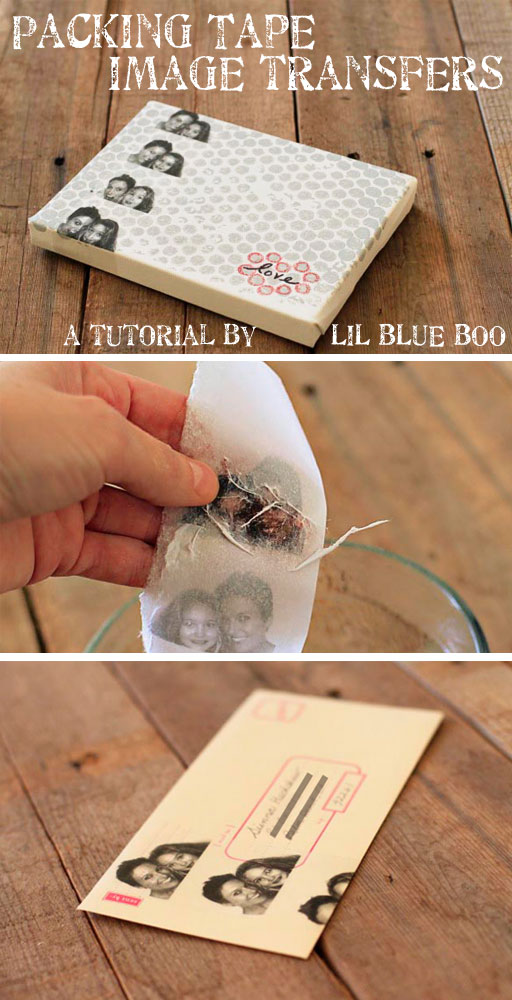
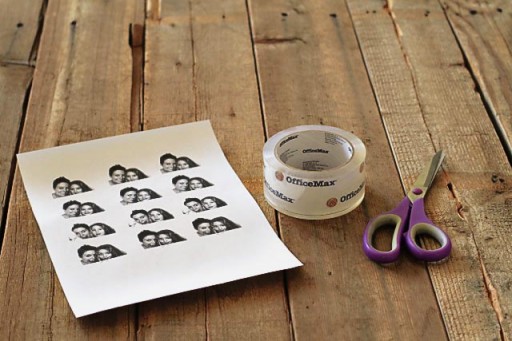
I love image transfers. It’s something I’m always using in my journals but there are so many other fun uses for them. All you need to make a transfer is a photocopy of an image or words and packing tape. You can also use printouts from a laser printer or magazine pages. Inkjets will not work because they are not heat based toner. So take some photos to the copy machine or tear some pages out of your favorite magazine to get started.
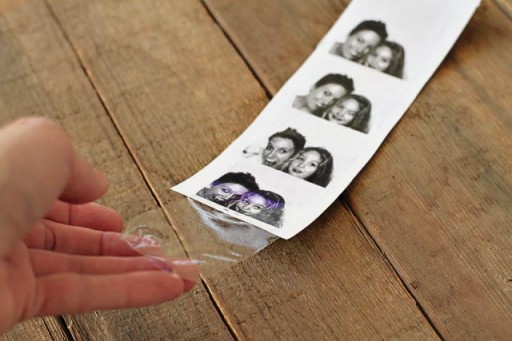
First, take a strip of packing tape and place it over the images you want to transfer:
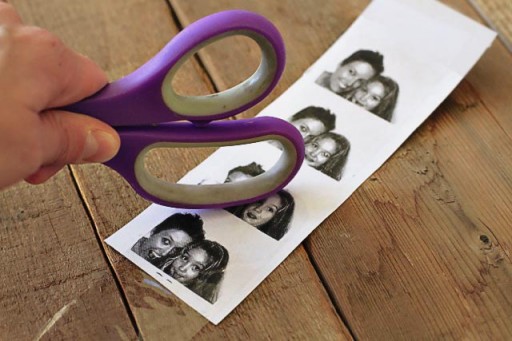
Then use the back of your scissors or the side of your fingernail to make sure the tape is adhered firmly:
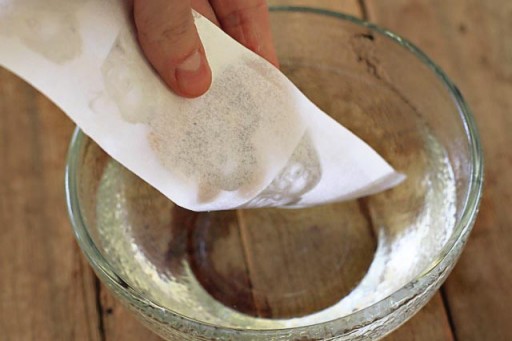
Next, dip the tape and paper into a bowl of water to wet the back:
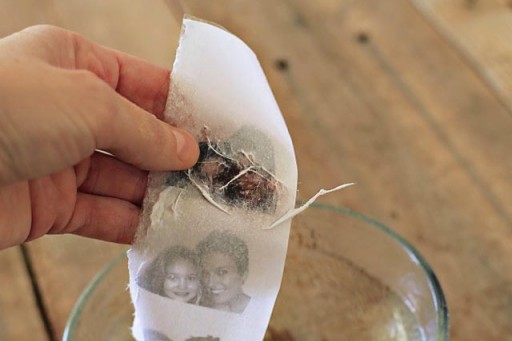
Using your fingers, start to rub off the paper from the back of the tape:
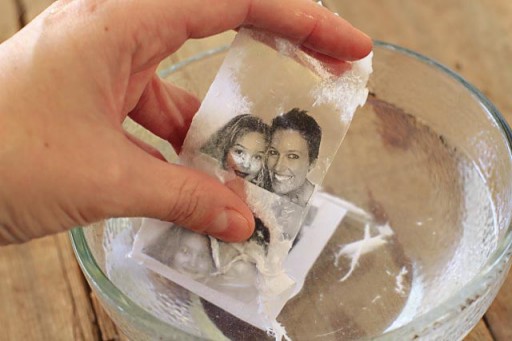
Like magic….your image is left behind on the tape!
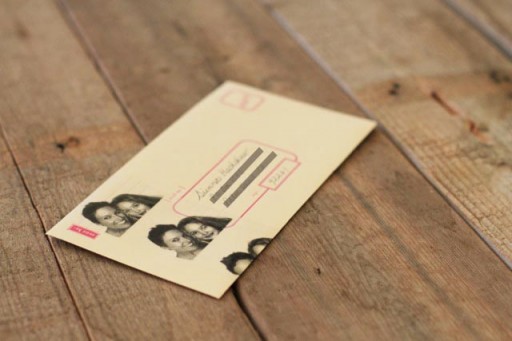
I like to use the transfers to wrap special letters before I mail them. If the back isn’t as sticky as you need use a little tacky adhesive spray:
It’s like having custom tape:
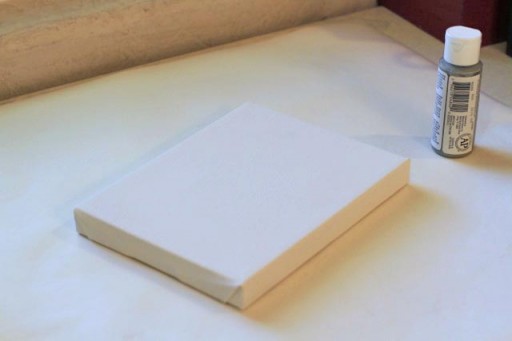
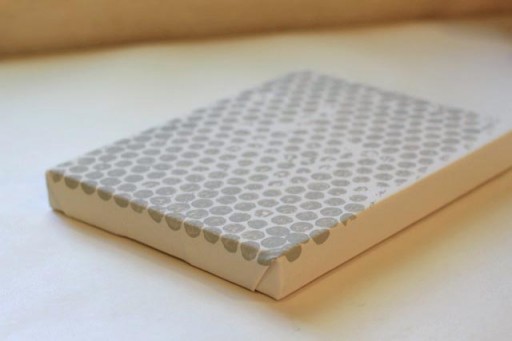
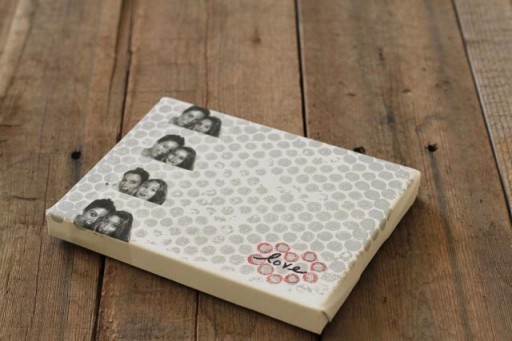
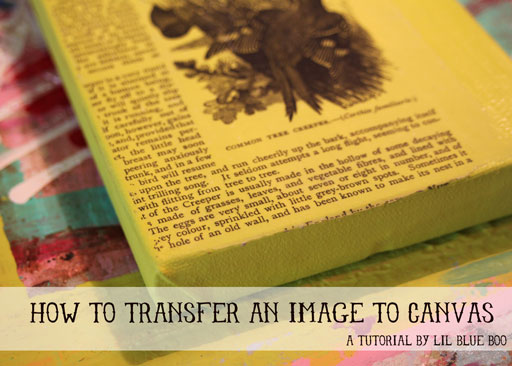
Another idea is to take a small canvas and use the images for artwork:
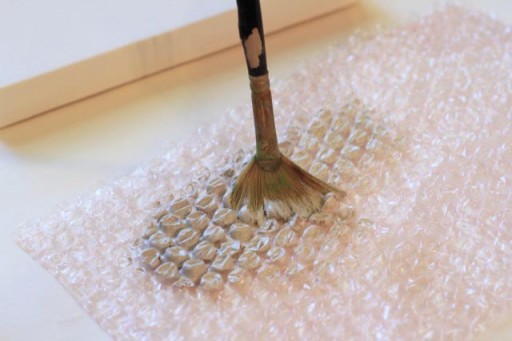
I used a paint brush to add craft paint to bubble wrap to use it as a stamp:
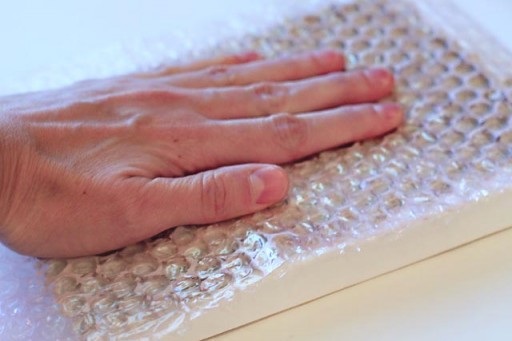
I just used my hand to press it down:
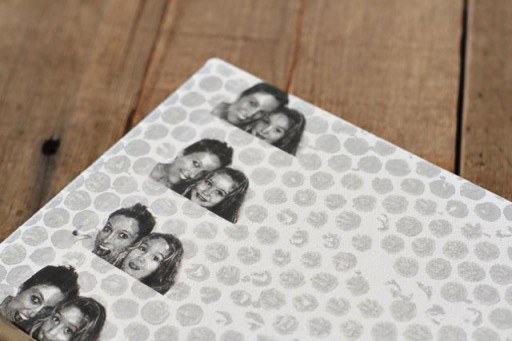
An easy printed pattern!
More stamping with bubble wrap in this fun video:
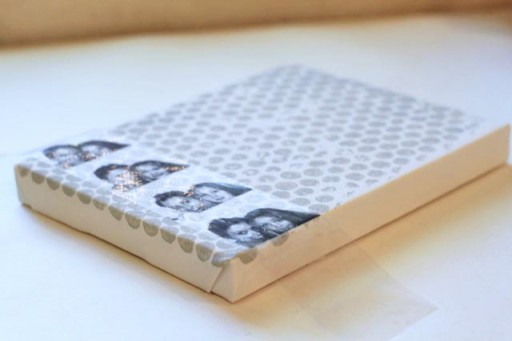
Then I added my packing tape transfers:
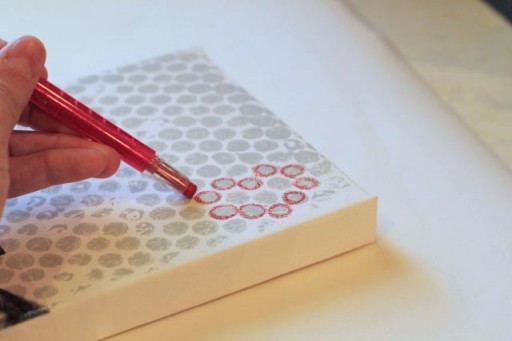
A little embellishment with a crayon….
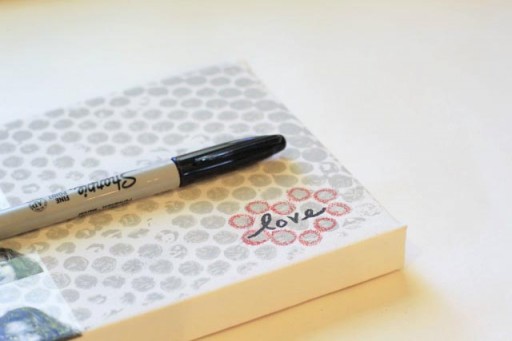
….and a Sharpie:
And it’s a cute mini canvas to decorate a desk or wall:
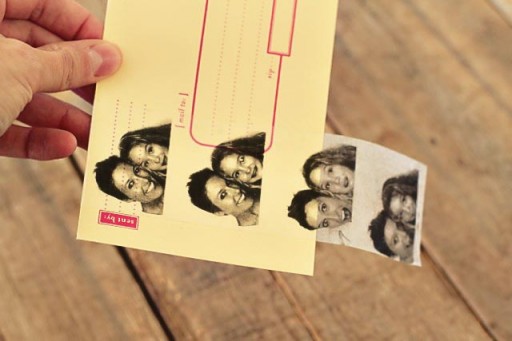
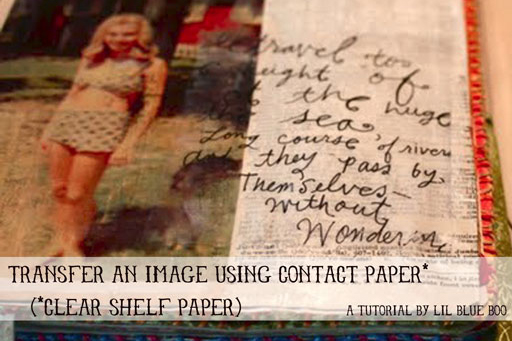
I love the photo booth at the mall:
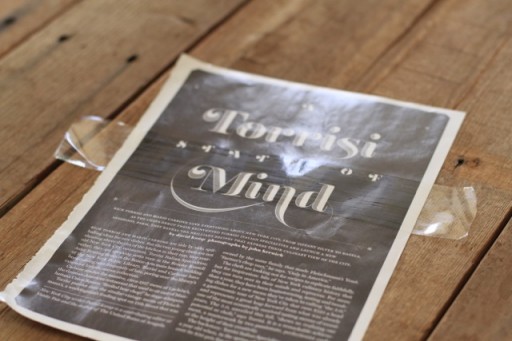
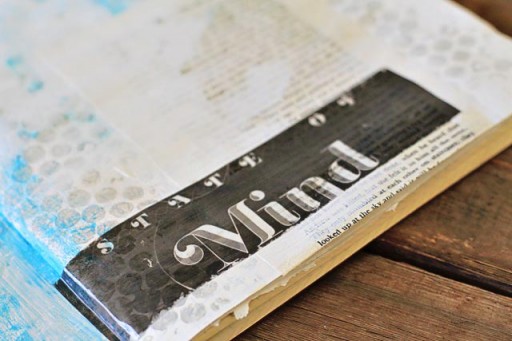
You can also use magazine pages. Here is a page I tore out and applied packing tape across a few words:
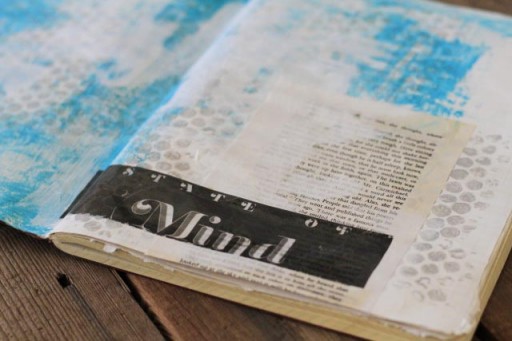
An easy way to add transparent wording to a journal page:
It works for color or black and white!
Other image transfer tutorials to check out below or click here for all image transfer tutorials!
Also check out:
P.S. Make sure to sign up for my weekly newsletter.…it’s where I give my weekly rundown. Your info is safe with me…..never shared with anyone else…..promise. I don’t spam. Promise.


Cool beans!
Wow! So easy to do for such great results and multiple applications. LOVE it!
This could be really cute for wrapping Christmas presents! Especially since I bought a huge roll of brown paper last year that I have to use heavy tape on 🙂
FUN!
AWESOME! (said in a high pitch sing song voice)
This is genius. Thank you!
P.S. GUESS WHAT?? I just got my Choose Joy necklace in the mail. I LOVE IT!!
Love this! I want to put it make some and put it on everything!
Love it! Thanks for sharing. I’m amazed people are so creative they can come up with things like this! Good thing for the internet I dont have to come up with creative things:)
fun! can’t wait to try!
You are so clever! I love this! And I have all this packing paper from my move, so great way to use some of it 😉
To much creativity for my mind to even grasp! Wonderful Idea!
Very inspiring, thanks for sharing! :]
So cute!!!! How on earth did you figure that out 🙂
What did you spray on the finished journal pages in the video?
It’s called “fixative” it keeps pastels and charcoal or pencil from smearing. You can get it at almost any craft store.
That is so great & creative. Thanks for sharing Ashley.
xo
Love these!! Must pin immediately!
This is an awesome project! And I still have a bunch of tape lying around from our recent move. I didn’t know it could be so useful that way!
Great tutorial and video! Love how it turned out. Popped it up over on my FB!
ooh love the bubble wrap idea too!
I’ve never seen this technique before. I love that you don’t need to use expense gels mediums to transfer the image. Fantastic.
x Lisa
http://thecraftartykid.blogspot.co.uk/
FYI there is a great photo booth app for the iPhone called pocketbooth
Very useful tutorials! I’ve never known packing tape could do this! Love the bubble wrap and crayon idea as well, the result is so pretty! Thanks for sharing these tutorials!! 😀
Just did these transfers with a cute halloween photo to put on the envelopes of my Thanksgiving cards! Thank you! It worked beautifully!!!
Wow, I love it! I just tried it with old book pages and it’s like magic! Thanks 🙂
I tried the packing tape transfer and wasn’t pleased. First of all it’s a lot of work getting the paper backing off. second of all it just looks like a glued the pic to a piece of paper, might as well just have done that because that would take less time. Cute idea, dissapointing results.
touched of love. cute.
Wow, this is amazing!! I’m so going to try all of these ideas. You are so creative!!
I tried this and had a big flop with a class I was teaching. We were using scotch brand and the paper completely separated from the tape once it was wet. I think I’ll try it with office max brand (or maybe something similar)…all tapes are not created equally!
It probably wasn’t the tape Heather….I’ve used almost every brand of tape. Did you use a laser printer or an inkjet? It must be dry toner as the ink. Any other ink will not work.
Packaging Tape Image Transfer.
It works.
It’s amazing.
Love it ♥
Thank you.
does the transfer work with an officejet??? most of the printers now a days are officejets.
This is super creative! Love it.
I am loving the art journaling over the book pages. Can you tell me what the “paper” is you modgepodge to the page?
Thanks!
what a smart girl. Thanks for sharing.
hello ! saw the cute tape idea and tried it but failed miserably 🙁 im not sure if im using the wrong tape or what can be going wrong. I followed all your instructions exactly. please help really want to do this for my wedding. thanks 🙂
hello! so many cool ideas ! I tried the image transfer with tape and failed miserably 🙁 I followed all your instructions precisely as you instructed but still they did not come out. please help ! I really want to do this for my wedding favors. 🙂
It’s probably the printer you used. Can you try another one? Or take your printout to a copy machine and try that ink! It has to be dry toner ink. Usually the older the machine the better.
Love this,I am going to try it soon.
OMG! So clever and simple. Easy steps that anyone can follow! I love it! Thank you so much for sharing!
I etch glass with a dremel and I’ve been trying to figure out a way to add something very special to their items. For example, possibly adding a design from their wedding invitation to their toasting glass then etching around it, but transfer machines are too expensive. This will work very well for me ! Thank you for sharing this 🙂
Great hack! I was recently experimenting with photo transfer Mod Podge. This seems much easier!
Wow. just love this tutorial! 🙂
Jennifer @ The Jenny Evolution