What is a pinhole camera?
A pinhole camera is basically a light-proof box with a tiny hole in it. The film is exposed by uncovering the hole for a few seconds. (read more at wiki)
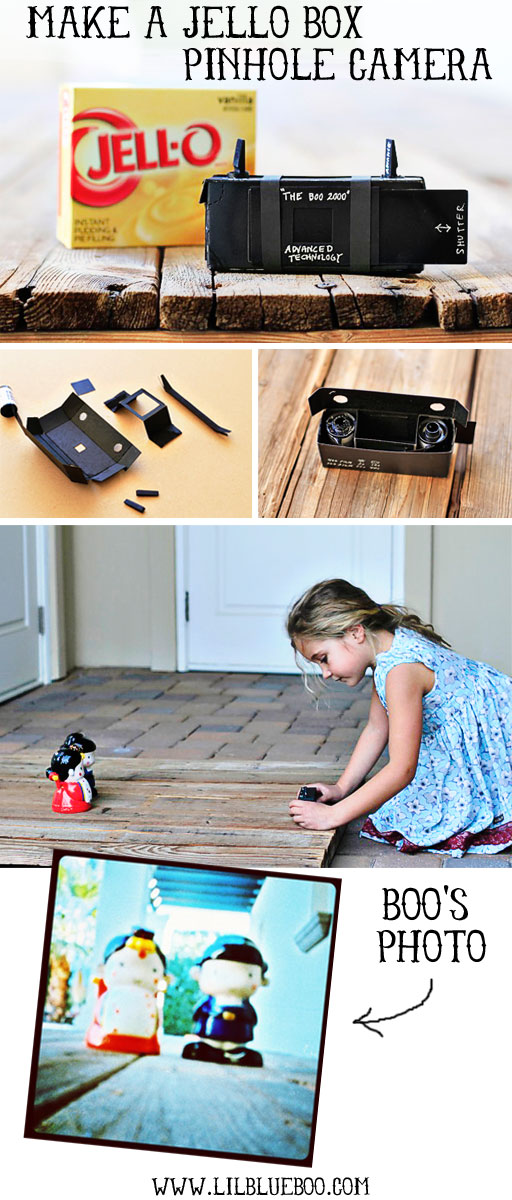
I’ve been wanting to make a pinhole camera for a while now with Boo…..to introduce her to film photography. I’ve shown her the iPhone method and when she was itty bitty I used to let her use my Holga camera with some spoiled Polaroid film I had. We spent the morning building the camera from scratch so she could see all the working parts.
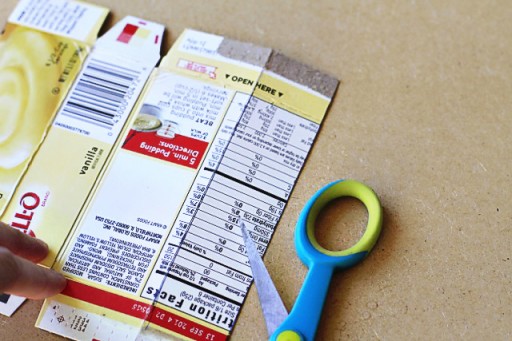
It started with a Jello pudding box ( the large size). Here’s how you can make your own:
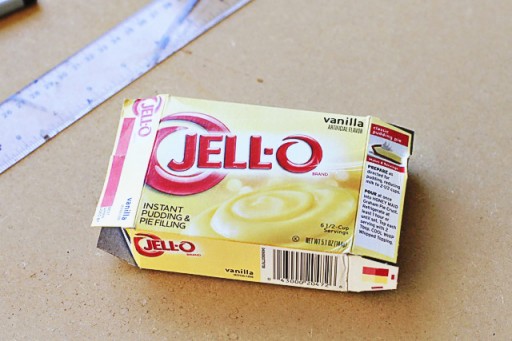
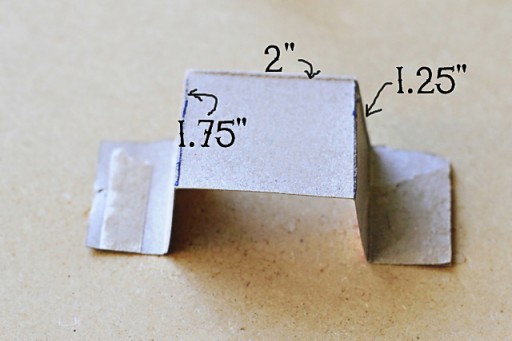
The camera needs to be tall enough to hold a roll of 35mm film (1.75″):
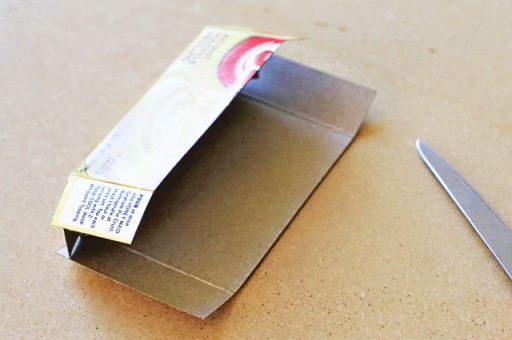
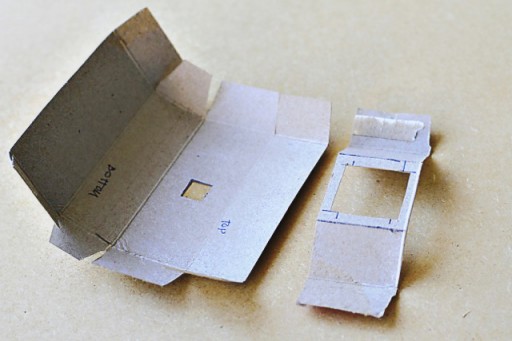
The opposite side is cut large enough to form the top of the box:
Score the longer side to help fold the piece down that will make the top of the box:
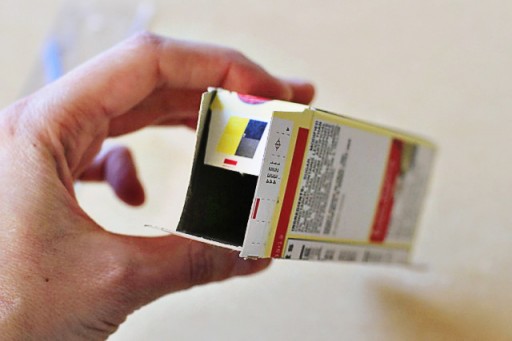
Fold up your box to make sure all the sides are even with each other:
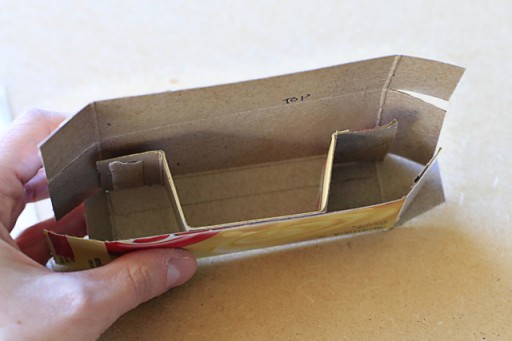
Use the remaining cardboard to create the middle of the camera where your film frame will be:
Cut a small hole in the front of the box (exactly in the center) where the pinhole will go to let the light in and cut a larger hole in the longer piece for the film:
Make sure your pieces will fit together nicely like this:
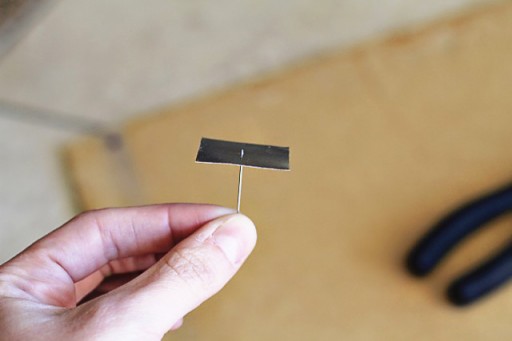
Take a small piece of metal 1″ x 1″ (cut from a soda can is great) and slowly drill the end of a tiny needle through it. The hole should measure about .2mm:
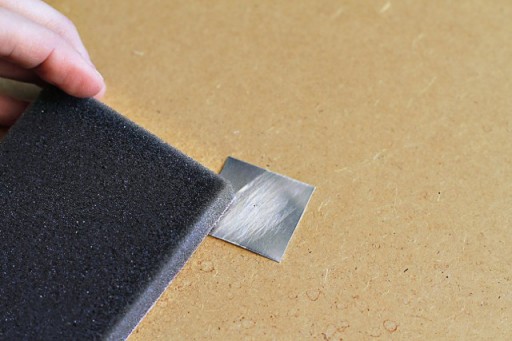
Take very fine sand paper to make sure the edges of the hole you drilled are smooth. Look through the hole to make sure. If there are imperfections in the hole it will not be able to produce a good image:
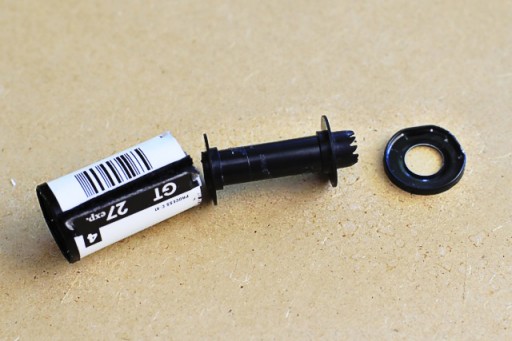
Break open an old canister of 35mm film. I got an older one from Walgreens…they just throw them away there. It’s easiest to just pry the lid off with pliers:
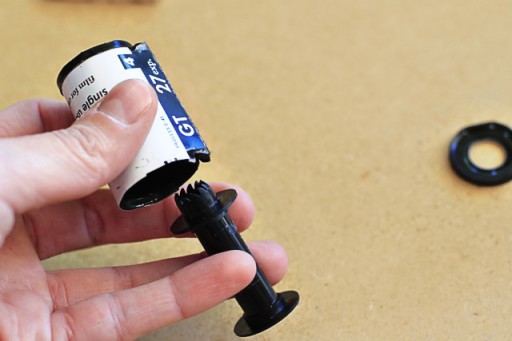
Reinsert the spool the opposite way into the canister and use some glue to keep it in place. You will just use this to wind your film around.
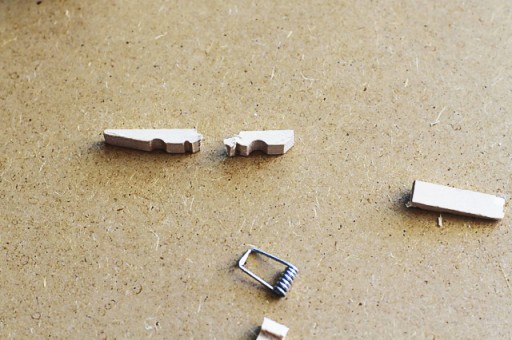
I used a miniature clothespin to form the two sticks that I’ll use to advance and rewind my film. I cut it down using pliers:
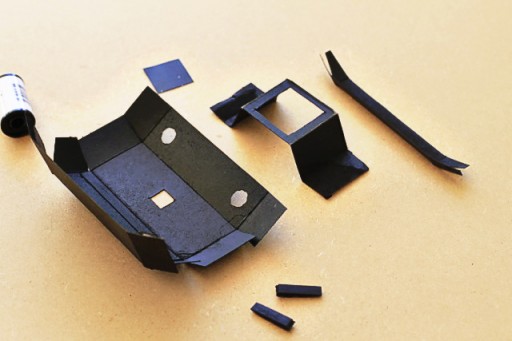
I spray painted all my pieces with matte black spray paint. The piece to the right is just the extra piece of the Jello Box. You’ll see what I use that for in the next few steps:
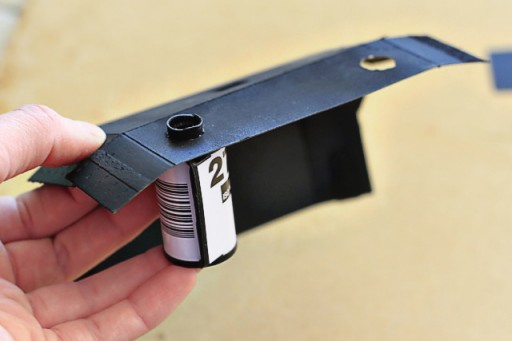
I used a holepunch to form holes at the top of my camera so that the film canisters fit through perfectly. Don’t cut them too big or you’ll let in light!
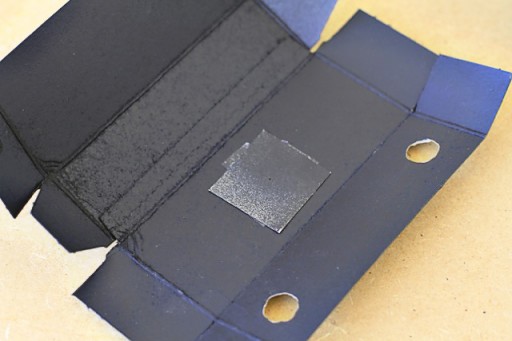
I used strong adhesive tape to attach my metal pinhole piece over the small square hole that I cut in the front of the camera:
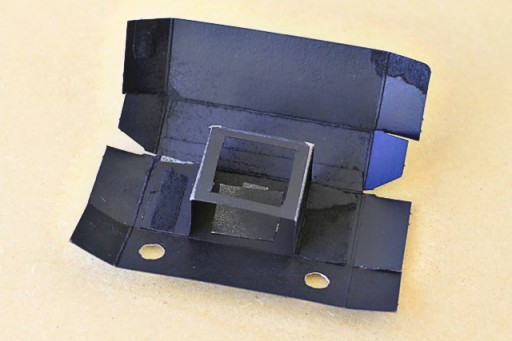
I attached the center piece with adhesive tape as well:
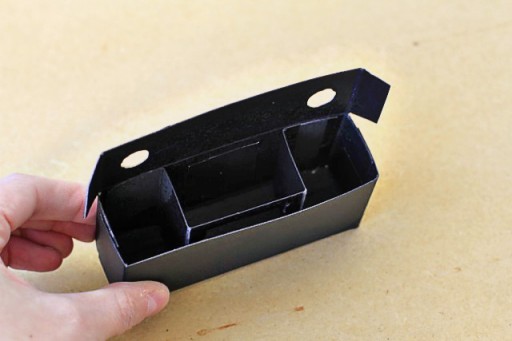
I closed up the sides:
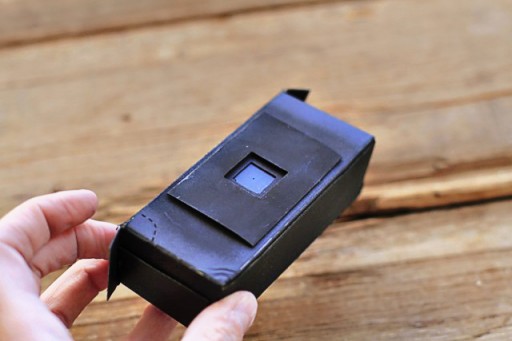
I added a small black paper sleeve (with a hole cut out) over the pinhole on the front:
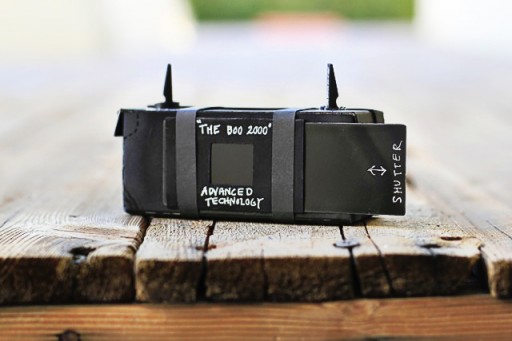
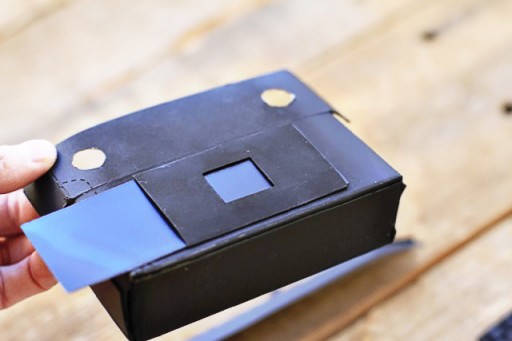
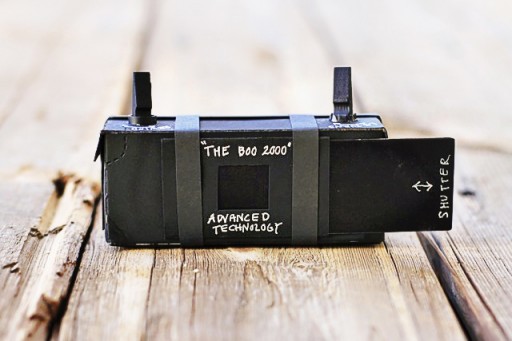
I cut a piece of metal (you can use paper or cardstock too) to form a shutter that I can slide back and forth easily. This one is for someone who is left handed…..like Boo:
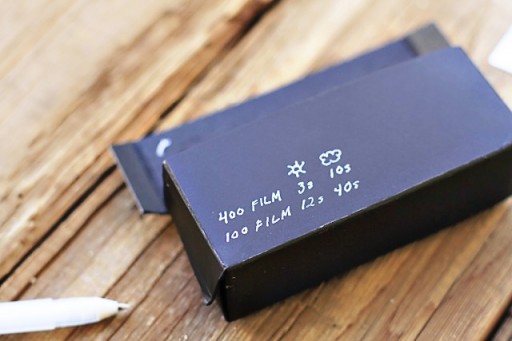
I used a white gel pen to write some notes on the back about exposure times….i.e. how long to leave the sliding shutter open when taking a photo:
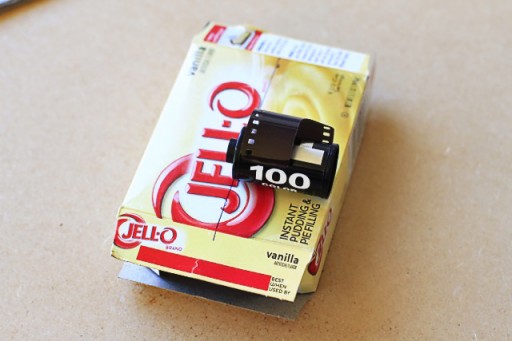
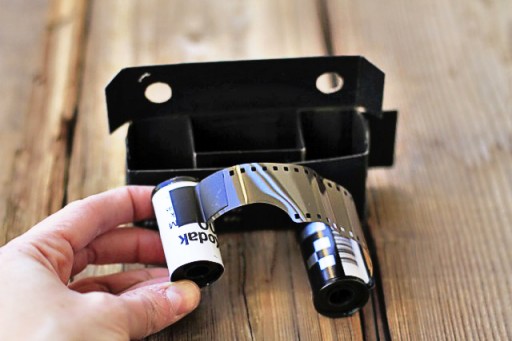
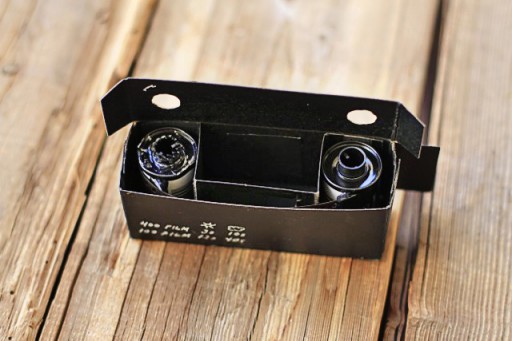
I opened a new pack of 35mm film and pulled out the film a few inches. I taped it to the blank cartridge that I made in the previous steps:
The film inserted and slid into place:
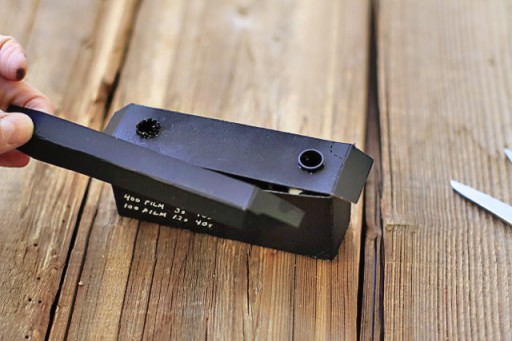
I closed up the camera and used that last bit of cardboard to make sure to cover the crack in the front thoroughly and around the sides. You don’t want any light making it into the camera.
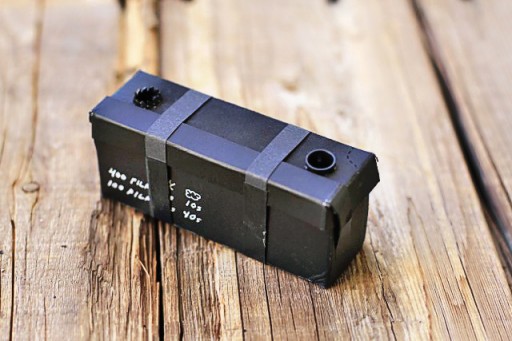
Close it up. I actually closed it up with a few strips of black paper wrapped tightly around so they could be easily ripped off when I was ready to take the film for processing. I used small pieces of electrical tape on the sides.
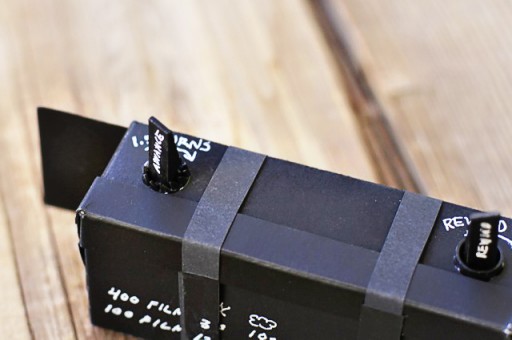
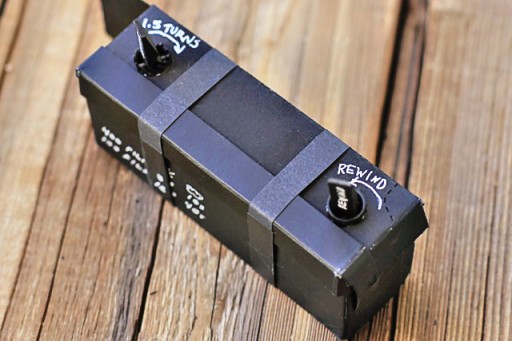
I inserted the clothespins into the film canister tops. One is to advance the film and the other to rewind:
I drew arrows so I could remember the direction to turn. I wrote on the camera that 1.5 turns is advancing the film to the next frame but that’s actually too much. I ended up wasting a lot of film on our first try. It’s more like 1 turn.
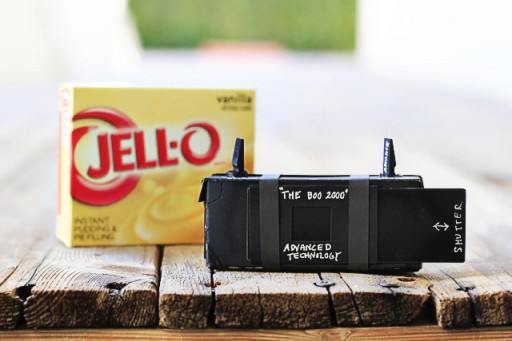
We called it the “Boo 2000″…..a pinhole camera we built ourselves! To take the photo all you do is point the camera in the right direction and slide the shutter open. Keep the camera super still! Your first roll will probably be spent experimenting with how long to leave open the shutter. Once you take all the photos, rewind the roll completely before opening the camera up. Take it to your local film processor. I got ours developed at Walgreens. You can also buy an envelope at Target to send it away if you are patient.
A large Jello box made the whole thing easy because it’s the perfect size and you end up using every last scrap:
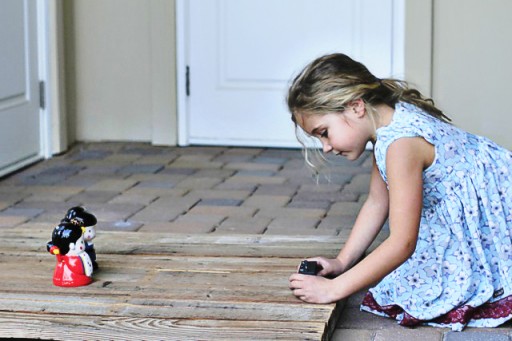
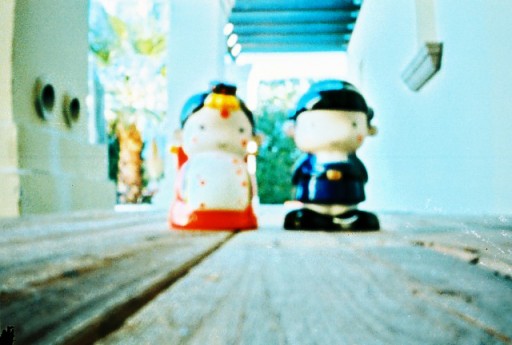
Before I let Boo use the camera I let her try out some cyanotype fabric to get a sense of how film works. I’ll do a separate post on that since I have WAY too many photos in this post already. For her first photo, Boo held the camera very still and pointed it towards the little Korean statues below. Then she pulled the shutter open and counted to 20 before closing it again:
Here’s how her photo turned out! I love the grainy texture and even that there is dust and other imperfections on the image:
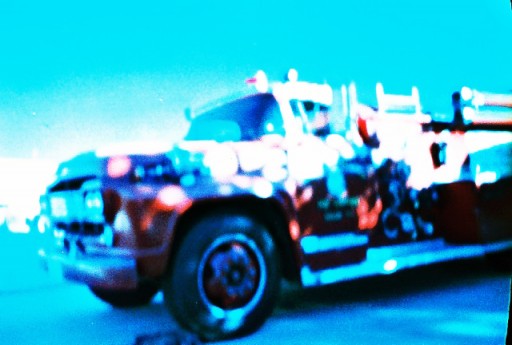
We were using Lomography film which is why the color is blue when the photo is overexposed in the shade. Here is a vintage firetruck:
A closeup of the firetruck:
We need a tripod for the long exposure photos…..this is a St. Francis of Assisi statue. The shutter was open for 40 seconds so you can see the camera was obviously moving:
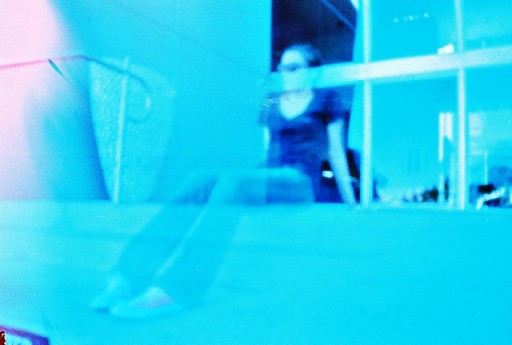
Here’s a self portrait I did. I opened the shutter, put it on the sidewalk, ran to sit down for 10 seconds and then ran back to close the shutter:
I definitely recommend getting some fun film to play with when working with a toy or pinhole camera. I like the lomography films (found here) and we’ve got a pack of the Earl Grey B&W for the next roll!
Stay tuned for some more film projects coming soon! Our next big one is setting up a little darkroom for a larger format pinhole camera and developing our own film paper. I’ve always wanted to do that. The materials are all on the way and I’ll test them out and let you know what I think of them!

I love that you used a box that’s the perfect size! I will definitely have to try this.
The set up of the camera reminds me of the old 110 film cameras I had as a kid. This is really cool.
me too Rebecca! I thought about that as I was winding the film. It would have been easier if 35mm was made the same way!
thats just awesome!!!! love love love it!!!
You are utterly amazing to figure this out!!!! What fun to create!! Love you forever, mom
This is pretty cool! Great tutorial. Love that you are teaching Boo all about film. You’re teaching me too since I know nothing about it. Can’t wait to see your darkroom.
I saw this article and immediately thought of this DIY camera post. It is ‘Make a Polaroid Camera out of Popsicle Sticks’ tutorial!!! http://diyphotography.net/polaroid-camera-made-from-popsicle-sticks
this is the project i’ll be tackling this weekend with my two little girls thank you so much for this tutorial i never knew this was possible but i’m so excited to give it a try 🙂