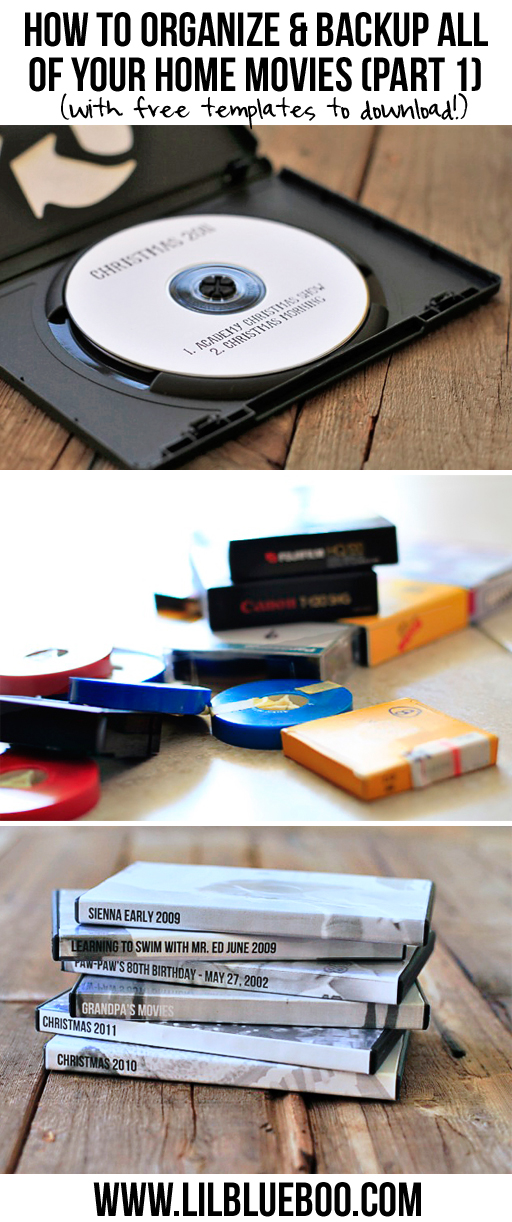
This might be one of the most overwhelming posts I’ve ever started because there’s too much information to share! I decided to break it up into a series of posts to make it easier to follow. I thought I’d start with a few overall tips and then add additional posts with templates for covers, details on importing VHS tapes and other types of media into iMovie, etc. Most of the technical parts of the series will be from a Apple/iPhoto/iMovie point of view since that’s what I prefer to use.
I recently started catching up on burning our home movies to DVD. Every so often I will take an old VHS tape and import the videos, edit and re-burn them to DVDs. I’ve found that the trick is to do it gradually. It’s not something that can be done in a day!
The most important thing I’ve learned (to stay SANE through home movie editing) is to walk away when the computer is doing its thing. There is a lot of down time where you will sit staring at the computer while it thinks and formats and spins its little insides over and over and over.
I call this the “Home Movie Snowball”….just like the debt snowball theory. Chip away at the easiest ones first to get them out of the way and off your hard drive. Plus you’ll get more satisfaction at seeing your shelf fill up quickly with movies…..
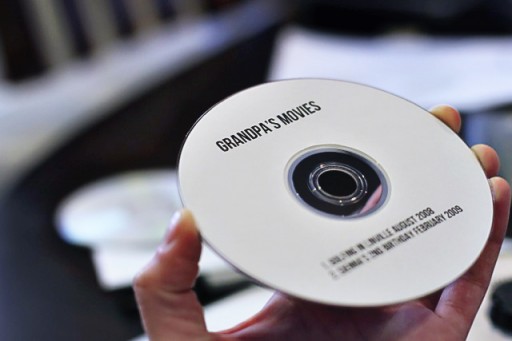
I used to try to put an entire year of movies onto one DVD…..too much effort. Now I put one or two events onto one DVD. It makes the process easier and you are less likely to make mistakes. Also, I think it reduces the risk of losing all your home movies one day. If one disk were to become corrupted or break at least it would be just one event and not an entire year of your life!
See the list at the bottom of this post for basic iMovie and iDVD steps. Whenever I start steps 3, 6, 8 and 9…..I just leave my computer for an hour or two. Then I can get other things done and spend time with my family while my computer does it’s thing. The process will seem a lot quicker that way.
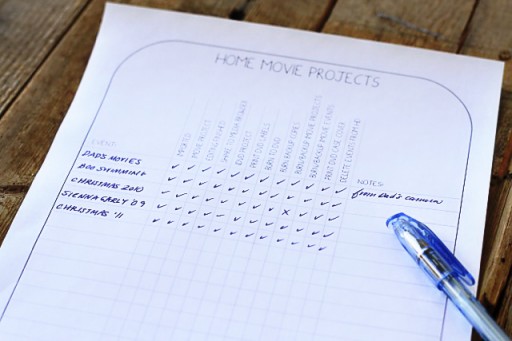
This is just like the process I used in the post on organizing and printing years worth of photos. If you keep a checklist you can work on movie projects intermittently….and when you come back to it you’ll know exactly where you left off.
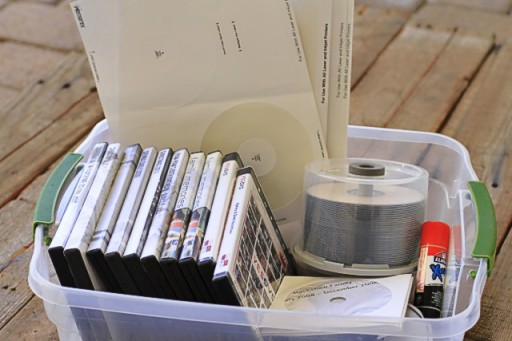
I also keep all my home movie stuff in one bin so it’s easy to clean up and come back to. Keep your checklist in the bin too!
If you plan to do a lot of video editing, check with your Apple store to see if they can add more processing power to your computer (you’ll need your serial number). It’s a quick process….all they do is open up the back of your computer and add additional memory sticks if there are slots available. You won’t see that color wheel so often! If you live in the Palm Desert or Tustin areas call Invision Computing.
Note: The next post will have templates and tips for creating labels easily.
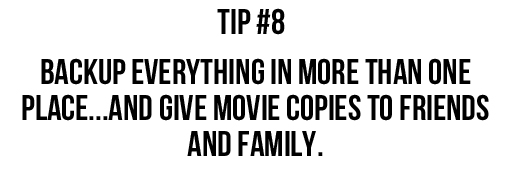
Okay I’m neurotic about backing things up in multiple formats. You can also back up videos by uploading them to YouTube or Vimeo. And don’t be stingy with your videos! It only takes a few minutes to make an extra copy and think how appreciative your friends and family will be to get an extra copy of an event they were at. Also…..that extra copy is a backup if you ever need it!
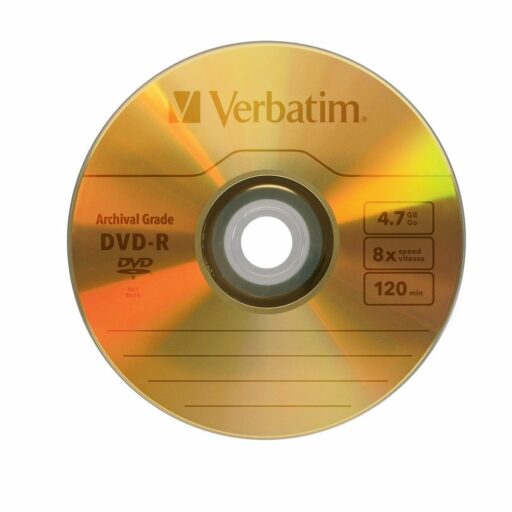
I’ve never had a problem with DVDs going bad (plus I always make multiple copies) but if you don’t want to risk it you can invest in Verbative archival DVDs which are supposed to last like 100 years or something like that:
I recommend always backing up your computer to an offline service like Mozy or Carbonite! I use Mozy.com for all of our computers including my laptop. It backs up everything. every day. and offline at a secure location. I had a hard drive fail a few years ago and I didn’t lose a thing. Also…in the event of a break-in, fire, flood or loss: I still have my precious photos and home movies.
A few years ago I sent all of Mr. LBB’s family 8mm movie reels and VHS tapes to gotmemories.com. It’s under $10 for a tape. They run specials every once in a while too. I just packed up a large box and sent it off to them. Just make sure to send them all well-labeled and categorized or you’ll get random sets of movies on random DVDs. Oh and remember to order multiple copies to share with your family members!
I know that’s a quick and low information overview….but you have to start somewhere. If you’ve never burned a movie before just get into iMovie and start testing it out! The great thing about the iMovie projects is that you aren’t messing with the original video files so you can’t mess them up.
My dad was great about taking photos and videos but he never printed them off in a timely manner or shared the videos…..so I would just take the card out of his camera and plug it into mine to download the media quickly. Then they were mine! I have so many videos of Boo that he took that I would have never even known existed:
Also, the easiest way to get movies off a Mac to another Mac is to share files. If you family member or friend has movies or photos on their computer that you want…..don’t wait for them to burn them or upload them for you because they probably never will (look at steps 1 through 11 to refresh your memory to why they won’t). Instead:
1. Unplug your computer, drive to their house, replug your computer and drag files from their computer to yours using the Wi-Fi. (here’s a tutorial on file sharing)
2. Mail them a portable hard drive or USB sticks with a list of what you want. They can drag the files over and send the HD back. Then you can edit and burn them to DVD yourself.
******
I’m not going to go into any technical detail in this post but here are the steps I go through when editing movies in iMovie (you can find them all on the checklist download at the bottom too):
 1. Import the video to iMovie or iPhoto.
Video from your video camera is imported as an iMovie “Event”. Video from your phone or DSLR will be imported into iPhoto and can be found in iMovie under iPhoto Movies.
2. Create and edit an iMovie Project.
Once I create an iMovie Project I drag clips from Events into it and add titles, transitions, photos, etc.
*3. Share the finished iMovie Project to your Media Browser.
You have to share your projects to iDVD so that they can be formatted correctly.
4. Create and edit an iDVD Project.
In iDVD is where you’ll create your DVD chapters and menus.
5. Create and print DVD labels.
I always make my labels before I burn my projects to DVD so that as soon as they pop out of the disc drive I can put the label on.
*6. Burn project to DVD.
7. Burn extra copies for family and backups.
Once one DVD has burned, it only takes a few minutes to burn an additional copy. All the hard work was already done.
*8. Burn iMovie projects to DVD for backup.
Sometimes I back up the “raw” iMovie projects to DVD if I think I might ever want to re-edit something. I create a “burn folder” on my desktop and drag the iMovie project into the burn folder from Finder-Movies-iMovie Projects. Some may be too large for one DVD and I just do step #9.
*9. Burn iMovie events to DVD for backup.
I always back up just the “raw” iMovie events. I create a “burn folder” on my desktop and drag the iMovie events into the burn folder from Finder-Movies-iMovie Events. If an event is too large for one DVD I split it into 2 but make sure to save the cache folder and thumbnail folder on one of the DVDs.
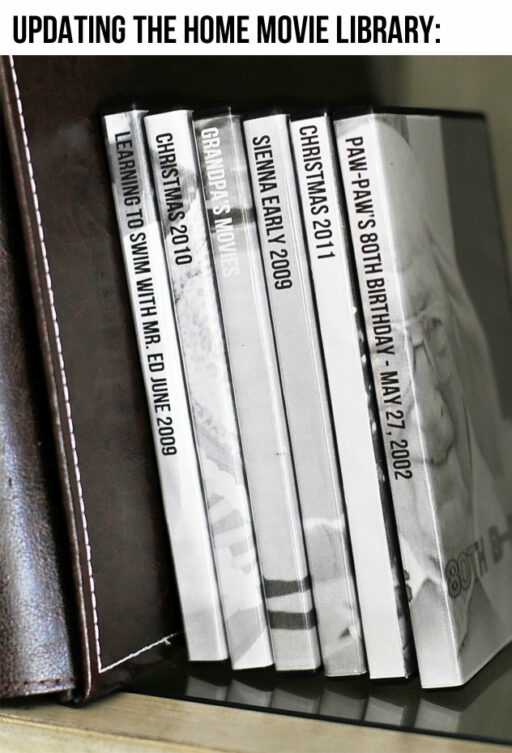
10. Print DVD case cover.
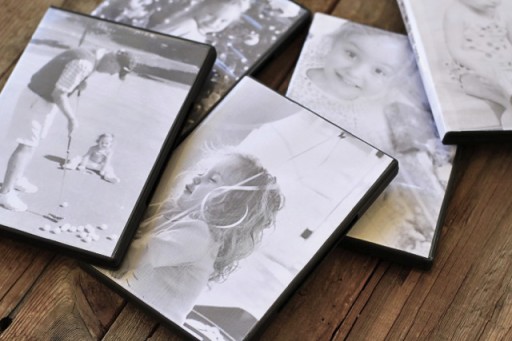
I recycle old case covers and add new labels.
11. Delete iMovie events from hard drive. Empty trash!
Movies take up a TON of hard drive space! Just make sure you’ve backed up everything before deleted them for good!
*indicates time consuming steps…..not for you…..but for your computer.
A few notes:
If you have trouble getting your drive to recognize a DVD….try another brand. I have trouble with SONY brand DVDs on my Mac but Verbatim and Memorex work fine.
Having trouble getting your Mac to recognize your video camera? Check out this tutorial I did on importing into iMovie ’09 and ’11.
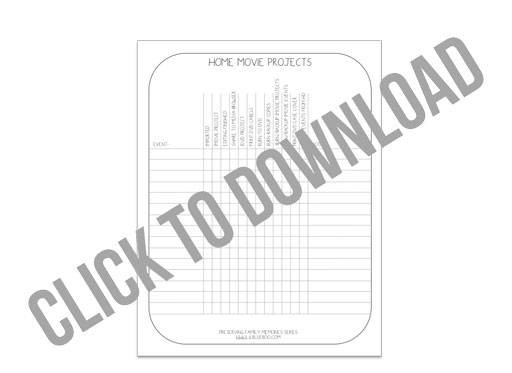
Below is my iMovie checklist from above in a nice little chart. You can download the file by clicking below. Just print it off as many times as you need to!
Stay tuned for the additional posts in this series.
For more on organizing and preserving family memories click the image below:










Do you have a program you can recommend that would be comparable to iMovie for a PC?
I’ve never tried it but I think Wondershare Movie program is the closest to iMovie: http://www.wondershare.com/pro/dvd-slideshow-builder-deluxe.html
Wow, this is perfect!!! My goal this year is to not only get my photos and photo books going again (after having a 2nd child…..I don’t know where the time goes). I have also wanted to get my movies transferred onto DVD’s too!!! This is perfect!!! Thank you so very much!!!
Wow! This tutorial is great. Thank you!
Fun series.
Great DVD covers… love how there’s a photo from the video on the front of each.
I’m curious why you don’t also leave a copy on your hard drive and an external drive. I leave copies on both, so all of my home movies, photos, and docs are on one external drive. I can grab the one little hard drive (or my PC) and have everything altogether. Plus, I put it online, special home movies get put on DVD, and printed photobook copies.
Do you keep copies on an external drive also? Isn’t it a hassle to keep track of that many CDs and DVDs? They’re very cute. I just wonder if you also keep the digital files all in one place somewhere. I’ve backed up to different sites before, but things got lost… so I started backing up everything to each backup method I use.
P.S.:
I think Tip #9 should be “backup to an ONLINE service.” 🙂 Mozy is an online backup service. Backing up online is to photobooks and external hard drives. 🙂
Well I just have so much video that I would need several external harddrives and if I just burn several copies of movies I really don’t need them in the future. I have DVD file boxes that keep everything pretty organized and filed…..that backup is really for my kid in the future….in case she ever wants to do anything with it 🙂
Darn it, now I’m doing it too with the offline vs. online mix-ups.
I’ll edit that…
P.S.:
I think Tip #9 should be “backup to an ONLINE service.” 🙂
Mozy is an ONline backup service.
Backing up OFFline is to photobooks and external hard drives. DVDs are OFFline backups.
Oops…..it was supposed to say “OFFSITE” !!!! Thanks!
Ashley, THANK YOU for doing this series!!!!!!!! I have had this on my to-do list for over a year now, but I have had no clue how to actually DO this or where to start! I am always stuck with the idea and then quit before starting because I get too overwhelmed! Very timely post and I’m extremely excited to read through it all!
I feel like I should pay you for holding my hand through the process, lol 😉
THANKS!!!!!
how do you download your vhs movies to your computer you never explained or gave a link to that post(if you have a post)….I would love to do this since everything is on vhs in my family and my hubbys family
I too have a Mac. This really inspired me. I had VHS tapes that I dubbed to DVDs but now don’t know how to get them imported to either iMovie or iDVD. Any suggestion on how to get thru that step would be greatly appreciated. I am now stuck!
Thanks
Thanks for your post. I feel like I am so behind and need encouragement to get organized an keep up. Just curious if you have ever thought of a post on how to make home videos in simply digital format…meaning that I have apple tv and have started sharing to itunes intead of idvd. Then we can watch home movies directly on that without burning the dvd. I know I should still burn the dvd even for another copy! But I’d love any feedback on this method if you have any!