Ok sorry it took me a little while to get to the second post in this series….I took some time off for our vacation. Back to the wide-angle pinhole camera! (click here for the first overview and assembly post ) By now you should have your pinhole camera made and your dark room supplies ordered. It’s time to take some photos! If you are just stumbling on this post you can find the series from start to finish at the below link:
Your pinhole camera is ready to go!
For this type of pinhole camera, instead of 35mm film, you’ll be using B&W photo paper (see the source list at the bottom of the post). I find this much easier and more fun than film. With 35mm film you have to enlarge the negatives….with photo paper you have an instant 5×7 sized negative. There’s one more step to reversing the negative in the darkroom, but you can also scan your negative into your computer and then “invert it” using Photoshop. This is also a great step if you need to tweak contrast or lighting slightly to see your image better.
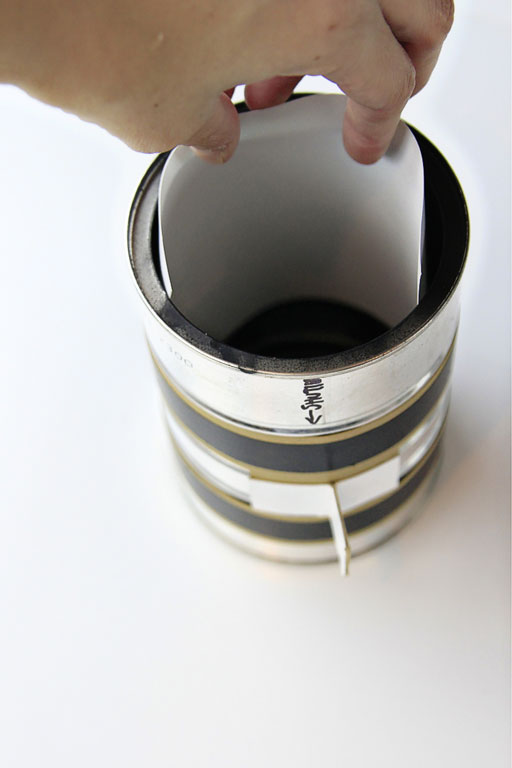
Once you have your B&W photo paper you can load the camera! Make sure not to open your packet of paper until you are in the darkroom or you will expose it. It is LIGHT SENSITIVE. (Note: I’m loading the paper in the light below just so you can see it….but this must be done in the darkroom!)
Take a piece of photo paper and place it into the camera as shown. The slightly glossy/smooth side is the side that is light sensitive. Make sure that side is centered facing the pinhole. (The glossy texture will wash away in the dark room trays.)
Make sure your shutter is closed before leaving the dark room!
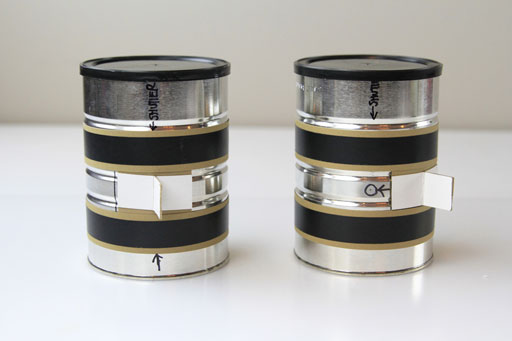
The paper works the best in bright sunlight. Take the camera outdoors and set up the camera facing your subject. Open the shutter to allow light to enter the can and expose the image. Then make sure your shutter is CLOSED completely. Don’t open the shutter again until you have the can in the dark room again.
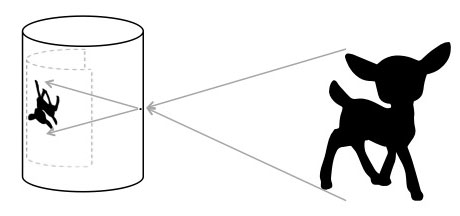
You’ll have to experiment with exposure times as you start out….but then you’ll get a feel for it. (which is why I recommend multiple cameras….number them so that you can keep track of how long you leave the shutter open for later comparison)
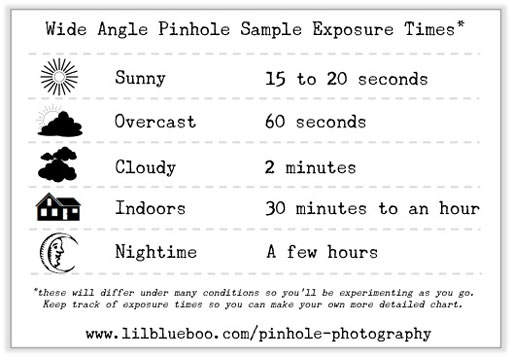
Here’s a little chart I made that might help as a starting point for exposure times. The sun here in the desert is really bright so sometimes I only leave the shutter open for 10 to 15 seconds.
(click image to download the printable version):
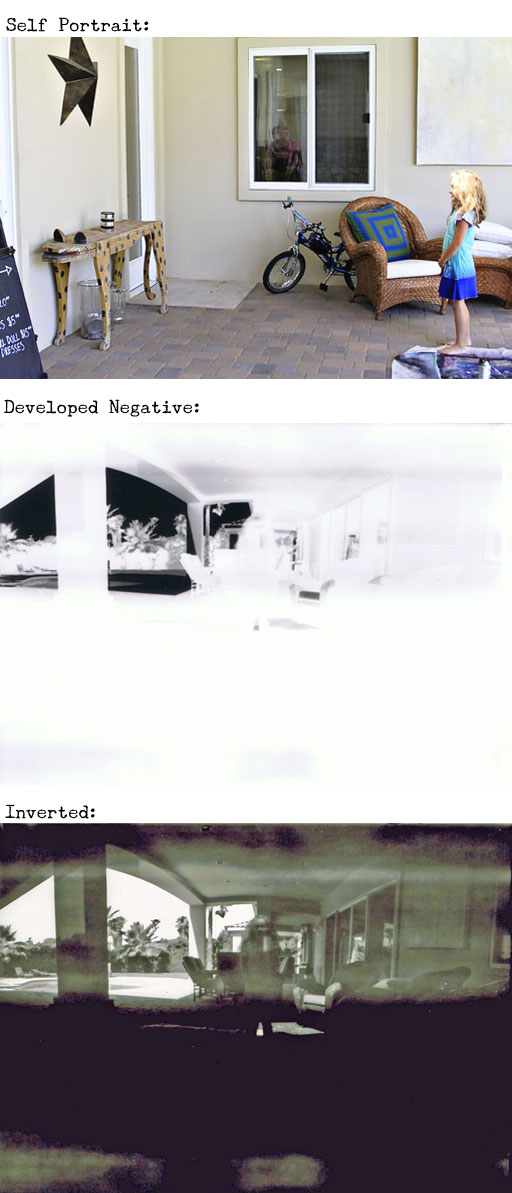
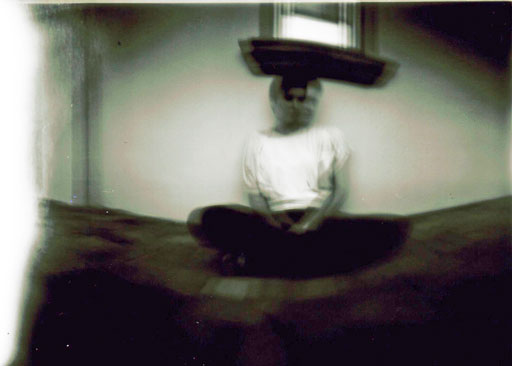
For a self portrait Boo opened the shutter quickly…..ran into place for 30 seconds….and then ran back to close the shutter.
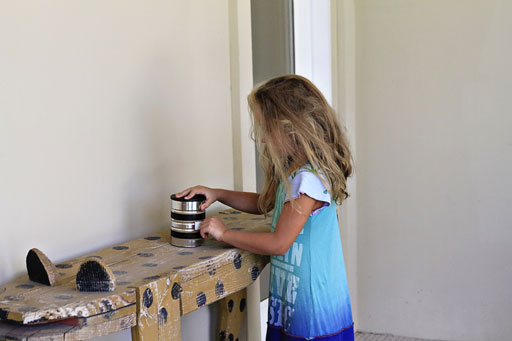
Setting up her camera and opening the shutter:
You can see the process below. The developed negative is what resulted from the dark room. Instead of making a print I just scanned the photo and inverted it using Photoshop Elements. You can see she looks like of like a ghost because the double exposure of running back and forth. The dark areas are because the shutter wasn’t left open long enough.
Another self portrait. She set the camera on top of another camera so that it was in a higher position:
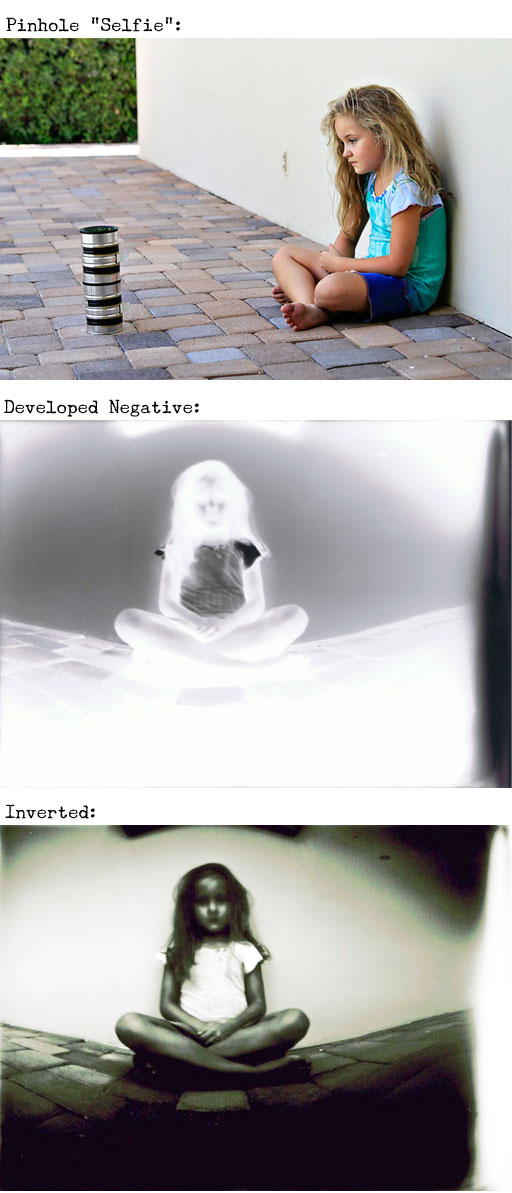
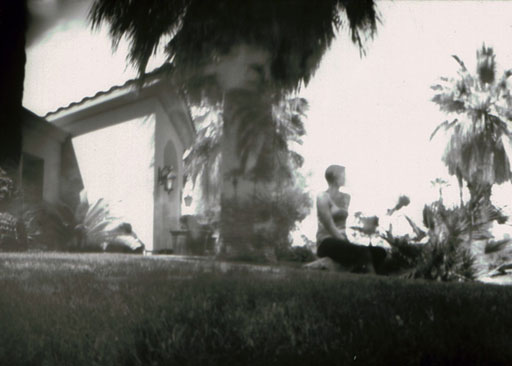
When taking a photo the subject must stay as still as possible when the shutter is open! If you move and talk while you sit there (like I was doing here explaining things to Boo as she took my photo)….the image won’t be crisp.
Another photo Boo took of me sitting in our yard:
The next post will be about developing your photos in the darkroom!
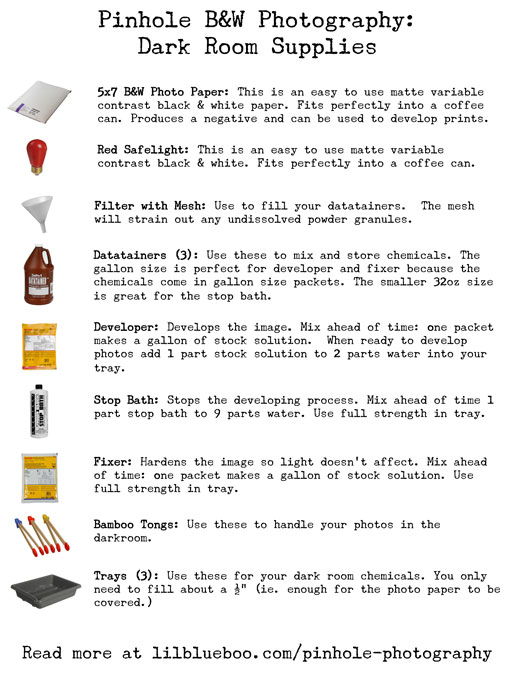
Here’s an overview of darkroom supplies you’ll need (click image to download the printable version):
If you still need darkroom supplies you can find them at the below links. You’ll be able to use them over and over again (except for the photo paper):
Supply & Source Links: (all of the dark room materials and film paper will run you about $85.00)
A bathroom or laundry room without light
A small desk lamp
Film:
Foma Fomaspeed Variant III VC RC Paper 5×7/25 Sheets
Dark Room Supplies:
Datatainers for Storing Chemicals
The whole series will be indexed here:

Hi Ashley
Im an art student in an MFA program at Parsons in NY. For a project I am using pin holes cameras and experimenting with exposure times.
I wont go into the whole project, it slightly complicated but Im having trouble developing my film.
Ive bought Ilford MGIV FIBER matte photo paper and have been exposing starting at 30 sec, then 60, then 2 min, 5 min, and 10 min.
The problem is none of the pictures have come out. They are completely white when I stick them in developer as if nothing was exposed. Any idea why that might be? I know you cant see it but Ive made these cameras before and not sure why its not working this time around. Could it be the paper?
Any help or info is GREATLY appreciated. Also, really dug your about page! Super inspiring.
Thanks
Sean
locating your web site was not tough because you managed to turn into extremely frequent
on a amount of sites from this group. You used to compose
much more articles but once again in the time
but I am using enjoyment in the most modern as effectively.
Many thanks a total good deal for supplying me the oppurtinity
to publish in your guestbook.