Last April I taught a class on making t-shirt infinity scarves at the SNAP Conference in SLC. I’m just now remembering that I hadn’t posted a tutorial for them…so better late than never! The scarves were a hit…they are so easy to make that each person in the class made more than one.
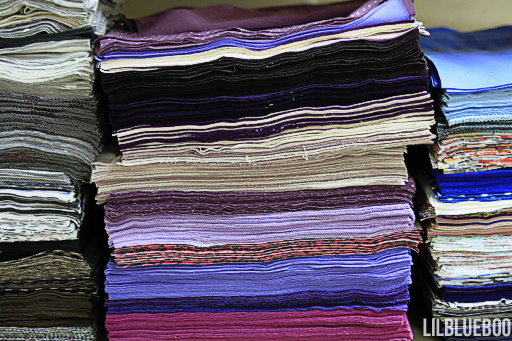
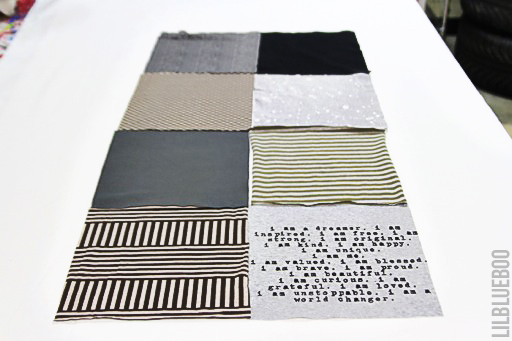
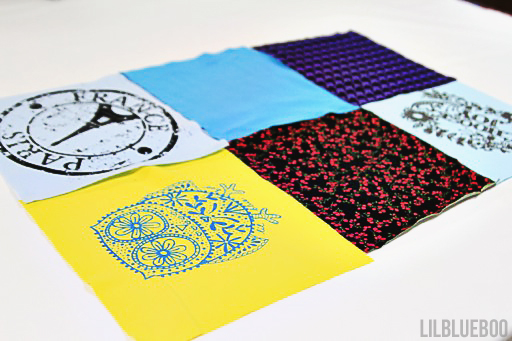
I had precut all the squares for the class:
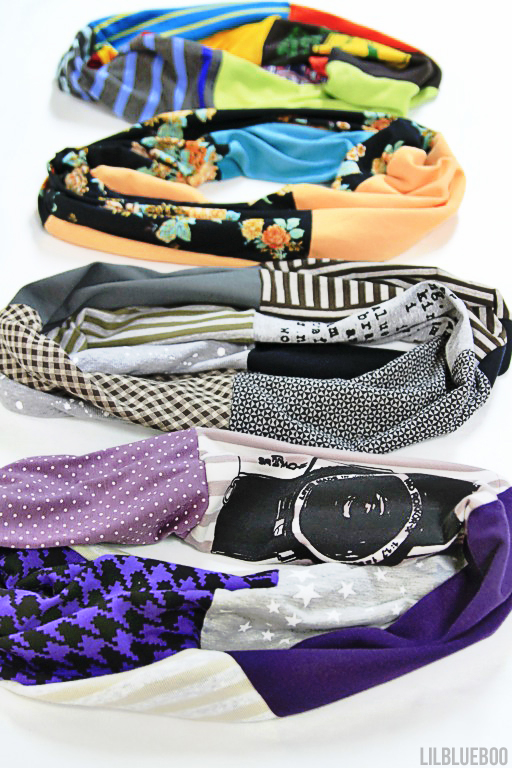
Here’s Boo with infinity scarf samples I made and wearing the scarf she made: 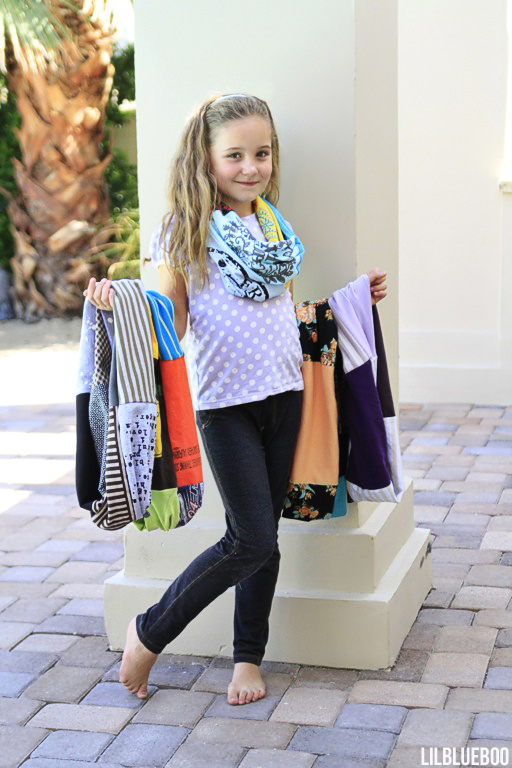
Love all the colorful combinations:
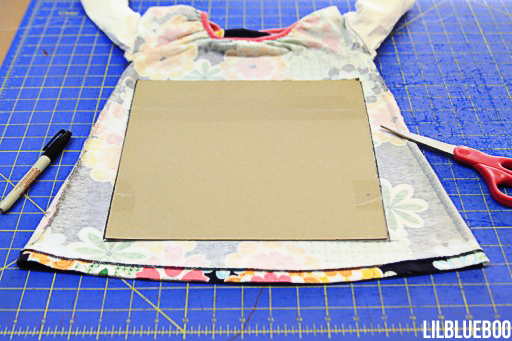
To make your scarf, first you need to cut a bunch of 11″ squares from t-shirts, pajama pants, etc or just knit-by-the-yard:
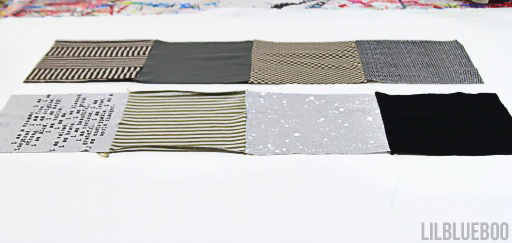
For the adult sized scarf you need 8 squares per scarf and the child sized only needs 6 squares. Lay them out in the pattern you want the finished scarf to be. 2 rows of 4:
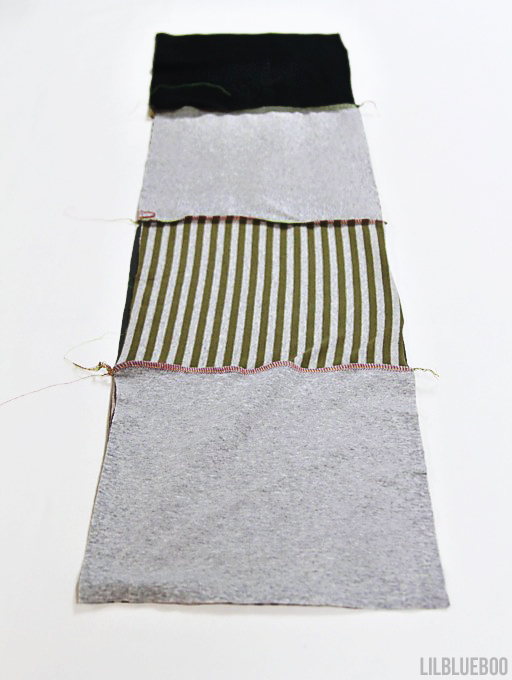
Sew each row of 4 together first using a sewing machine or a serger, like you are making a quilt. So you will have 2 long rectangles:
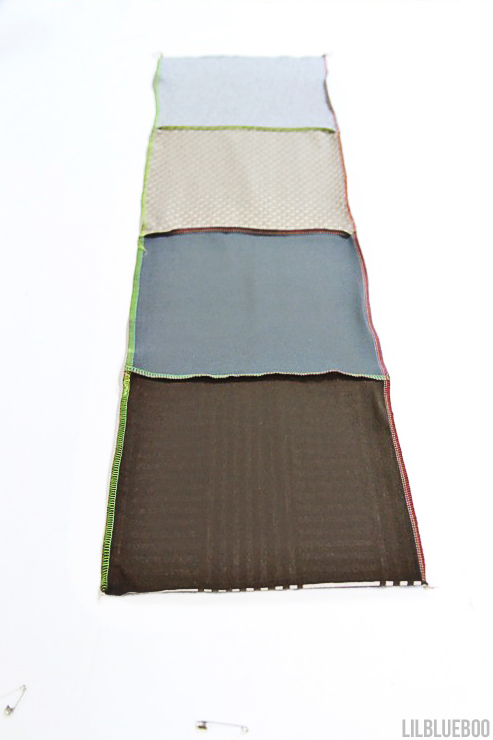
Lay one of the long rectangles on top of the other so that right sides are together:
Sew down the two longest sides to connect the pieces together. You will basically have a long tube:
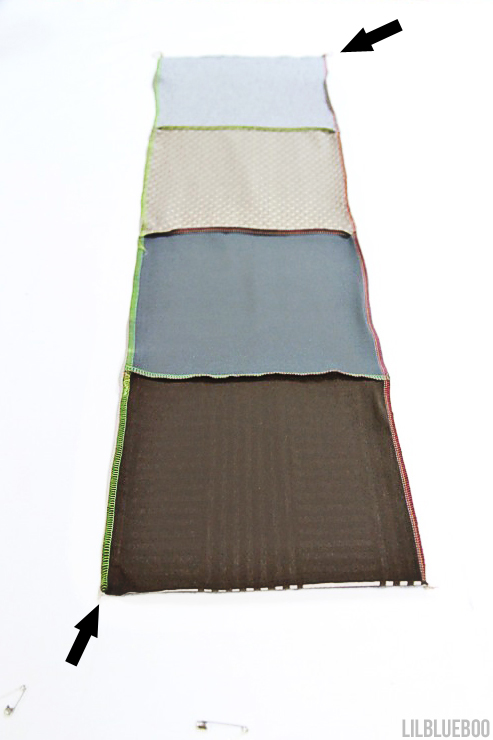
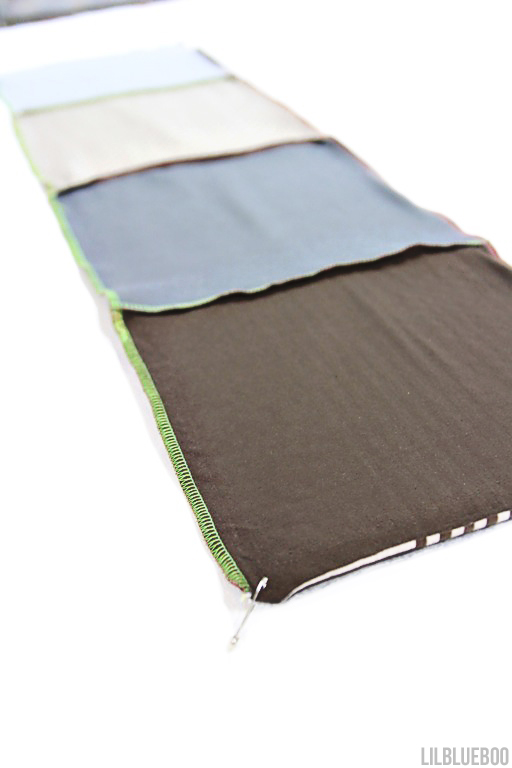
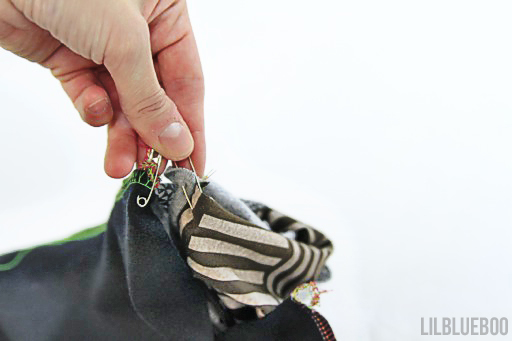
You’ll need 2 safety pins for this next step. These are just used a markers. Attach one safety pin to each corner as shown in the photo…they should be on opposite corners:
Now this part is a little tricky to show you in photos but just follow step by step and you’ll be okay. Take one of the safety pinned corners:
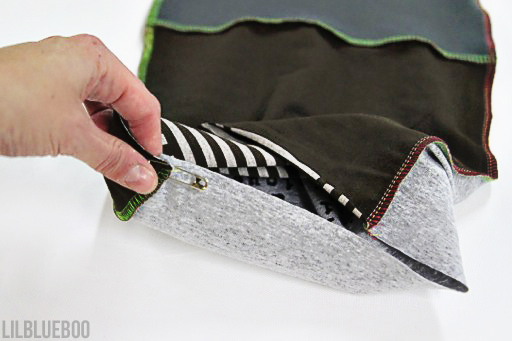
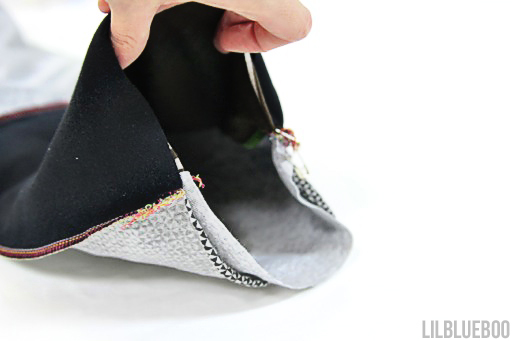
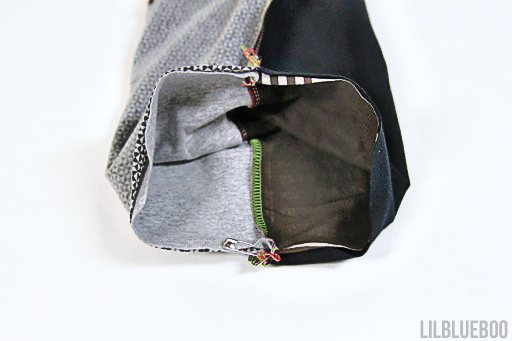
And turn the corner into the center of the “tube” you’ve made:
Guide the safety pin all the way through to the other side.
Once the safety pin is on the other side you have basically folded the scarf in half but it’s inside out:
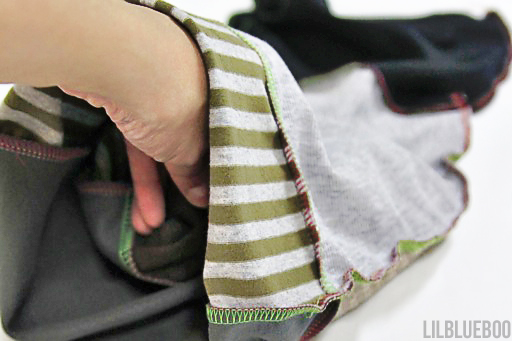
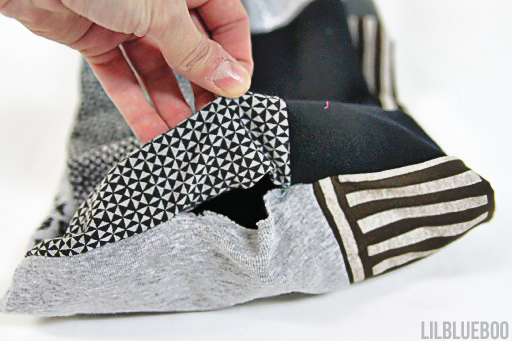
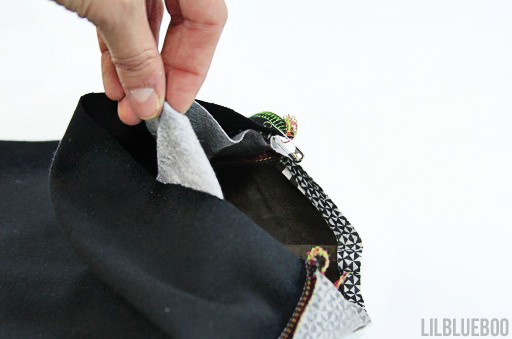 Shift the edges of each side until the two safety pins are together:
And then straighten out all the edges so that your seams align as shown:
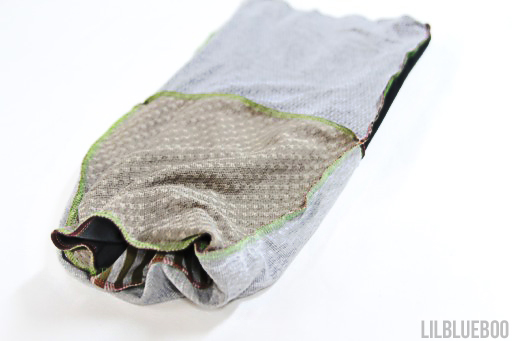
This is what the scarf looks like at this point. It looks like it is folded in half, but it’s twisted inside:
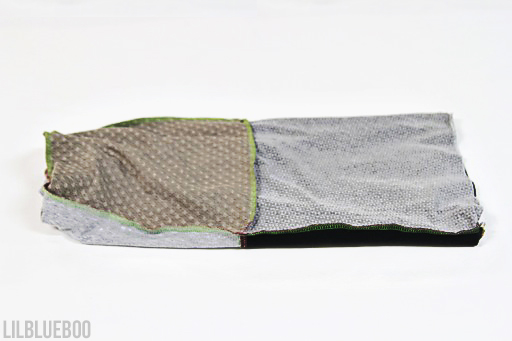
Another look:
Sew all the way around the two open edges, you are sewing them together. But leave a small 2″ gap so that you can turn the scarf right side out:
To turn the scarf right side out just reach through the small gap you left and pull the scarf back through so the correct sides of the fabric are showing:
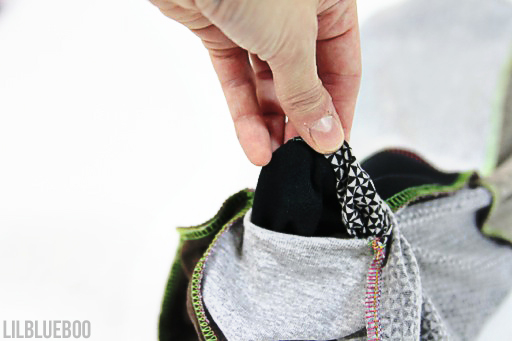 The only step left is to use a needle and thread to stitch the hole closed:
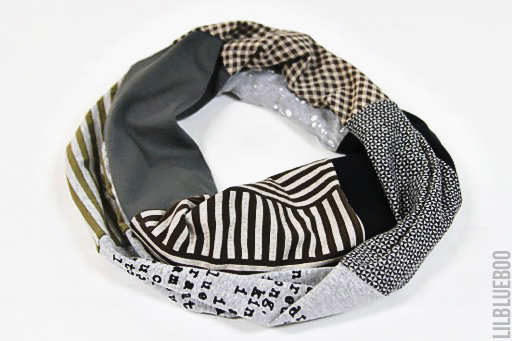
The finished scarf:
Here is one Boo made…just 6 squares for her size…but made in the exact same way:
Great for recycling and upcycling those old knits!
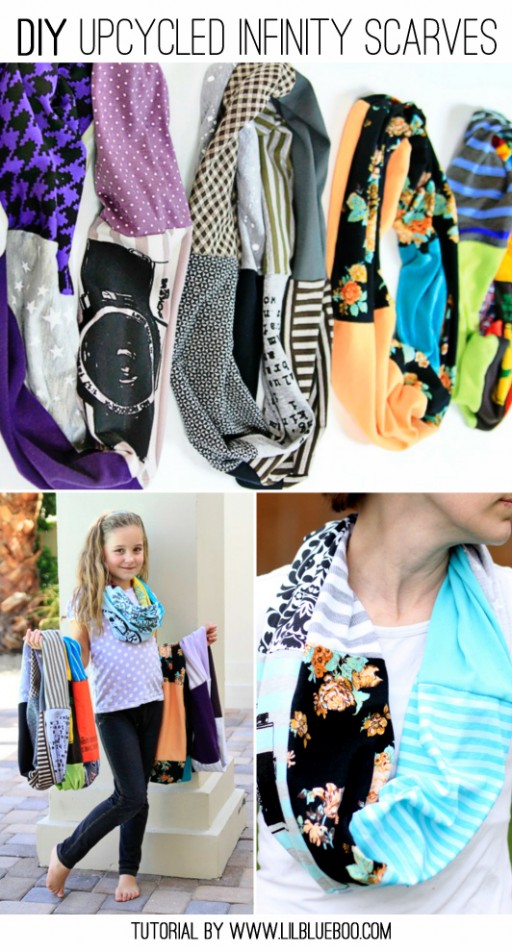
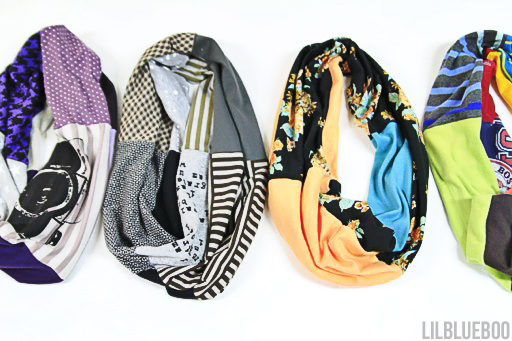
We have quite a collection:
Photography themed and color themed:
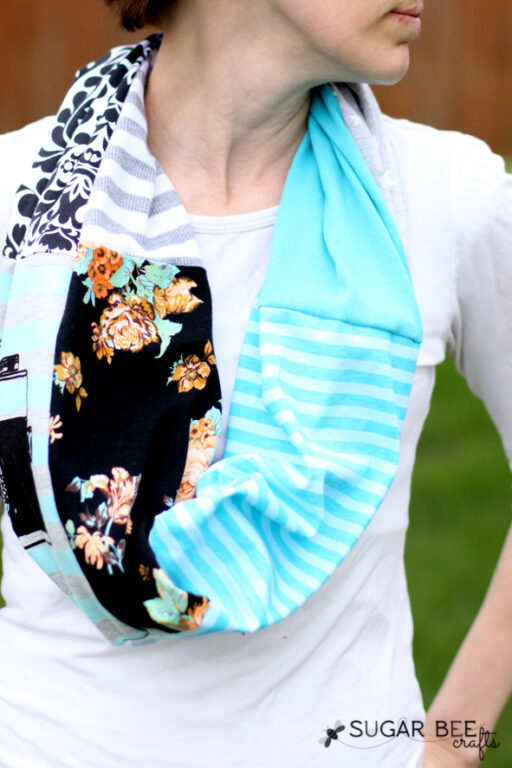
Mandy from Sugar Bee Crafts sent me a photo of one she made in my class. Love these cheery colors:
Make sure to send me photos if you make one so that I can pin them to my Pinterest board!

Love your idea!!!
Looking forward to this adventure.
Thank you
Love this!!!! My soon to be 7 year old just told me she wanted some scarves. This is perfect!!!!
Can’t wait to make one of these tomorrow! We’re off from the snow.
I want to thank you so much for your posts. I’m 14 and for the last 4 years of my life, I’ve been extremely sick. My cross has gotten heavy, but this little place in the world has helped me to bear it. Just recently, I was diagnosed with AMPS. I’m about to begin the path to finally get better. Thank you for teaching me to Choose Joy.
Dear Anna, please send us some snow! I am so glad you are on a new path. I have an extra scarf I’d love to send you. Please send me your address! ashley at lilblueboo.com xoxo, Ashley
I emailed my address to you last night. Thank you so much! <3
These scarfs are adorable. I like the fact that they are made from old shirts. Thanks for the tutorial. I love reading your posts, which is why I am following you know. 😉 If you are interested in sewing & crafting projects with and for kids, please visit my site one day. Greetings from Toronto, Jana
http://www.meandmyveritas.wordpress.com
thanks for this tutorial. i made one from scraps and had the darndest time turning it inside out. now i can make another one w less frustration and ill try to remember to send a pic!
Oh belle idée c’est très joli ! I made new rabbits (hungry bunny) . And I am going to make scarf ! Bonne année à vous et à votre famille Ashley !