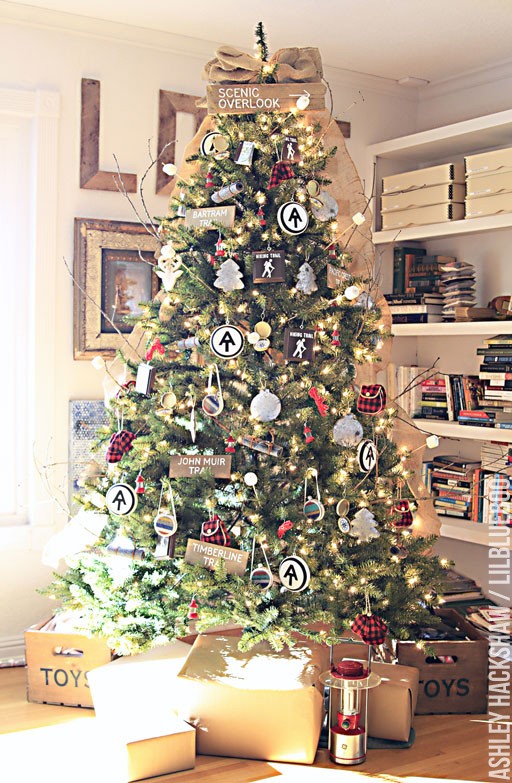
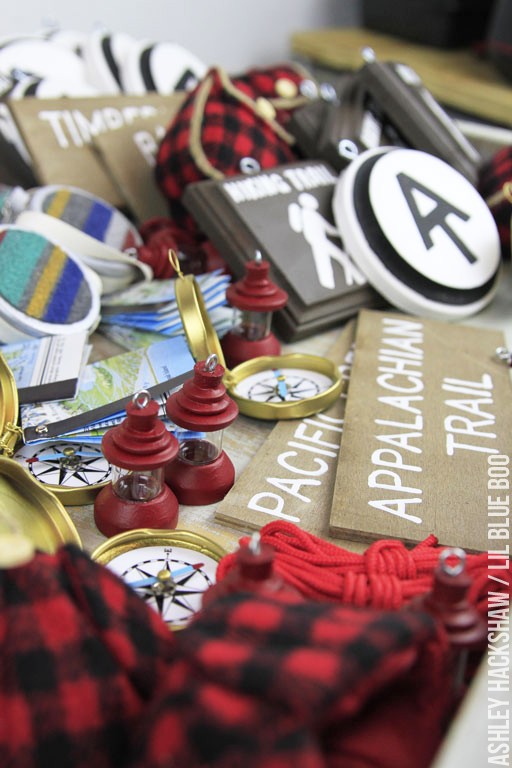
This is a continuation of the big 2015 Dream Tree Reveal for Michaels Stores and my theme for this year: Vintage Camping and Hiking:
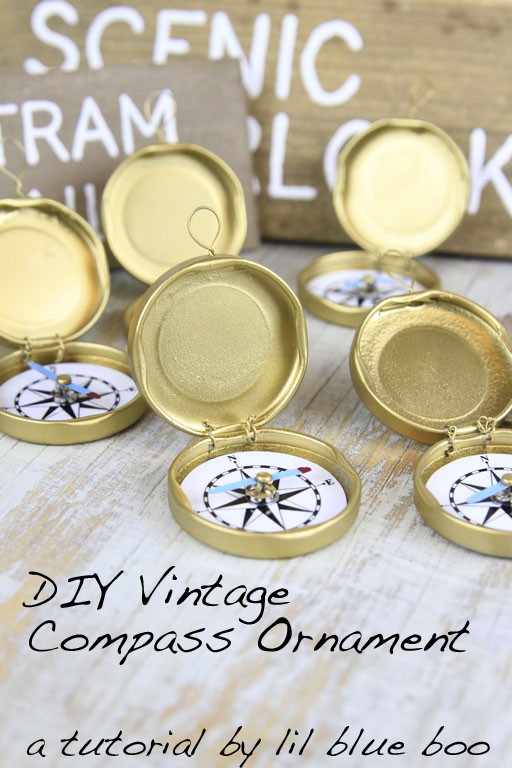
As part of my DIY ornament ideas I decided to go with a vintage compass:
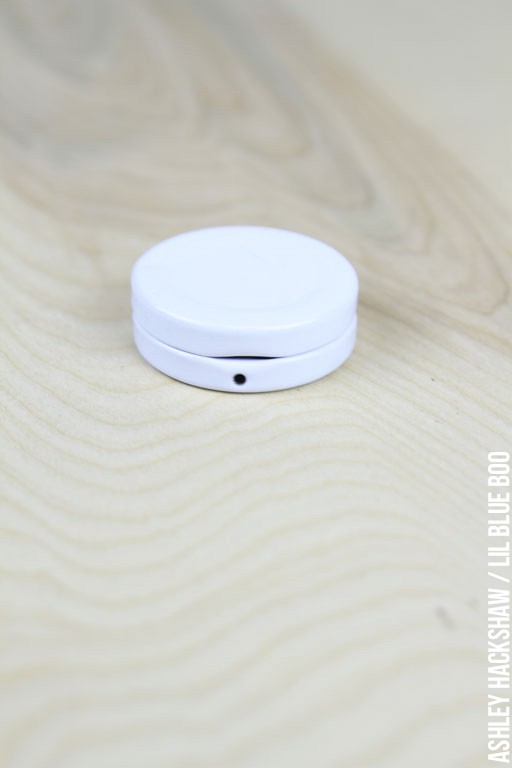
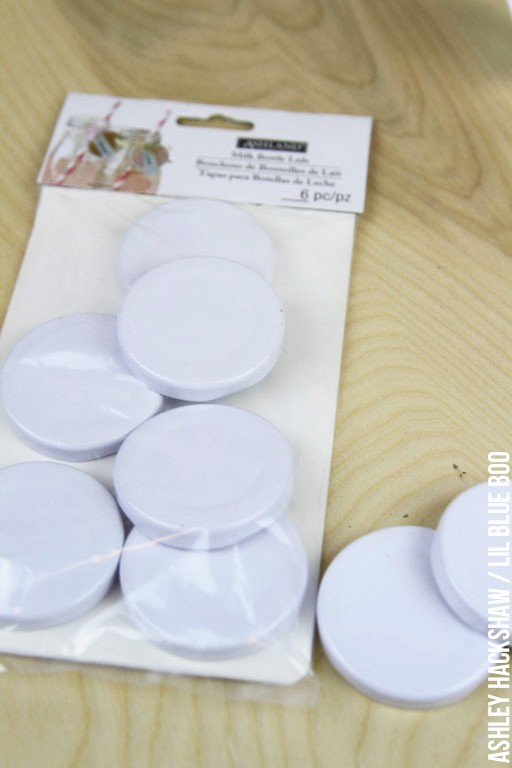
I started out with these milk bottle lids from Michaels:
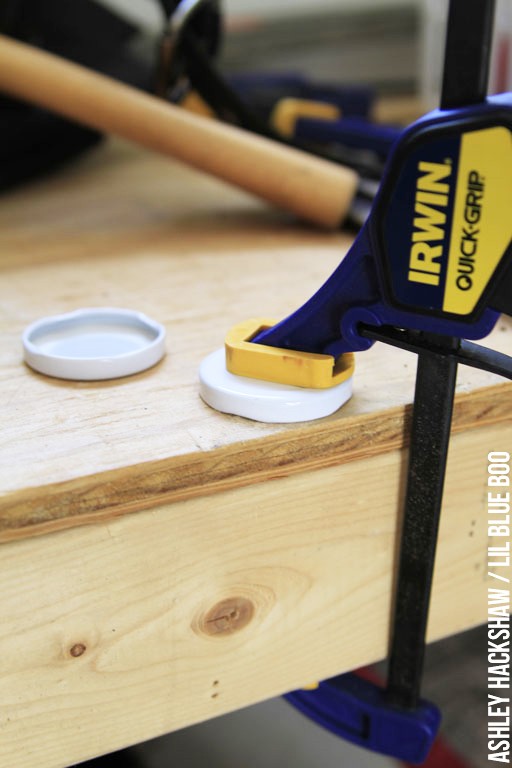
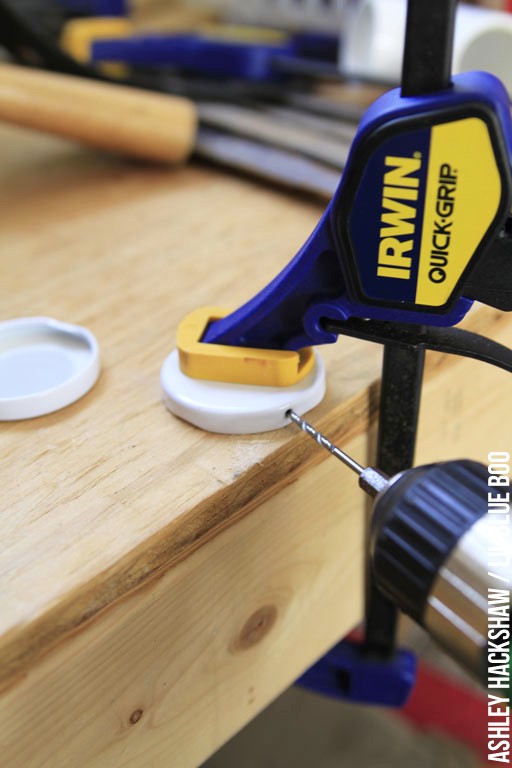
Step 1: I used a quick grip clamp to keep the milk bottle in place to drill holes in them using a small drill bit. You probably don’t even need a drill bit if you can get a nail through easily. I just like using power tools whenever possible.
You will need two lids for each compass. First I drilled a hole in one side where a hook will go for hanging:
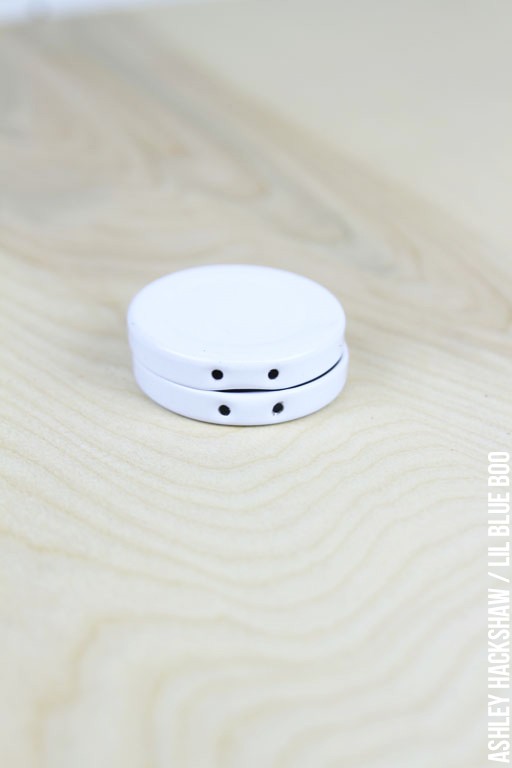
When the lids are stacked they should look like this on one side:
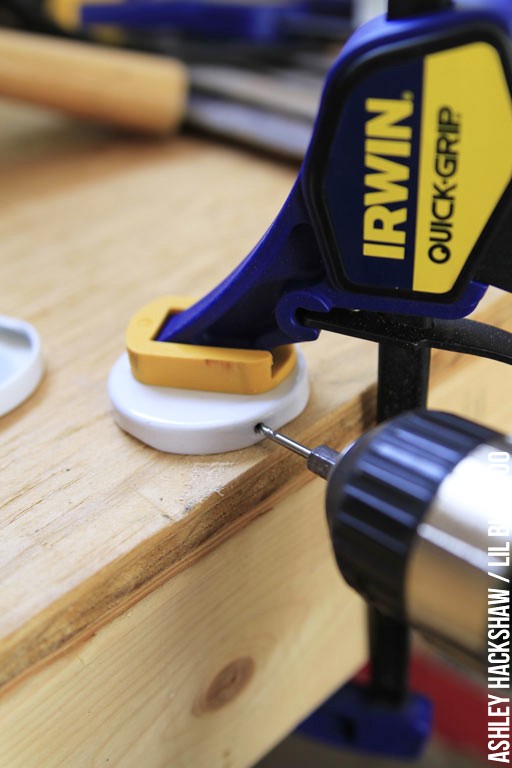
Then I drilled two holes on the other side of the lid, and drilled two holes on the other side of the second lid:
When the lids are stacked they should look like this on the other side:
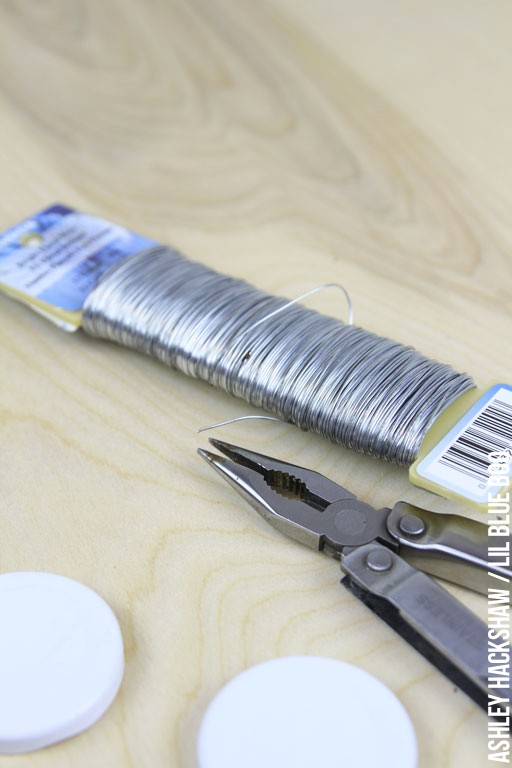
Step 2: You’ll need floral wire and pliers:
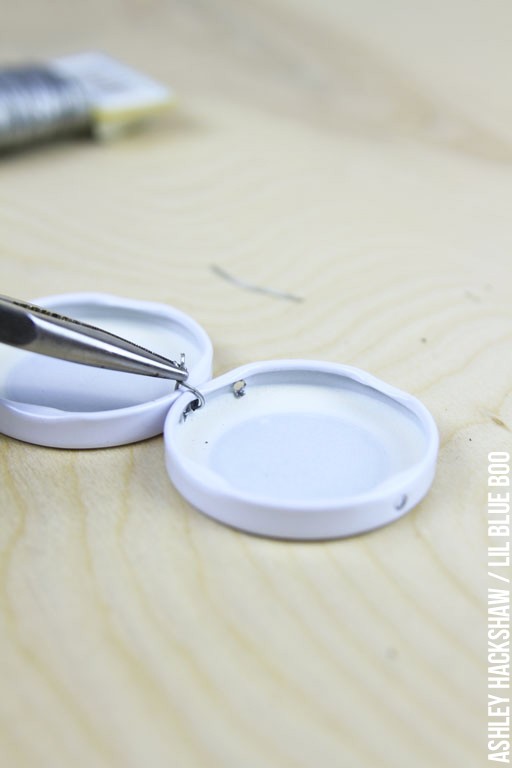
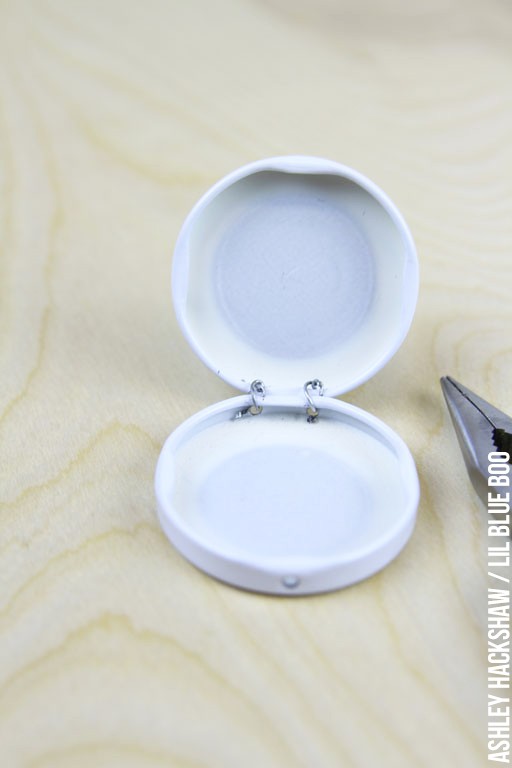
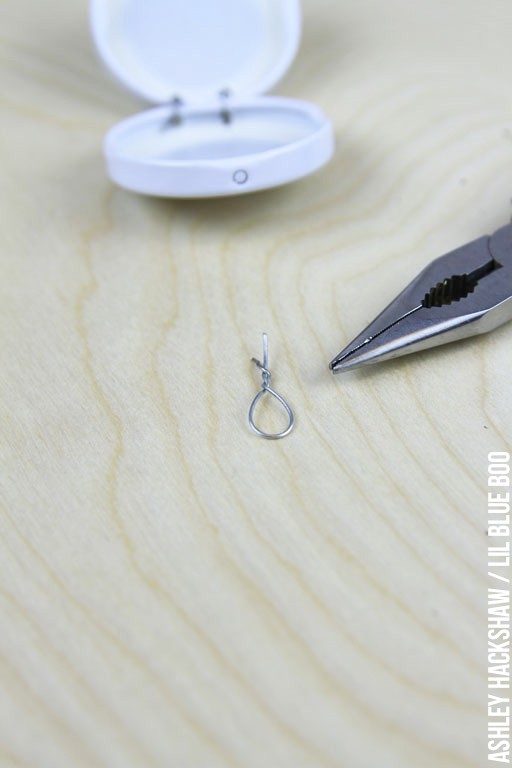
Cut two pieces of wire about 1″ in length and use them to create little loops to attach the two lids as shown:
The loops act as tiny hinges:
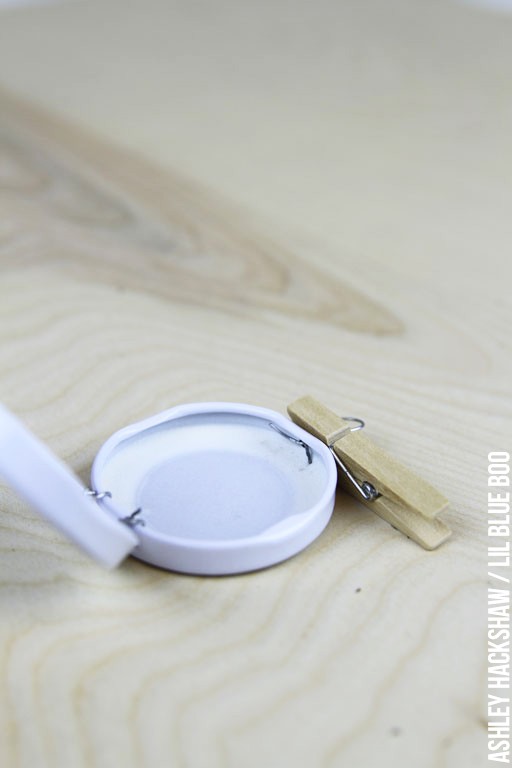
Cut about a 2″ length and twist both ends together to make a loop. This will be the ornament hanger.
Insert the loop through the single hole in one of the lids. I used a clothespin to create tension so that I could add a drop of glue on the inside to keep it in place while the glue dried:
Step 3: I forgot to take a photo of this step but I used gold metallic spray paint to spray paint each compass.
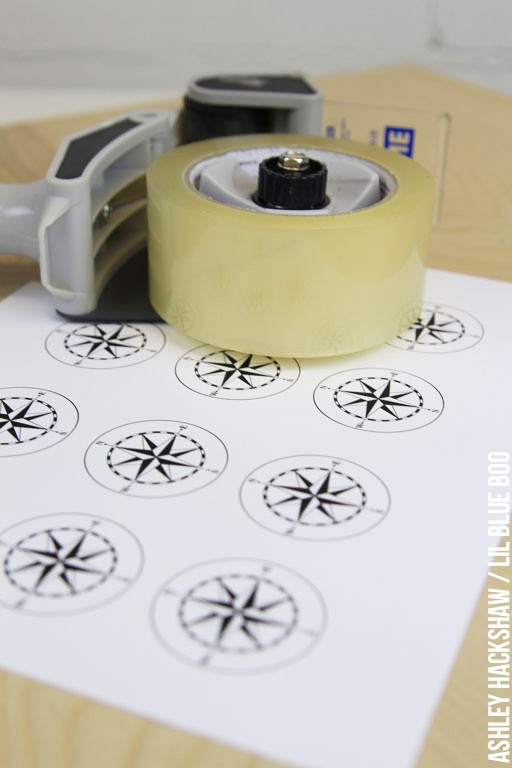
Step 4: I Googled “compass” and about 100 images came up for the inside of a compass. I picked a free one and imported it into Powerpoint where I duplicated it over and over on one sheet. I placed a layer of packing tape on each side to make the compass image glossy and to protect it from moisture:
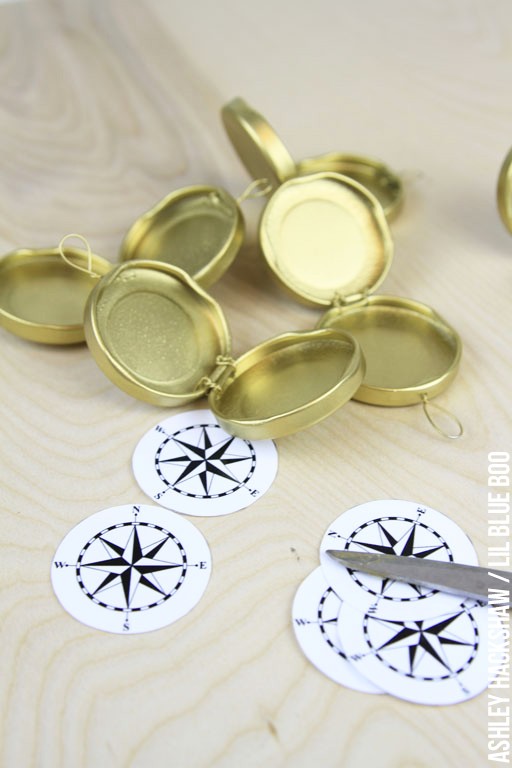
Step 5: I cut out the compass images and glued each one into a lid:
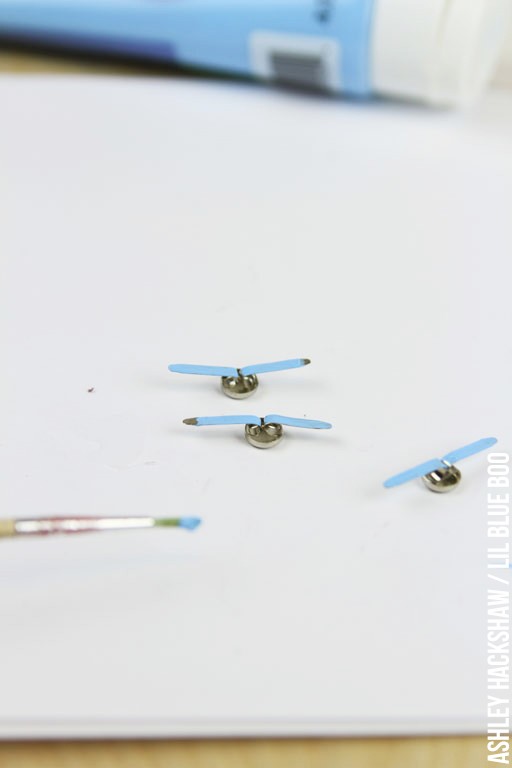
Step 6: For the little needles I used regular old paper brads. I bent them down on either side and dabbed a little paint on them:
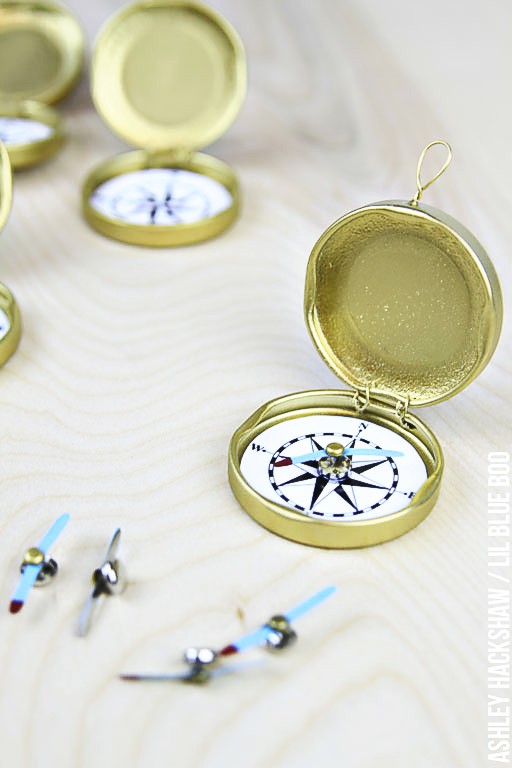
Then I glued those in place as well, adding a miniature brass brad in the middle:
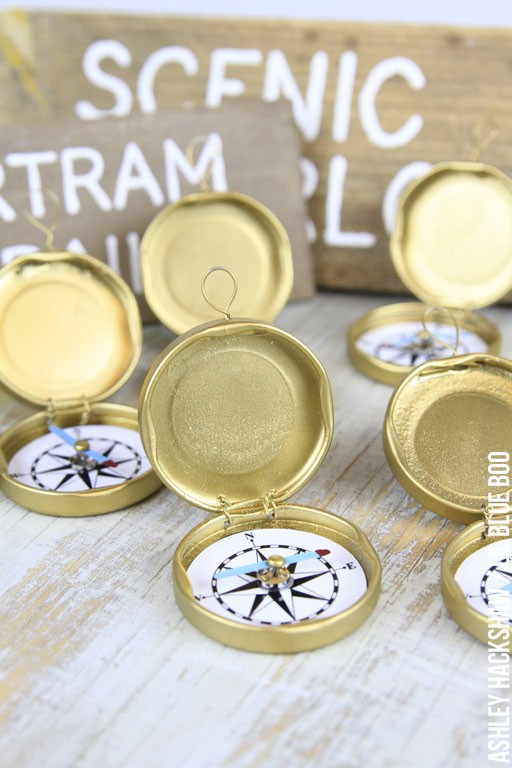
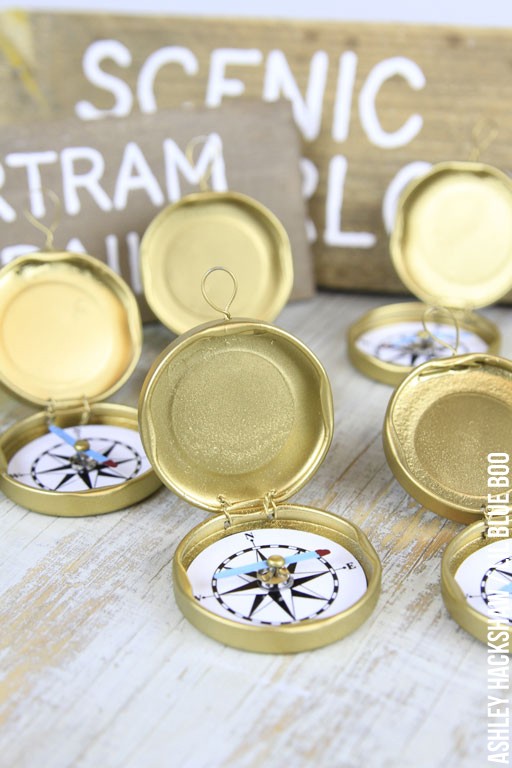
Allow the glue to dry and here are your finished compasses!
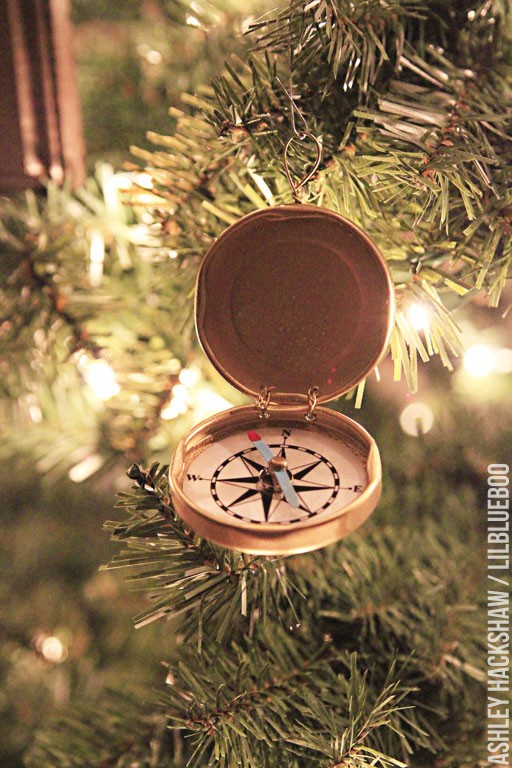
An easy, inexpensive ornament to add to a tree:
More tutorials to come soon on the rest of the ornaments!
You can view all my Christmas related decor posts here! Thanks for reading!

These are so precious! Thank you! Is there part of step 6 missing. Do we add two brads per compass?
Oops I did! Thanks for catching that! I added one small miniature brass brad to the center of each as well.
I love this idea Ashley. Very clever.Thank you for sharing.
Genius! When you first showed us those ornaments, I was wondering how you did these… Then when I saw the first picture, I thought, ‘Ah: Screw bottle caps!’
Thanks for sharing, Ashley!
Ashley you are so creative! I just love seeing how you put things together! I love this tree!
Your tree was my all time favorite one and I’ve been following this tree thing for years. I LOVED it! And way to go with all the recycling and reusing. I’m so very impressed.
This tree looks great but I had an unrelated question. I’ve been following you for awhile, and you’ve disappeared from bloglovin. I can’t even search for your blog. Any idea what’s wrong?
This is the most creative and beautiful Christmas tree I have ever seen!!