Click here to find all the ornaments and tutorials from this year’s tree! Thanks for following along this year!
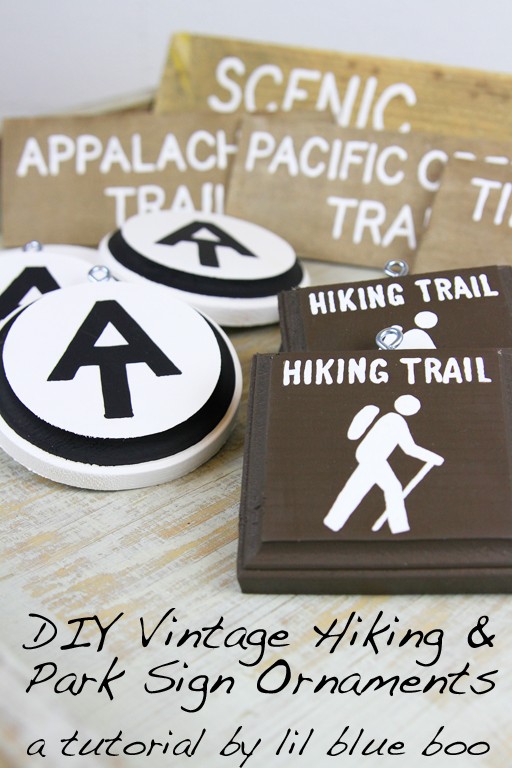
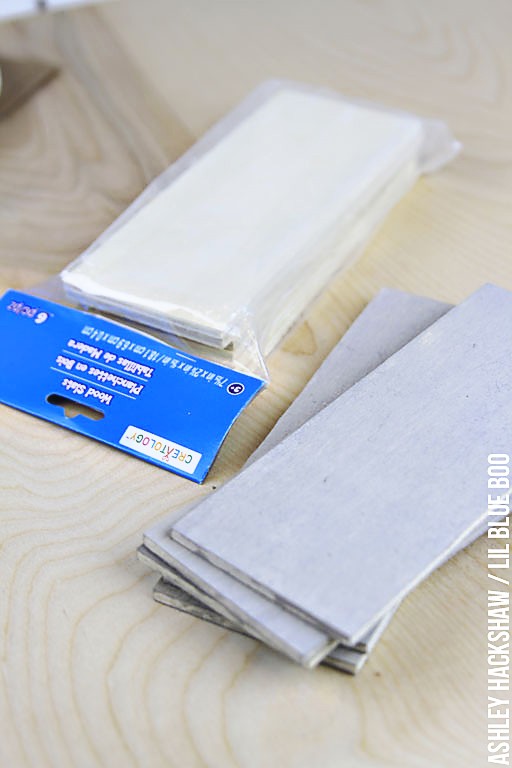
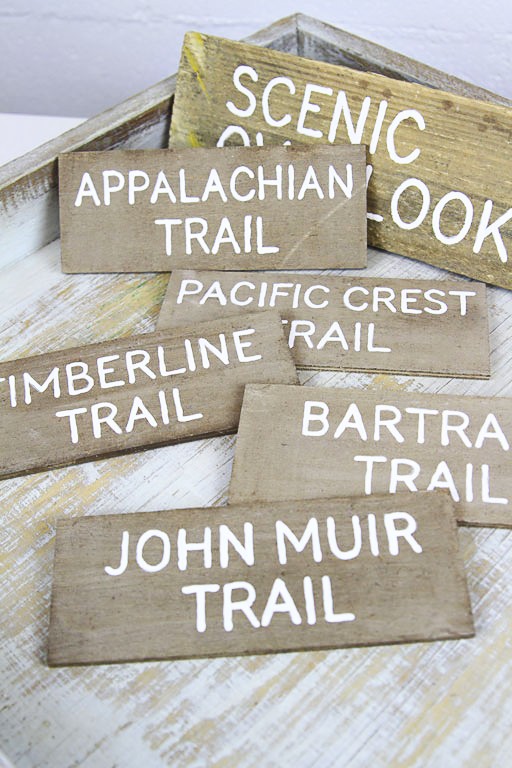
How to make vintage hiking and rustic trail sign ornaments. This is the final post of the vintage hiking and camping ornament series this year. These easy DIY rustic trail signs and vintage-inspired hiking signs are so easy to make you could whip up dozens of them in time for Christmas still. All of these little sign ornaments were made from pre-cut pieces of wood found at Michaels. The rustic trail sign wood came in packs of six. First I painted these with a gray acrylic paint:
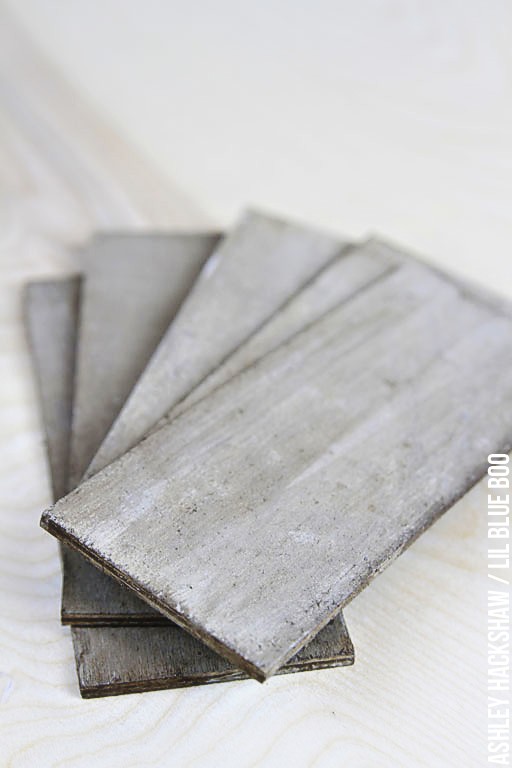
When the gray paint was dry I brushed on a diluted wash of brown acrylic paint to create the aging effect:
The letters were traced onto the wood using regular letter stencils and then carefully painted white:
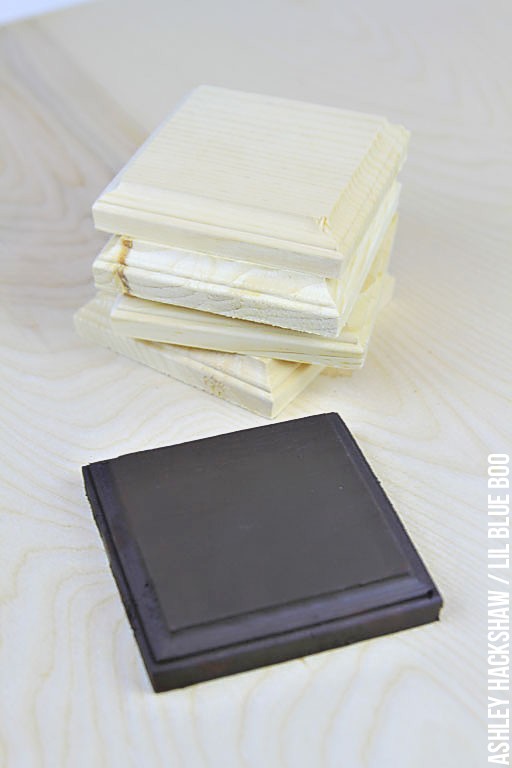
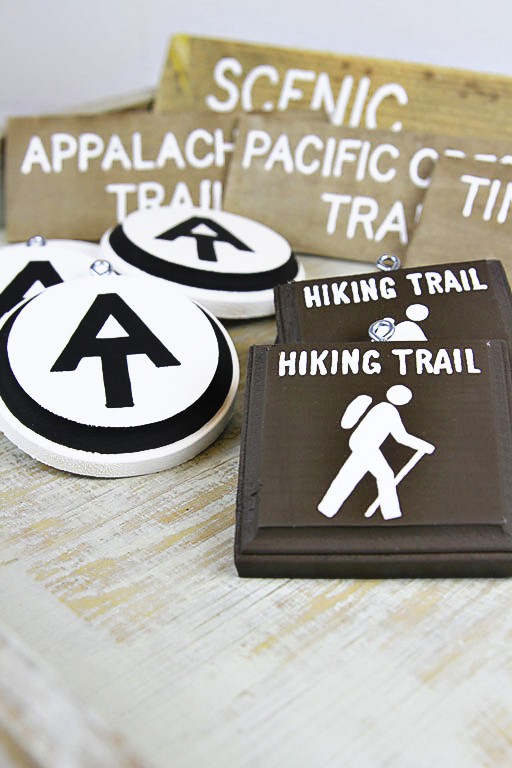
For the vintage hiking signs I used these small pre-cut wood sign pieces also from Michaels:
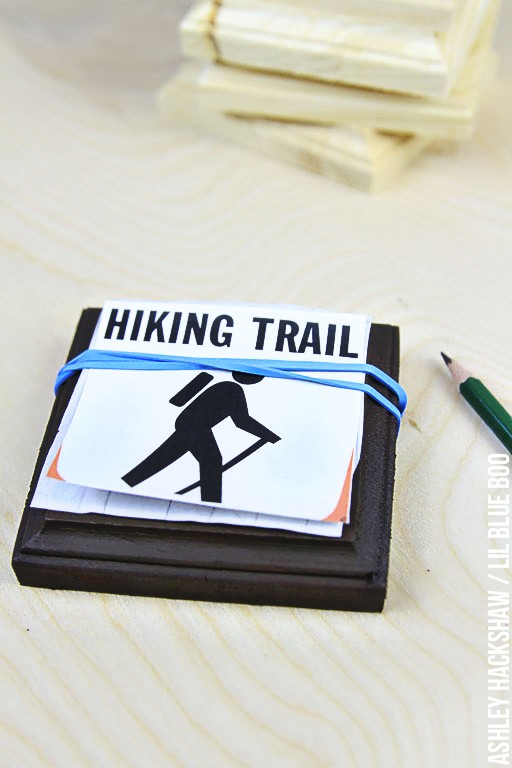
I painted the brown base coat first and then used an image of an actual vintage sign to trace my image onto the wood. I kept the image and the chalk tracing paper in place using a rubber band to trace:
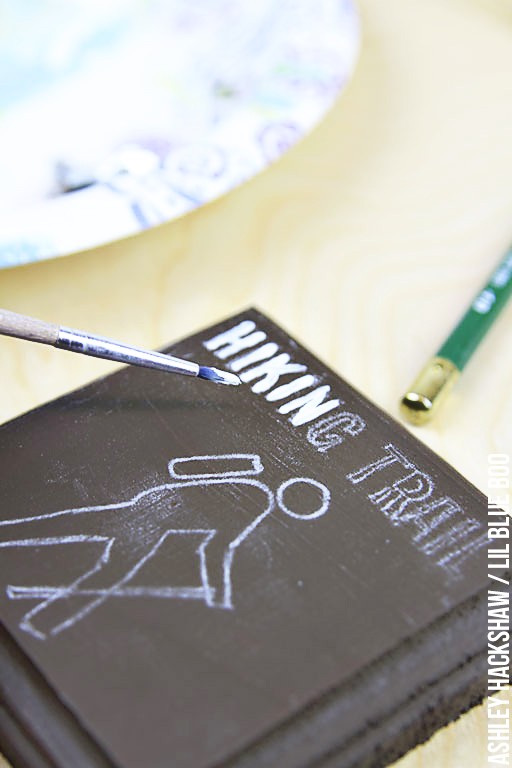
Using a small paintbrush I filled in the image. A damp cloth wipes away any of the tracing.
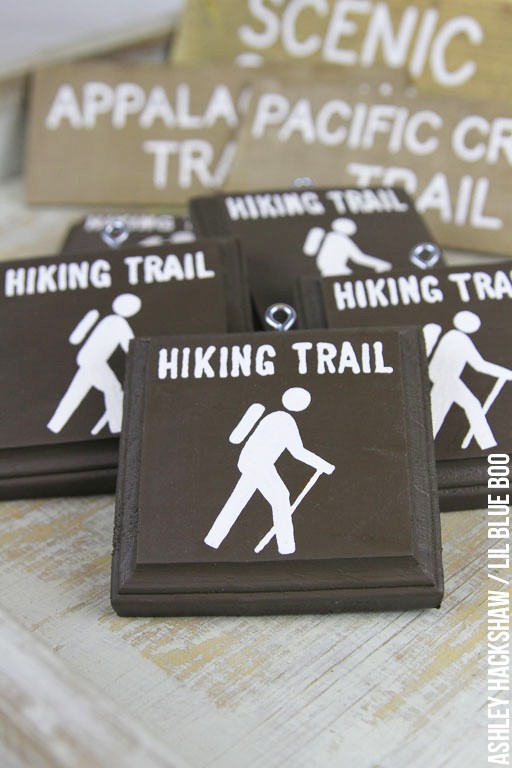
The image and tracing paper can be reused over and over again. These were so easy to make I just kept cranking them out:
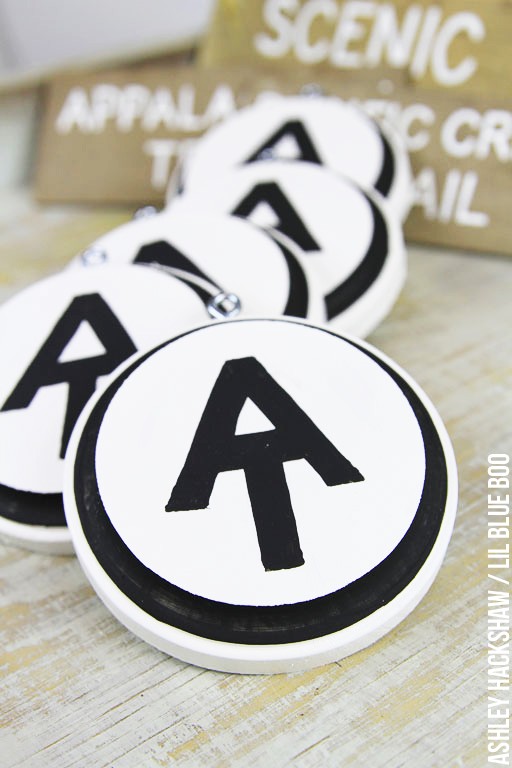
The Appalachian Trail signs were made the exact same way just using different colors:
I love how all the signs look together:
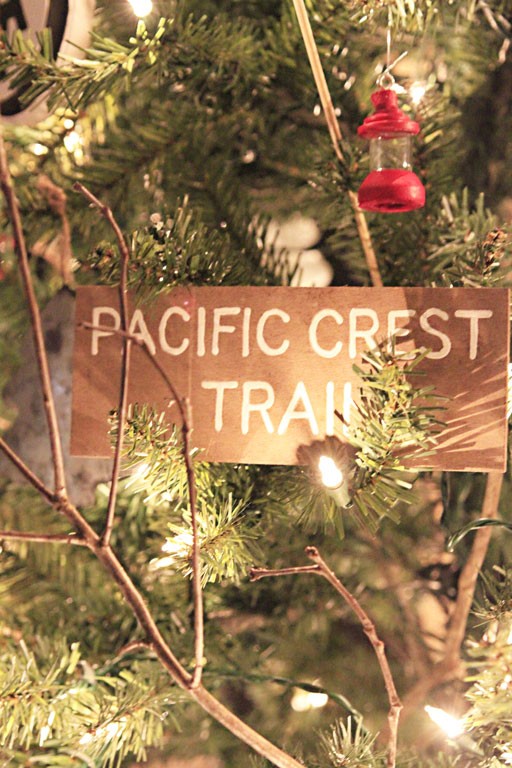
And how they looked on the finished tree!
Outdoorsy with the skewers of marshmallows:
Click here to find all the ornaments and tutorials from this years tree! Thanks for following along this year!

