Here’s a tutorial for how to make a DIY Portable Watercolor Palette, small enough to fit in your handbag or backpack!
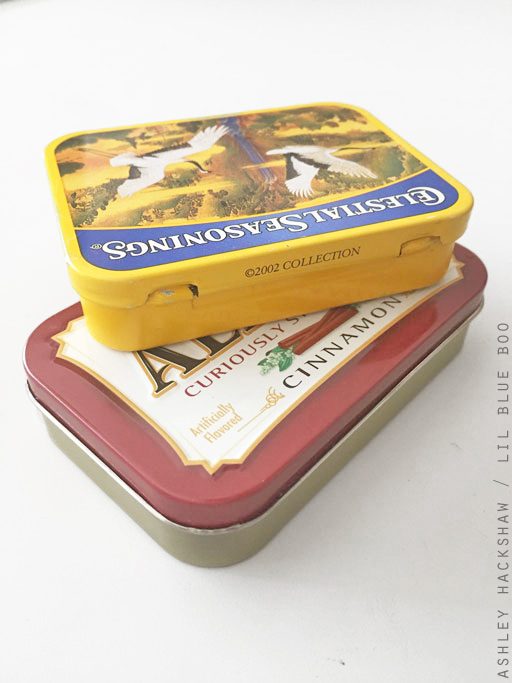
Have you ever taken watercolor paints with you on the road? I love having my paints with me just in case inspiration hits and it’s much easier to take a smaller palette over a big palette. You can make your own tiny little travel watercolor paint box using any small empty tin, like an empty Altoid tin or tea tin, and using a glue gun as a “3-D printer.”
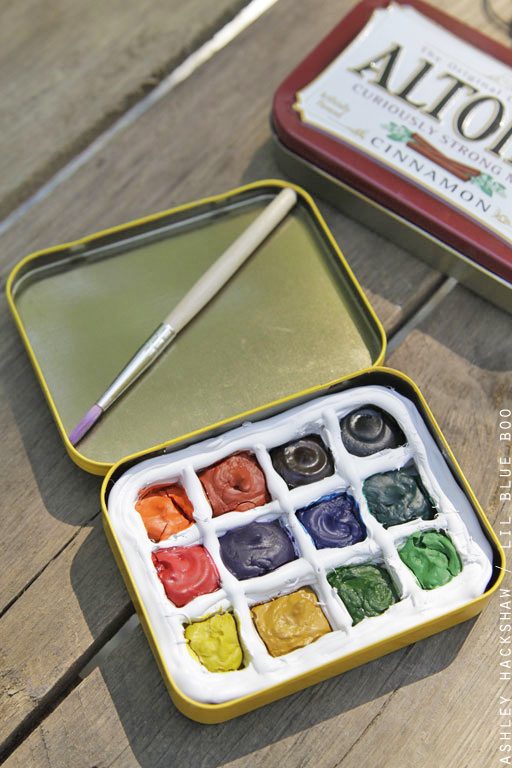
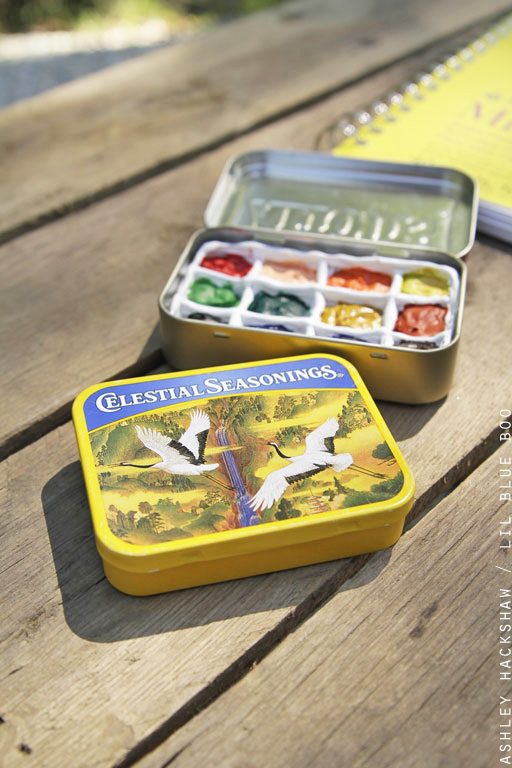
My favorite little box I’ve found recently is a vintage tea tin that I decided to turn into a travel palette:
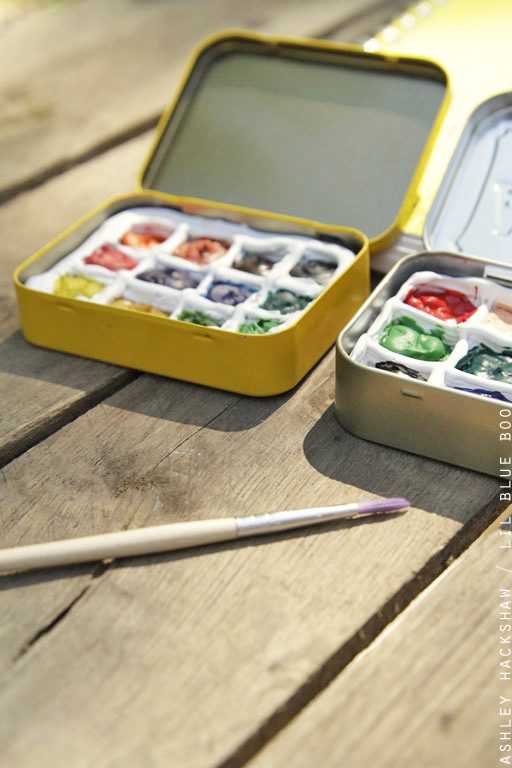
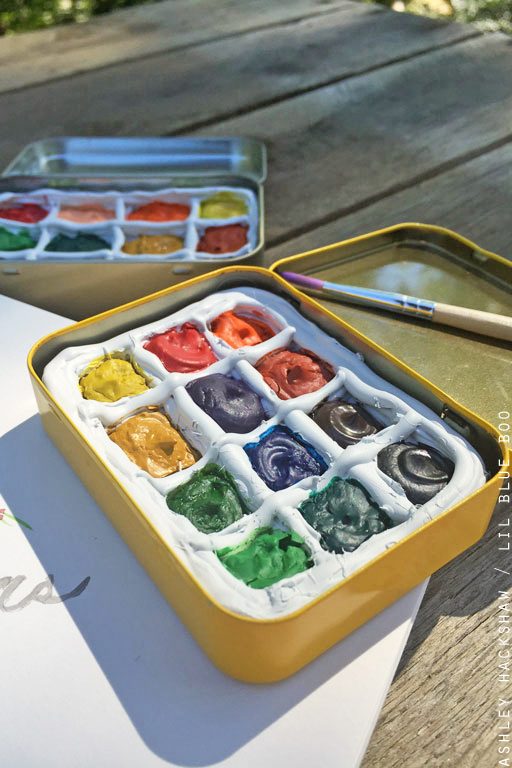
The palette has dried watercolor paints inside that just need a little water to re-use:
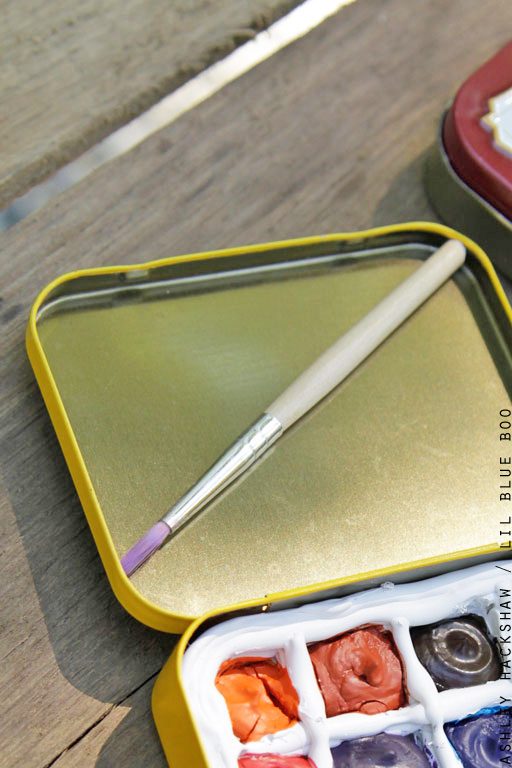
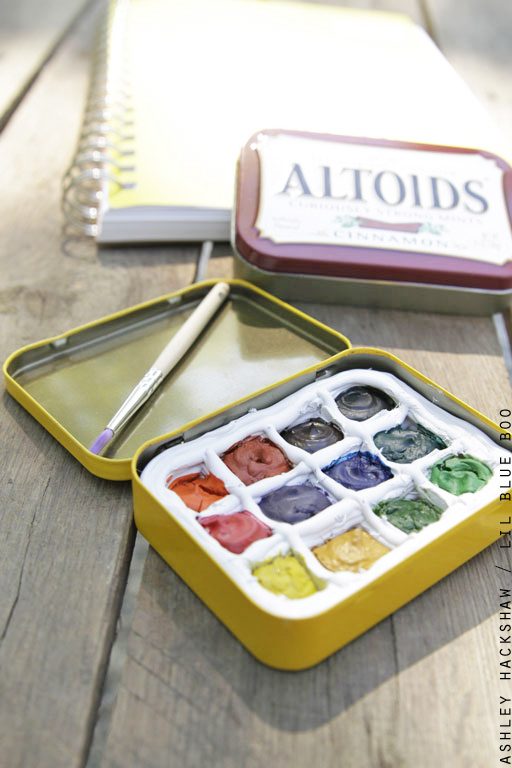
You can even include a tiny paintbrush:
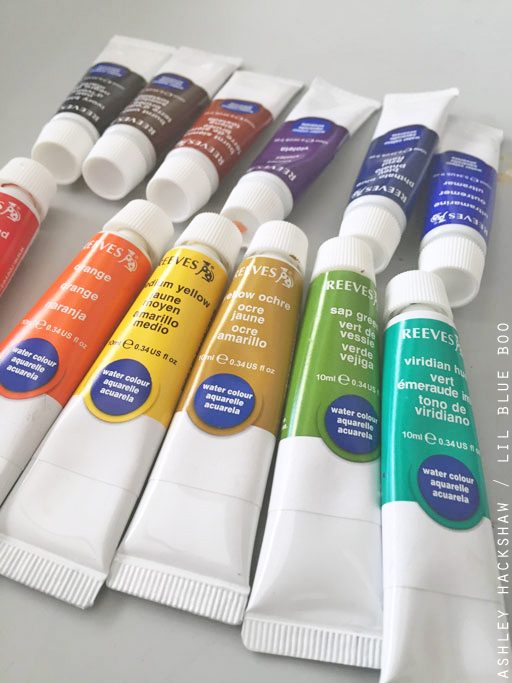
These liquid watercolor paints are from Michaels Stores and are very reasonable in price:
You’ll also need a small tin, it doesn’t matter what size because the insert is made to size:
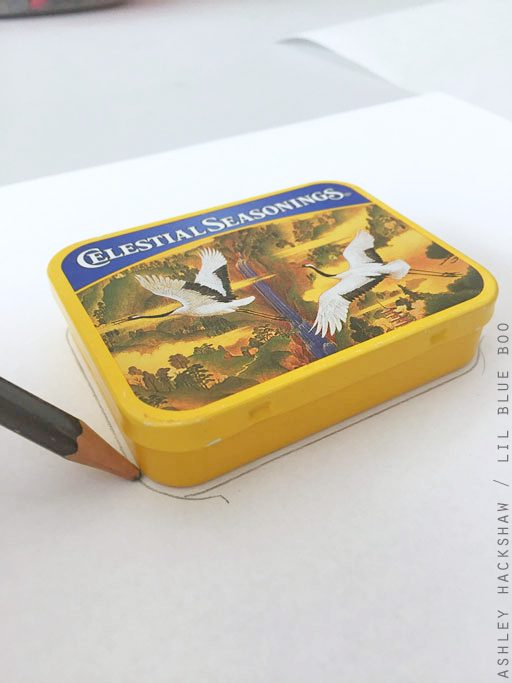
First, trace the bottom of the tin as a template:
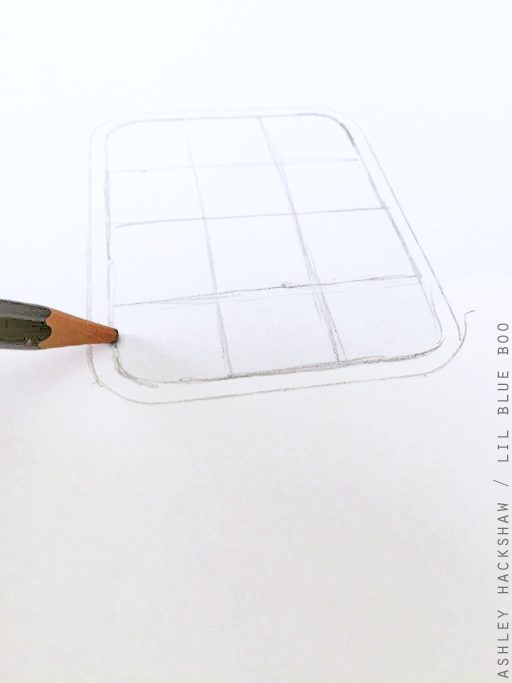
Next, draw a grid on the inside to show how many paint spaces you’ll need. I chose 12 spaces for this particular palette. I try to make them as square as possible and that usually determines how many spaces there will be:
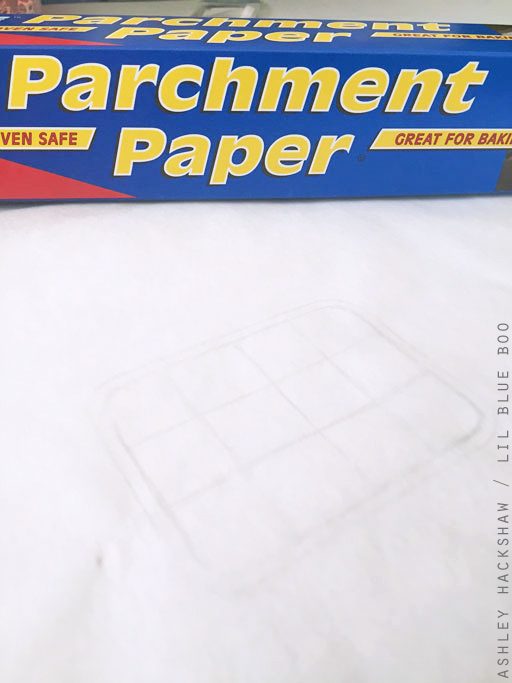
Place a piece of parchment paper over the template:
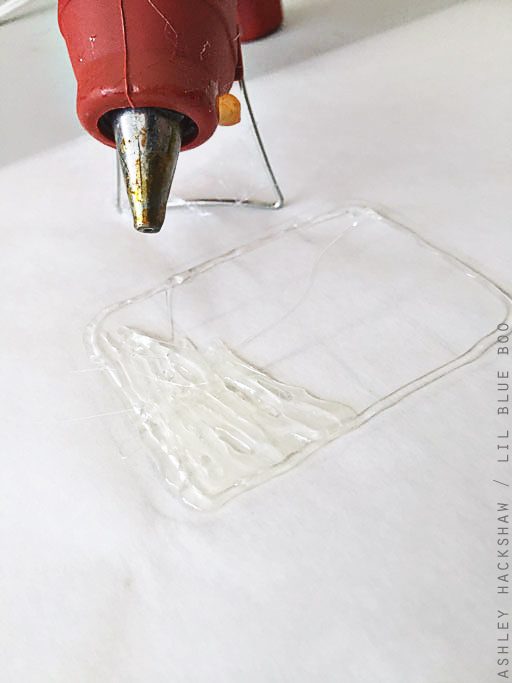
The glue from a glue gun is going to form the tray insert to hold the paints. First use the glue gun to draw a thin layer of glue on the entire surface of the template:
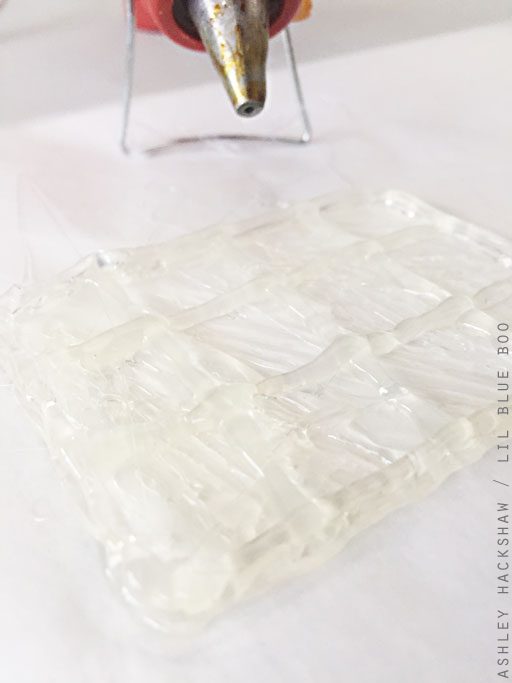
Once the bottom layer is dry use the glue to draw the grid lines and the outside wall of the tray:
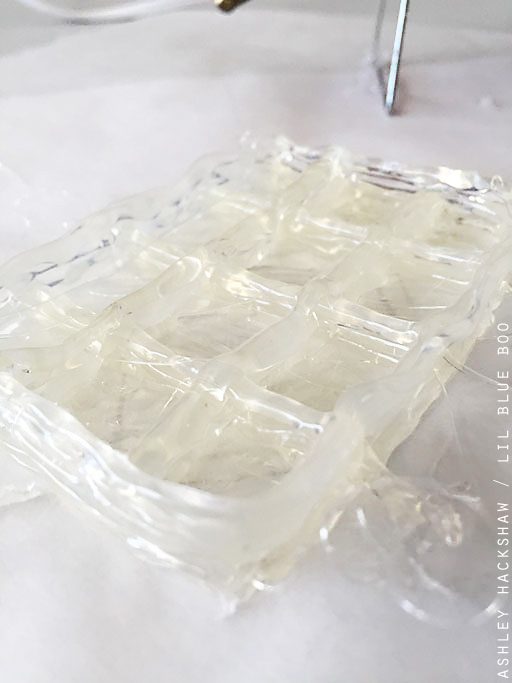
You’ll want to wait for each layer to cool before adding the next layer to keep the wall from caving in but it’s a pretty quick process. Just keep drawing your gridlines until you’ve built them up about 1/4″ to 1/2″ in height:
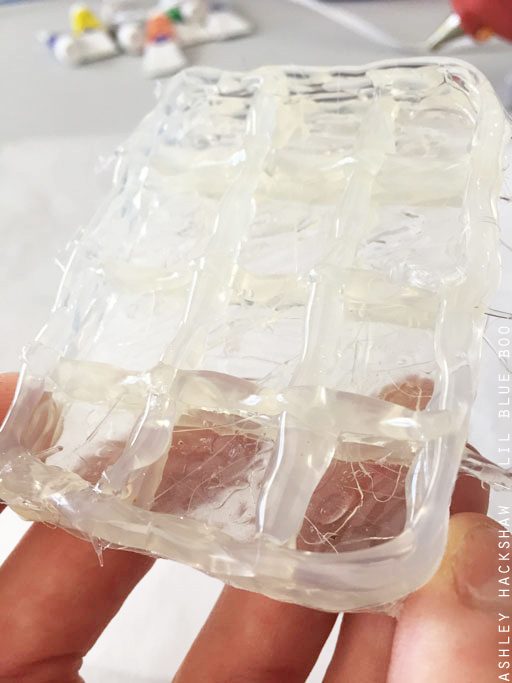
Use scissors to cut off any strings or wonky walls:
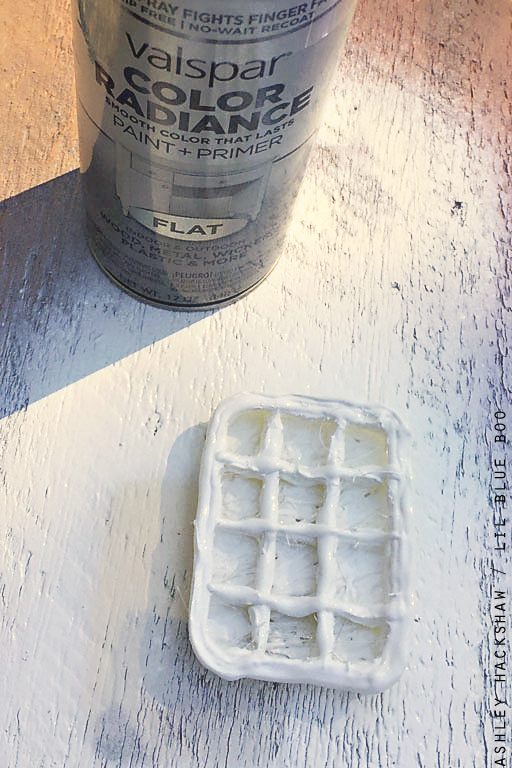
When the glue is cool you can spray the tray with a flat white spray paint:
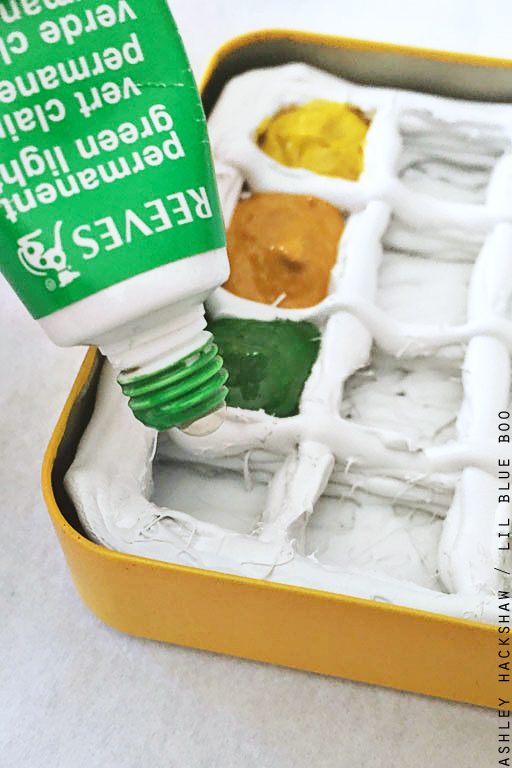
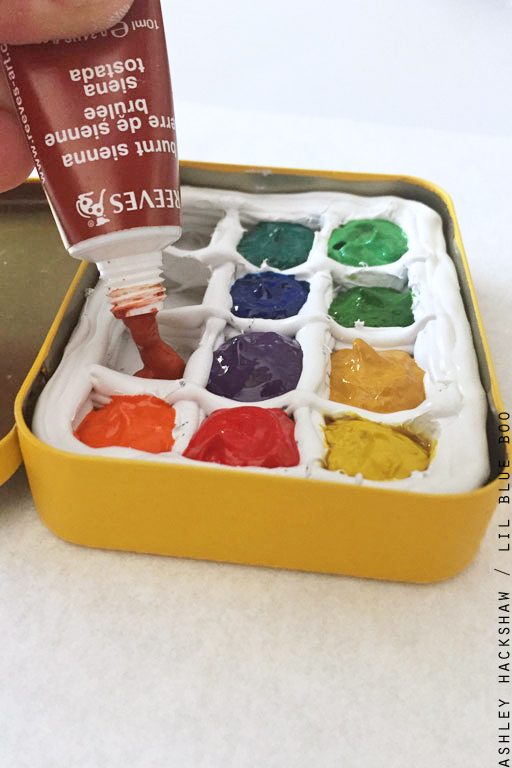
Once the spray paint is dry you can put the tray into the tin. Then it’s time to add your paint! Squeeze enough liquid watercolor into each box to fill it to the top. You can hit the tin lightly on the table surface to help level the paint.
Keep adding paint until ever spot is filled:
Let the paint dry thoroughly. It might take a few days depending on the brand of paint. Once all of the water had evaporated you’ll be left with just the hard paint pigment that can be used just like dry watercolor paints!
Cut a wood paint brush in half, smooth the end with sandpaper, and you’ll have a mini paint brush that fits inside too:
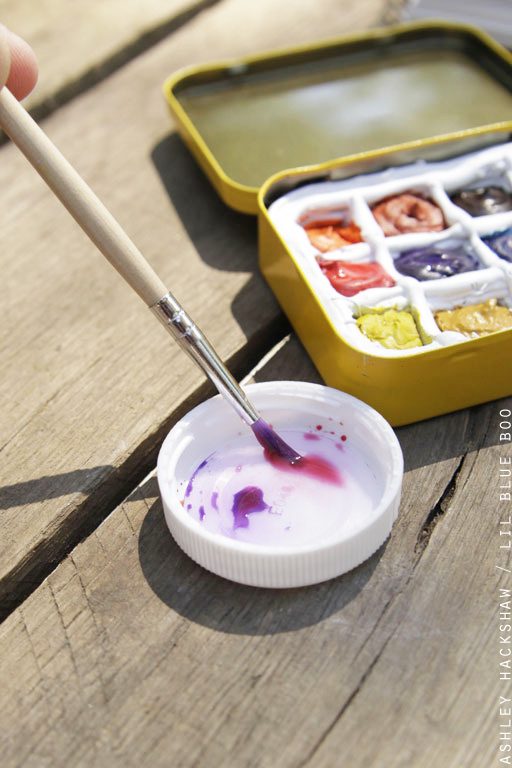
You can use the inside lid of the tin to mix your paints together but I usually just use a discarded bottle cap as a mini mixing palette:
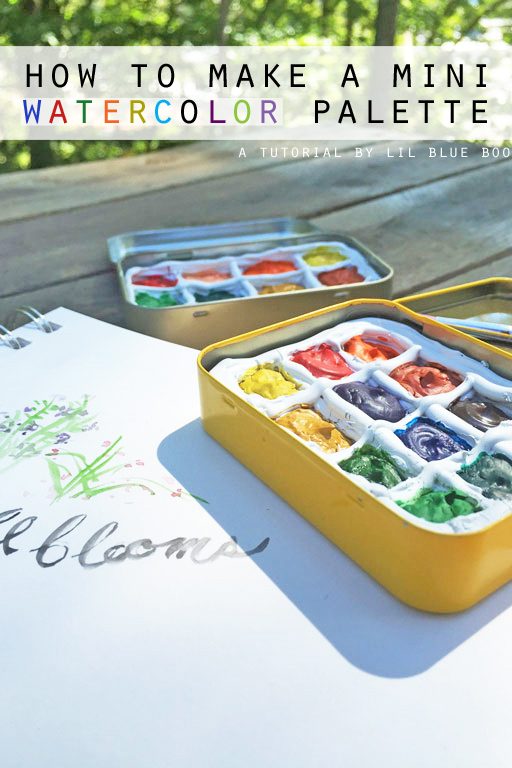
Now you can take your paints to go!

Oh my gosh. This is SO CLEVER!! I love it!
Well, Mz. Ashley you have certainly out done yerself. Mahalo for all the fun stuff you make so doable. I’m thinking about starting a water color painting class & I’d love to give some cute, simple gifts to everyone. This is too sweet.
Funny…I’ve been planning to make one of these, but had seen them with the plastic that gum “pops out of” as the pans. (An Altoid tin should hold two of the plastic “pans”, stacked….in the event someone doesn’t have a glue gun!). Neat idea!
BRILLIANT!!!! This is genius! SO doing this with my Girl Scout Troop, who are now (at 13) totally able to use glue guns on their own.
another clever idea by you. thank you and keep them coming.
This idea is so genius! I’ve never painted for fun (aside from middle school art classes) and this concept really inspires me to try something new! Thank you!
Great idea. It’s perfect for my granddaughter to take on road trips. She can paint in the evenings. Thanks for the tutorial. I never would have thought of layering hot glue for the tray or painting it. Way to go Ashley. I look for more of your ideas. This would work in the small mint tin for dolls!