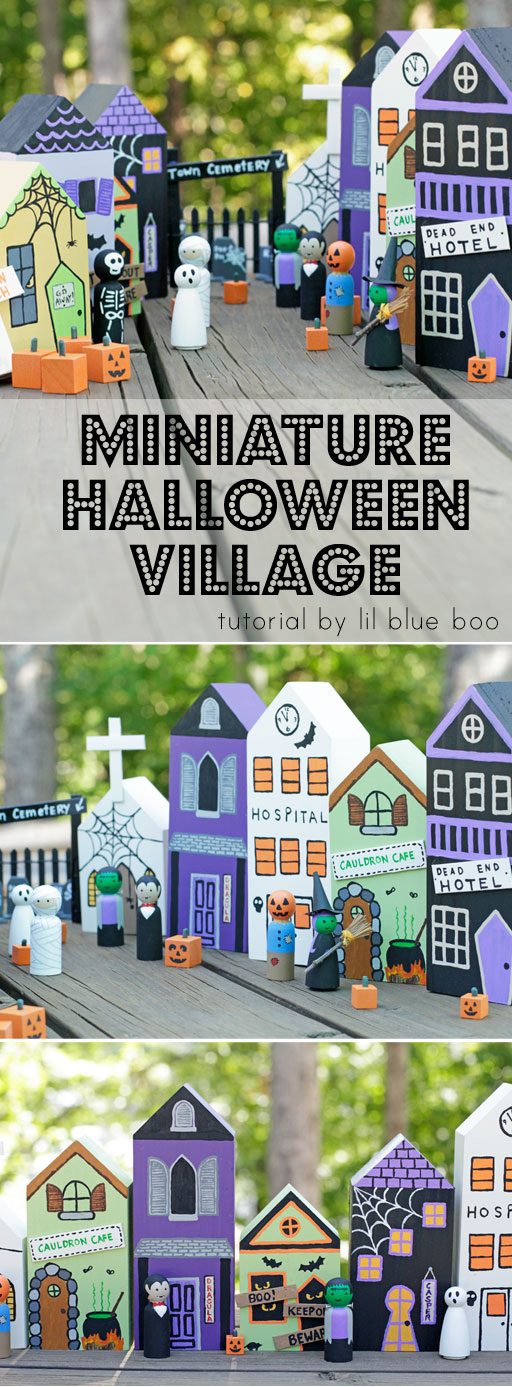
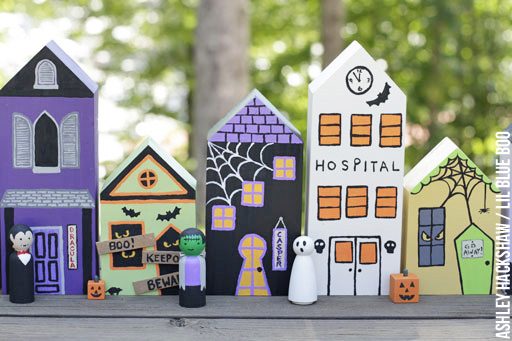
Here’s how to paint your own DIY Halloween Village that you can use year over year!
As a Michaels Maker team member I am challenged each month to come up with a new idea each month. Sienna loves playing with little village and doll sets so I thought it would be fun to make an entire village that we can use year after year:
We can even add to it over time:
You don’t have to go all out and paint the entire village at once. It would be fun to add a few buildings each year to your collection. Just remember to date them so you have a memory of when you made them!
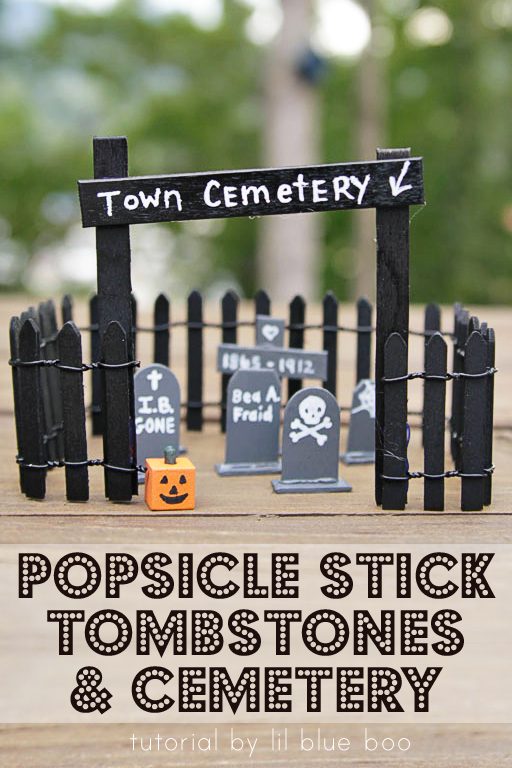
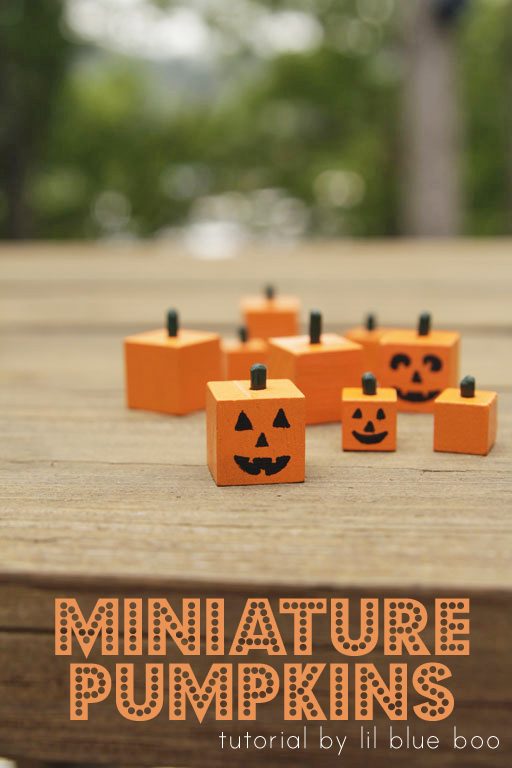
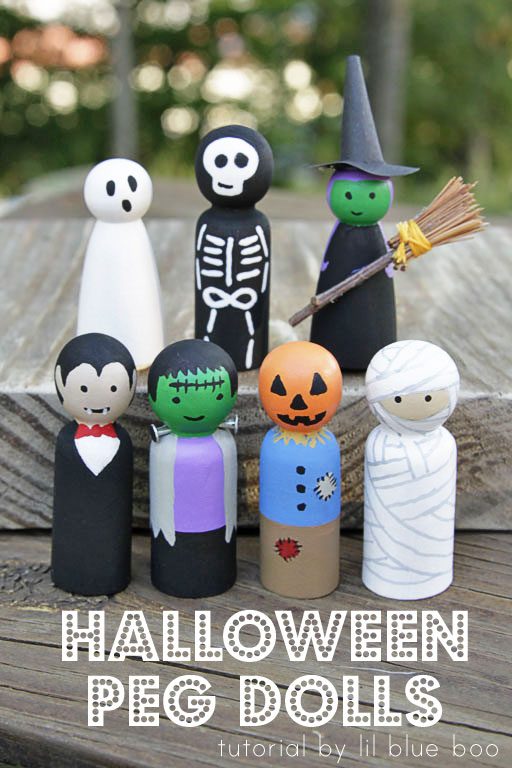
Sienna loved helping me in this process. We made the miniature pumpkins first, then the miniature cemetery, and then finally the peg doll characters, all the while working on the village too:
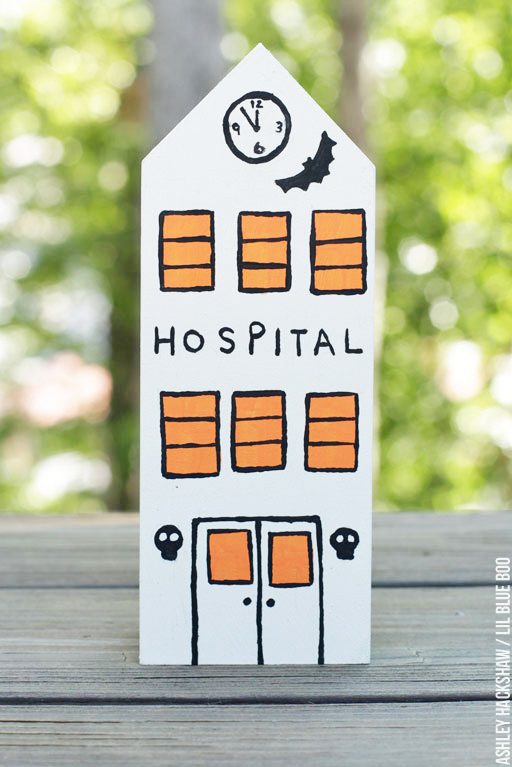
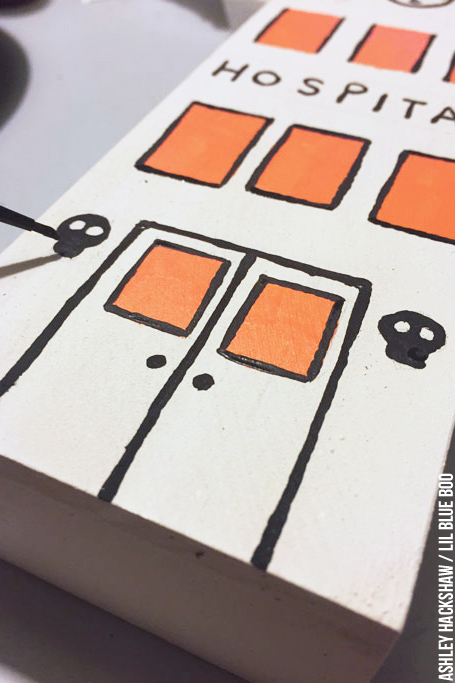
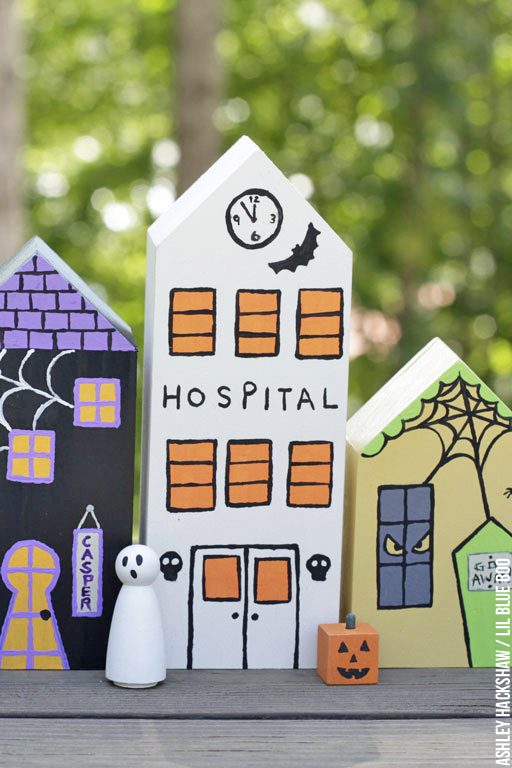
The large white building was going to be a courthouse but she said, “Mom, that looks more like a hospital.” So that’s what I made it:
We searched lots of different collections online to find different details like shutters, window shapes, etc:
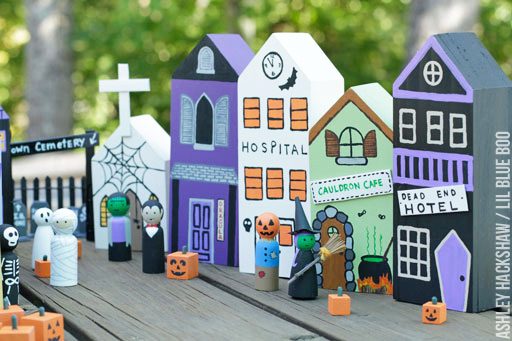
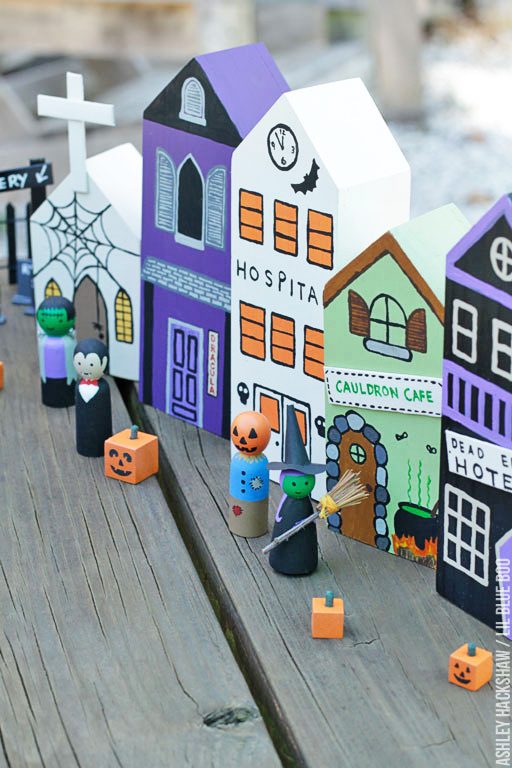
DIY Halloween Village:
I took a picture of each one so you can use them as a template to make your own:
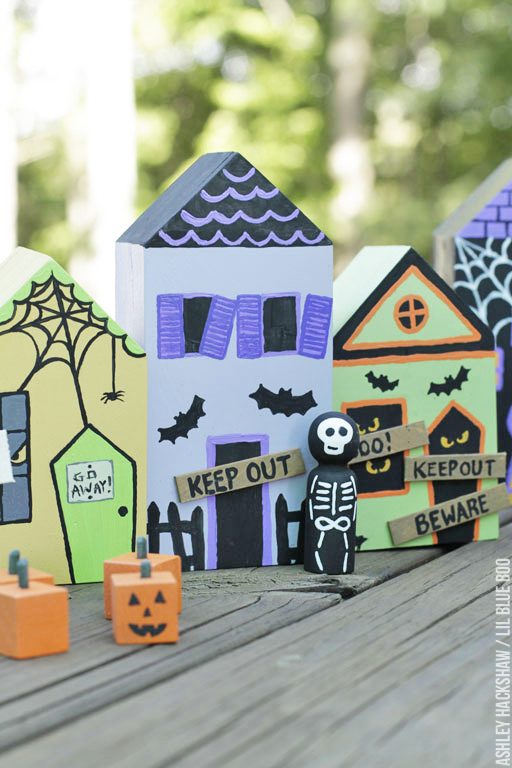
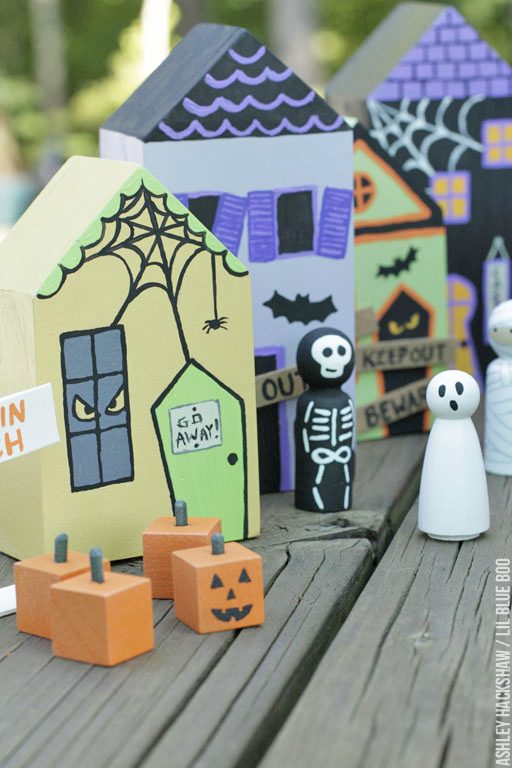
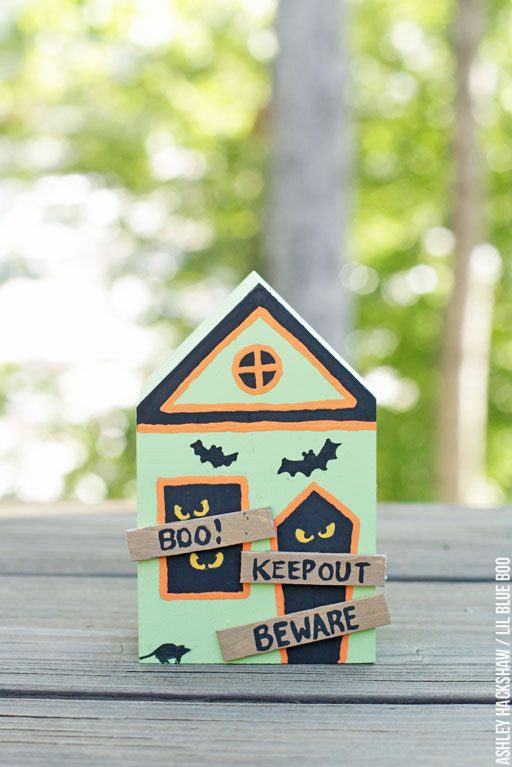
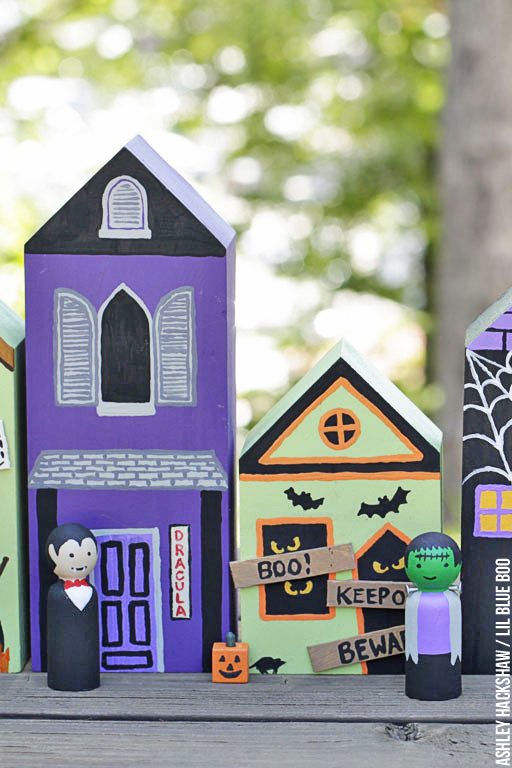
An Abandoned House:
It was Sienna’s idea to have the open windows and doors so that we could have the spooky eyes peeking out. I cut apart popsicle sticks for the “Boo”, “Keepout” and “Beware” signs. I used a glue gun to attach them.
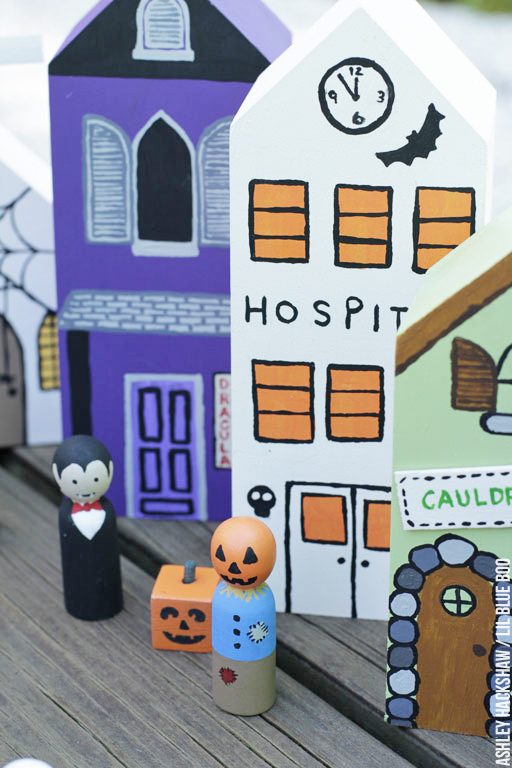
A Spooky Hospital:
I’m not sure if hospitals have clocks but we like the “almost midnight” idea. The skull lights are a spooky touch!
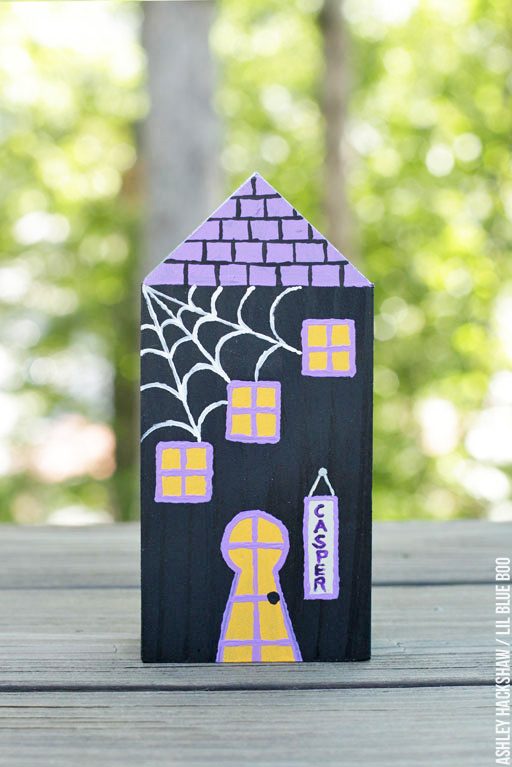
Casper’s House:
The door is shaped for a ghost to enter. Adding cobwebs to any building automatically adds an element of creepy, right? The door plaque is so Casper can have guests.
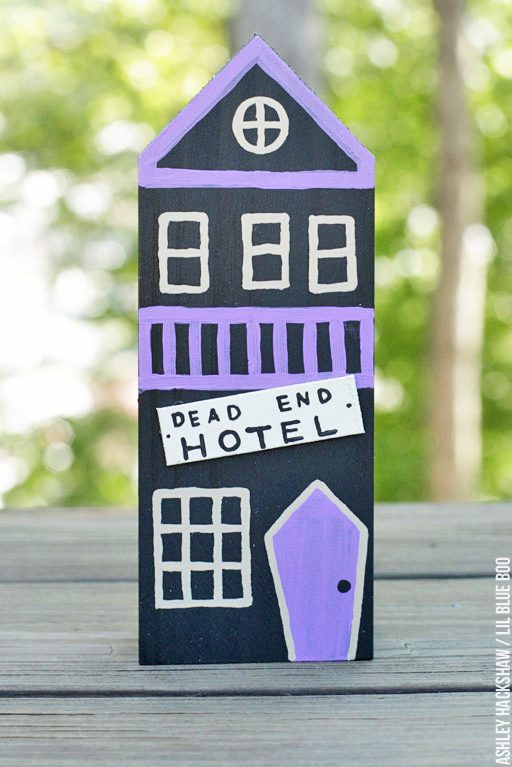
Dead End Hotel:
We added a coffin shaped door and balcony to this creepy hotel. The sign was made from a large popsicle stick.
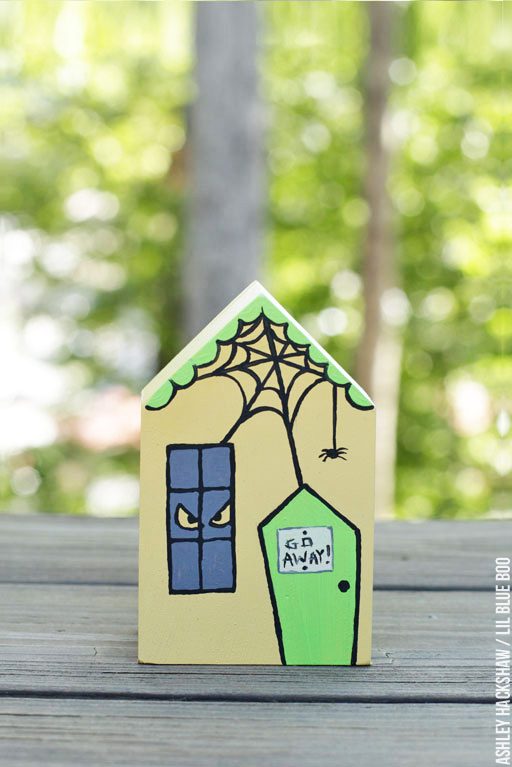
A Creepy Cottage:
Whoever lives here does not want visitors.
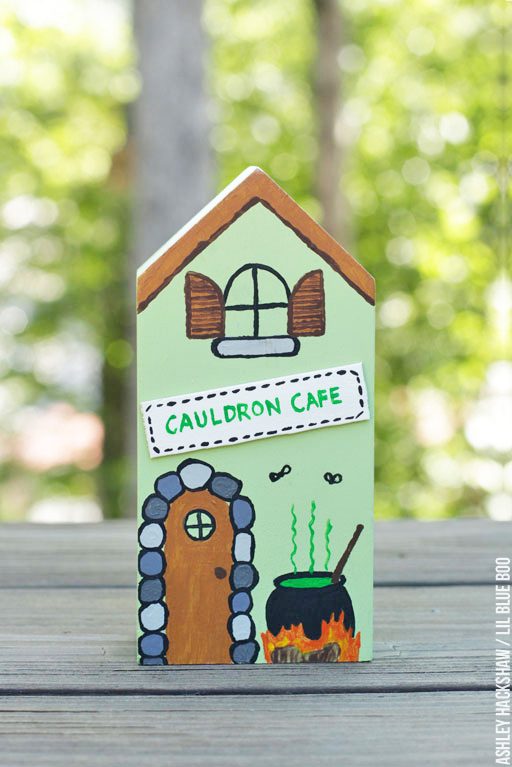
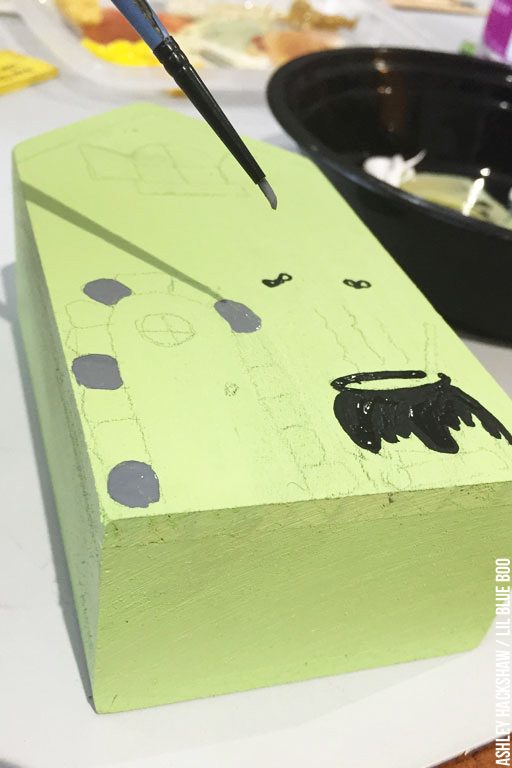
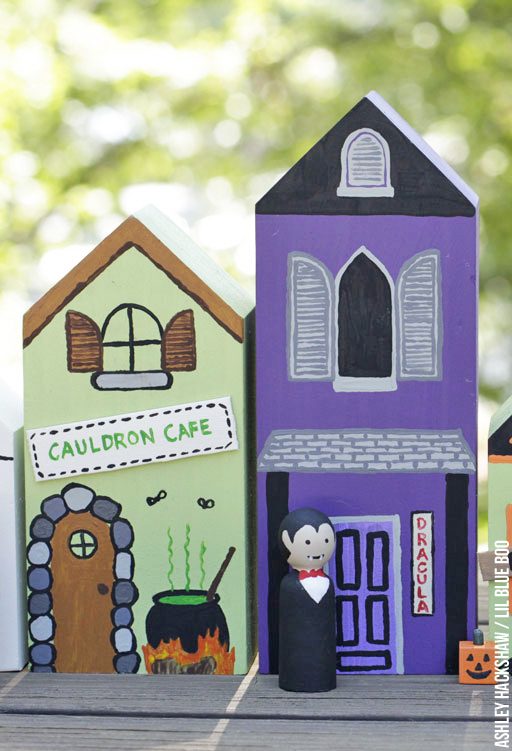
The Cauldron Cafe:
The special of the day is something green that attracts flies. I’m sure it has bat whiskers, newt tail and other icky things. I added stonework to the door. The sign is also another popsicle stick.
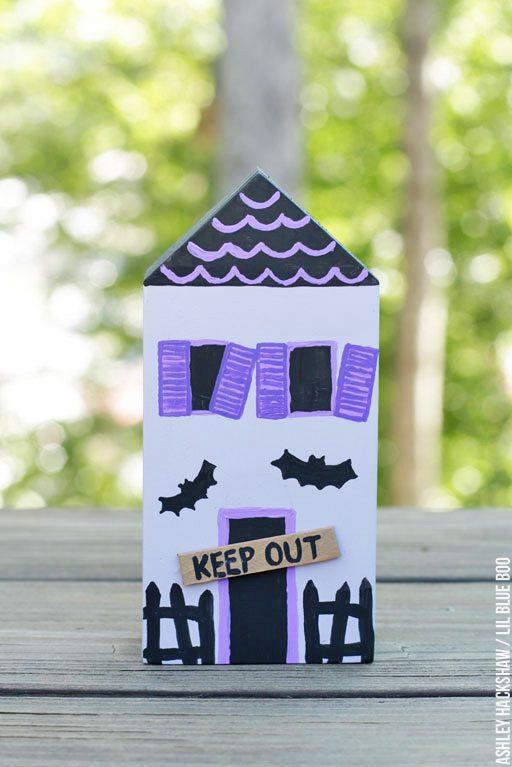
A Haunted House:
Crooked shutters and shoddy fences make the house seem abandoned and dilapidated.
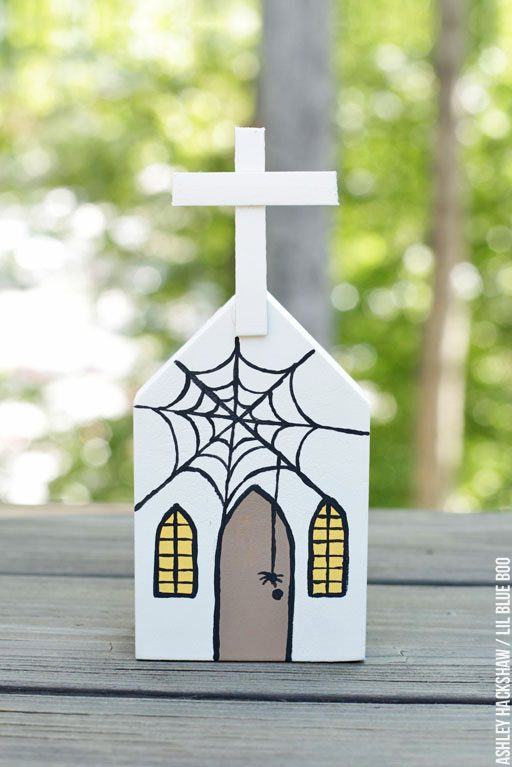
A Church for the Cemetery:
The cross was made from popsicle sticks.
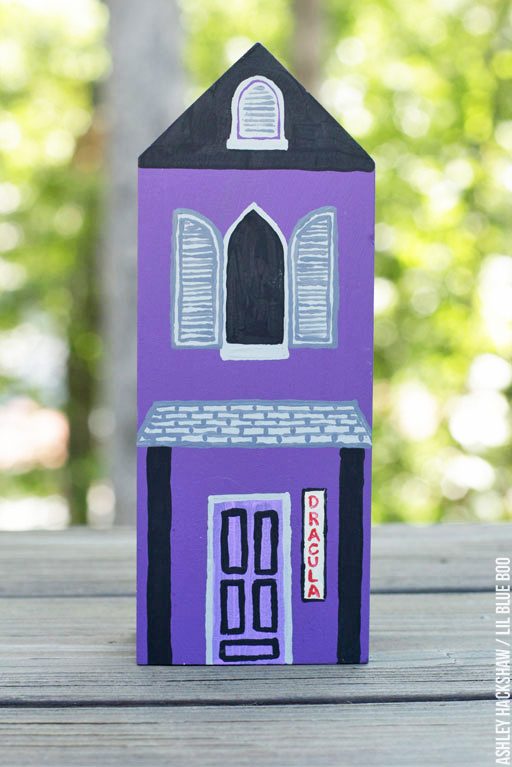
Dracula’s House:
A gothic window and a name plate.
Directions:
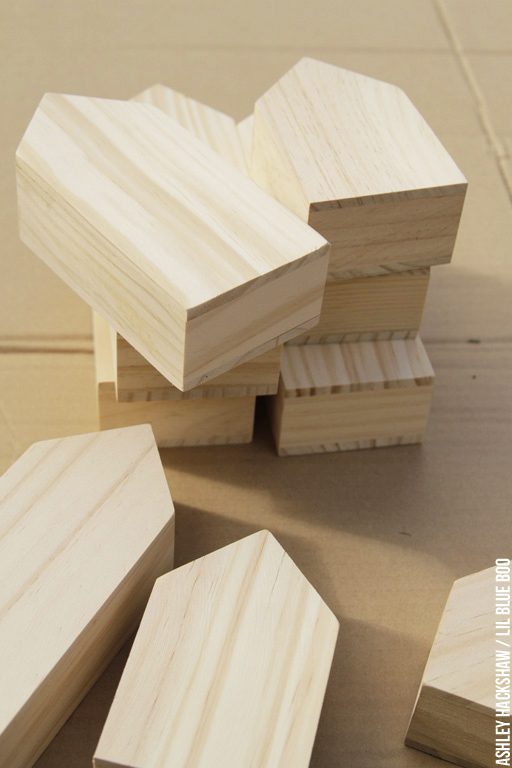
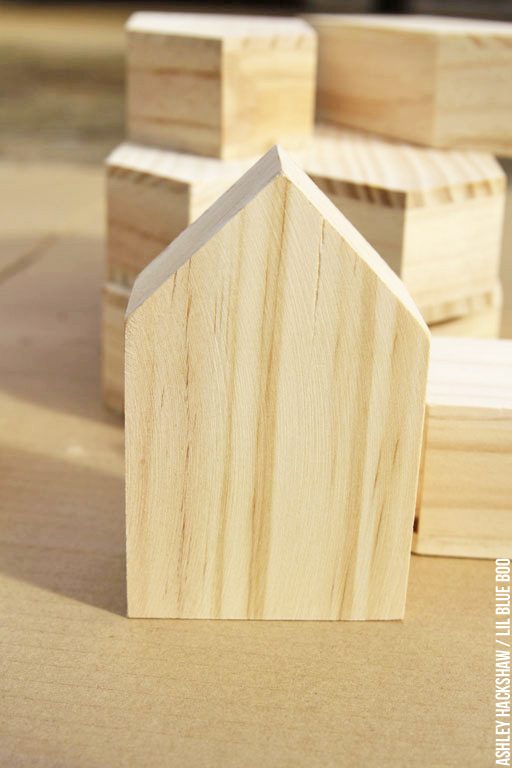
To make the buildings I used these little wood craft houses from Michaels. They also carry wood blocks and birdhouses that would work just as well with the same idea.
They are lightweight and stand up well. If you can’t find them you could also use 2×4’s cut in the same shape.
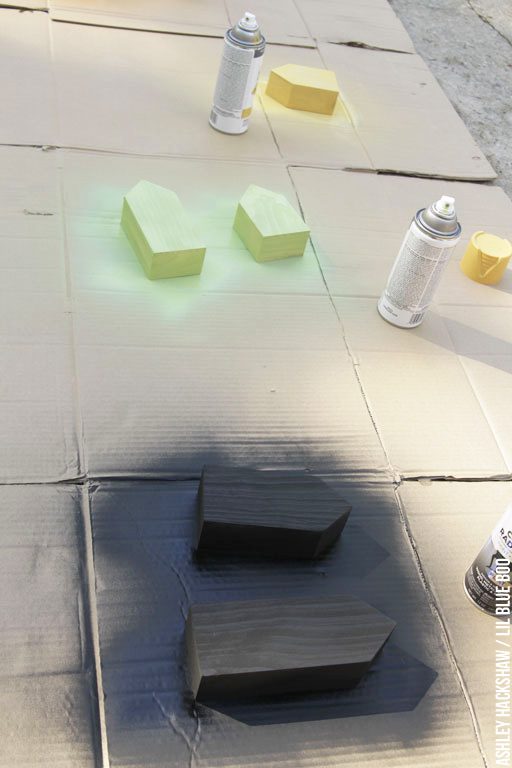
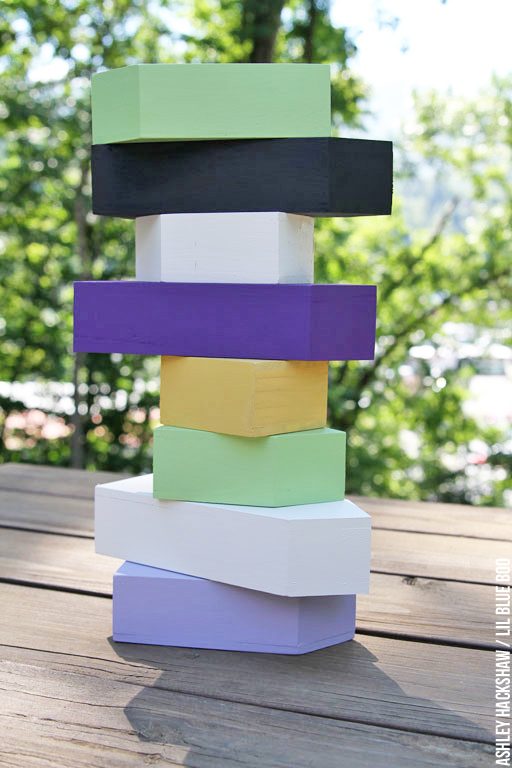
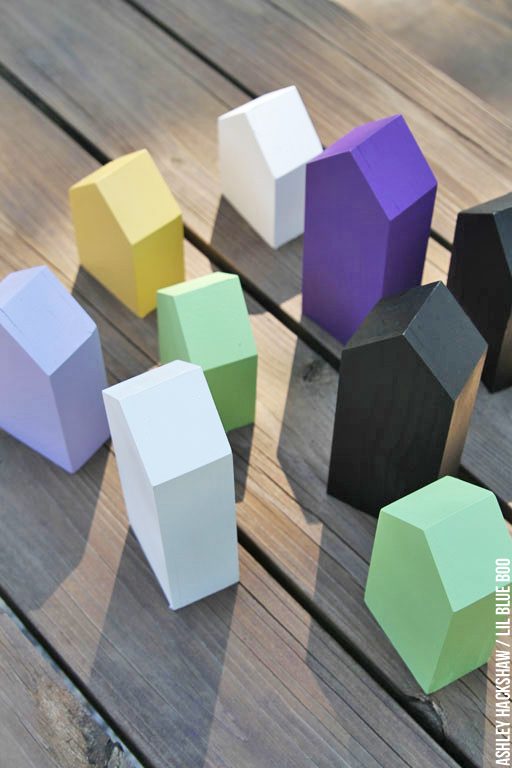
The first step was to spray paint them all some basic shades:
I picked Halloween-ish colors like green, purple, white and black:
I like the variety:
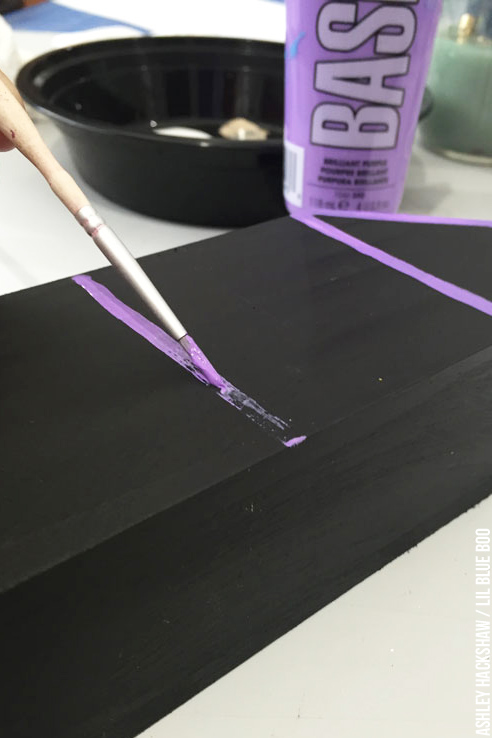
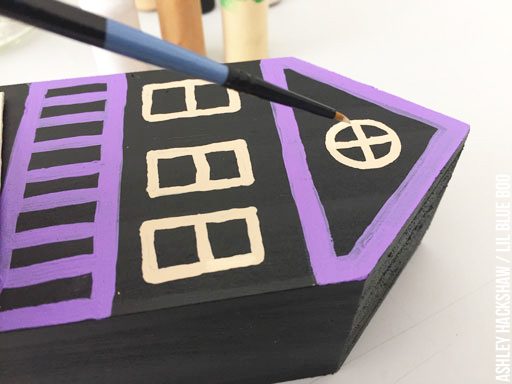
I painted each house one by one, spread out over a few days. The smaller the paint brush the easier it will be to add detail:
I picked just two or three colors for each building and stuck with the same family of colors across most of the buildings:
Michaels sells a great four pack of small detail brushes and sometimes I even cut off some of the wayward bristles as I’m painting.
Just get creative! If you mess up just sand off the paint and start over…you can always fix and touch up as well:
Sienna loves playing with the village but it also looks great as a table centerpiece:
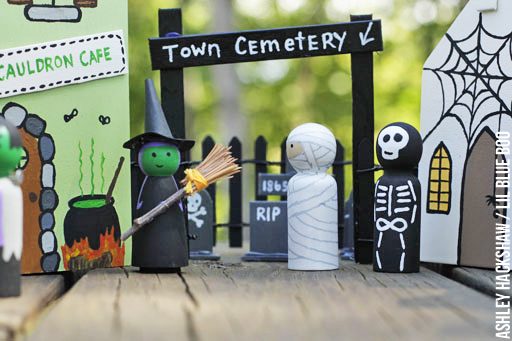
The Halloween peg dolls bring the village to life:
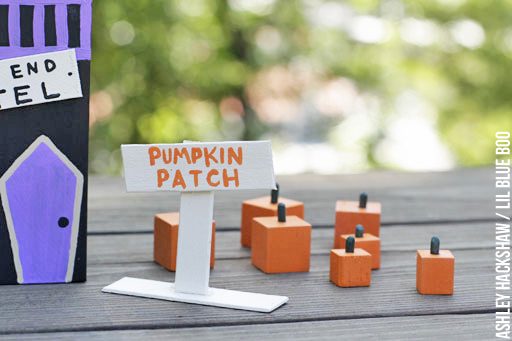
I made this little pumpkin patch sign using a few popsicle sticks:
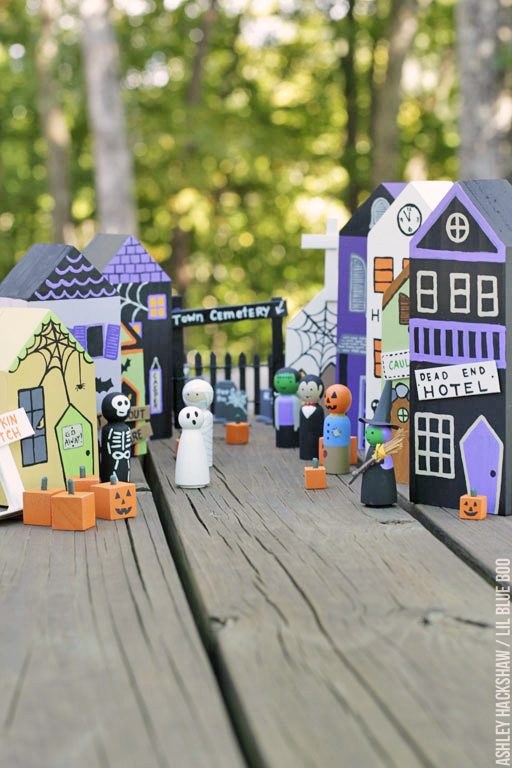
A bustling Halloween village:
With an variety of ways to set it up:
Handmade toys are the best:
The other related tutorials can be found at the links below:
How to Make Miniature Pumpkins
How to Make Halloween Peg Dolls
Have fun! Make sure to tag me in any photos of the villages you make! I’d love to share them at some point.
Whether you’re into spooky sights, playful pumpkins or giggling ghouls, Michaels is your Boo-It-Yourself Halloween Headquarters and has tons of ideas for DIY costumes and décor.
Be sure to check out all of the other Michaels Makers Boo-It-Yourself Halloween ideas on the Michaels blog!
You can also find the other projects for this month at the links below:

I am absolutely wanting this to haunt my mantle! I will let my grandson add or decorate a couple for him. Such great memories. Thank you Ashley for sharing. I’m enjoying your chicken pictures, too.
Love your attention to detail! Adorable, Ashley!
Sooo cute… you should’ve called the Hotel California.
Haha….love that idea! Maybe I’ll add another building next year.
I love these. You can also paint them with chalkboard paint and give out chalk and they can decorate again and again for each holiday or for their cars and trucks. With little ones it is a bit less messy than paint. Love your chicken pictures and tales too. Thanks for taking the time. ??
Love these – you could paint the back as a Christmas village – 2 in 1!! Thanks for sharing your talents
I totally thought about that as I was painting them purple and green….that I should be painting them all neutral! Now I need to do a Christmas village though!
I tagged you on instagram but I’m brilliant and realised today that that account is private!!!! I blogged the results today. I tossed any decorations that we owned last year that were tacky. These we will have for years. Thank you so much.
http://alwayswearyourtiara.blogspot.com/2016/10/a-project-for-rosie.html
I wish this came as a kit. I would definitely buy it. It’s so cute.
I had so much fun doing this with my little artist. We couldn’t find the blocks you used but I had some square blocks left over from another project and made do. We are planning on adding little trick or treaters each year dressed in costumes that my little guys wears!