This tutorial is how to make a DIY printing press from an old panini press!
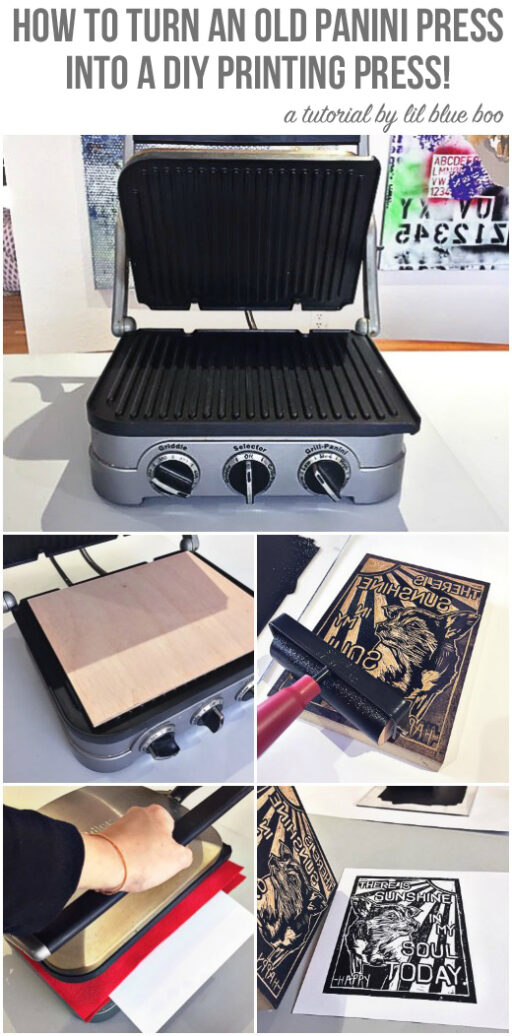
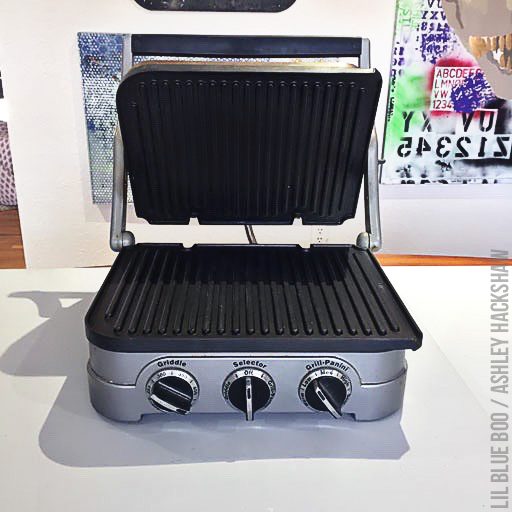
I was trying to convince Brett to make me a printing press one day when all the sudden it clicked that I could probably make a printing press from our old panini press. I haven’t made a panini in a long time and this old Cuisinart was just sitting around in the basement. Really you could use any type of food press that has a floating hinge, one that will angle the griddle parallel. Here’s a quick animation of me using my press:
So first you’l need an old panini press or some type of floating hinge press:
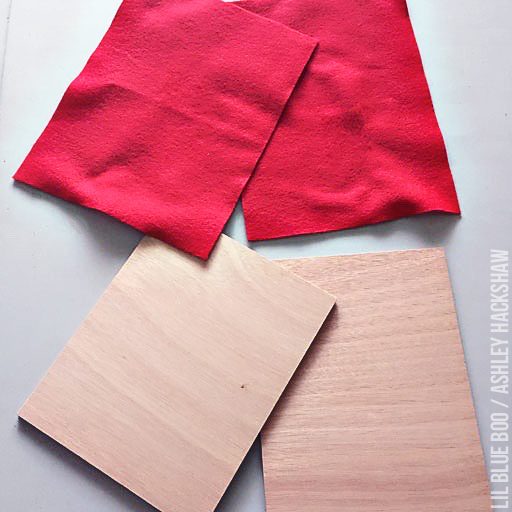
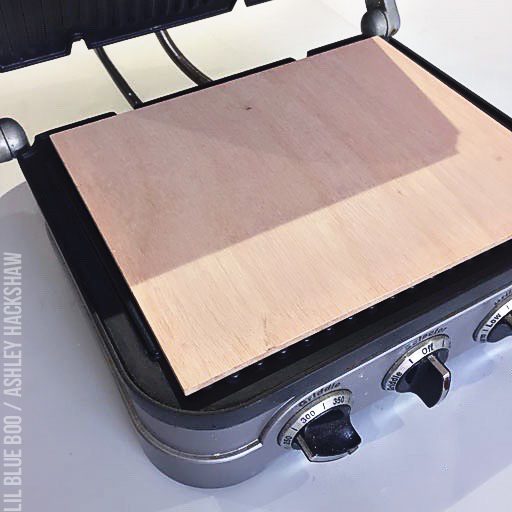
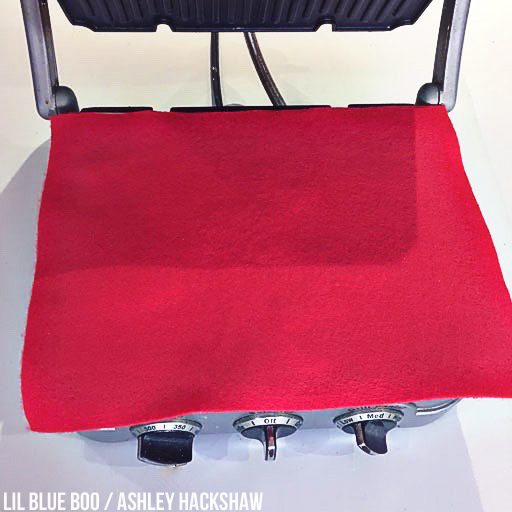
Two piece of felt and two flat pieces of 1/4″ wood will make up the inside of the press:
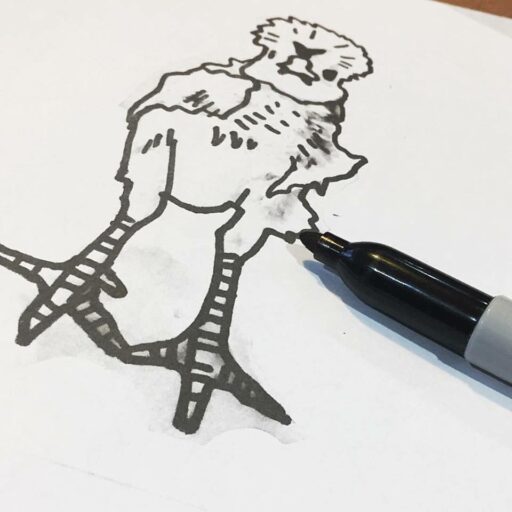
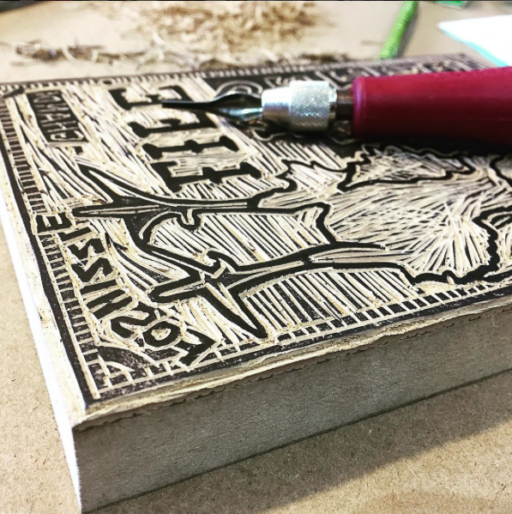
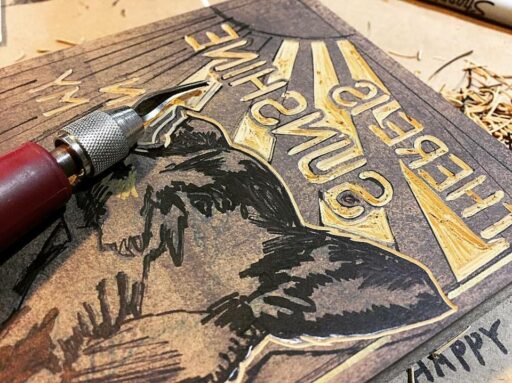
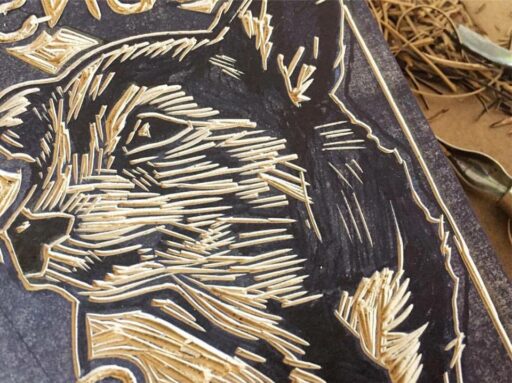
I use my press to print linoleum block prints or speedy carve blocks. Here are a few in progress:
Designing a block print:
Using the linoleum cutter to carve out the print:
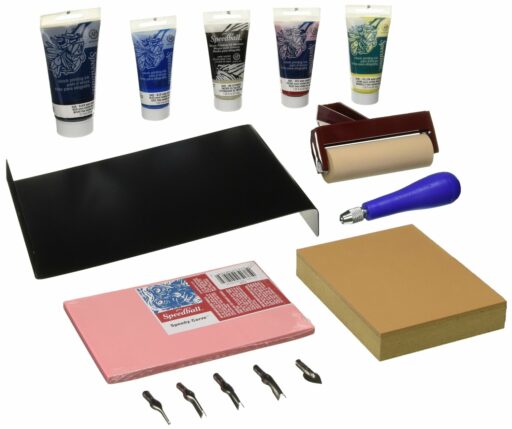
Speedball offers this starter kit for block printing that has all the tools you need:
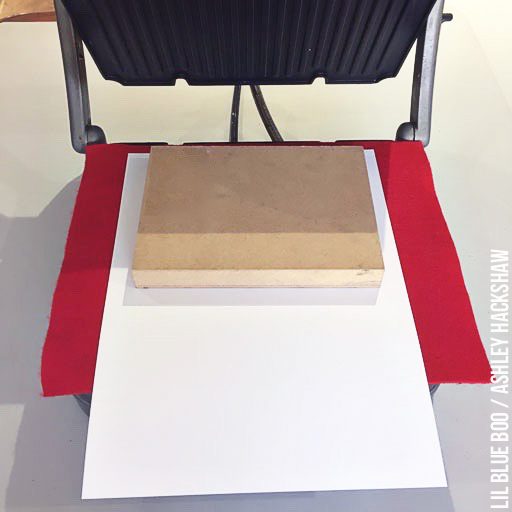
When you have a linoleum block ready to print you just make a sandwich of layers inside the press starting with one of the pieces of wood:
Then a layer of felt:
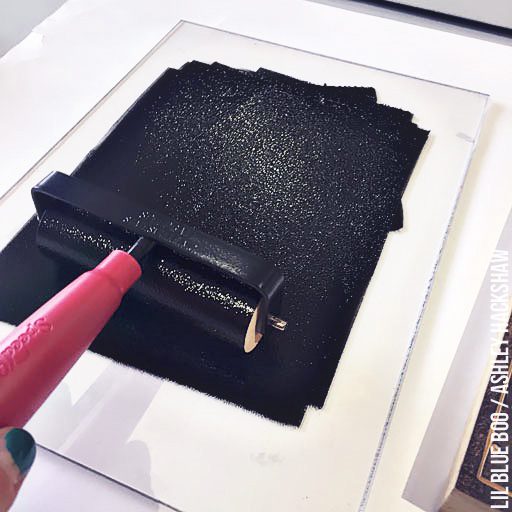
Now it’s time to apply ink to the block. I use a piece of glass or plexiglass to roll out my water-soluble printing ink so that I get a smooth layer. I roll it out using a printing brayer:
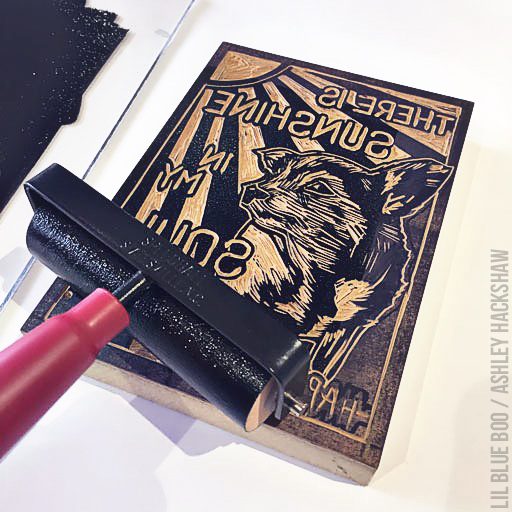
Then I roll a layer of ink onto the block making sure to roll in all directions so that every part of the block is covered:
Then I place a sheet of paper onto the felt and carefully place my block face down onto the paper:
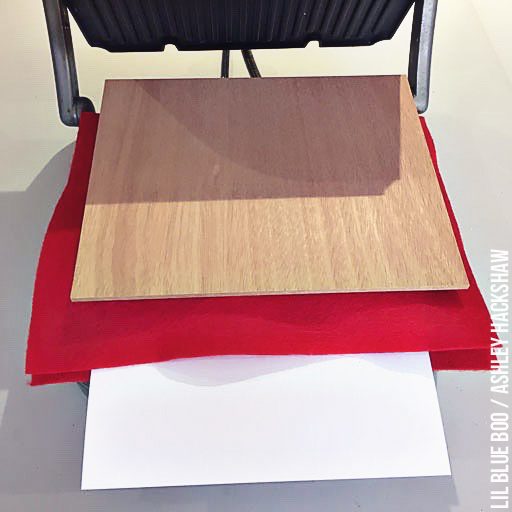
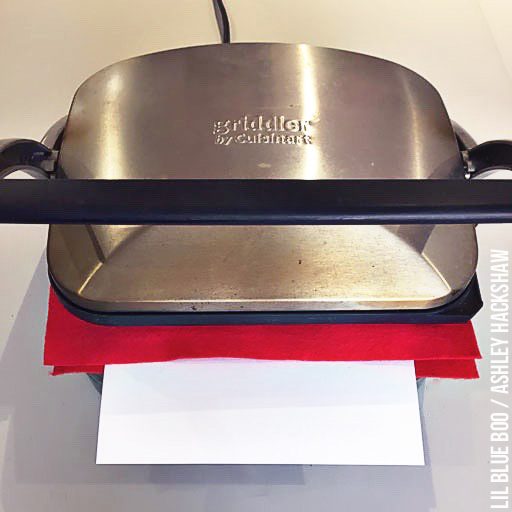
I add a layer of felt and another piece of wood:
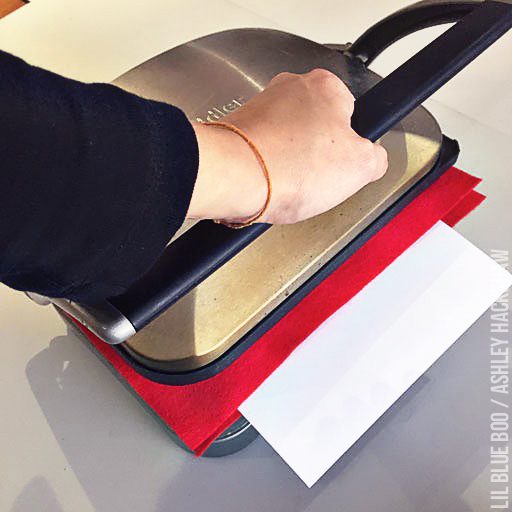
And close the press:
The floating hinge of the press allows the top of the press to come down at a flat angle and the leverage results in an even firm pressure:
I open the press and remove the block and paper. Then carefully peel the paper away from the block:
It’s an easy way to make print after print without killing your palms and getting an even consistent press:
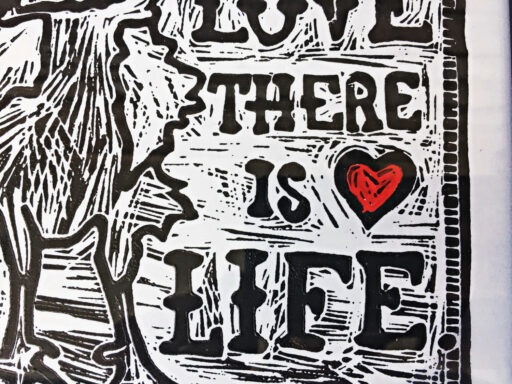
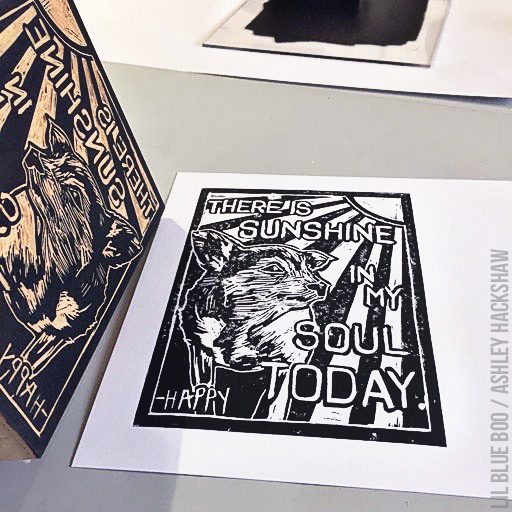
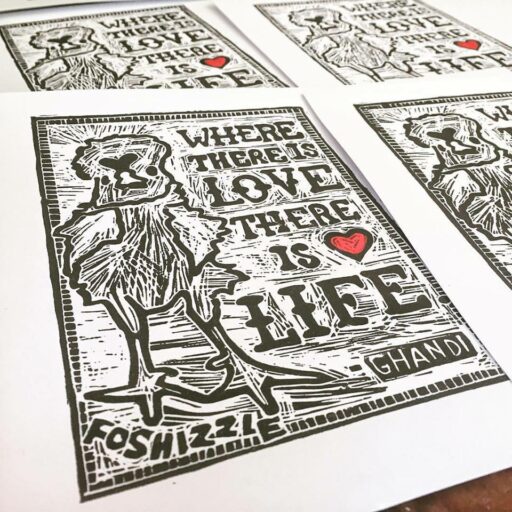
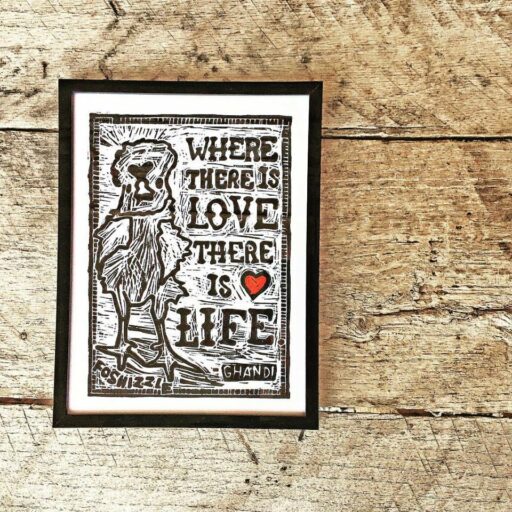
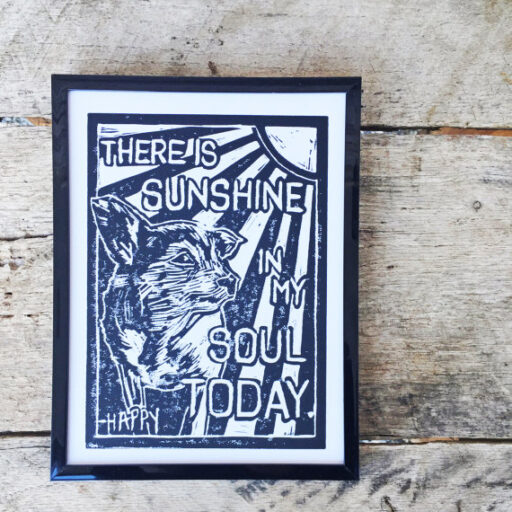
I love how these turned out:
This is my Foshizzle print. I offer it here on Etsy:
Proceeds from my Happy print go to Happy the Happiest Dog’s medical expenses:
You can read more about Happy here! She’s the sweetest addition to our family.
Also, you can find more tutorials on printing and stamp carving here or below:
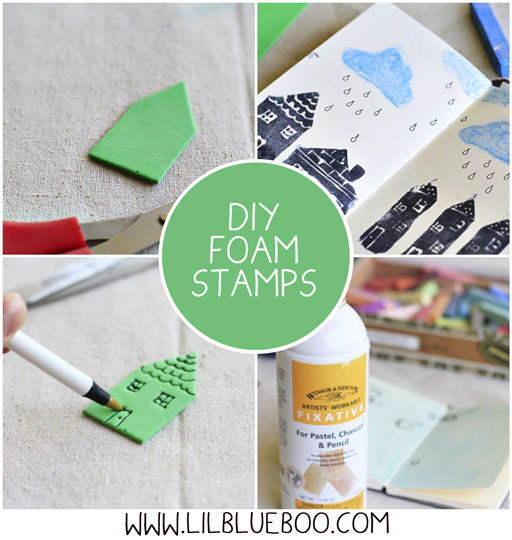
Make a Personalized “Postage” Stamp
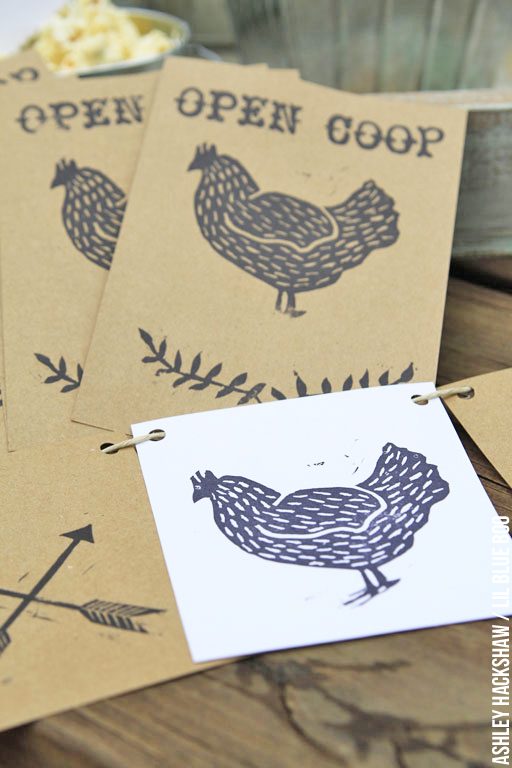
Hand-Stamped Party and Table Decor: 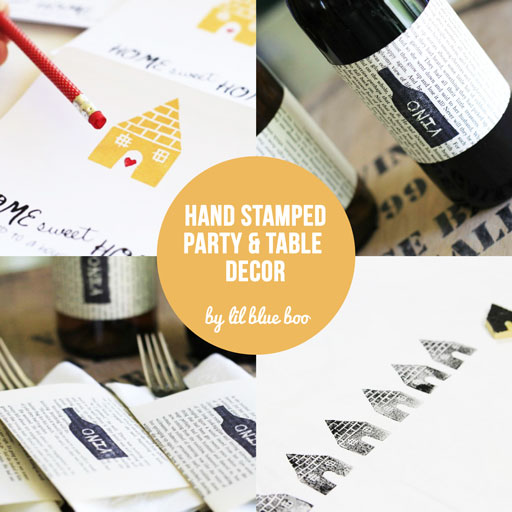
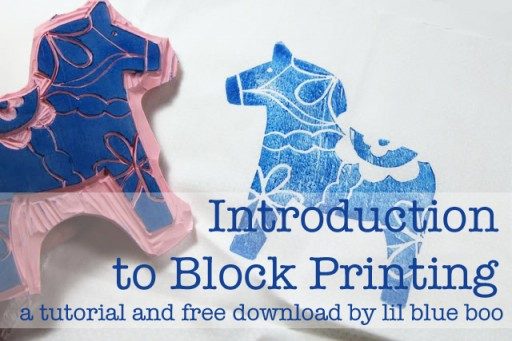
An Introduction to Block Printing:

As boy in austerity post-war England, I photo’d leaves with bromide paper & then progressed to pinhole camera (self-made).Also made mask to get two exps off one frame in old box cam, as film in short supply. I’m dismayed by some of today’s snappers, like ants laying eggs. Never mind! I’m sure many will benefit from your contributions!
Could you use stamps for card making?
Darlene
Oh Ashley, this comes at the exact perfect time! I’ve seen your photos using the old panini press for your prints, and I tried to figure out how exactly you do it. So thanks a lot for the tutorial, I’ll definitely try this with my two art students 😀