I first learned to make black walnut ink in the third grade. I was part of a learning program where we learned everything from book making to soap making. I still remember it like it was yesterday. Our class made our own walnut ink and even made quill pens to practice our cursive lettering with.
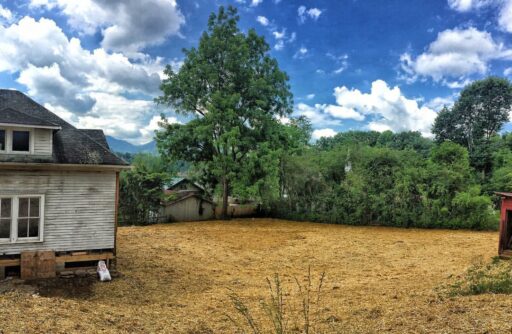
There’s an enormous black walnut tree at the farmhouse we are renovating and I started collecting the nuts that were starting accumulate. Look at that huge walnut tree:
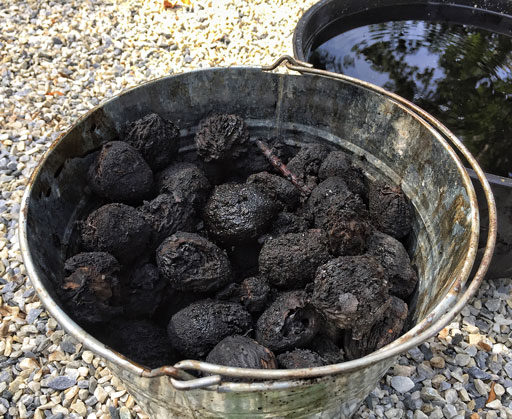
The walnut husks are round and green when they first fall off the tree but they eventually wither into black shriveled shells. I think the older they are the better….even when they are falling apart and rotting. I’ve been collecting them all and separating them out. The green ones I will keep in a bucket until they shrink up and blacken.
How many walnuts did I use in this recipe? It’s not exact but I filled the pot full to the top and then added just enough water to cover them just barely when they were all submerged. The more walnuts to water ratio the more concentrated the ink will be and the darker the pigment. It’s kind of like making coffee or tea so you can make it up as you go…just boiling (steeping) until you are happy with the concentration.
Making DIY Black Walnut Ink
Basic supplies I used:
Large Enamel Pot
Tongs
Rubber Gloves
Funnel
Cheesecloth
Unbleached Cone Coffee Filters
99.5% Isopropyl Alcohol
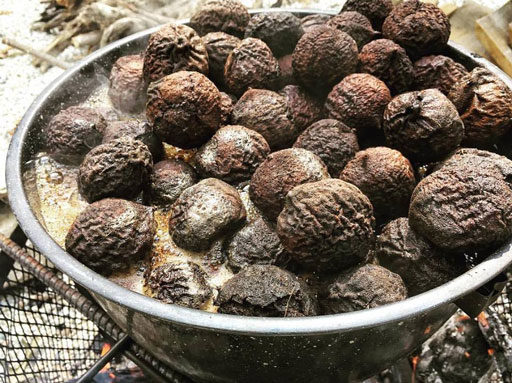
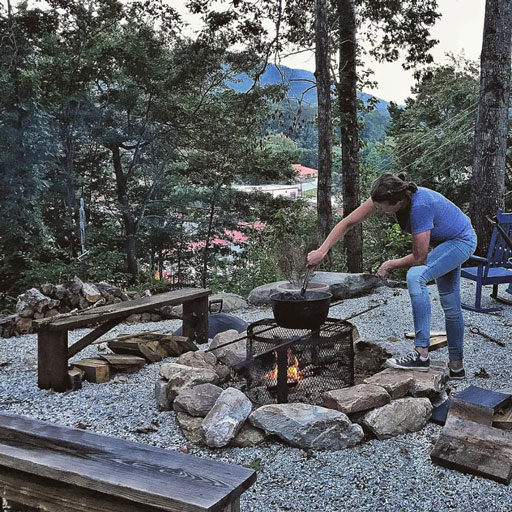
Walnuts have a distinct smell…kind of like a spicy mint, so I prefer to boil them outside on a fire. I rigged up a grate over some rebar for the pot to sit on. Here’s the large pot of walnuts I started with:
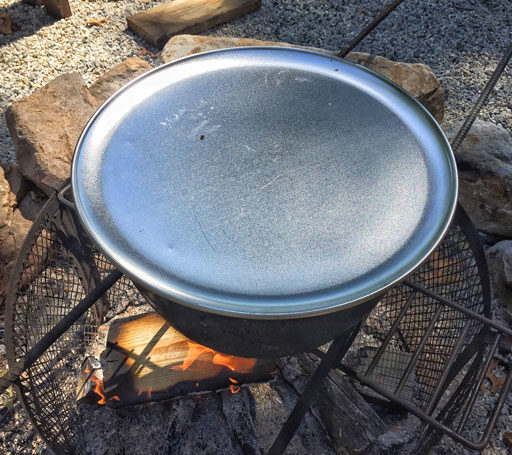
I had a very old pot without a lid so I bought this $3 pizza pan to cover it with:
I brought the walnuts to a boil and then let them simmer for about 12 hours over the hot coals. All I had to do was add a small log ever few hours and then when it stopped simmering I let it sit overnight:
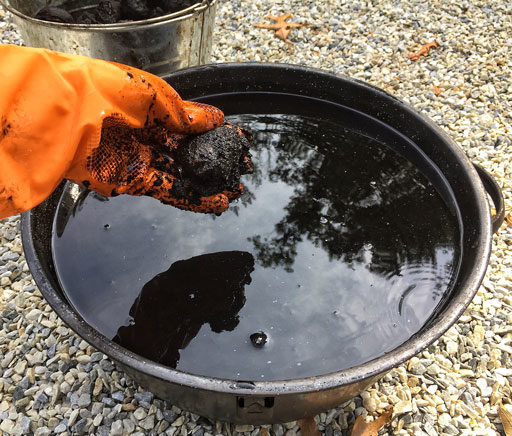
Black walnut ink will dye everything it comes into contact so make sure to wear gloves when handling it.
I pulled out all the walnut shells as I went and put them aside in a bucket:
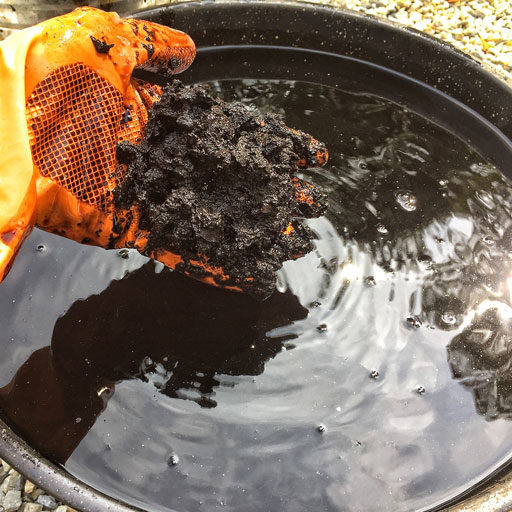
The walnut husks left behind are almost the consistency of coffee grounds. I put all of this back on the fire for another few hours just to get every last drop of pigment out of them:
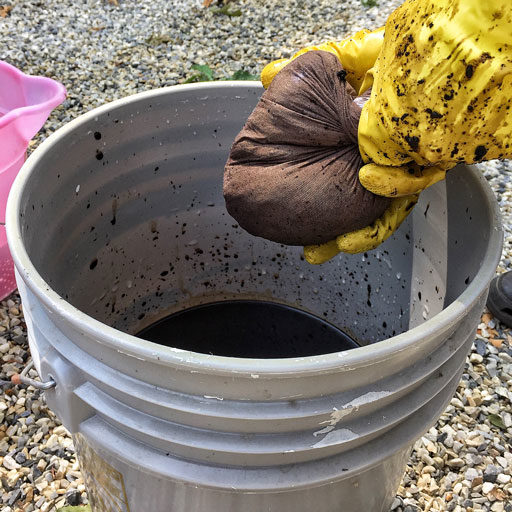
I let the ink cool for a while and then strained it through a colander first before straining it through cheesecloth:
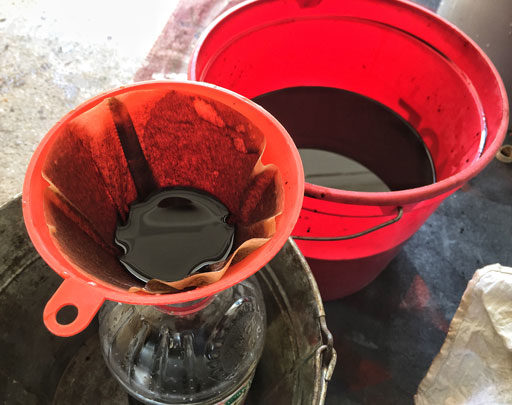
The last step was straining all the ink through a coffee filter into storage containers.
To preserve the ink I added a small amount of alcohol to each container. I mixed 1 part 100% alcohol to 40 parts walnut ink.
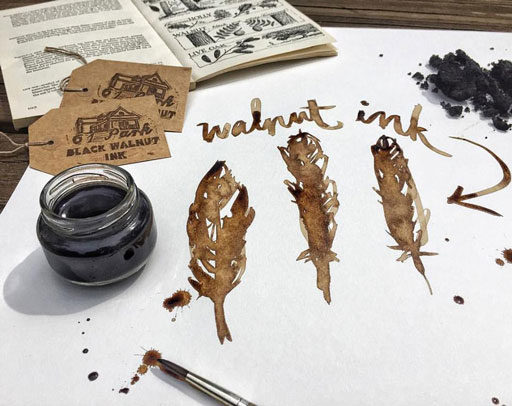
Testing out my new drawing ink:
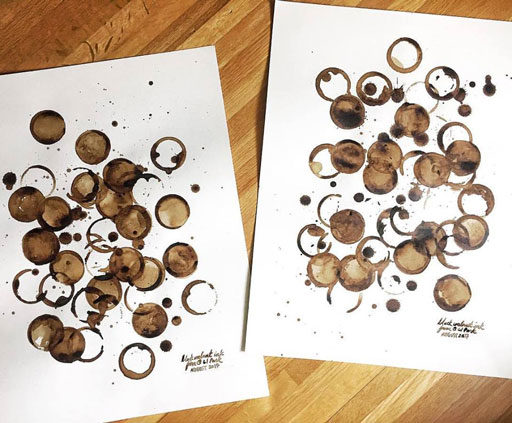
As I was bottling I started using my cup to make these lunar shapes for prints. Inspiration is everywhere!
Bottling and Labeling Ink
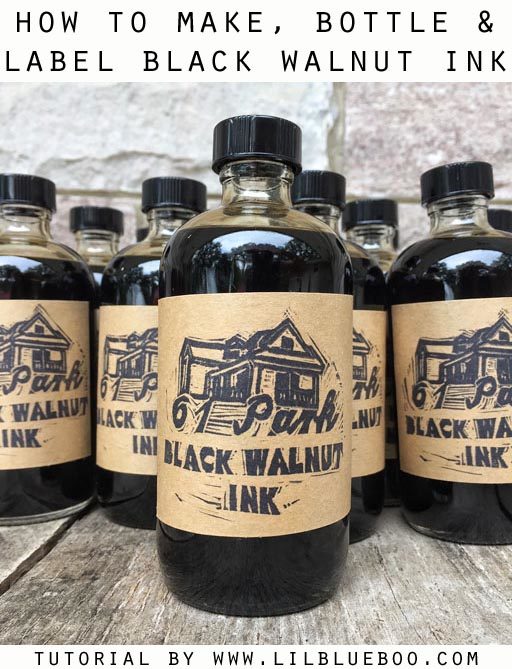
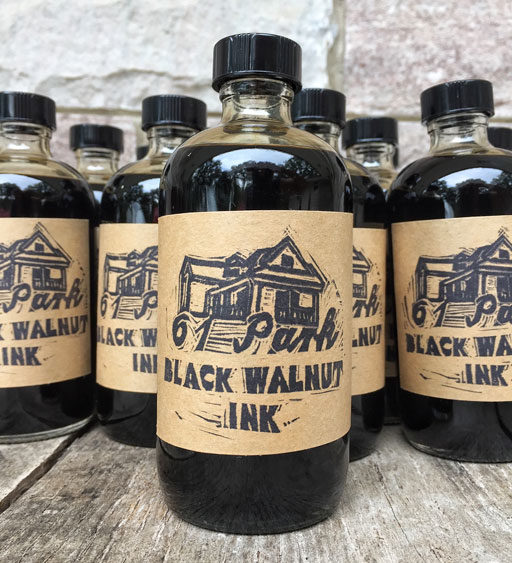
I put my ink into little 8oz boston bottles and labeled them. These make great gifts or farmer’s market inventory! I might even sell mine at the local farmer’s market at some point if I make enough.
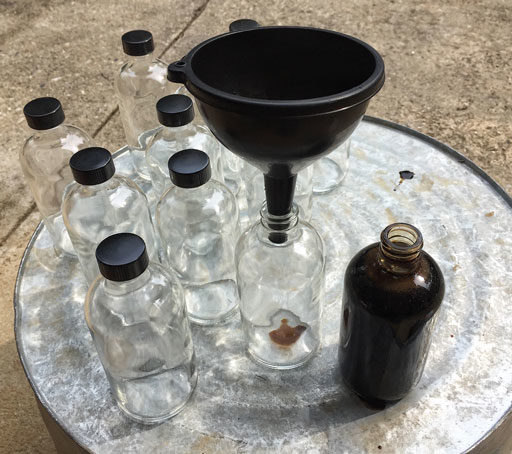
Basic supplies I used:
Clear Boston Round 8oz Bottles
Self-Adhesive 8.5×11 Kraft Labels
Krylon Matte Spray
Speedy Carve Stamp Kit
Archival Black Ink Stamp Pad
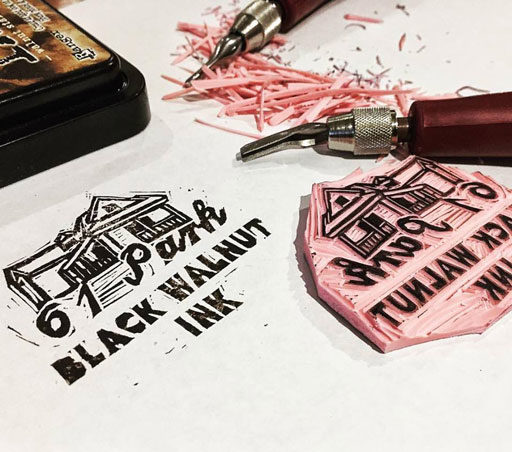
To make the labels I carved a little stamp. You can find a more detailed stamp-carving tutorial here that I put together a while back.
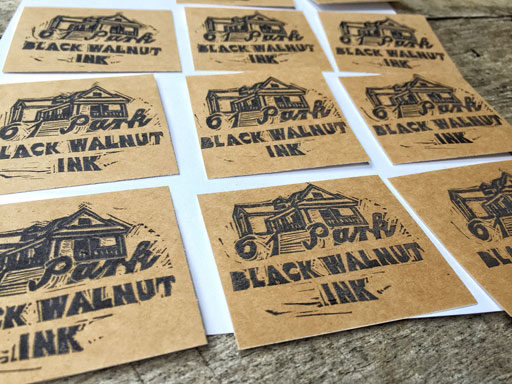
I used black archival ink to stamp adhesive kraft label paper. I stamped first then cut.
I recommend cleaning the bottles with windex before putting the labels on just to make sure they stick well. I love how they turned out!
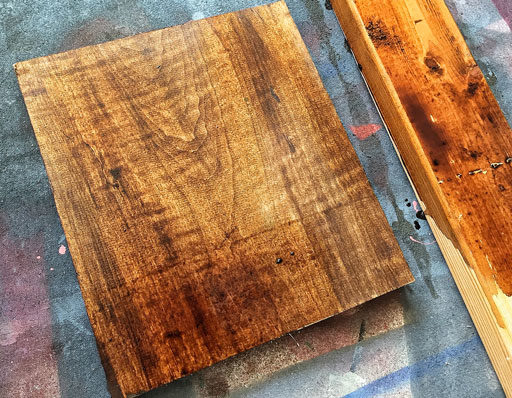
It’s best to use a dropper to remove the ink! This ink can be used as drawing ink with a quill pen or just a paint brush. It can also stain wood and fabric naturally. Here’s some wood I stained:
I can’t wait to make more. It’s the best feeling to use the natural world to make art supplies. I need to start researching some other natural dyes and inks to see what other colors I can come up with.
The Sixty-One Park Farmhouse has been coming along and we are making progress. We are hoping to have it finished and open for spring or summer 2018 rentals. You can read more about our farmhouse renovation and the farmhouse history here!

Fascinating way to use what you have.