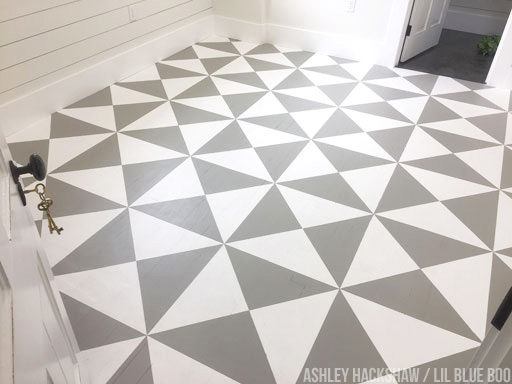
One of my favorite projects I completed at the Sixty-One Park Farmhouse this past year is the DIY Painted Floor Quilt!
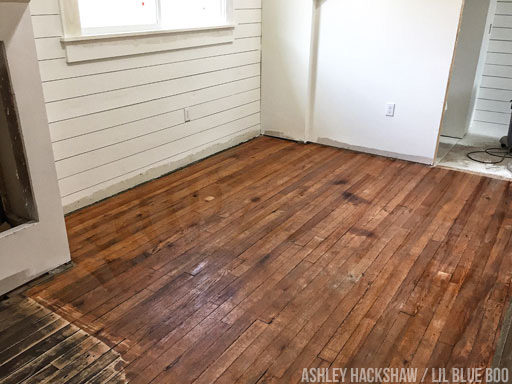
I wrote in an earlier post about salvaging the old farmhouse floors and how we managed to save almost all the original flooring. The upstairs master bedroom was one floor that we couldn’t save though. It had already been sanded down and refinished at some point and there was also a wall we took down leaving some damaged flooring. That’s when I decided I was going to paint a quilt on it:
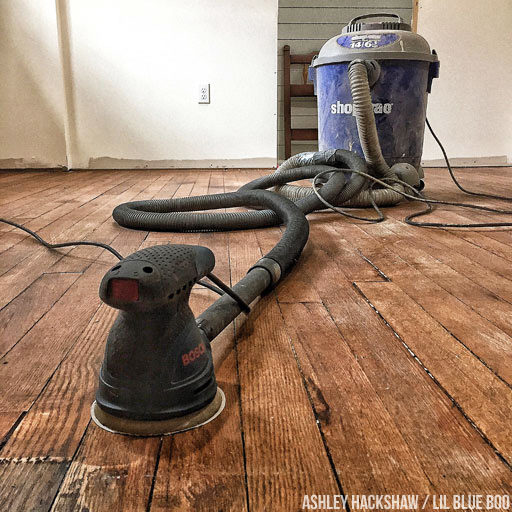
I used a palm sander to scuff up the floor finish a little. A shop vac duct taped to the back of the sander collected all the dust I created:
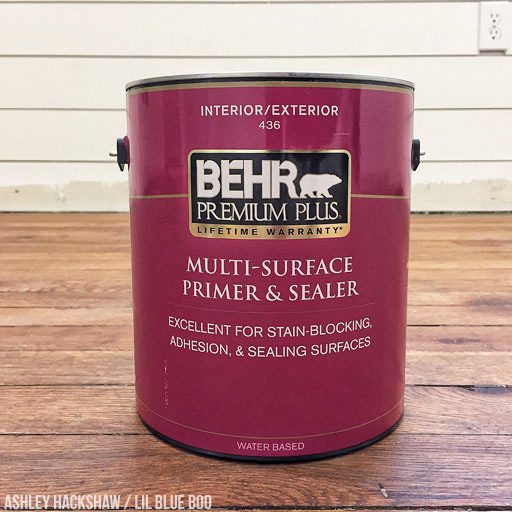
To prepare the floor for painting I painted two coats of this Behr Multi-Surface Primer and Sealer. I also used this as my base white layer for the quilt as well:
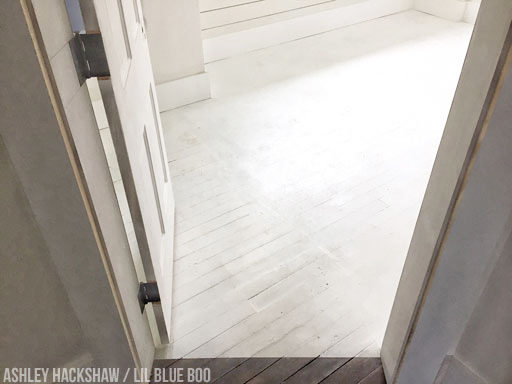
The finished base layer:
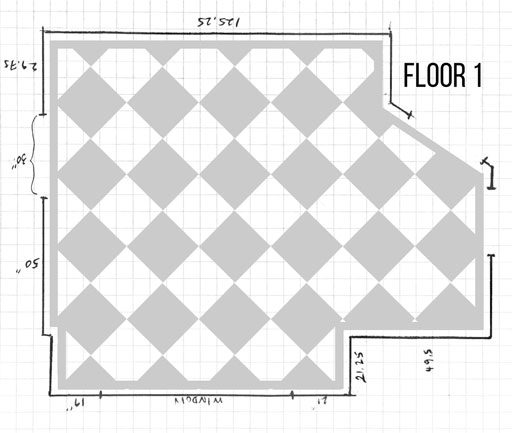
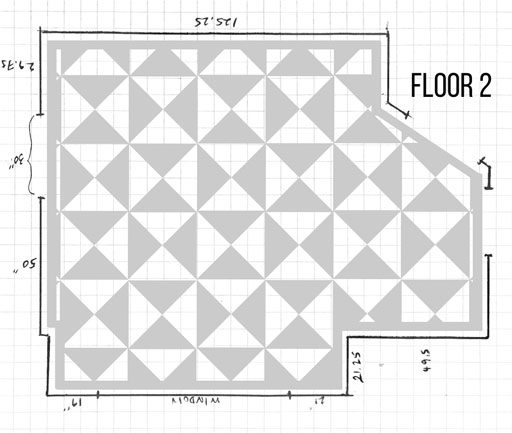
I sketched out a few designs I was thinking about for the room to think about scale. I ended up winging it on the measurements because my brain started to hurt:
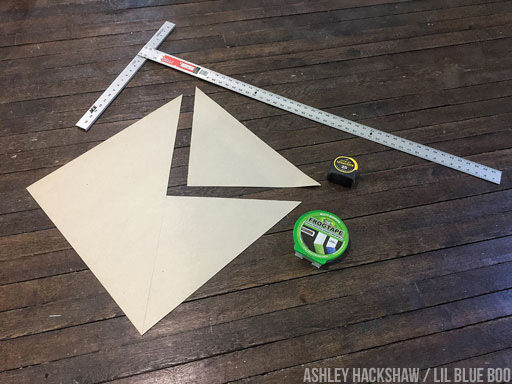
Even though the second floor was kind of busy I decided it would be the most “quilt” looking. These were my main tools for creating the design:
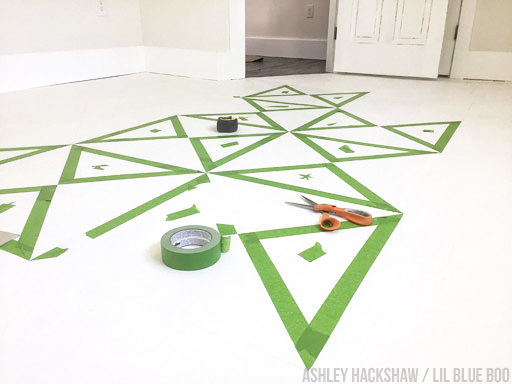
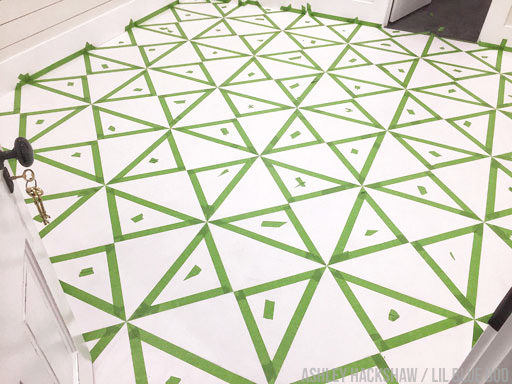
I recommend using the longest t-square imaginable to help draw your lines! I also used posterboard to make a template of a square and the cut out triangle. It was easy to just line up the square and figure out my triangles this way once I had diagonal lines drawn. I started at the center of the room and then just worked my way outward with Frog tape. Triangles actually aren’t that hard if you can learn to cut a 45 degree angle across the tape because then you already have two corner cut!
As I worked I marked the triangles that were going to remain white with tape scraps:
I wanted a very organic gray color and so I started with Behr’s Mossy Oak and then mixed white into it until I lightened up quite a bit. It probably ended up as a 50/50 mixture of white and Mossy Oak when I was finally happy with it. This gray is actually my favorite color now…I’ll show you what else I painted with it soon. And I just used an interior flat finish:
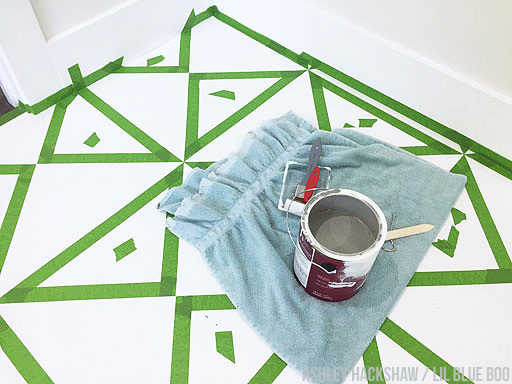
When I was ready to paint I made a little station on a towel that I could slide around with me. I ended up just using a paint brush for the entire floor but the trick was to use a bone folder to burnish the edges of the tape quickly before painting each triangle. Because I added that step I didn’t have one bleed through on the floor:
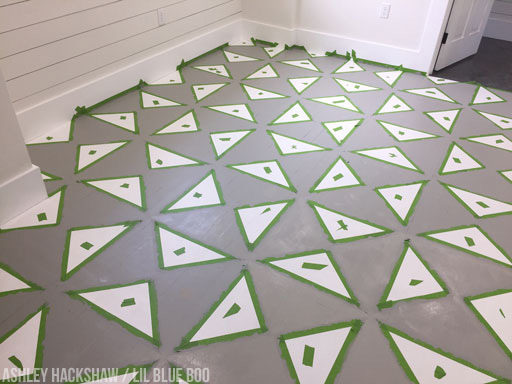
One coat down! I didn’t have to apply two full coats…just some touch up here and there where I could see the white floor through:
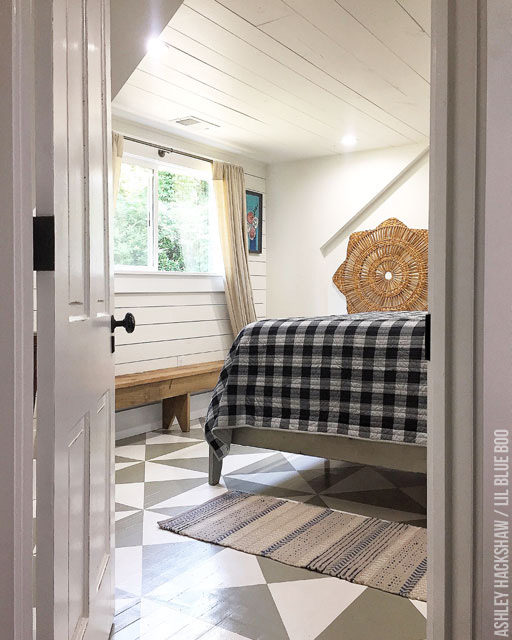
When the floor was pretty much dry I carefully pulled up all the tape and look how it turned out! So happy with it!
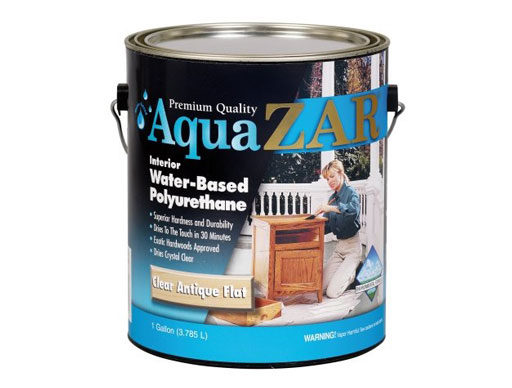
To finish it off with a durable finish that could withstand renters I did three coats of Zar’s Water-Based Polyurethane. It’s the best non-yellowing, true flat finish I’ve found so far. It dries quickly and you can recoat after 30 minutes. I just apply with an oversized brush:
And here’s the finished room with furniture in it:
So far so good! We’ve hosted almost two months worth of guests at the farmhouse and not one scratch to the floor! Read more about our restoration project here!
****
To check out our finished restoration project in person come and stay with us! You can visit the official Sixty-One Park Farmhouse site here and we are also on Airbnb and VRBO. November and December are almost filled up because of the Polar Express but I think the fall is the most beautiful time to visit the Smoky Mountains.


Absolutely AMAZING!!!!!!!!!!! Love, love, love it!
Wow, I love that flooring!
WOW- what a great floor! You did a wonderful job. Want to come to my place to paint too 😉
If it would not be so extremely far away I would come to stay at your lovely farmhouse… I think the kids would love it too.
Where did you find the black and white check quilt? BTW, I love the floor!