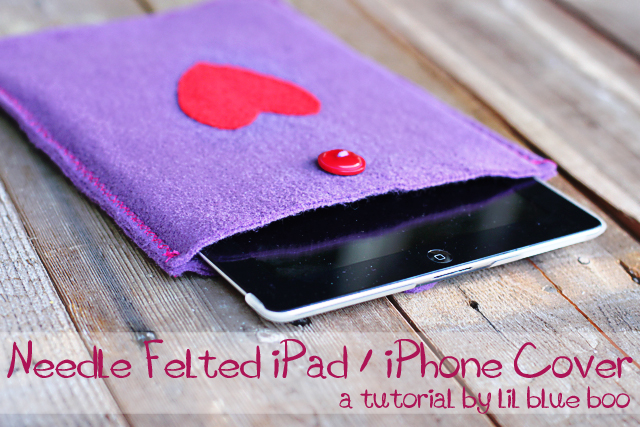
DIY iPad Cover that’s super easy to make. I was so excited to do my first needle felting project. I wanted to start out as basic as possible……so I did some applique felting. Needle felting is basically where you use a barbed set of needles to attach 2 pieces of felt. The barbed needles drag the fibers of one piece through the fibers of the second piece and the fibers tangle together to attach the two. It’s a super easy project if you use felt pieces from the fabric store….you can layer felt shapes to make any applique:
I used layered felt pieces to create a thick padded iPad cover….using the needle felting process to attach the layered pieces and to add a simple heart applique to the front:
I started out with basic felt from the fabric store. The other option for needle felting would be wool roving…..but that’s for another project soon!
I cut out four pieces of felt about 1/2″ larger on each side of the iPad:
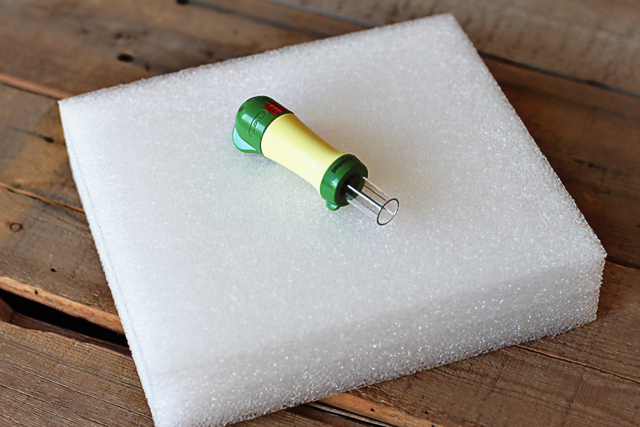
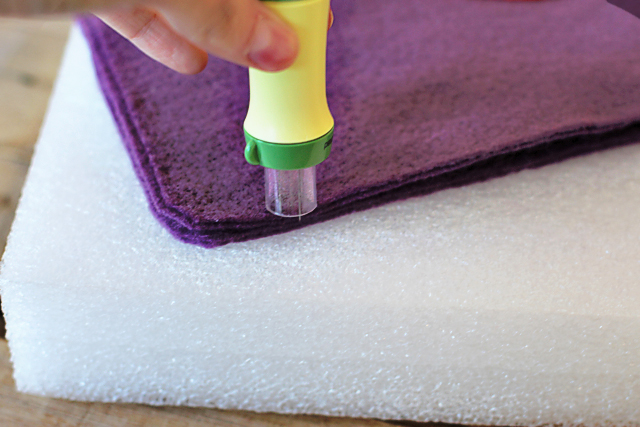
For this project I used a multi-needle tool and needle felting foam. The foam allows the needles to pass through easily as you do your punching:
For smaller projects you can use a small brush mat like the one below:
The needle tool has a guard on it that retracts when it goes through the felt:
I took 2 of my pieces of felt and placed them on top of each other and used my needle tool to start punching through the entire surface….over and over and over:
It took me about 30 minutes to punch the felt enough to create a solid piece of felt from the two pieces:
I repeated the process for the second set of pieces:
I designated one piece to be my front and cut a small heart from a red piece of felt and placed it on top:
Using the needle tool I felted the heart piece to the purple piece….punching and punching over and over until they were completely attached:
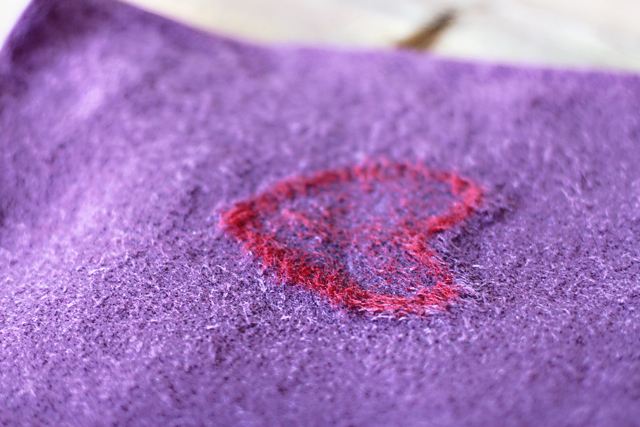
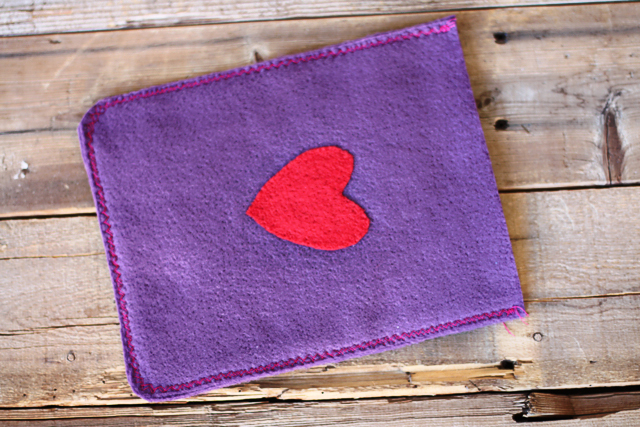
Here’s what the needle felting looks like from the reverse side. You can see how the red fibers are punched through the other side of the purple felt to attach the two:
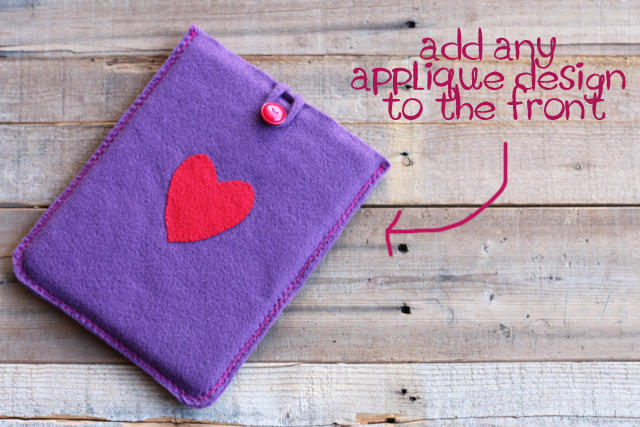
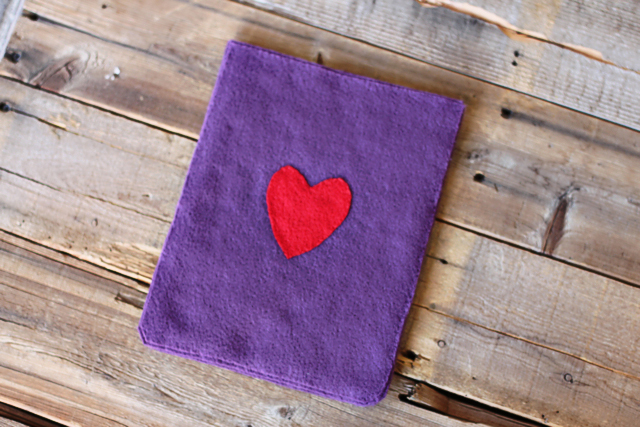
The front and the back of my iPad cover:
I placed the top of the iPad cover onto the back and used the needle tool to felt the sides together….just letting the needles punch through the edges:
Here is how the iPad cover looks at this point:
I used my sewing machine to sew a zig-zag stitch along the 2 side edges and the bottom edge. I actually sewed around these sides three different times. You could also use DMC thread to sew a blanket stitch by hand if you like that look instead:
Getting close!
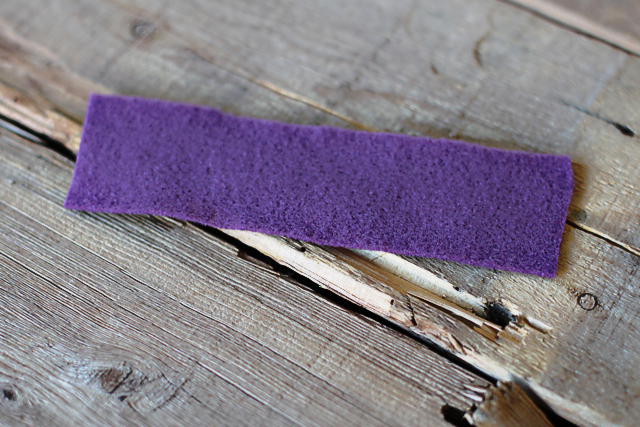
I cut a 6 inch x 1 inch piece of felt for the closure:
I rolled the piece longways and used the needle tool to felt it to itself:
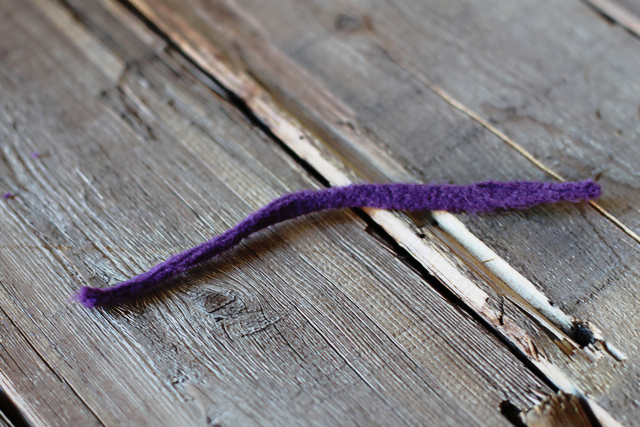
Here’s what the piece looks like once it’s been rolled and felted….just like a skinny felt rope:
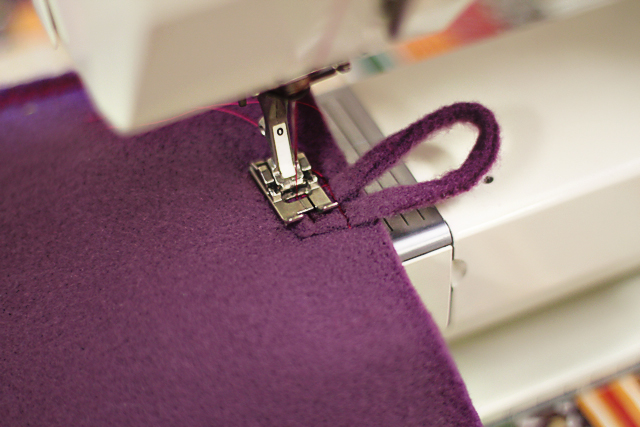
I made a loop and carefully sewed it to the back of the cover:
I cut a small square to cover the ends of the loop:
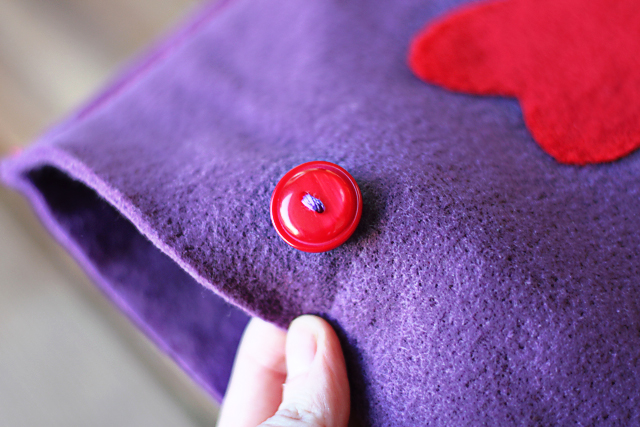
I added a pretty button to the front:
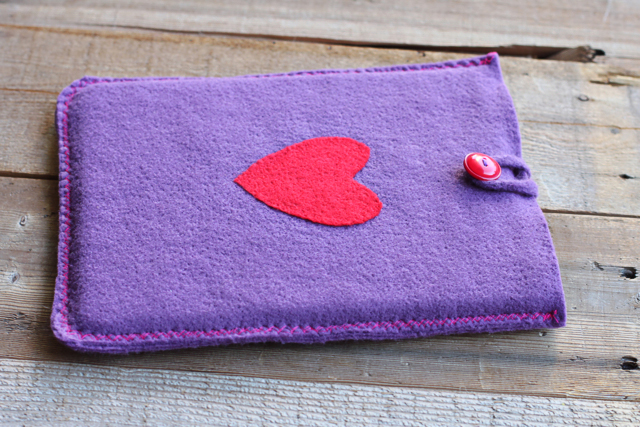
And the iPad cover is complete!
I went with a simple applique but you could cut and overlap as many felt pieces as you like for a more complicated design:
Easy, inexpensive and a great gift idea…..and the same idea could be applied to so many different projects!












This is so cool. I love the purple and red together 🙂
i have never seen this done before!? always learn something new over here at lil blue boo!
thanks for the great tutorial!
How are you still creatively inspiring? DS is embracing the opposite!!!!! Dang you rock!
Love it…love the outline if the heart for the outside as well…how cute would this be for a little purse or a crayon holder…love it…did I say that! Hope you had a great day!
Love ya,
Beth
I didn’t know you could felt actual “felt” I thought you could only felt using the wool roving. Huh – learn something new everyday. Very cute – has my gears turning for ideas re: next Christmas (yes, I’m starting early this year LOL)
I LOVE this! I actually took a felting class a long time ago and made a cute little owl out of roving, and have never felted since. I had no idea you could felt regular felt. I will be getting my huge box of felt out tomorrow and get started on some fun projects! You are awesome!
Fun! Very cute. I’ve never tried felting like that… the most I got to was hand-sewing the edges of felt coin purses as a kid. You could make one of these for each holiday!
So cute! I never tried needle felting, now I think I really have to!!!
Thanks for the tutorial! 🙂
This came at the perfect time! All 3 of my daughters got E-readers for Christmas. I have already bought the felt but am lost as to what to put together for them. I think I might just see if I can find the tools and give this a try. I also got a new sewing machine for Christmas. Yay!
Is this wool felt or acrylic? I’m hoping acrylic and am excited to try this!
Love your site. Admire your creativity and most of all your huge JOIE DE VIVRE!
About needle felting: we use (at workshos or childrens birthday parties) a so called punchmachine (kind of sewing machine but with felting and without thread). Even children aged 6 or 7 can operate such a machine safely and enjoy the results so much. Big advantages: less time-consuming…….
Why did I think this was so much harder than that? Cute stuff!
Ashley did you use craft felt (that you can buy by the yard) or real wool felt?
Love it!! Wonder if I could jimmy it enough to work for my Droid. 🙂 Thanks for the cool idea!
Thanks for the great tutorial. Will be thinking of you tomorrow. Best wishes.
That’s awesome! I need me one of those punching devices. I made a rosary pouch that looks just like that but I whip stitched it all together. Your way looks way more fun! Good luck tomorrow. Many prayers from San Diego.
Love this! DH has been asking me to make him a felt pouch for his iPad 🙂 Great tutorial 🙂
Vanessa
Thanks for the tutorial. I had heard of felting but never saw it done before.
That’s fantastic! I haven’t seen the felting needle before, I’ve always just hand stitched!! Thank you so much for sharing: your blog, tutorials, tips and tales are fabulous. I’m so glad I found you in blog land!!! Blessings to you 🙂
New Technique, possibilities are endless!
Sorry, I don’t have a website! I truly believe there are no coincidences in life…but I found your blog(s) while I was trying to distract myself from my son’s hospital stay. He has leukemia. Michael is 15. He’s been fighting this cancer since he was one month shy of his 12th birthday. All the meds/chemo you’ve been taking are the same and/or similar to his treatments. Today, he started another round (for 24 weeks) of high-dose Ara-C, with an LP, high-dose methotrexate and some pills (6-MP)…then he has to have CNS radiation (about late May/early June)…I cannot say personally how difficult it is for him or you, but as his main caregiver, I feel his angst and the brunt of his frustration…you, Ashley, have taken the high road and are facing this challenge by truly choosing joy…it’s admirable and thought-provoking. I will keep you and your family in my prayers. Kimberly
Yay i love needlefelting, just use the individual needles at the moment so want to get a tool! great tutorial thank you 🙂
B
I never knew what people were talking about when they would say felting – that is so cool!
Nicely done and a great idea!
So cool! How much is the tool?
H!
I’m just starting out making felt beads & I really like the wet technique the best!
I purchased a12x12 piece of 100% wool but need to know how to more or less shred it (turning it into roving). If this is possible, can you explain how to do it?
-Rebecca
Hi Rebecca! You should be able to use the wool brushes to do this.
Hi Ashley!
When I say I’m just starting, I mean all I have is the 12×12 piece of wool! Ha! 🙂
I saw pre-made beads @ Michael’s yesterday & thought, “Geez, I can make these!”
I want to make bracelets for my nieces for Christmas & thought I’d better get started. So here I am!
So…I need a wool brush? Is there a specific brand or make that I should look for? What other tools will I need to complete this felting technique?
Thanks for all your help in advance!