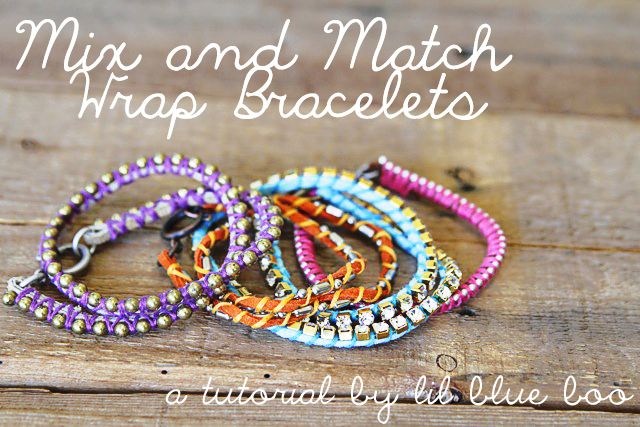
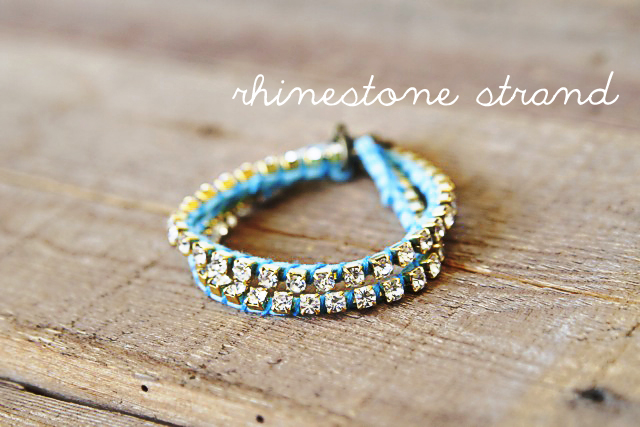
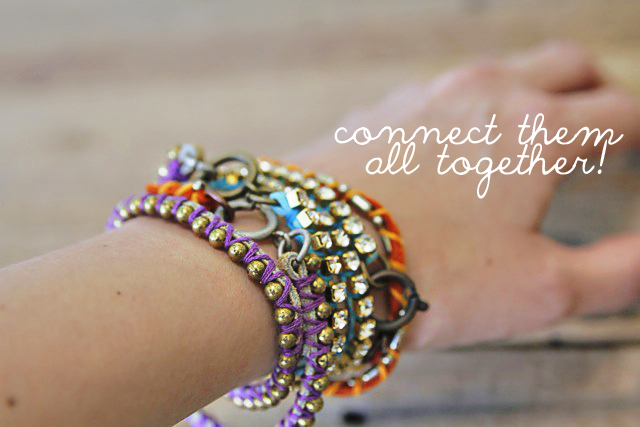
Obviously I’m reinventing the “DIY bracelet” wheel, but I like the way these turned out using different kinds of ball chain (it’s also a much more simplified version of the leather and bead ones from last February). Anyways, I mixed and matched a bunch of different chains, rhinestone strands and chunky clasps to get a funky, layered bohemian look. Make sure to check out the long-short ball chain towards the bottom….it results in a “twist” effect.
Here’s how I made them……
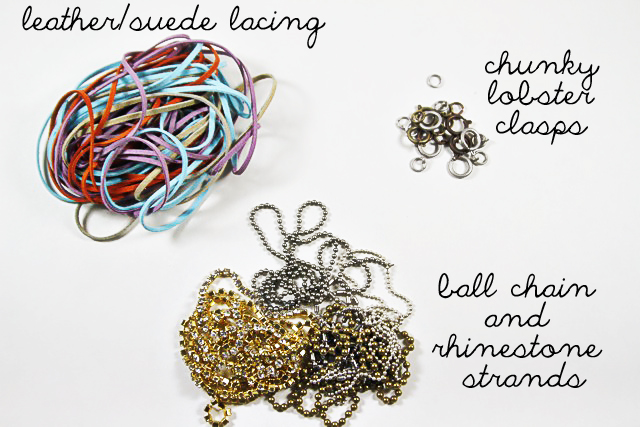
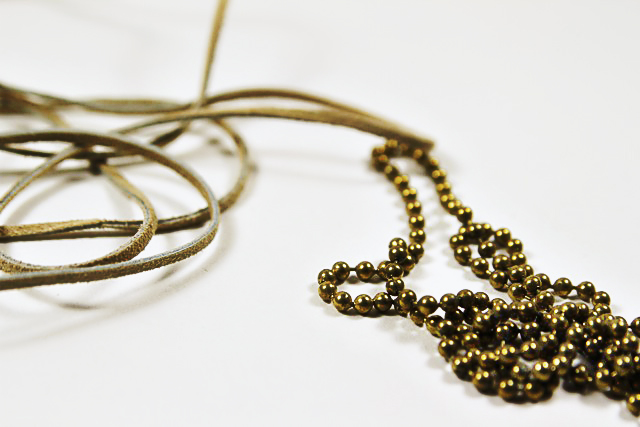
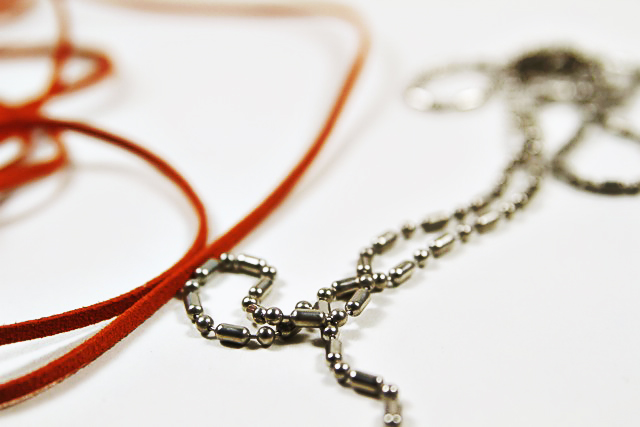
First, you’ll need leather and/or suede lacing, various rhinestone strands and ball chain, chunky lobster clasps and embroidery thread (which I forgot to include in the photo):
Note: I picked up my lacing and chains at Target Trim in L.A.’s fabric district. Update: I found Ornamentea tonight, and they have a big selection if you want to order online.
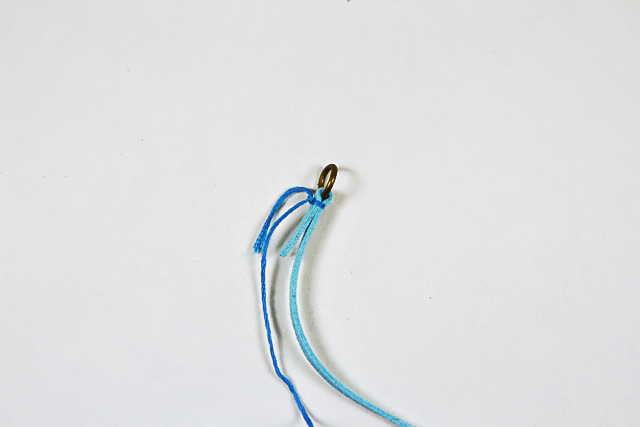
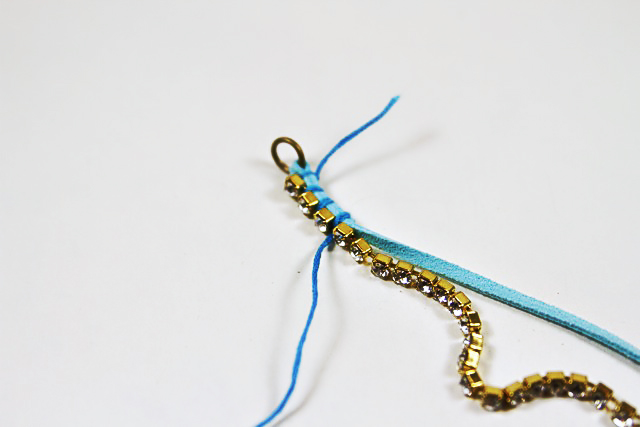
Step 1: Cut a length of leather or suede lacing (for a double wrap I cut mine in 16″ lengths). Fold leather/suede lacing over the o-ring side of the lobster clasp as shown. Knot a piece of DMC embroidery thread around the leather to hold it in place:
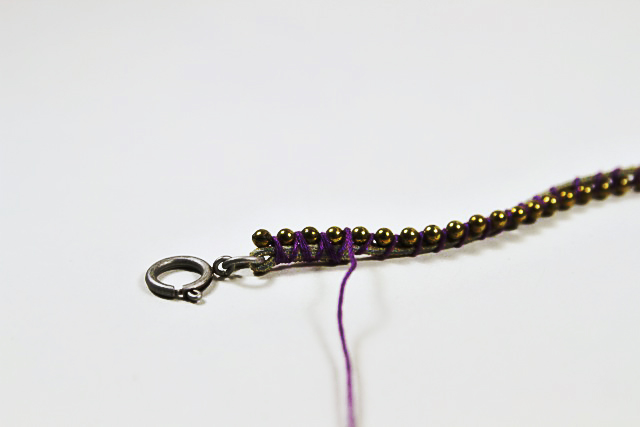
Step 2: Lay your rhinestone strand or ball chain on top of the lacing and begin wrapping the thread around it to secure them together:
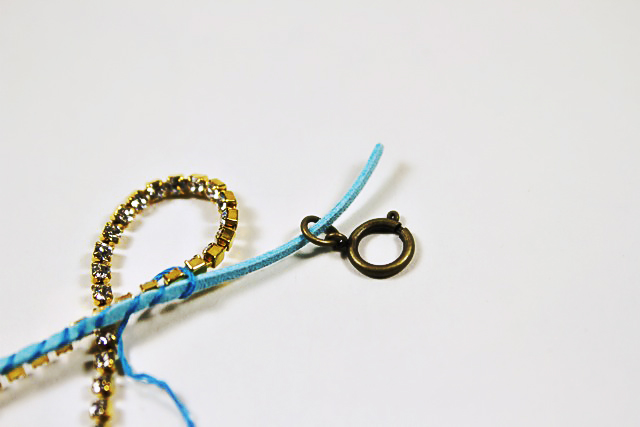
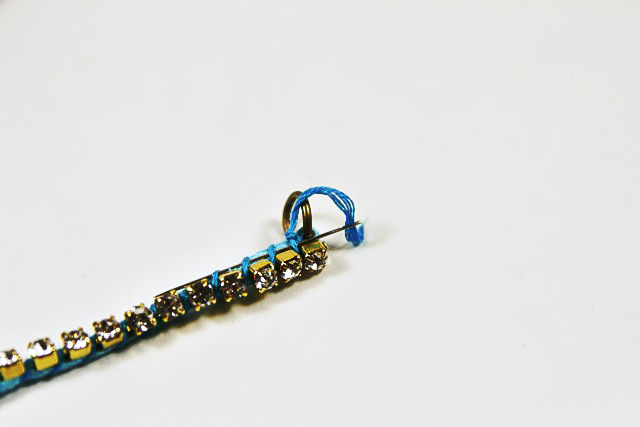
Step 3: As you get about 2″ from the end of the lacing add on your lobster clasp.
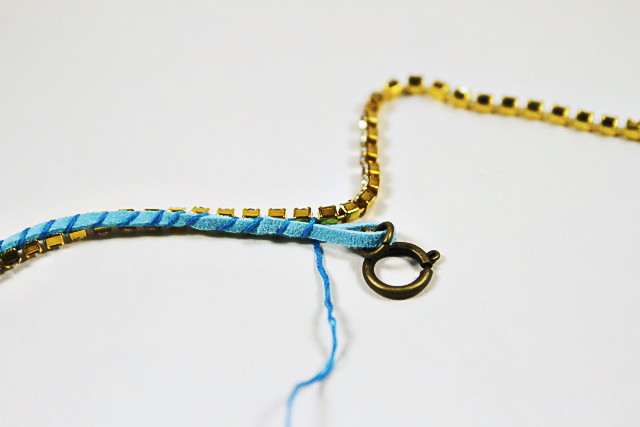
Step 4: Fold the lacing under the bracelet and continue wrapping the thread until you reach the end.
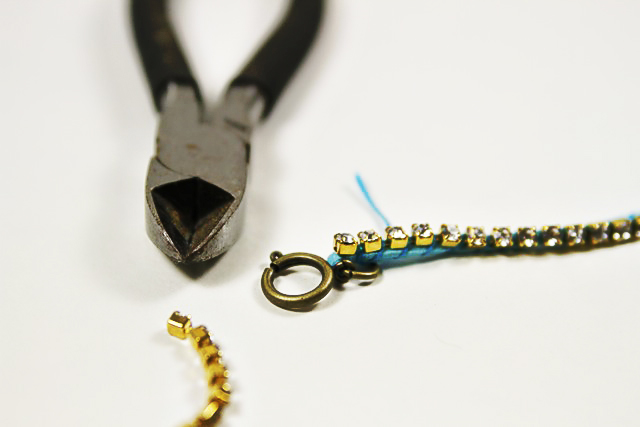
Step 5: Using metal cutters, cut the rhinestone strand or ball chain so it ends just before the fold. Knot your thread securely around the last section of chain.
Step 6: Use a needle to thread the end of the thread back down into the bracelet.
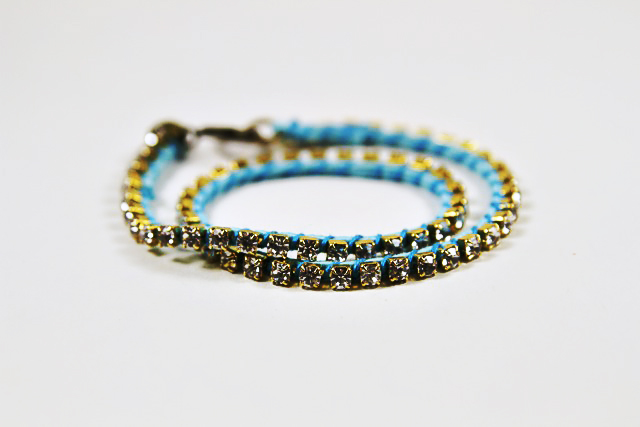
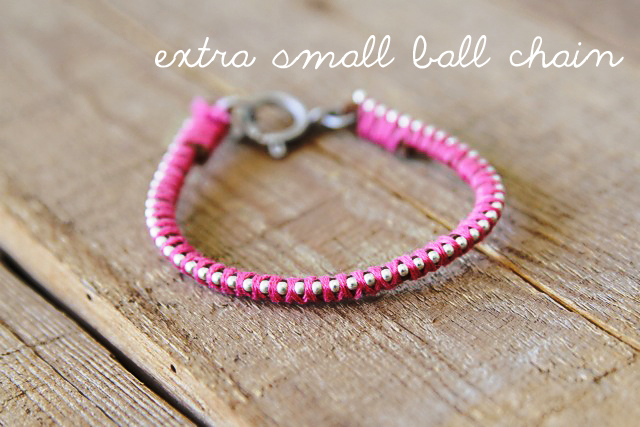
A finished bracelet!
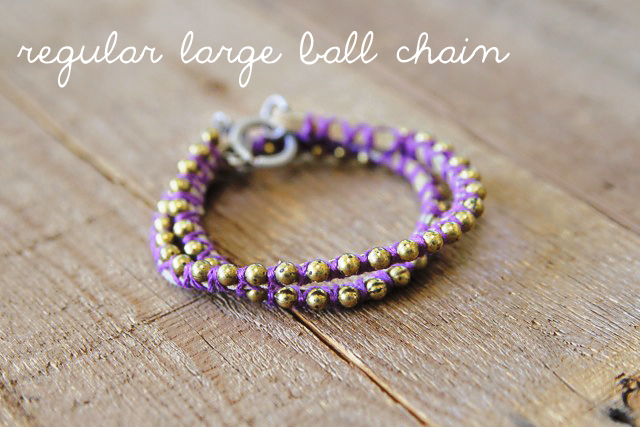
I made one of the bracelets using a large ball chain….like the kind you would find on a lamp.
I double wrapped this one with thread to get a different look:
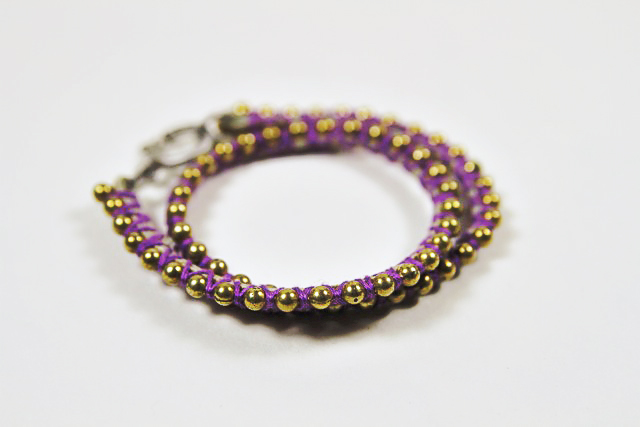
The finished double-wrapped ball chain bracelet:
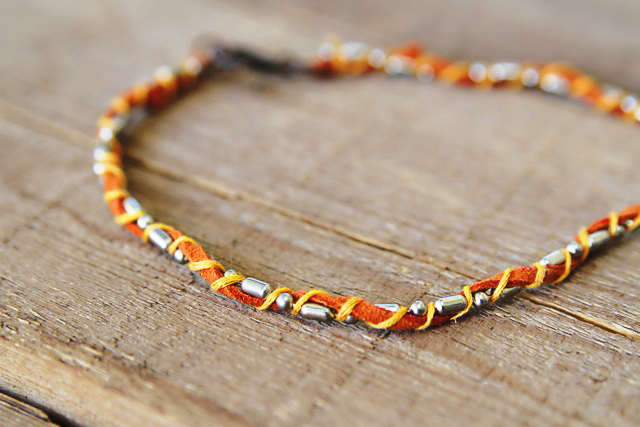
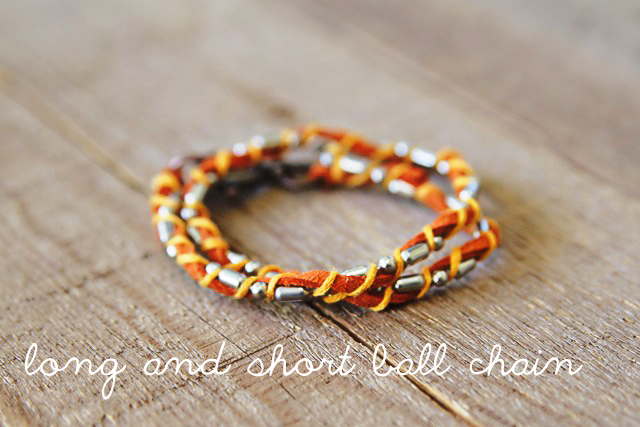
My favorite is the long-short ball chain:
Because of the alternating sizes of balls, the result is a perfectly consistent twisted look once you wrap it with thread:
All alone they look like your basic wrapped bracelets:
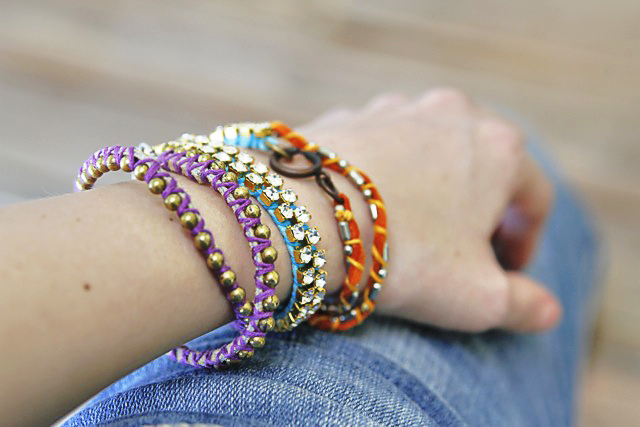
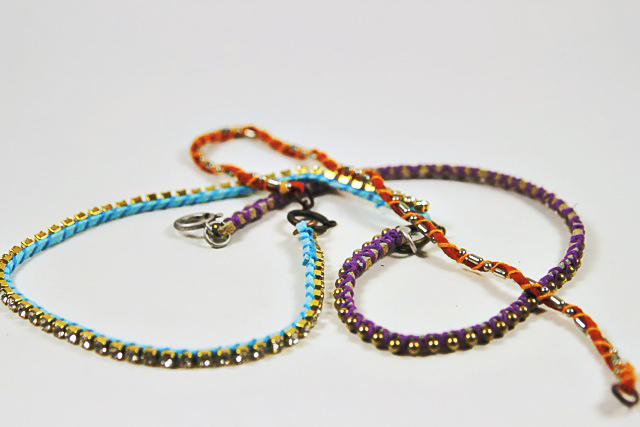
I wear mine all connected together into one large strand…….
…..resulting in a funky, chunky, colorful wrap bracelet:
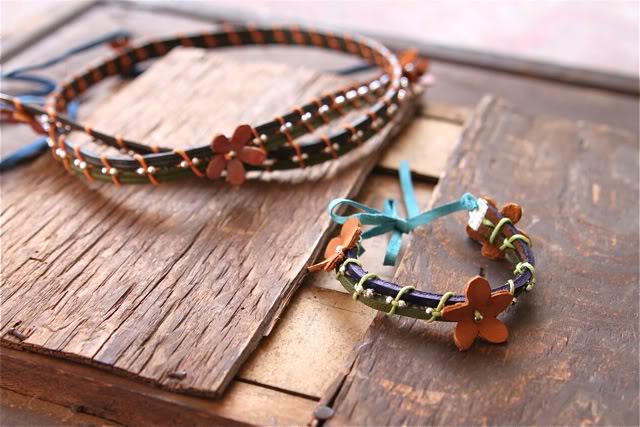
Click below to check out the leather/bead tutorial.….it involves a little more attention but they are still pretty easy!
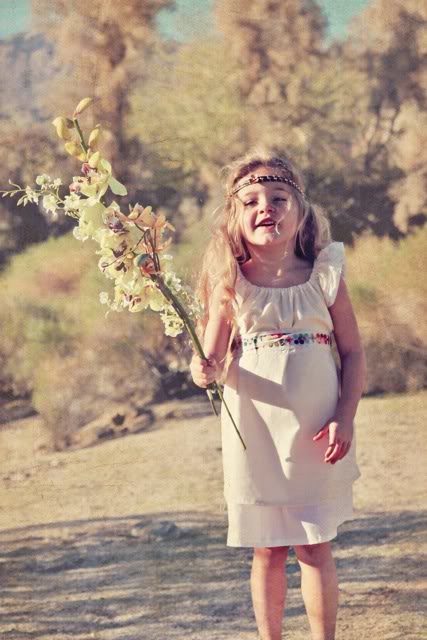
My little bohemian Boo wore them as a headband for this photoshoot:
Check out all Lil Blue Boo accessory tutorials here!
Next up…..hex nut accessories. Just kidding.

These turned out perfect. I’m really into the wrapped bracelets right now. I need to buy these supplies!!! Thanks 🙂 Oh…and you’re soooo not kidding about hex nut jewelry. I give you a little time and we’ll see a tute including them. LOL!
Wow! I love these. If someone would make them, I’d buy 🙂
OH is it that easy? They look GREAT! I am normally ‘just’ a sewer….maybe I should expand my repertoire to some bracelets. Thanks!
Those look incredibly easy to make. Summer craft for my girls.
LOVE! I have most of those supplies too…. I need more time to do these things!
Thanks for another awesome tutorial! Will be knocking out a few of those soon! My little one LOVES jewelry! Can’t get enough!
These look really easy to make, but when I tried it (a year or so ago) the whole thing fell apart after a few rounds – maybe the twine I used was too slippery.
I guess I’ll give it another try, your bracelets are amazing 🙂
hi anke these brarelets are fun to make, but they like to twist on you as you add the chain, after i get it started, i then clip it to my clipbord this take longer but i think it come out better . i use waxed lined cord it is sticker, i get this at ornamentea.com have fun marjy
ohhh love them!!! I will make these for myself and my girls. I can’t wait!!! Thanks for sharing great tutorials.
I have so many of these bracelet tutorials bookmarked/pinned. Seeing all of your cute examples reminds me that I need to grab a few supplies so my girls and I can make some before school gets out.
Thanks for sharing and have a great weekend.
Great bracelets…my lil girl would love these!
I just LOVE them !!…. your tutorials make it look so easy & I can’t wait to make them…. I couldn’t get my supplies fast enough today !!! i was soo soo happy to find beautiful strands of Swarovski reduced from $55 (aussie$$) to…. $7 !!! Did i do a HappY dance !! i sure did !!! Thankyou for sharing xxx
Aw, cute bracelets and headband!
Fround you through …And Then She Made… and I’m so glad I did! OMG! I think ALL my nieces will NEED several of these! LOL! I’ll be adding you to my blog reader.
I just tried these today, and I’m hooked! I knew I needed to make some bracelets for myself because my wrists are so small that store-bought bracelets don’t fit! I am going to be making a ton of these! They are great to make while watching T.V. =) They look great and are fun to make!
Love these! Thanks so much for sharing.