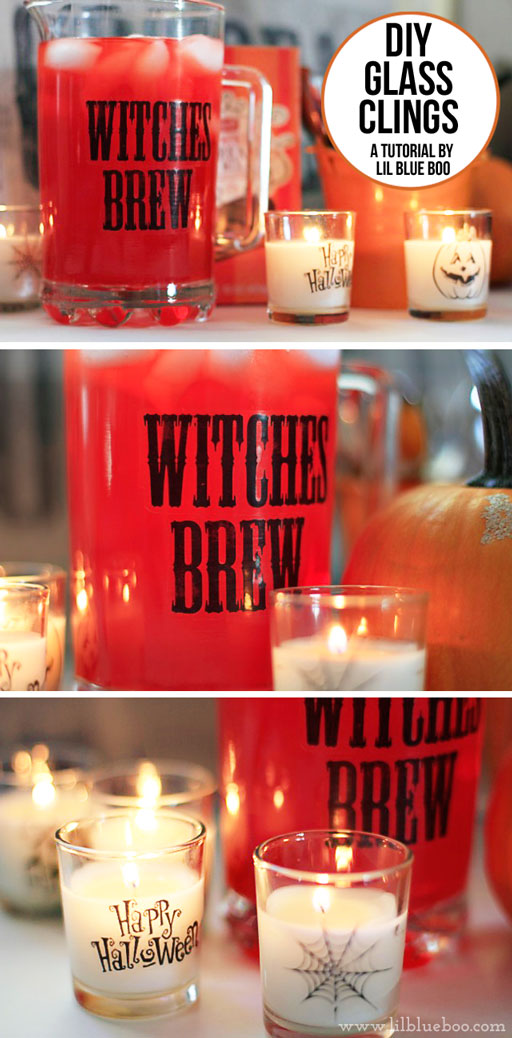
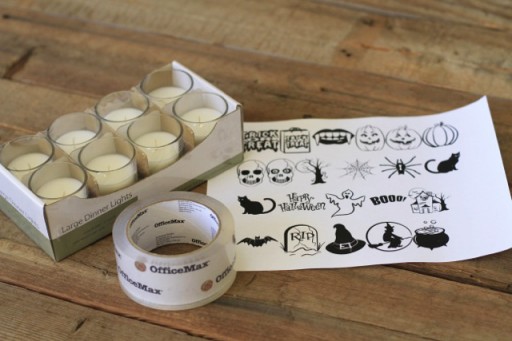
This is a follow up post to the image transfers showed you how to make the other day. I just wanted to show you another way to use them! Tape transfers are a great way to make glass clings for party decor or home decor. In this tutorial I made themed glass votive candles for Halloween and a label for a glass pitcher. My supplies were glass votives, regular packing tape, and a photocopy of Halloween clipart. I’m going to quickly go through the directions because you can also refer back to the original post on image transfers as well.
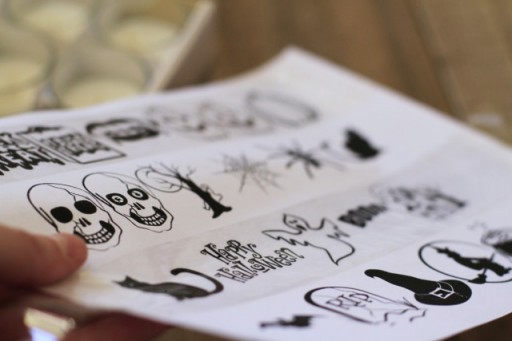
First, I place a strip of tape over top the image I want to transfer. Then I use the back of a spoon or my fingernail to make sure the tape is 100% adhered:
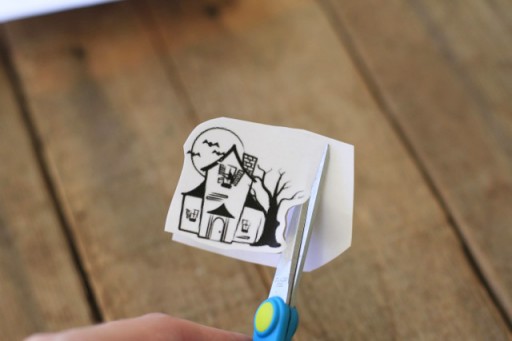
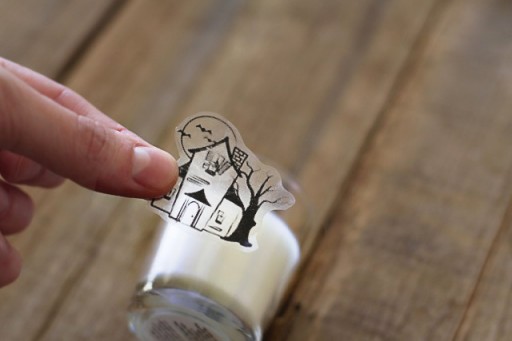
For the glass clings, I cut out my image before I remove the paper from the back:
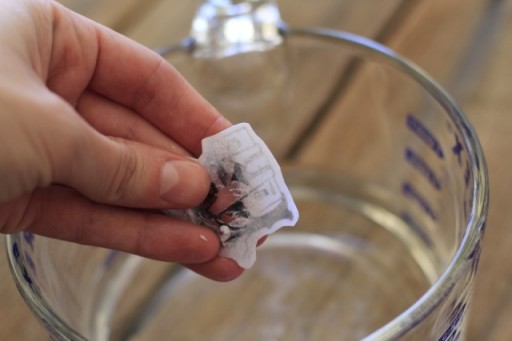
I wet the back of the image with water and start to rub the paper off the back:
As long as I’ve used heat based toner (i.e. a photocopy or a laser printer), the image is left behind on the tape. I blow the back dry and the adhesive is still strong enough to adhere to glass:
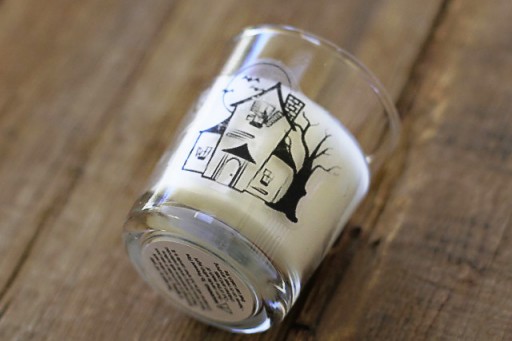
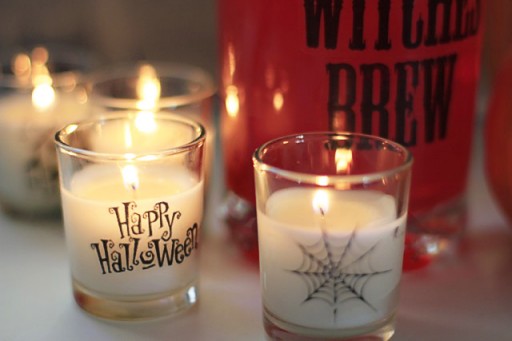
The finished glass cling. The best part is….it’s removable! So I can use these votives again and again for every holiday…..just change out the clipart:
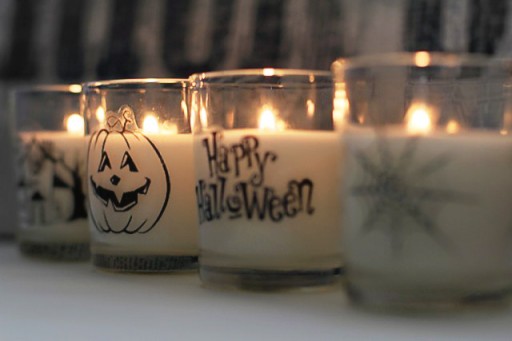
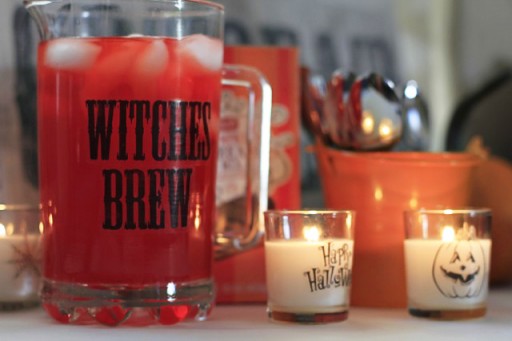
Glass clings are a great way to make a table festive for a holiday or party:
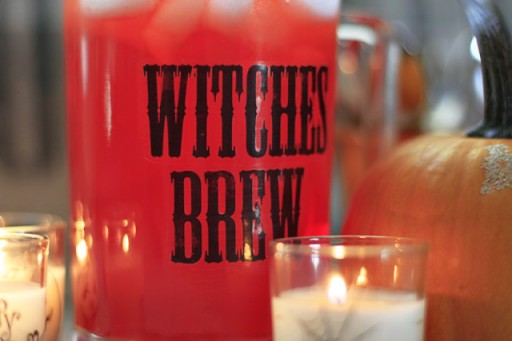
I made the “witches brew” glass cling for this pitcher of punch. I used the font Mesquite Std (free download here).
The tape is transparent which almost makes it seem part of the glass. Even Mr. LBB asked: did you buy a new pitcher?
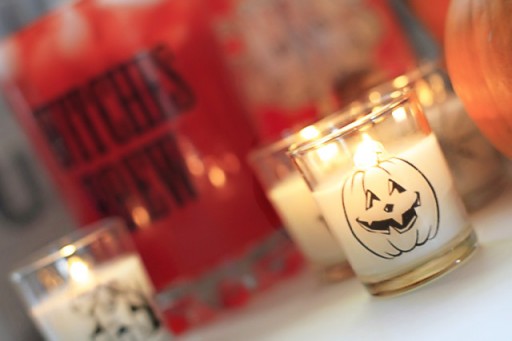
Mix up the votives with different images….click here for Halloween fonts and clipart. There are also some great Halloween party packages in the shop right now.…and you can use the images to make glass clings to match the rest of your decor!
Enjoy!
In case you missed it…..check out the tutorial below as well!

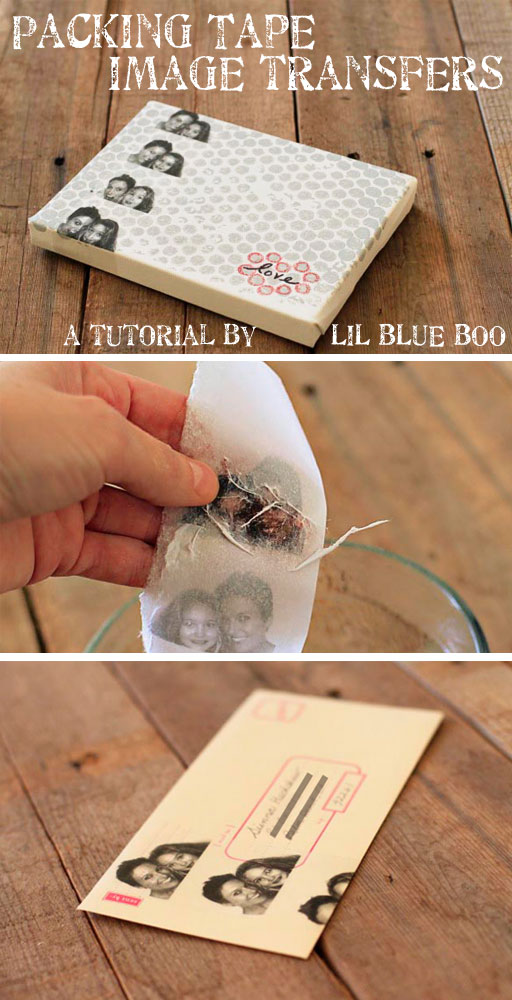
Thank you so much for a very clear guide on how to do it. I’ve seen others but your guide is much better :*
Thanks Ashley! So cute and so easy! <3
This is so cool. I tried it today and stuck the images on the side of my filing cabinet at work. I used pictures of my son, but I’m off to find Halloween clip art to use at home. Thanks!
Thanks! We just got a lazer printer in the weekend. I had read your last tutorial and couldn’t do it with out ink printer. But I tried it today and am so impressed! A small pic of Flight of the Conchords concert we went to a few months ago on the side of my glass. Awesome!
I wonder if it will work on acrylic… I’ve got a big drink dispenser that I want to put a spooky punch in for Halloween. If this works I will fly there and kiss you!
I did some of my daughters faces to put on the side of their cups. They are a type of plastic, so I don’t see why it wouldn’t work for you. They stick almost by static rather than by stickiness. Have fun!
Just discovered you on pinterest. This is the coolest thing ever!!
thanks!!!! 🙂
Thanks so much for sharing this! This is such a neat tutorial 🙂