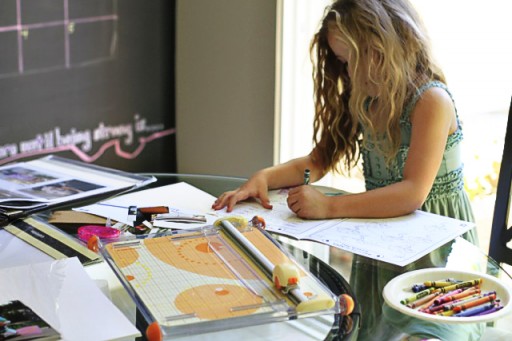
One of the most gratifying things for me is finishing up a yearly album. I’m always usually about a year behind but that time allows me to make sure every photo is printed and organized. I always seem to have random photos show up mid-year and it would drive me nuts if those weren’t in the yearly album. Boo loves to keep me company while I put albums together because I talk about the photos as I go and tell stories:
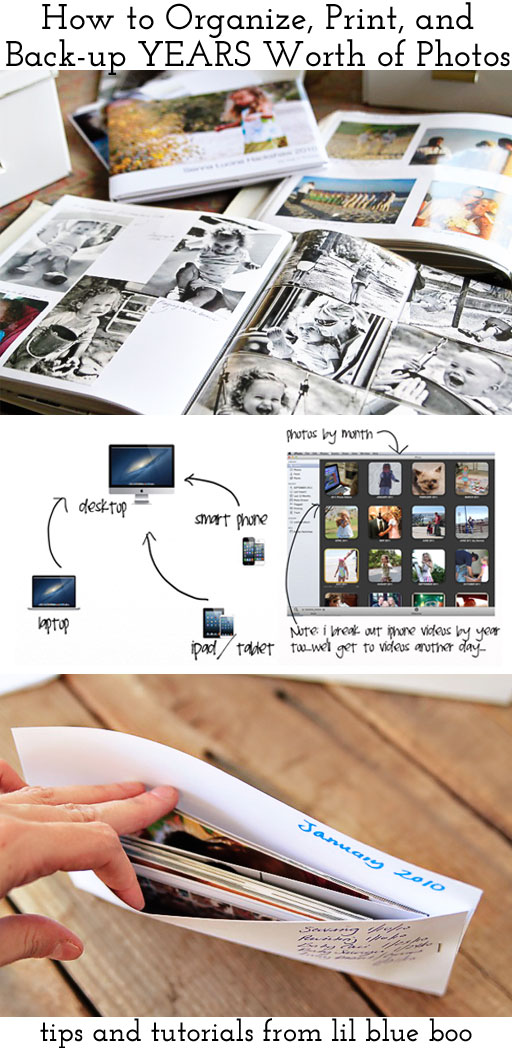
After I did my How to Organize and Print YEARS worth of Photos tutorial I had numerous requests for a post on how I actually assemble my albums…..so I took photos as I finished 2010’s album up this weekend. I always find that if you have YEARS worth of albums to make start with the most recent year you are ready to work on and move backwards. A few thoughts about album making before I start with the tips:
1. Photos and albums are items you should splurge on. I would rather use money for photos and album supplies than buy a new handbag or outfit. These are your memories!
2. Album making should be easy. I use a simple system and don’t overcomplicate it. Hand write labels….your family will appreciate your handwriting years down the road.
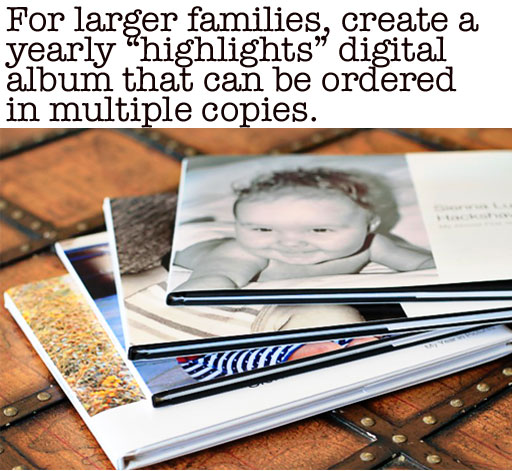
3. I love making huge family albums for our family but I make digital “yearly highlights” albums to share with family members because they can be printed in multiple copies.
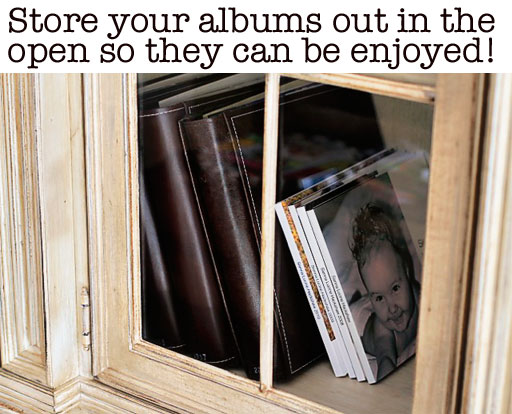
4. Leave your albums out in the open so that they can be enjoyed! (and grabbed quickly in the event of an emergency!)
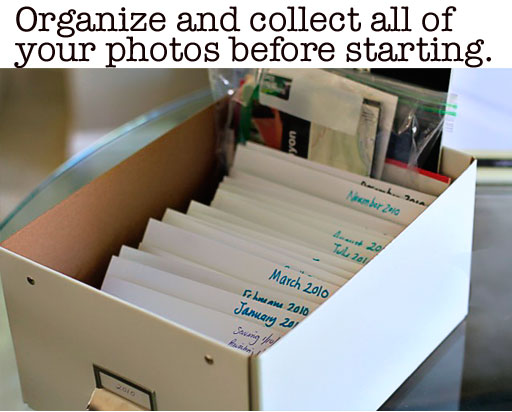
The first thing I do when I’m ready to make an album is make sure that I have every single photo and memento ready to go and organized:
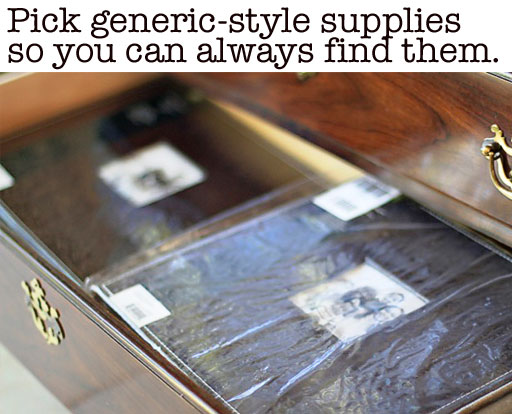
I always pick generic supplies so that they can be purchased from multiple companies….this way if one company goes out of business I have other options. I also like have a LOT of photos and the more generic the supplies, the more reasonable the price.
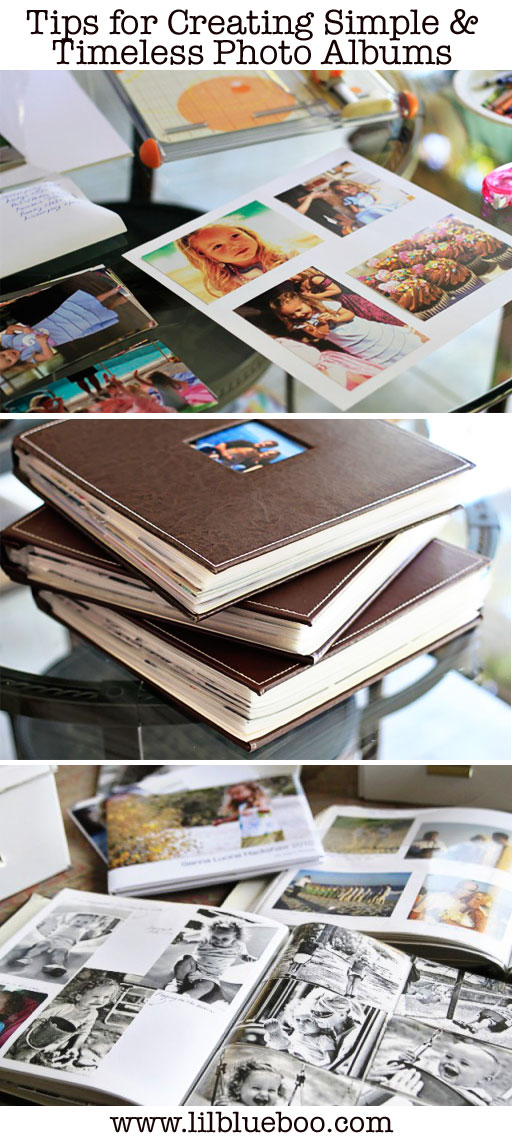
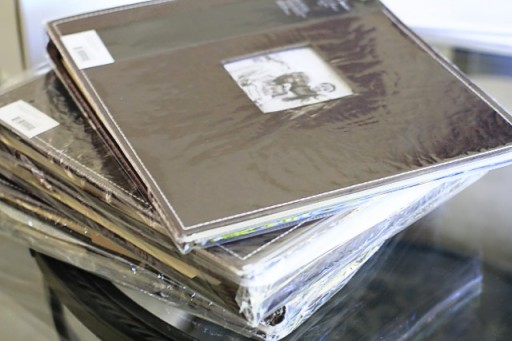
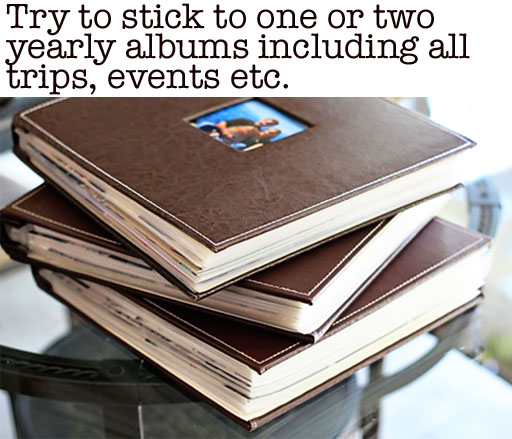
For my basic supplies, I always use expandable 12″x12″ post albums. Since my local scrapbooking store went out of business I started buying them in bulk from Amazon. These are Making Memories albums and they can expand to be about 3 inches wide. I usually pick classic brown leather albums:
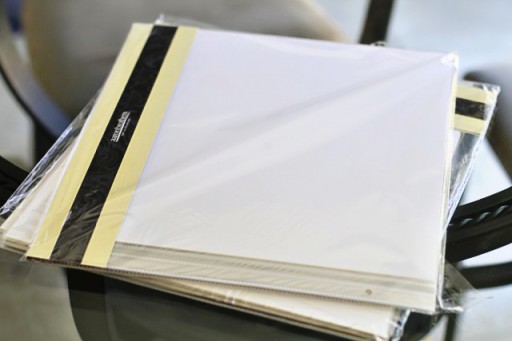
I always stock up on 12″x12″ page inserts. I like the ones from Aaron Brothers because they have a good weight to them and they are about half the price that I’ve seen anywhere else. You can buy them by the box if you ask them to special order for you. They might even be able to do a special order over the phone….not sure though.
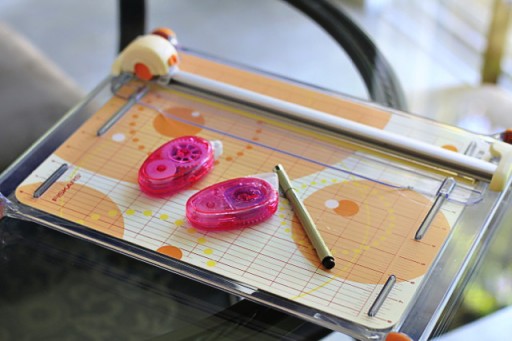
I have a paper cutter to trim photos easily and I buy tape runners by the dozen! I use acid free black pens for adding captions to photos:
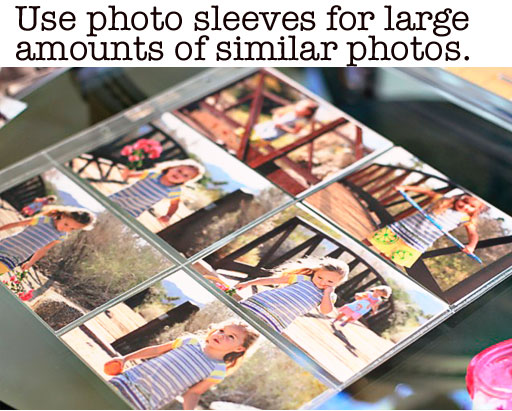
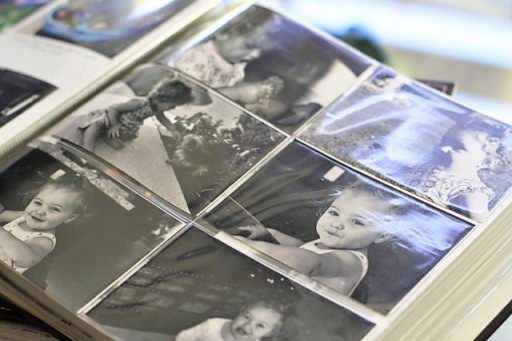
I use 4″x6″ photo sleeves to display photos that are almost identical…..like family photo shoots.
These pages just go right in the albums too.
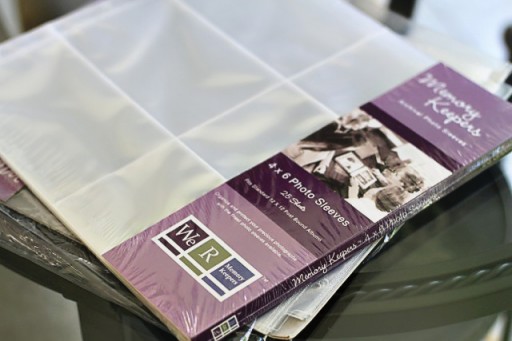
I use 4″x6″ photo sleeves by Memory Keepers:
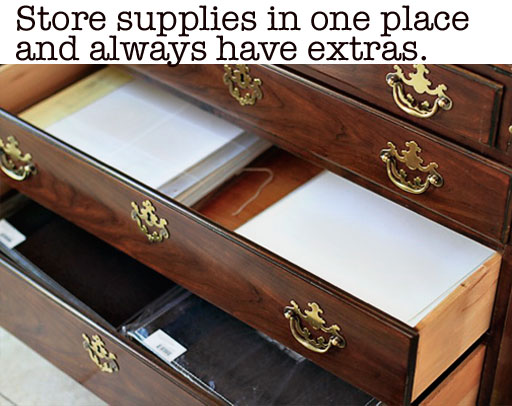
I store my supplies in drawers near my workspace so that I always know where they are and what I need to reorder:
I usually try to create one album per year. In each yearly album I include every event, trip, special occasion etc. Sometimes I have to split the year into two albums depending on the number of photos I took.
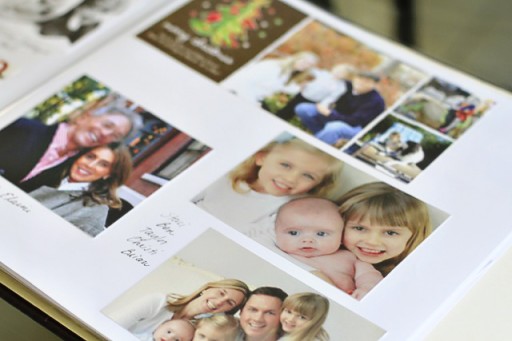
When the albums are yearly I know that I can pull out any one album and the beginning will be January and the end will be December. I can’t bear to throw away our family and friends’ Christmas cards so the last few pages of every album are a collection of those……it’s really fun to look at how they’ve changed over the years:
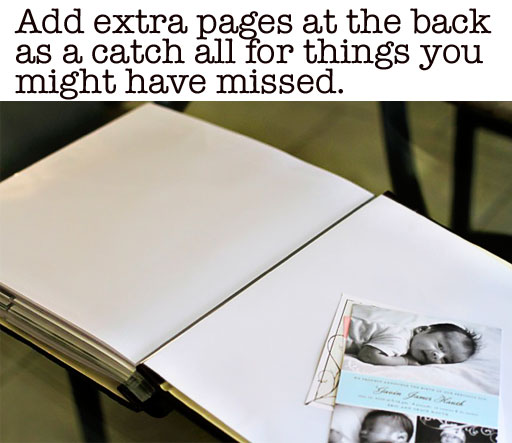
I also add extra pages at the back of each album for extra items or photos I might have missed somehow. They also work as sleeves for mementos.
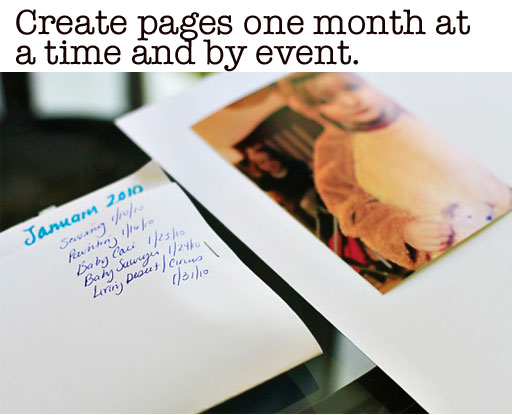
I always work through each album one month at a time. I break the month’s photos down into separate piles in order and figure out which ones will go into the album. This is when that organization tutorial I did comes in handy….because all of the big events are listed out already in chronological order with the dates. Any photos I don’t use just go back in the cardstock envelopes.
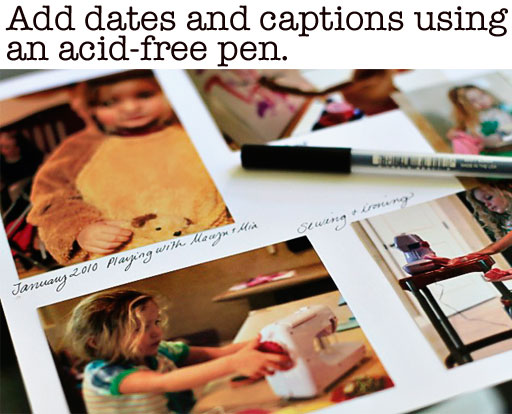
As I make each page of photos I add dates and captions using my acid free pen. Don’t like your handwriting? It doesn’t matter. Your family will appreciated you handwriting. I love all the handwritten notes my mom made in my photos albums. It makes these albums much more personal:
I always assemble my album after every single page has been completed. The post system is kind of a pain so I only want to have to do it once. The easiest way to make sure the posts are tightened well is to use two screwdrivers on each side.
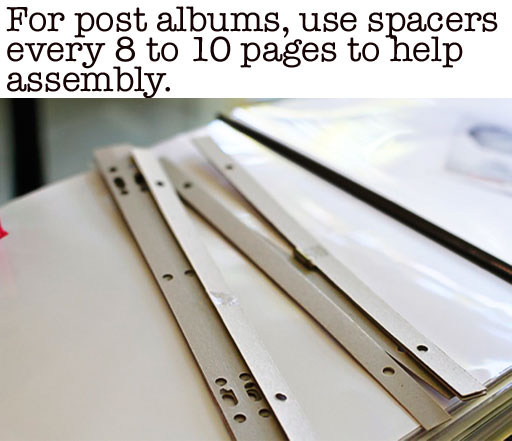
Those spacers that come with your blank pages? They are a very important step. Make sure to use one or two every 8 to ten pages. If you don’t have them just make your own by cutting up cereal boxes. As you add photos to your pages, the pages become thicker than the edge that goes onto the post….these spacers compensate for that and make your album fit evenly onto the posts:
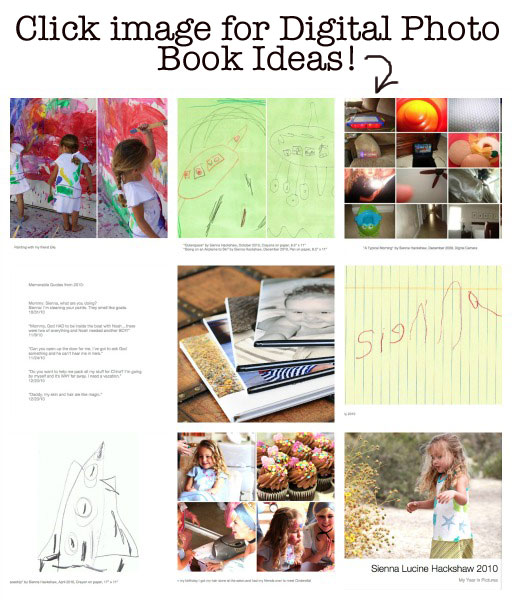
I like to make one large family album with every photo taken that year. I think it’s important to catalog our family memories in that way: no fancy scrapbooking, no fancy embellishments….just hundreds of photos to enjoy and document our life together. So that I can share photos with other family members I create yearly digital books and print multiple copies. They are expensive but the money is worth it!
You can click below to visit some photo book ideas I put together in the past:
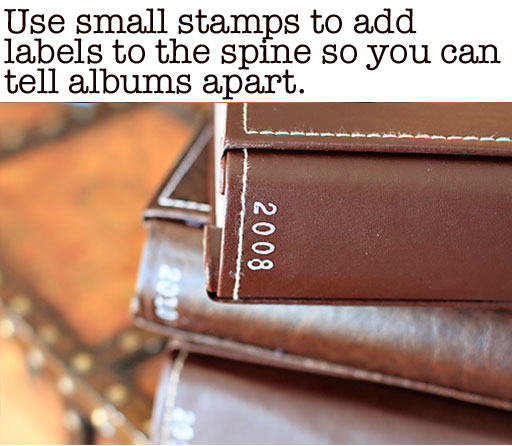
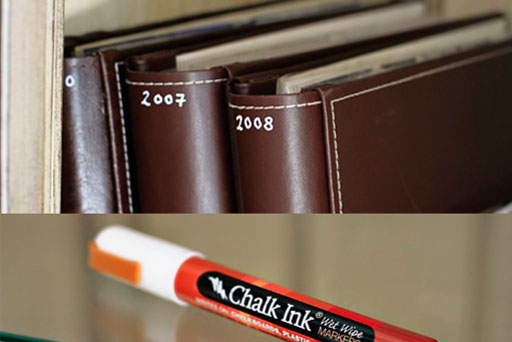
So what do you do if all of your albums look similar? I use small scrapbooking stamps and white permanent ink pads to add the dates. If you mess up just keep a wet-wipe nearby!
I did a handwritten version just for an example…..this is a Chalk Ink marker. It’s there until you use a wet wipe to remove it!
This is the most important part…..make sure you hard work is always out in the open so that friends and family can enjoy them! I leave all of ours in our TV cabinet. I also always know where they are in case of emergency!
Where to buy products:
Leather Albums by Making Memories
Hope this was helpful. Feel free to leave questions and tips of your own in the comments!
For more on organizing and preserving family memories click the image below:
Click the image below to visit all my organization posts!
Visit the photography page here:
Lil Blue Boo now offers photo overlays and blog photo templates!



This is amazing! I keep meaning to get photos printed and into albums, but so far, I haven’t gotten around to it. I’ve been contemplating the Project Life kit (http://beckyhiggins.com/) but your comment about keeping things generic definitely rings true! Thanks for the helpful hints!
Love this idea, now to find the motivation to get started! Thanks for the tutorial.
This is great! Thanks for the tips and motivation! 🙂
I dream of being an organization queen, like you, one day!!
Oooooh -Organization Queen, I like that! Such great ideas, hints, design advice, you name it. I Pinned your post -everyone should know about it!
love the tips!!!! I have to start from my school days but it is really exciting!!
I so appreciate this follow-up post to your other one on photo organization! I was hoping you would explain your method for albums. The other post and this one make complete sense to me and fit my personality perfectly. I feel like it gives me permission to not do the scrapbook/digital scrapbook thing and just get it done. Weird! I sometimes get so obsessed with doing something the “best” way that I never get around to actually doing it! 🙂 Love your explanations, helpful hints and links to product. Thanks!
Amen!
It is amazing to see the progression in generations of album-keepers in your family. Remember how your grandmother wrote under each photo of her Brownie camera photo in the 1940’s and 50’s. Then, in the 70’s to 90’s, the larger albums allowed us to cut the photo into any shape and put on the sticky surface. Now, it is digital thru the computer!!! I love it all and the memories are storing up treasures in heaven, too. I am so in awe of you! mom
Hi Ashley, I love this tutorial, and the idea to use stamps to tell albums apart. We designed a collection of photos albums, with a place where you can write on the spine and front cover what’s in the photo album. KVD Petallia 320 photo album and we ship to USA. check out http://goo.gl/b3rxx
i loove this series. my little is only 9 mo old so im trying to figure out how to get everything organized. the little notecard documenting what you’ve printed off is so simple but my favorite thing youv’e shown. so so perfect!
I have a question on this great system . . . I have loads of pictures that other people give me of wonderful family members. Pics of my nieces and nephews, my aunt & uncle and cousins . . . how do you incorporate this types of pics into your system? I’m not sure where they go! I need them to find a home. Thanks!
Hi Tara! I usually just add them into the album for that year…..I just make a page every once in a while and stick all the photos on there…..like school photos sent of my nephews etc. I also keep all the Christmas card photos together at the end. That’s why my albums are HUGE I guess….everything but the kitchen sink!
I like that idea, but seems I cannot get things put in chronologically correct. I like it to be just right…guess I will have to deal with imperfections?
Wonderful system. About how many pictures end up in a family photo album?
Hi Jennifer, each album ends up being about 60 to 70 pages (120 front and back) so about 500 to 600 photos!
Hi Ashley,
Do you have have a need to remove photos from the album? For example: way back when in high school, teachers would ask each student to bring in a photo from childhood. I would always sift through my mom’s album and grab the picture I wanted to use. Maybe this doesn’t apply anymore because everything is digital? You can now just print a new photo off or email it.
You mentioned you use tape runners to stick down all your photos to pages. Just wondering if there’s another method so if you want to remove the photo you can?
I usually just pull out the page and scan the photo I need…..then I never have a missing photo 🙂
If the pages are page protectors, what are you sticking the photos to? The plastic or are you adhering them to a paper stock and them covering them with the plastic protector?
I just stick them to the paper stock and then slip them into the page protector.
At most how many page inserts do you put into one album?
THIS is how I want my albums to look like! I have been trying to figure it out. Now to get the money to BUY the albums…Thanks for sharing your ideas, your testimony and love. It has blessed me.