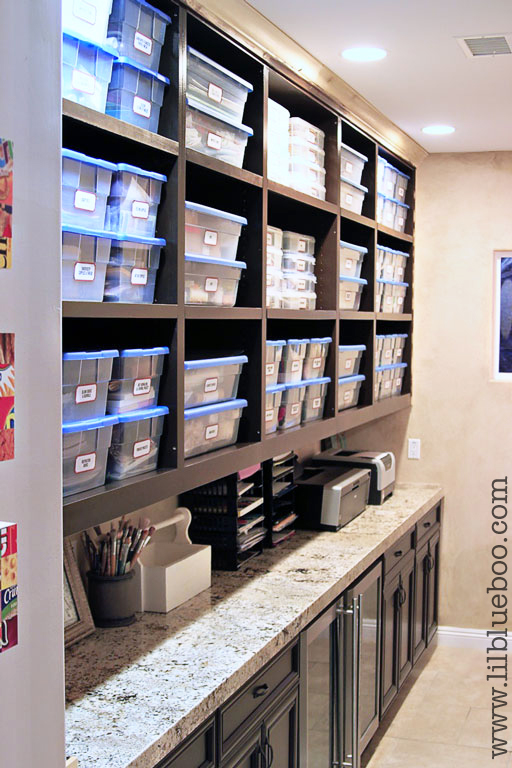
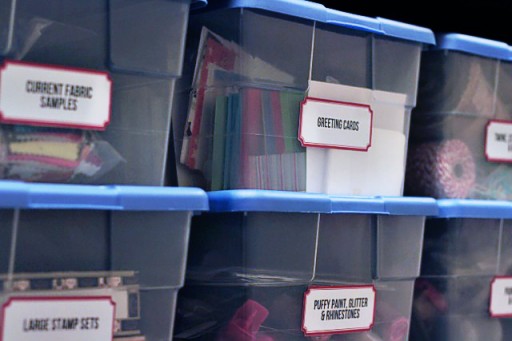
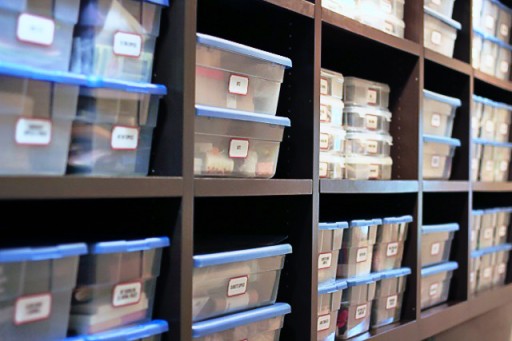
Martha eat your heart out. I labeled 70 boxes yesterday with vintage-inspired labels. It’s part of my big office makeover. I can’t show you the office yet because it’s a disaster. Anyway, it took almost all day to organize the boxes and create the labels but I feel really organized now:
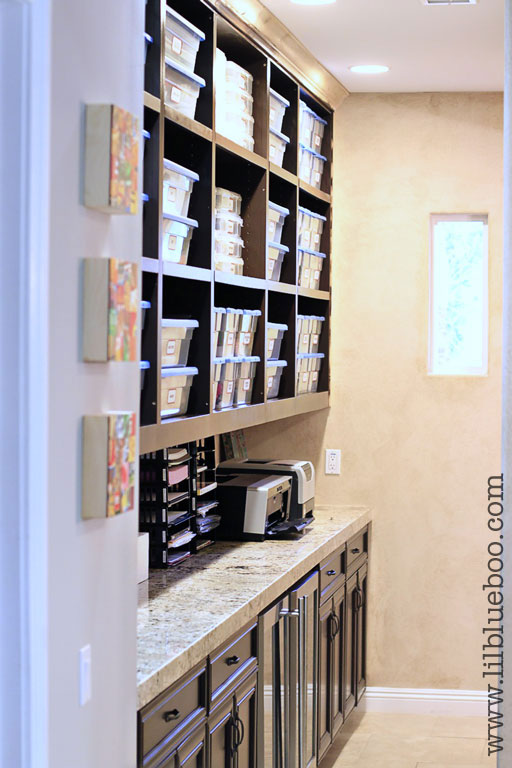
The shelves were an early Christmas present from Mr. LBB. This area is a hallway behind my office….technically it’s a “butler’s pantry” for serving food and storage but it’s the perfect area to store supplies right off my work area. The wall space above the countertop was just empty space. The area used to be a huge sunken living room before we remodeled a few years ago. We added a wall at the end of the room to create the storage space.
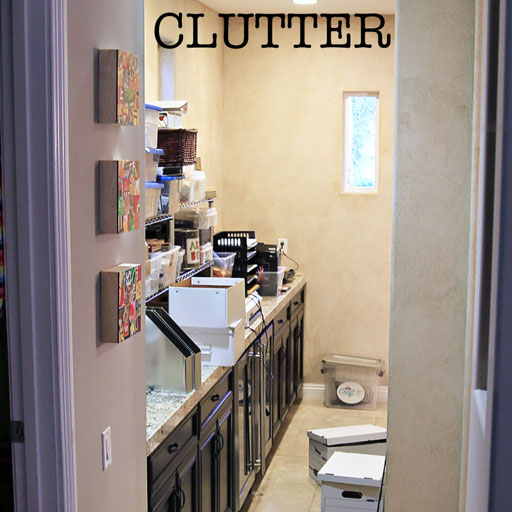
Here’s what it looked like two weeks ago:
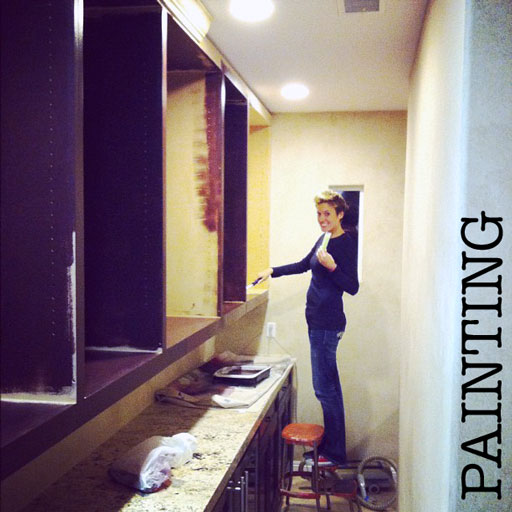
Doesn’t everyone eat a Flav-o-Ice while painting?
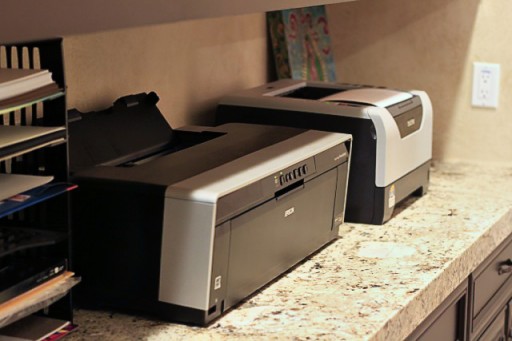
I moved all the wireless printers from the office into the storage area. Now I’m just waiting for Silhouette to create a wireless version of their machine!
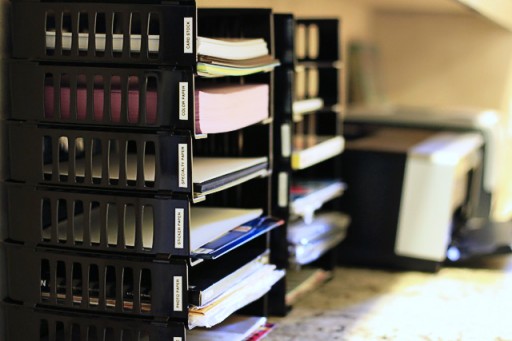
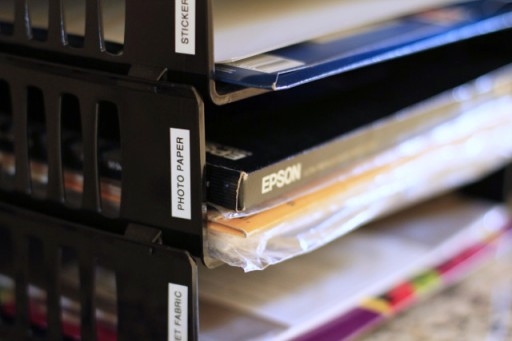
I organized all the different types of paper I have:
Photo paper, sticker paper, card stock, transfer paper, etc……all have their place:
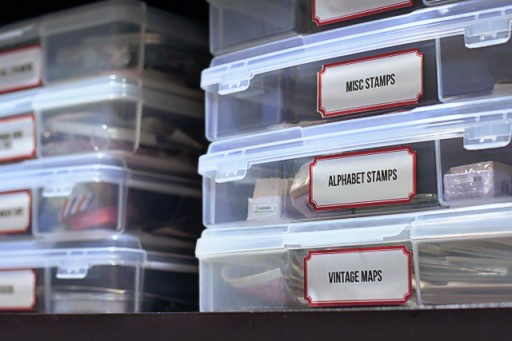
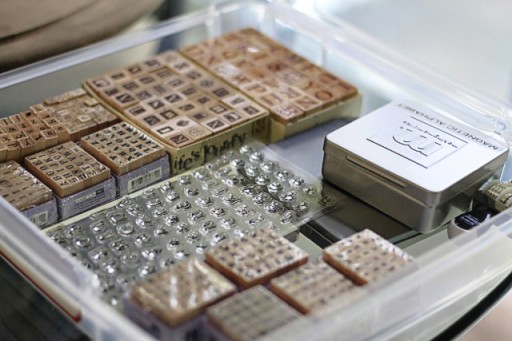
I used flat IRIS scrapbooking boxes for stamps and small odds and ends:
They are the perfect size for laying out stamp sets or other small items:
I love these Sterilite boxes because they have yet to be discontinued. I buy them from Target. OCD: I can’t stand when plastic bins don’t match!
Now every single thing has a place:
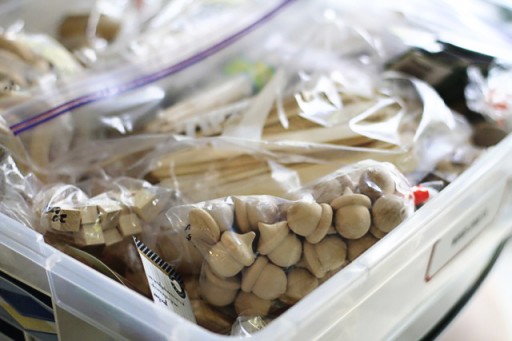
Every box has a theme….like this one is everything related to wood crafts:
The labels help other people besides me find items and replace them to the right place:
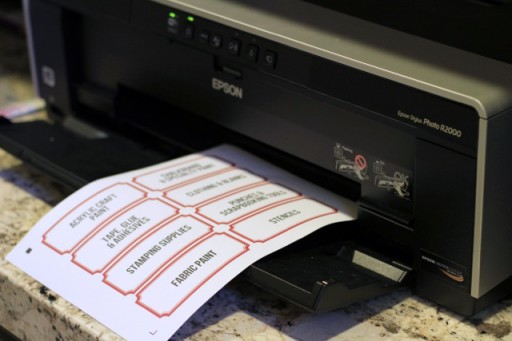
To create the labels I printed them out onto sticker paper using my inkjet printer first. (8.5″x11″ sticker paper is around $11 for 25 full sheets) Each sheet fits 8 labels:
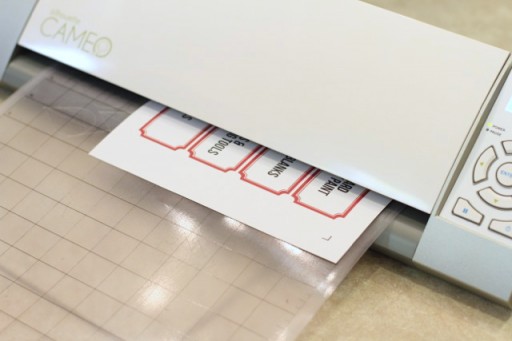
I then loaded the printed labels into my Silhouette machine for cutting:
Tip: When cutting out labels on a Silhouette machine make sure to add Registration Marks to your file before printing it! The Silhouette reads these before cutting to make sure it is aligned perfectly. My files already have them added if you download them. But if you are making your own this is the only way to make sure they are cut out perfectly. (Click File – Registration Mark Settings – Click “Show Registration Marks”)
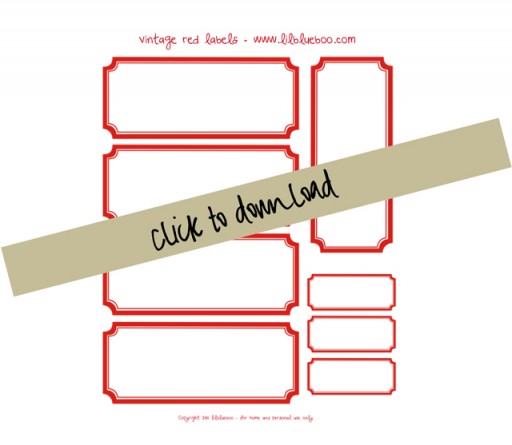
You can download my ready to go templates below. There is also a PDF version as well that you can just print and cut out by hand:
Now I just have to finished painting the molding and the walls!
Stay tuned for more!
This post is featured on Babble’s The New Home Ec.


this is fabulous!!!!! what a wonderful organized spot! I LOVE IT!
Dang girl!!! I would go crafting crazy in there 🙂
Can I come over and play?? lol
jealous great job
wow! If I showed these pics to my husband, he would want to marry you. Alternatively, might offer you a “vacation” to the pacific northwest to “visit” me and my studio/craft room(s)/storage room(s). 🙂
Alas… I too am waiting for a wireless version of the Cameo! That would totally ROCK!!! Maybe if YOU suggested it to them…. 🙂
Wow! Wish I were organized enough to know where to begin organizing!! 🙂
Did you cover over a window with your shelves?!
Ashley,
After reading this I dreamed last night that the current organizing project that I am on could NOT be checked off the list until I had vintage labels!
Too funny!
Yes! I LOVE it! I am SO inspired by this space!!!
Lucky!
Okay, this is AWESOME! Now I must know, how do you organize your fabrics?
what a dreamy organized space. yes, i’d be ocd if my plastic bins didn’t match either
Thanks a lot for sharing this with all of us you really understand what you are speaking about!
Bookmarked. Kindly also talk over with my website =).
We can have a link exchange agreement among us
Amazing job! Would you mind sharing what categories you used to organize your craft supplies? I always get stuck on how to break things down & what deserves its own label. I either end up being too specific with too many categories or the other extreme of combining things & then forgetting my system. Thanks you again for sharing!
There are too many to list….but to start:
sewing notions
sewing patterns
felting supplies
adhesives and tapes
beads
tools
plugin tools
fabric paint
stamping supplies
twine and string
punches and scrapbooking tools
stencils
etc 🙂