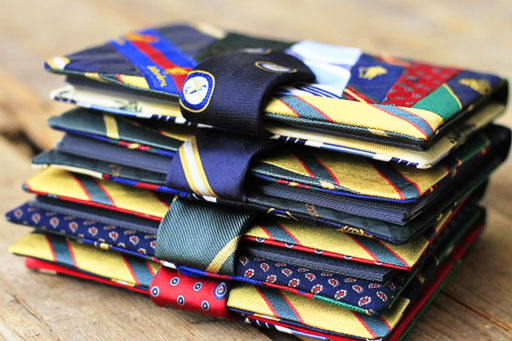
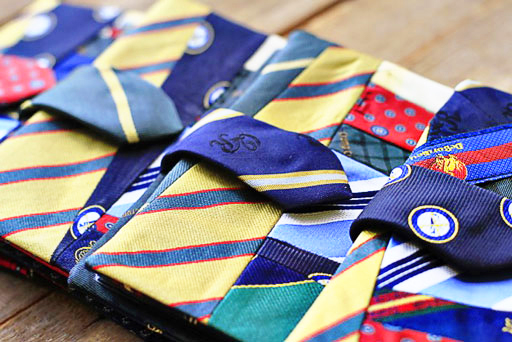
It’s been almost two years since my dad passed away and I’ve been saving all of his ties to make something from. I wanted to make something for my mom, sister and brother. My dad’s ties represented so many different parts of his life….from special events to all of his favorite golf clubs and important tournaments he played in. I came up with the idea of making a photo album using bits and pieces of each tie so that everyone would have a patch:
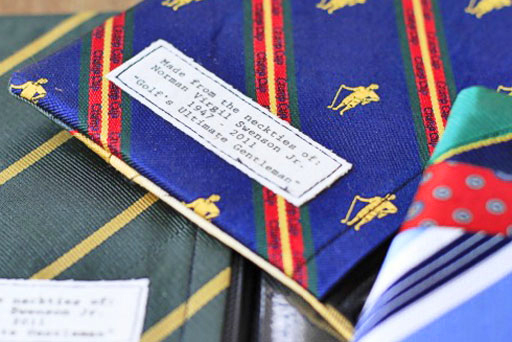
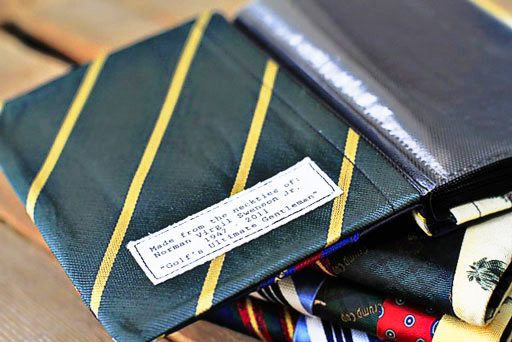
I added a little tag into the front of each album: Made from the neckties of Norman Virgil Swenson Jr., 1947 – 2011, “Golf’s Ultimate Gentleman”:
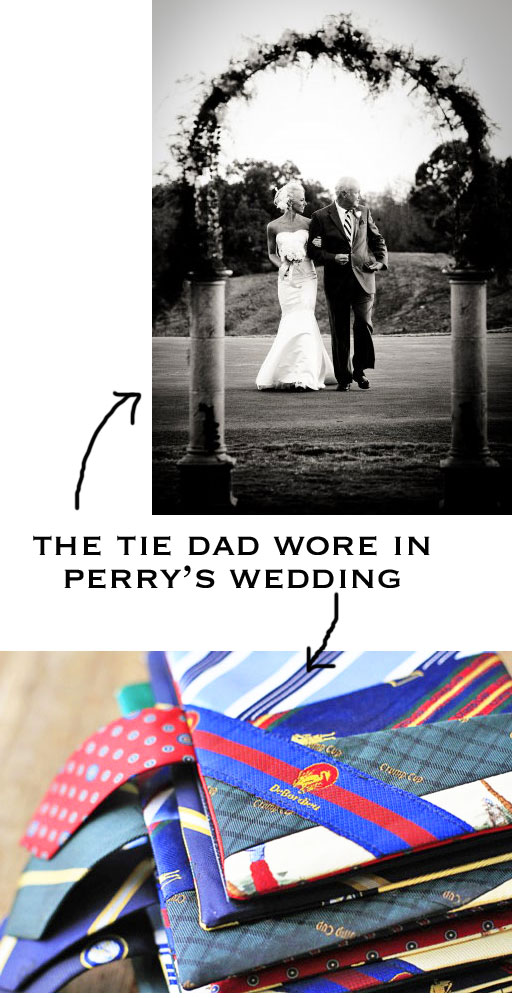
Every tie reminds me of some part of my dad’s life….like the pretty blue tie he wore in my sister’s wedding:
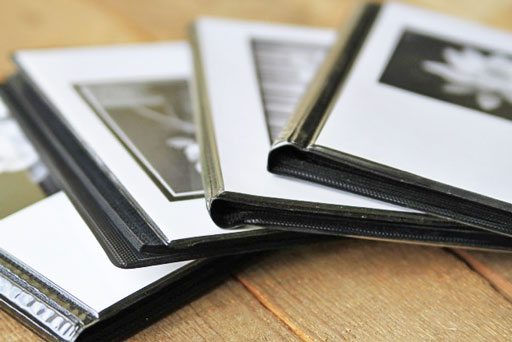
To make the albums I purchased simple 4″x6″ albums from the craft store:
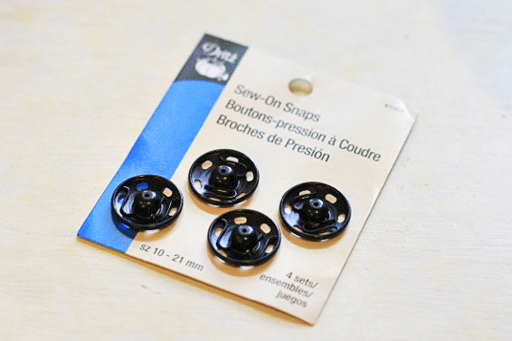
Other supplies you may need: sew-on snaps, fusible interfacing, etc.
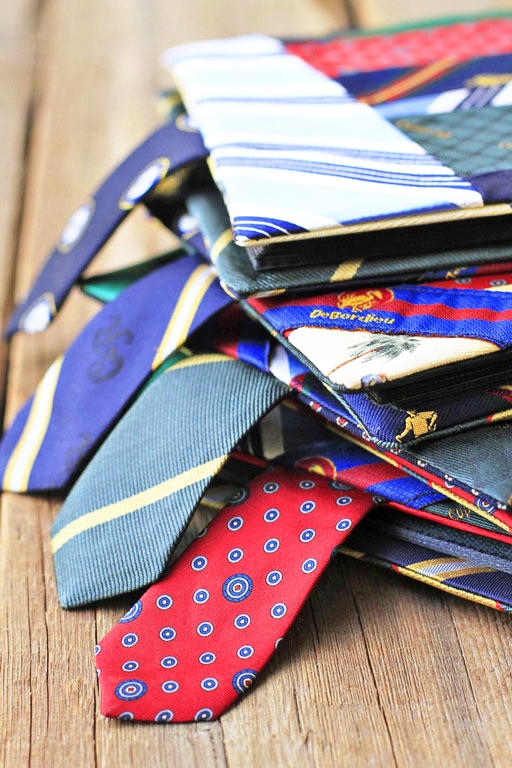
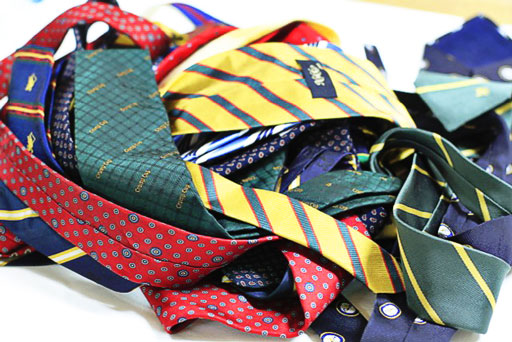
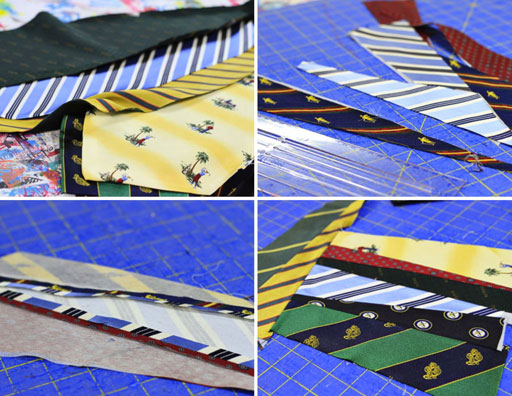
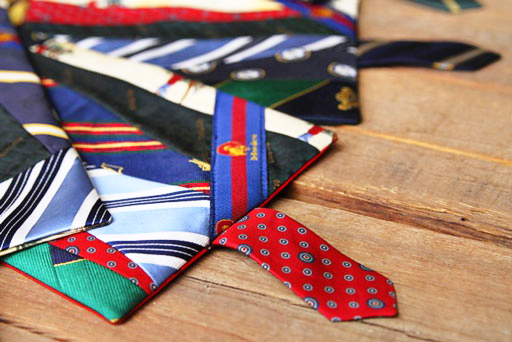
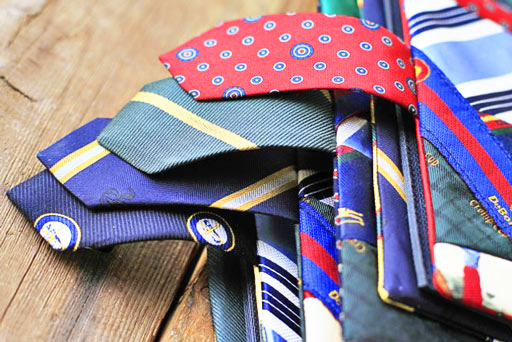
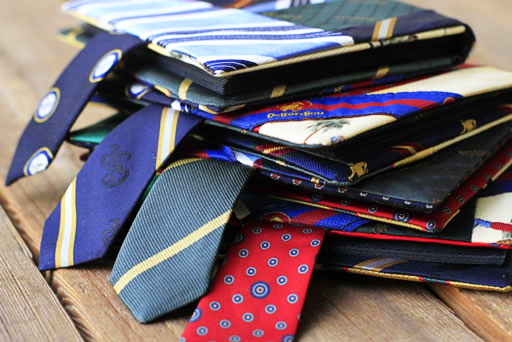
Here are the ties I used:
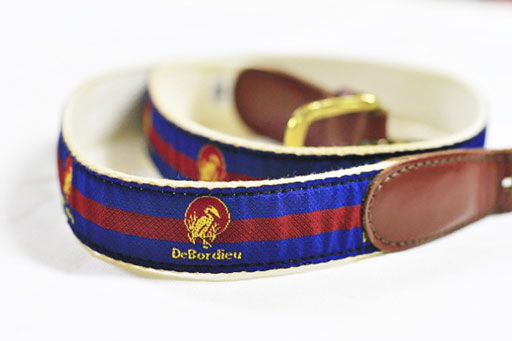
I even took the ribbon off of this belt to work the DeBordieu design into it. We used to own a house at DeBordieu beach when we were little….it’s where most of my childhood summers were spent:
Here’s how I made the albums…..they only took me a few hours with an assembly line:
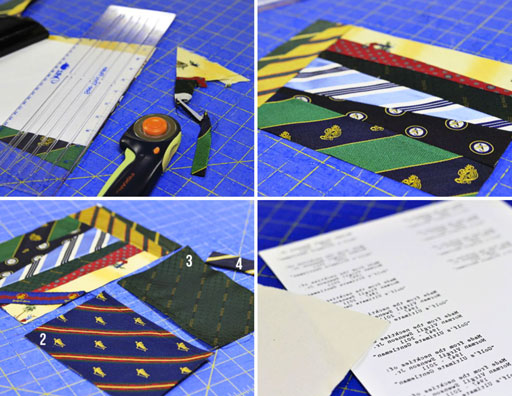
Step 1: Cut apart the ties and press them flat with an iron. Add fusible (iron-on) interfacing to the back of each tie. Begin cutting pieces of the ties into random angles and piece them together until you have a large enough piece to cut for the main piece of the album (approx. 11″ x 7.25″ for my album). Iron all your seams open and flat. Apply fusible interfacing to the back of the finished patchwork.
Step 2: Cut the front of the album (approx. 11″ x 7.25″ for my album). Cut two pieces (with fusible interfacing) for the front and back inside cover (approximately 5.5″ x 7.25″). If you would like a personalized tag in the front, create text and print onto iron-on transfer paper.
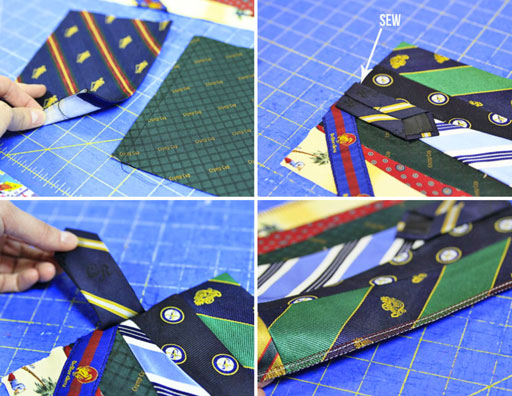
Step 3: Turn over the inside edge of each of the inside covers, iron flat and sew with a 1/4″ seam. For a tab closure, cut the end of a tie off and sew it to one side of the front to keep it in place as you assemble the rest of your album cover. Finish the top and bottom edge of the front cover with a serger or zig zag stitch.
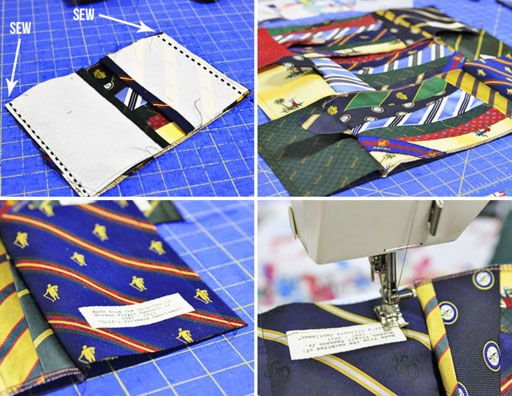
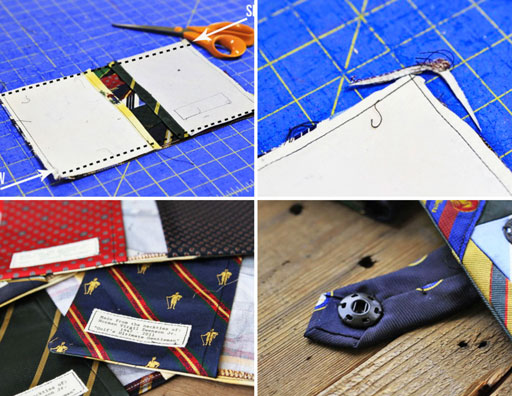
Step 4: Lay the two inside cover pieces onto the top of the outside cover piece and sew the seams using a 1/4″ seam. Your album covers should look like the ones in the 2nd photo below. Use some fusible web or a few pins to secure your “tag” to the inside front cover and stitch it into place.
Step 5: Stitch the top and bottom seams of the cover as shown in the first photo with a 1/4″ seam. Carefully trim your corners and turn the cover right side out using a small pencil or stick to push out the corners. Sew your snaps into place on the “tab” and the cover”.
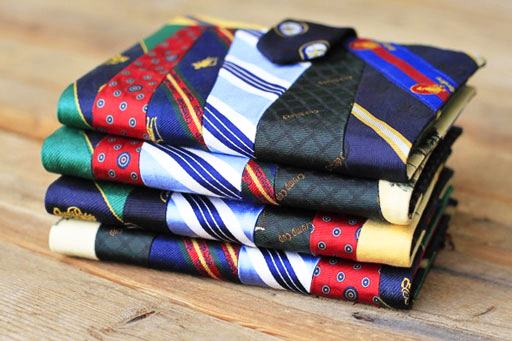
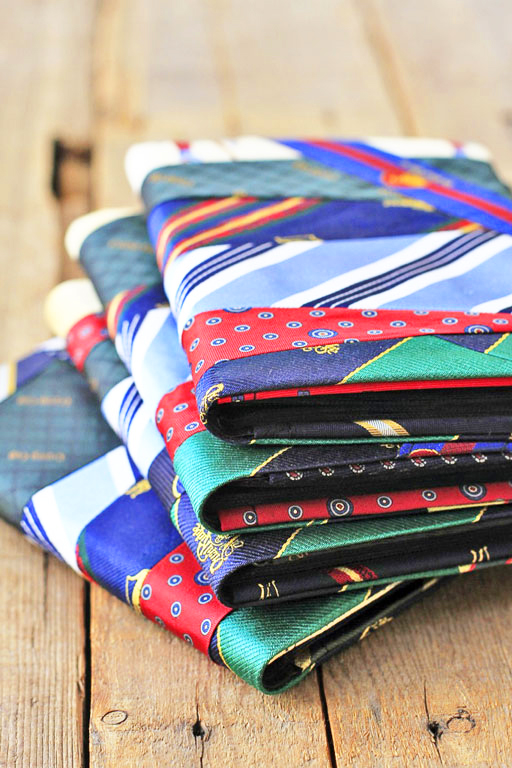
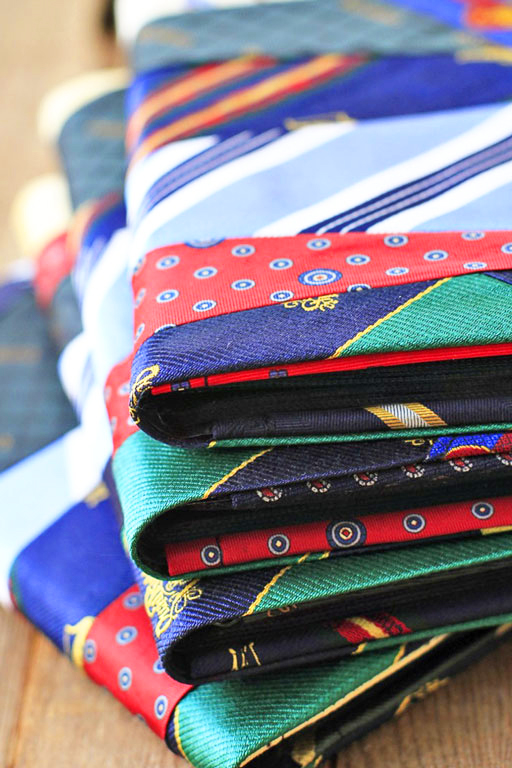
Your finished album! Use an iron to carefully press the piece flat.
Everyone that opens these albums will know where the ties came from….it makes a nice family hierloom.
They all look so pretty together:
I know that Boo will love keeping ours forever and probably pass it down to her children:
I love the idea of “memory” bears….but this is a great way to make something for the whole family:
Check out my entire series on preserving family memories:
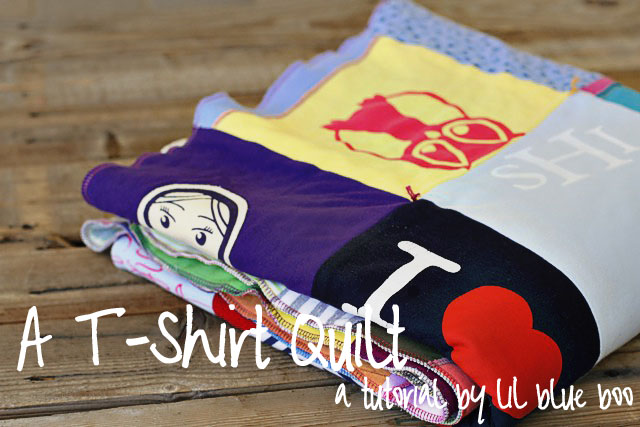
Have larger items? Check out this tutorial too!


How lovely! What special gifts and keepsakes and such a special way to remember your day.
Wow. You just continually blow me away.
Those are amazing, Ashley!! I’m sure your family is beyond thrilled that you all get to share an incredibly special token of rememberence. You are incerdibly talented and your huge heart is quite apparent.
My Dad died last February, I love your idea, I’m making a book through Shutterfly, But I just love this idea, It would be a great gift for my Brother and Sister and my Daughter and me…… Thanks for the idea. It’s amazing
you amaze me. love this so much.
LOVE THIS IDEA!!!
Listen, I noticed in Step 5 that you “Carefully trim your corners and turn the cover right side out using a small pencil or stick to push out the corners.” If you will go to my website I show another way that a friend taught me that will change your sewing life! I promise, I was shocked that there was another way, and BETTER, for turning corners!
http://nancybabb-classes.blogspot.com/2011/03/how-to-make-sharp-corners-on-pillows.html.
I promise, it is magic!
Nancy
Oh my goodness! What an amazing idea. I wish I had snagged some of my dad’s ties before he got rid of them…he used to wear some really amazing ones. Men should wear ties more.
I love this idea. Too bad my dad was not a tie wearer and all of his stuff is long gone. 🙁 He’s been gone for almost 12 years now. I have pictures and videos and the memory of him in my heart to ensure that he will always live on…
How hard was it to make that first cut? I made a quilt out of my daughters baby clothes and found the first cut very daunting.
oh my goodness!!!!! i imagine it was probably hard to cut into those ties! but this project has turned out wonderful! and so very special! i teared up a little, not gonna lie!!!
This is a beautiful idea. Thank you for sharing!
Those are too precious. What a brilliant idea!
These are beautiful, and the tag inside is such a special touch. Thank you for sharing these with us.
I love this memory of Dad!! Thanks so much , Ash, for preserving this memory!!
I can’t wait to see them when I visit again! God is so wonderful to give you these ideas! I love you dearly, mom
love these!!