Michael’s asked me to take part in their First Day of School Blogger Challenge….you know I love a good challenge. I wanted to make something that would get Boo excited for school but also be made as a teacher’s gift or a gift for a writer friend, housewarming present, or even just to organize an office space. I like projects that might appeal to everyone…..and that can be made by anyone with just a few household tools.
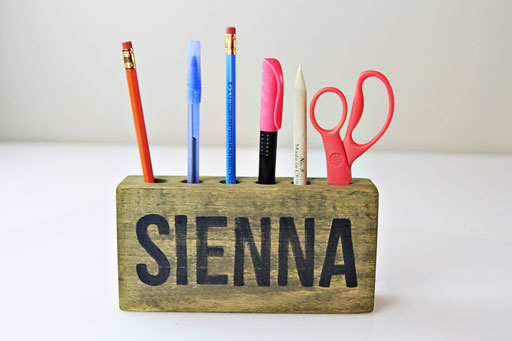
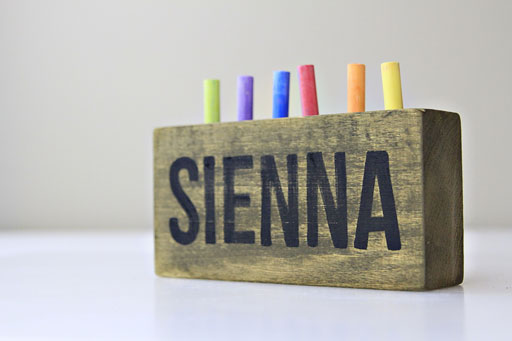
So I made a rustic-inspired pencil/chalk/supply holder for Boo with her name on it….to sit on her desk:
It can be used for almost anything so it will grow with her:
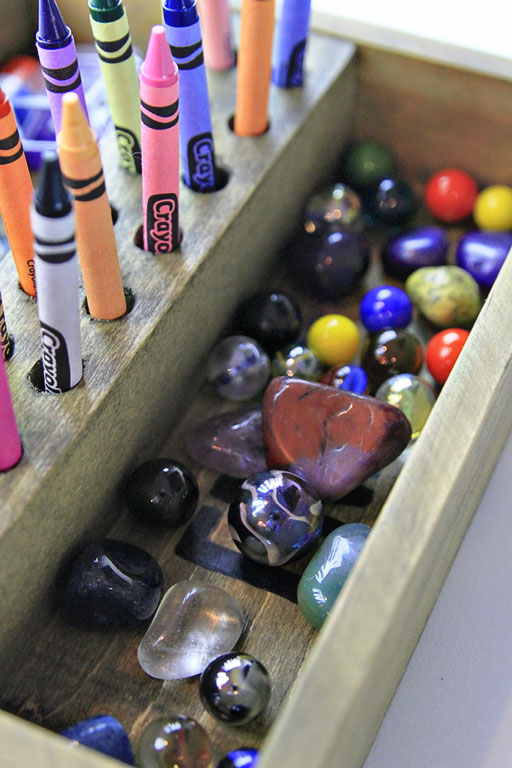
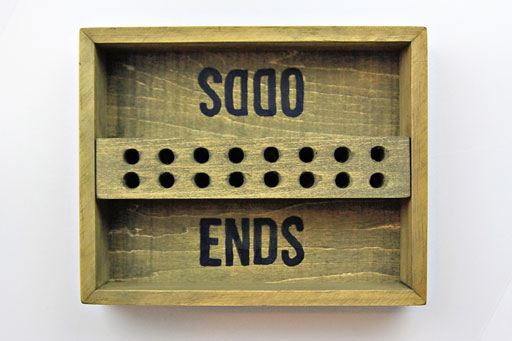
And a matching little crayon holder with space for “odds and ends”:
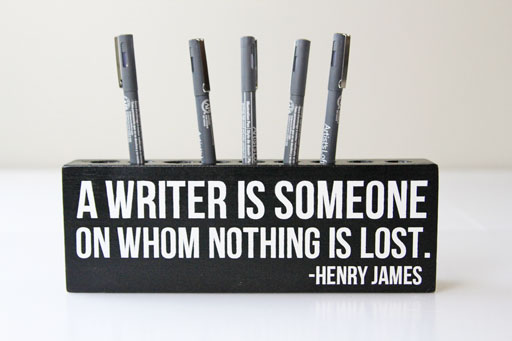
And a gift idea for a teacher (or for your home to display a favorite quote but also keep your pens, makeup brushes, etc handy!):
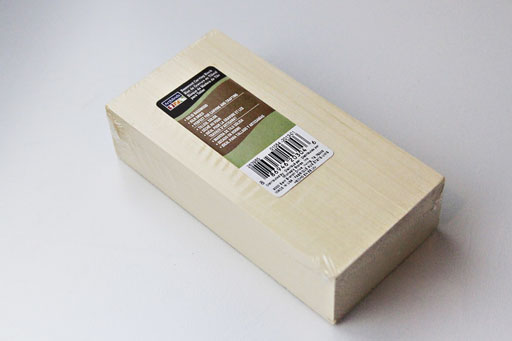
I started out with some selections from the wood craft section. You need one basswood carving black for each piece:
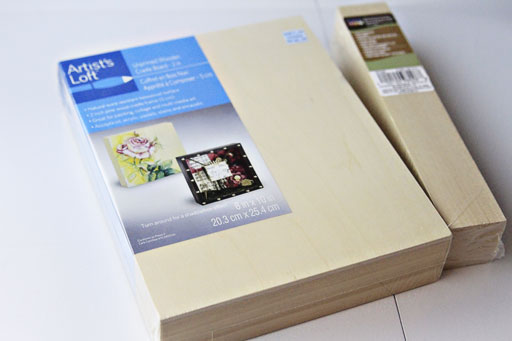
For the project with the tray you’ll have to visit the painting section of the store and pick up a wood cradled canvas:
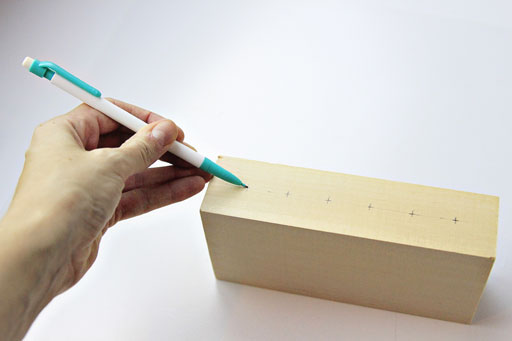
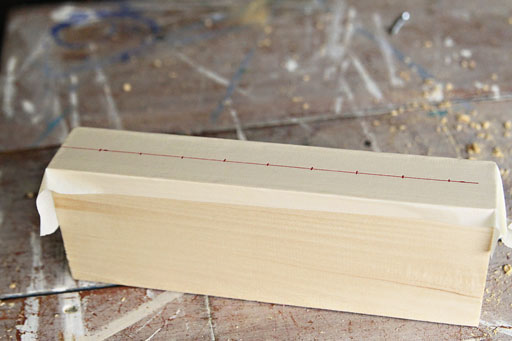
First I marked my holes at the top of the basswood block:
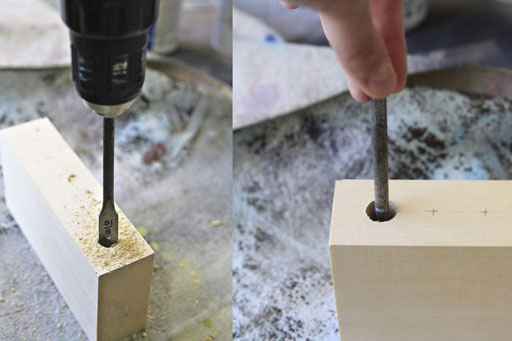
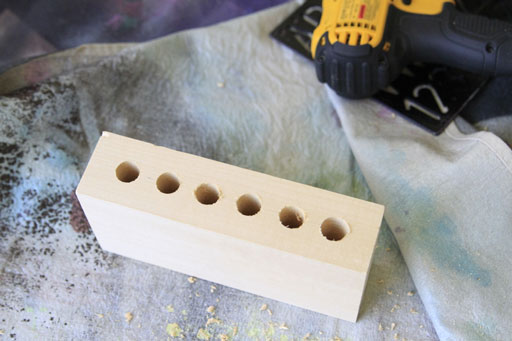
Then you need a boring bit for your household drill. These are very common so ask your neighbor first if you don’t have one! Or buy a complete set for about $15.00….you can use them for any project that requires a hole drilled I used 9/16″ bit for the larger holes and a 7/16″ for the smaller crayon holes.
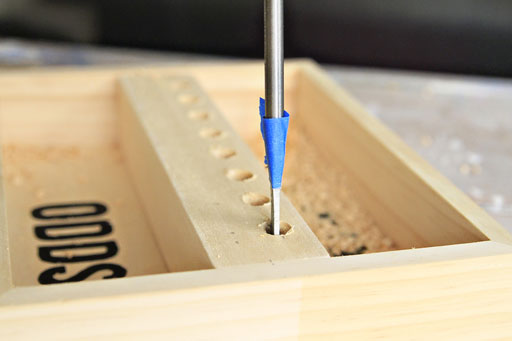
Tip: After you drill one hole mark your bit with tape or Sharpie so you can drill the rest of them exactly the same depth.
The finished holes took a total of 5 minutes to drill. Use a sanding block to smooth all your edges:
Tip: to keep your wood from chipping add a piece of masking tape to the top before you measure. Drill straight through the tape. Or just don’t worry about it and go for “rustic” like I do!
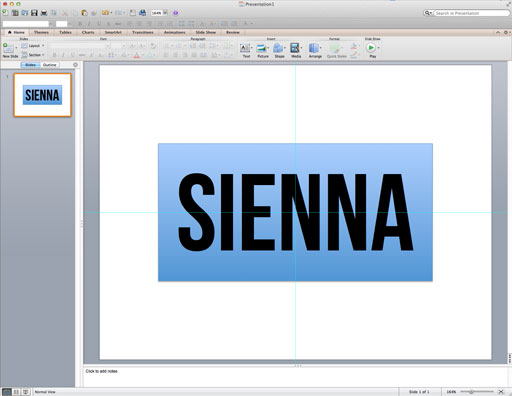
I think the easiest way to draw letters is to make a template. I use Powerpoint because I think it’s the fastest way I think because you just add a box the same width as your block and then add text so you can see how it’s going to look. Then hit print!
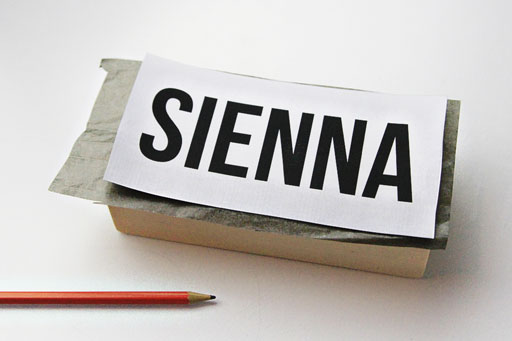
Put transfer paper (from the drawing section at Michael’s) underneath the template:
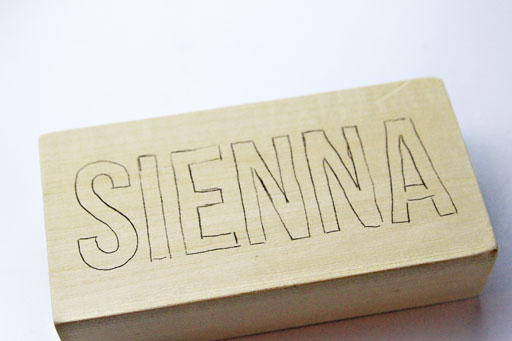
Carefully trace your letters….
….transferring the design to your block:
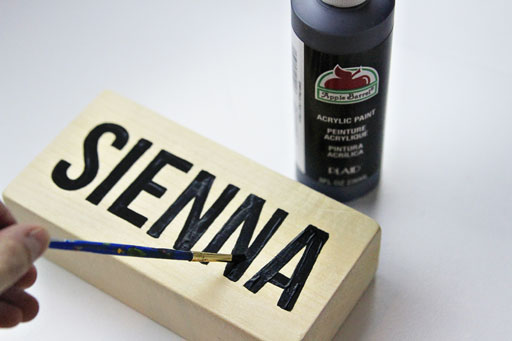
Use black acrylic craft paint to carefully fill in the letters and allow them to dry:
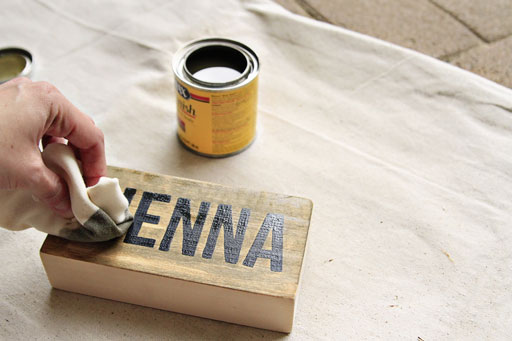
To finish the wood pick a wood stain color…..something light that won’t darken the wood too much:
Allow the wood to dry and spray with a satin varnish if you prefer:
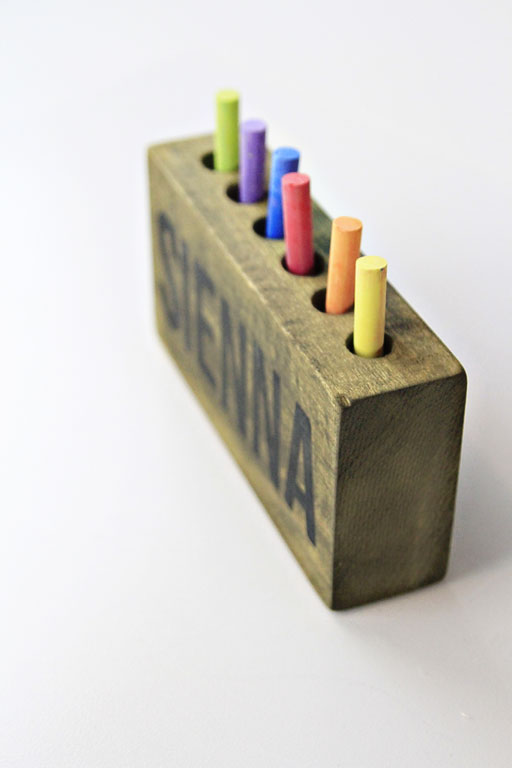
So many things a holder like this can be used for:
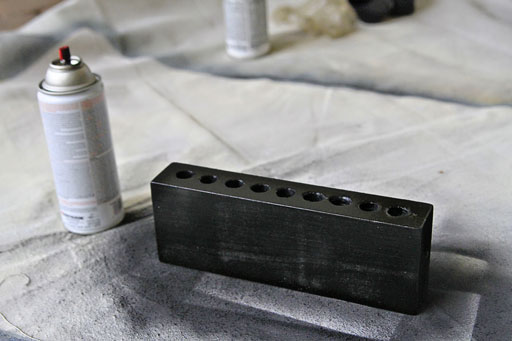
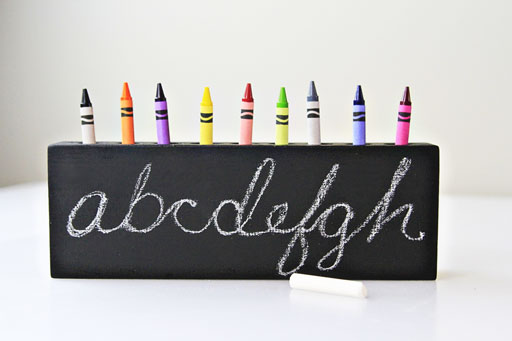
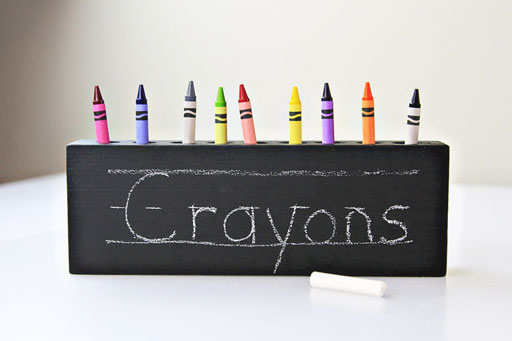
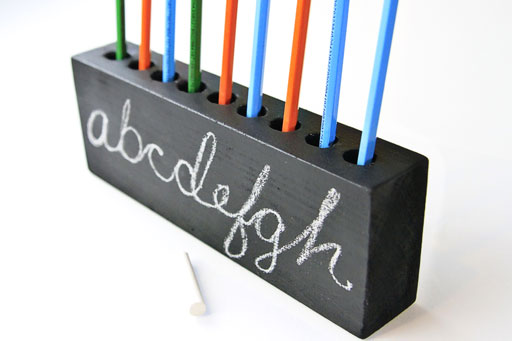
Another fun variation: spray the block with chalkboard paint:
You can add a special message if it’s a gift for a teacher:
…or maybe it’s a gift for a child:
The message can be changed easily with the swipe of a damp cloth:
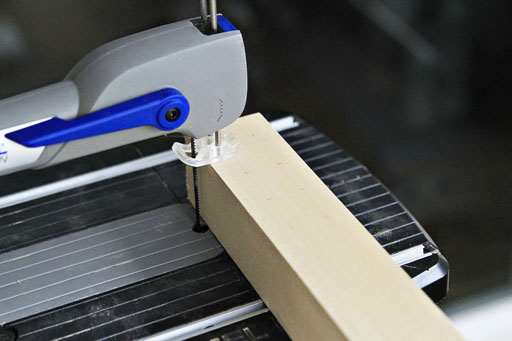
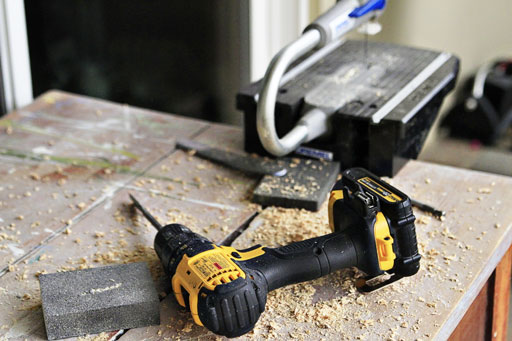
To make the holder with the tray I had to cut down the wood piece to fit inside (I used my jigsaw….but a hand saw will work just a well):
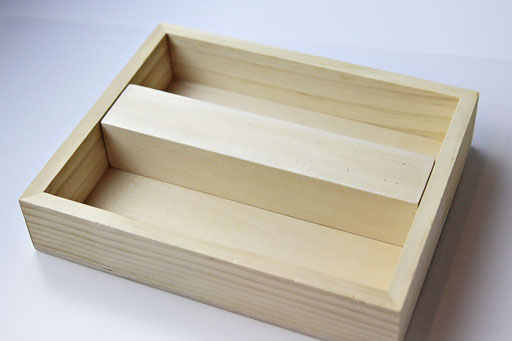
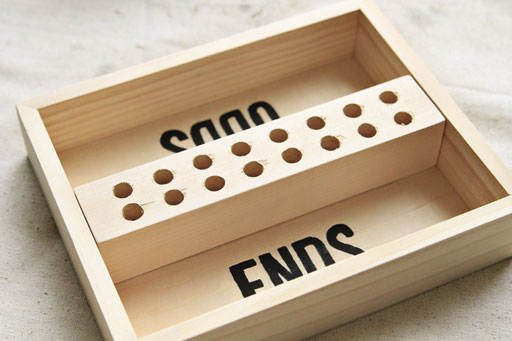
The cut piece fits snugly inside the upside down wood canvas. Sand down all the pieces.
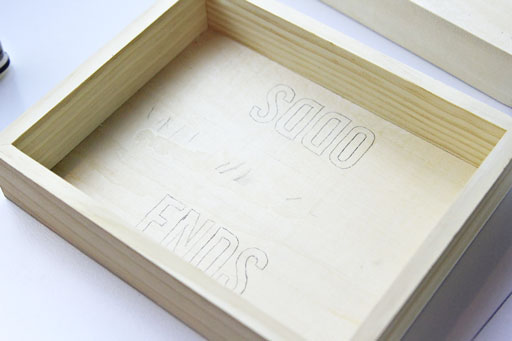
Before the wood is attached add your lettering and paint….it’s easier at this point:
Drill the holes for the crayons or other supplies:
I can make a big mess in a short amount of time!
The piece ready to stain or paint:
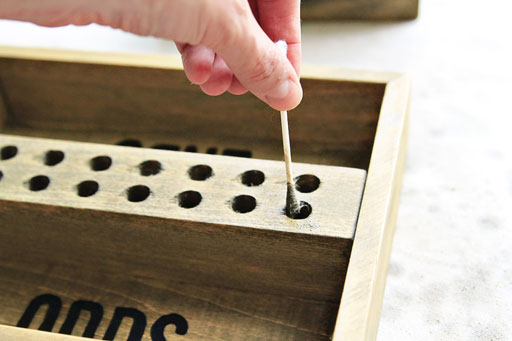
Tip: To add stain in small areas try Q-tips!
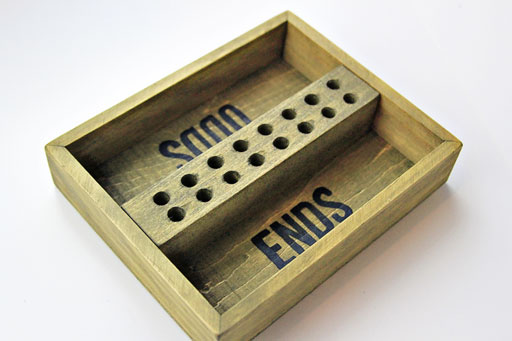
The finished tray:
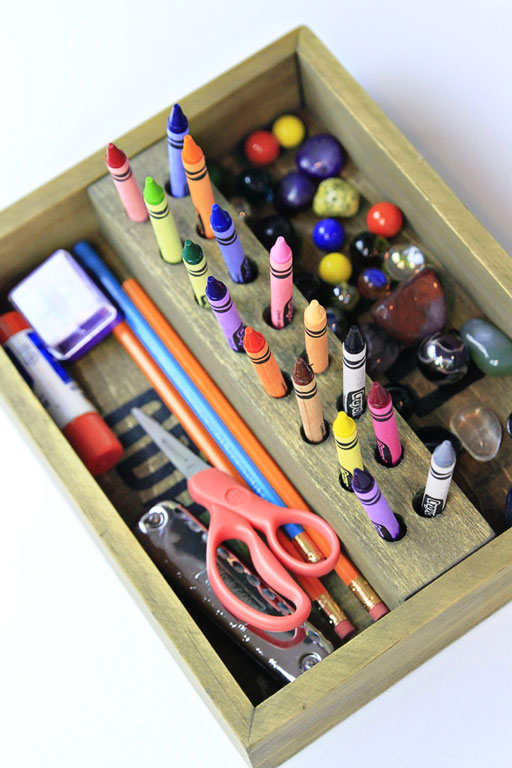
Odds and ends:
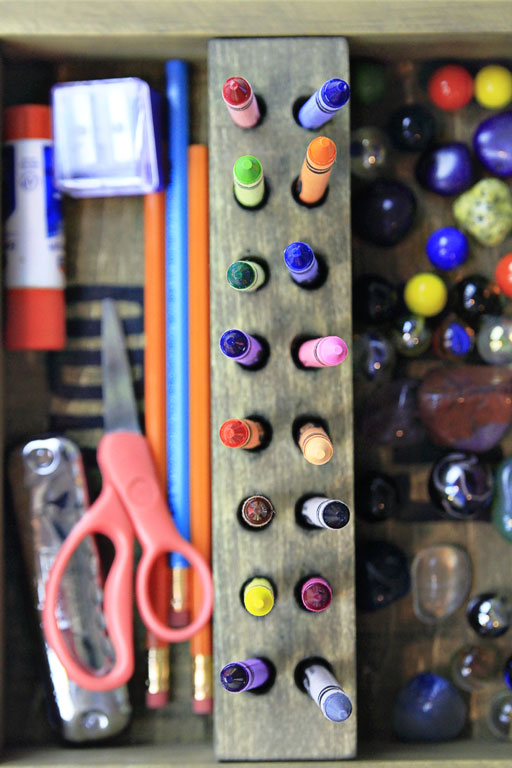
Now filled with Boo’s odds and ends:
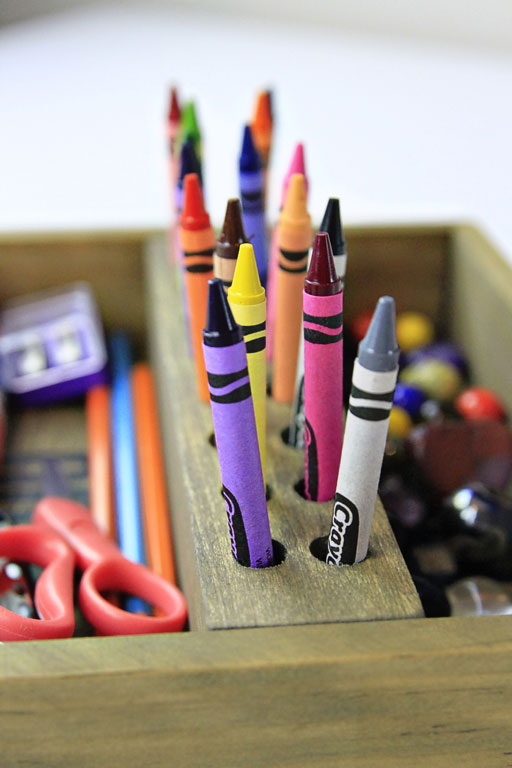
Grab a crayon….any crayon!
Brand new crayons….best thing ever:
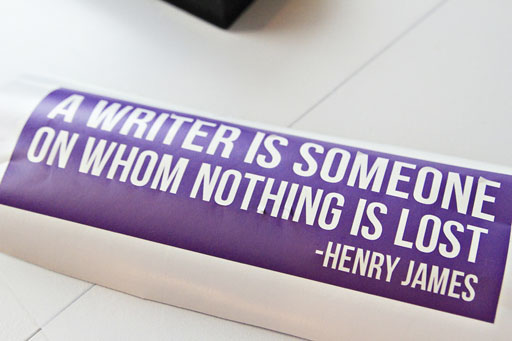
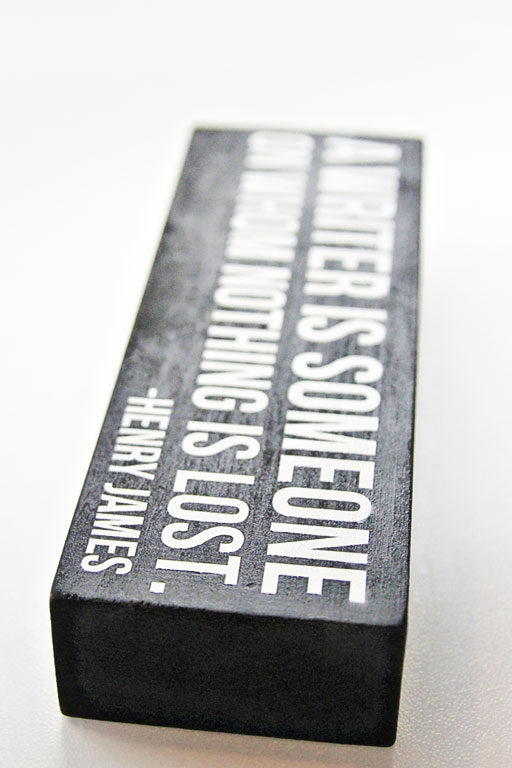
Okay….one LAST variation to show you. How about adding an inspiration quote to a holder for a gift or to decorate your desk? You can hand draw the letters onto vinyl adhesive shelf paper and cut them out….or use an electronic cutting machine like the Cricut or Silhouette to cut them out quickly:
I painted the holder black:
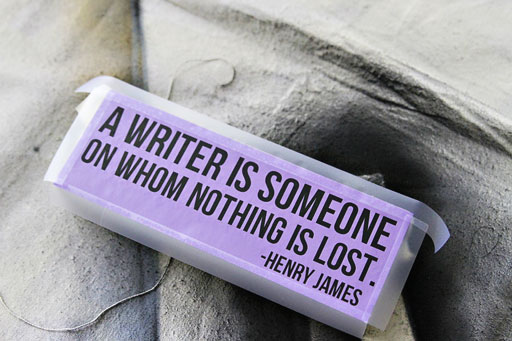
Then attached my stencil on top and masked the edges to protect them:
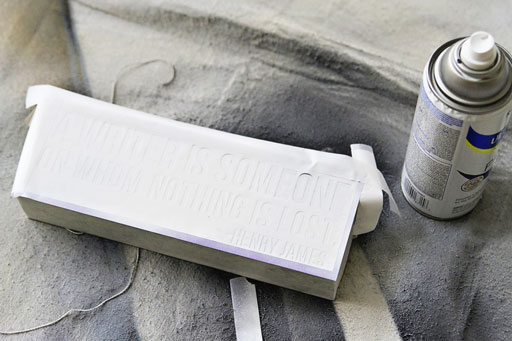
A few light coats of white spray paint:
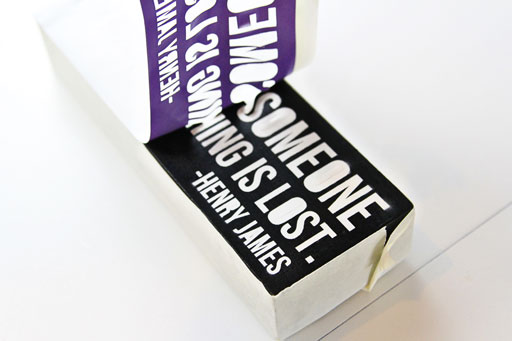
And voila….instant lettering:
Tailor the quote to your recipient:
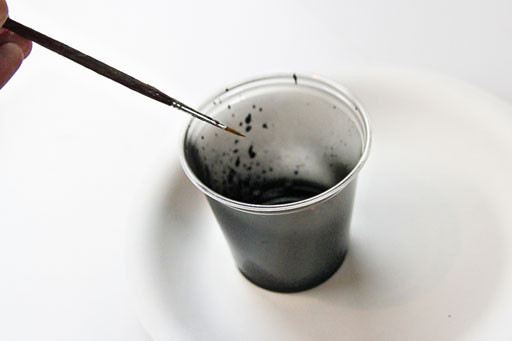
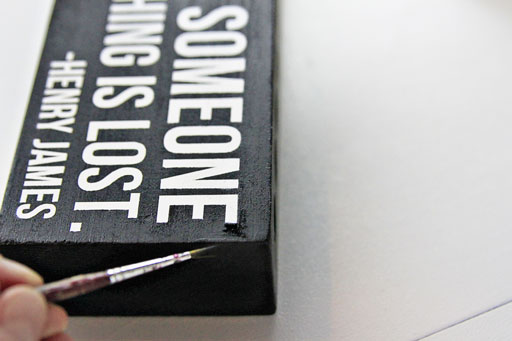
Tip: to touch up any areas of spray paint that might have seeped under the stencil: spray your can of paint into a small cup so that it pools. Then use a small detail brush to touch up the areas and your paint will match perfectly.
A few touch ups is all this one needed:
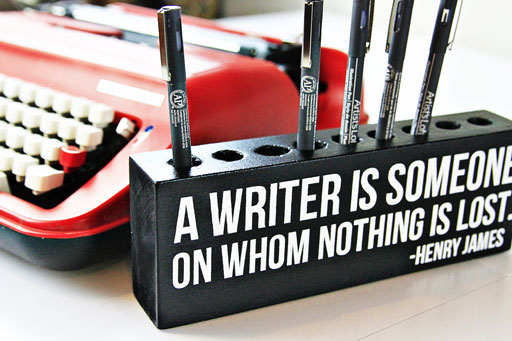
I got the most amazing gift the other day from a new friend….that vintage red Underwood typewriter. So cool right? Thanks again Michelle! This pen holder looks great next to it on my desk:
Remember when there was no spell check? I can’t believe how reliant I am on it now!
Oh a few more things….thanks to Michael’s for the challenge! Take a look at the Back to School lookbook when you get a chance.
Also:
1. Michaels offers a 15 percent discount for teachers every day. Make sure to talk to a store associate during your next trip to learn more.
2. Need a large quantity of one back to school item but don’t see enough on the shelves? Michaels offers a bulk ordering program where you can order as many supplies as you need and save up to 20 percent.
3. Don’t forget to download the Michaels app so that you will always have the latest deals and coupons at your fingertips in case you need last minute school supplies.
I’d love to see your version of my pencil and office supply holders! If you make one make sure to show it off by tagging @lilblueboo and @michaelsstores and use the hashtag #michaelsbts so we can share your creation!





Love how these turned out! They would be perfect for a gift for a teacher on the first day of school!
I did these with a larger boring bit and glued the magic marker caps into the holes. Now my kids ALWAYS put the caps back on the markers because that’s how they get put away.