I’ve been teaching Boo about traditional photography. We did the film thing….now for the photographic paper and dark room process. I’ve used oatmeal box cameras in the past but I think it’s a much faster process with a metal can….so I’ve substituted with coffee cans and paint cans now. It’s actually really easy to create a temporary mini darkroom in a spare bathroom or a small closet. See the bottom of the post for the complete supply source list.
Note: If you think it’s something you or your kid will really enjoy doing…..I recommend making multiple cameras….out of different size cans. I used to lug over 10 cans around in a box because then I could take 10 photos at one location without having to worry about reloading film paper until I get home. Then you can experiment with exposure times. Number the cans so you can make notes and compare.
The cool thing about the cameras I’m making in this post is that because of the curved shape…..they are the same as a wide angle lens.
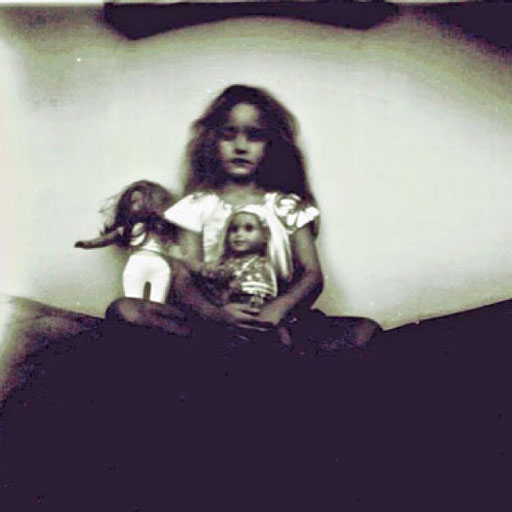
A self portrait by Boo with her American Girl dolls:
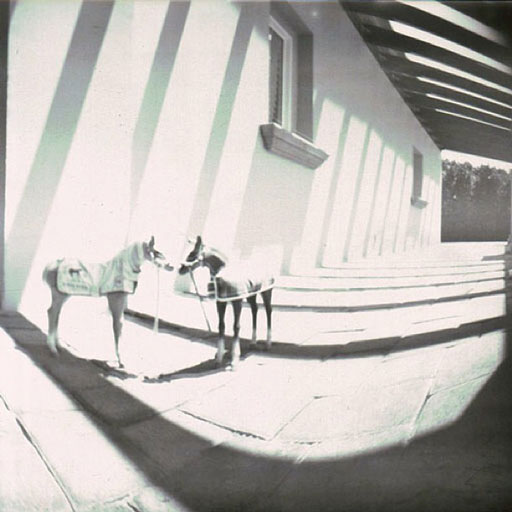
A photo of Boo’s toy horses:
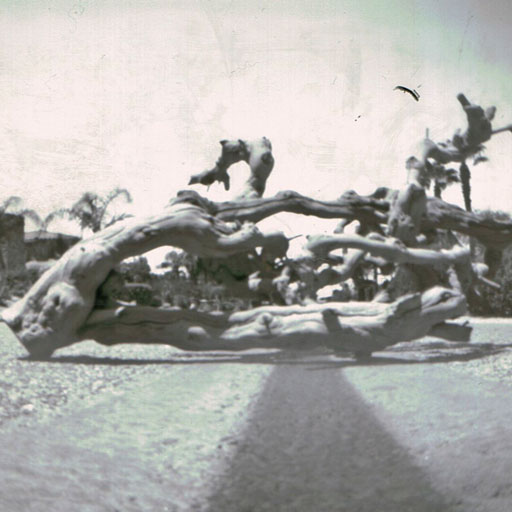
Driftwood:
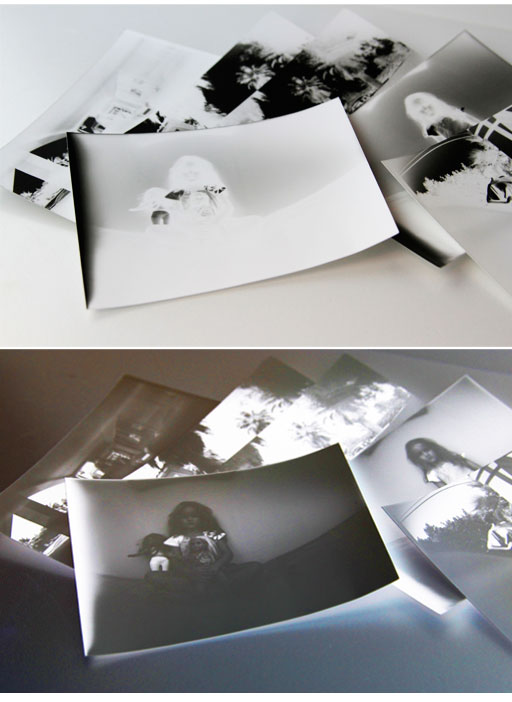
The B&W paper produces a negative. I usually scan it into Photoshop (or any photo program) and invert the image to produce the print. I will also be doing a post about making the actual prints from the negative. It’s just involves an additional processing step in the darkroom:
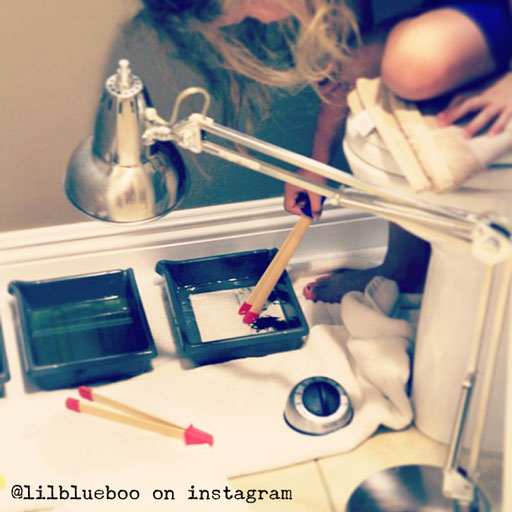
Developing her photos:
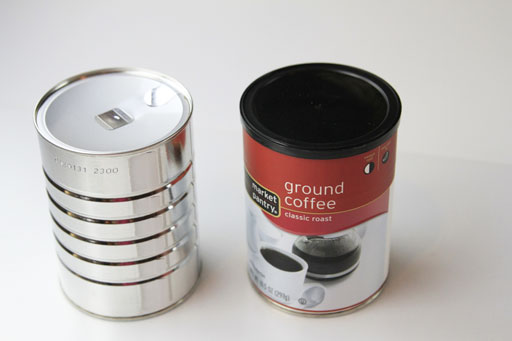
To make your pinhole camera you will need a metal coffee can or paint can. It’s nice to make more than one camera because you can reload and develop film paper in batches in your dark room:
Other supplies you’ll need:
Black Spraypaint (flat/matte)
Wood Clothespin
A few small sewing needles
Super fine sandpaper or a fine nail file
A sheet of card stock
A small strip of cardboard (like from a flat mailer)
Electrical tape
A piece of black construction paper
Black Sharpie Marker
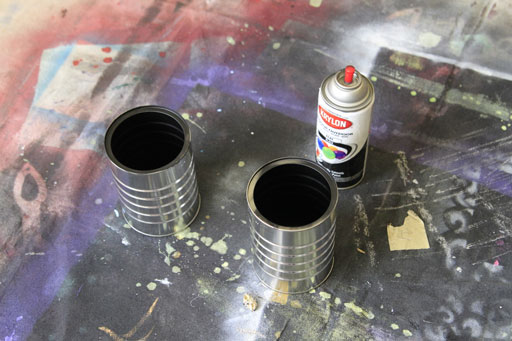
Step 1: First spray the inside of the cans with black flat spraypaint. You’ll want to do several light coats and shake the can so that the paint covers the entire inside but doesn’t pool:
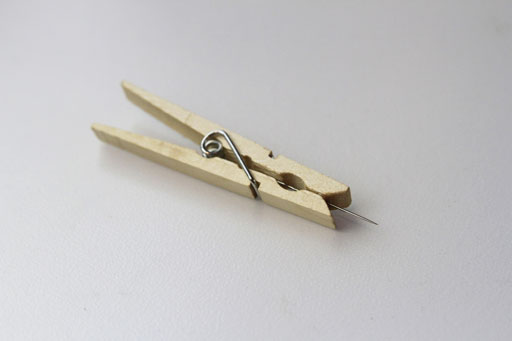
Step 2: Create a “pinhole drill” to drill the smallest possible hole in your can. Here I’ve taken a small sewing needle and inserted it as shown into a clothespin (with about 3/8″ sticking out). It stays in place with industrial glue (E3000) or super glue. It will dull quickly so I recommend making more than one drill at a time:
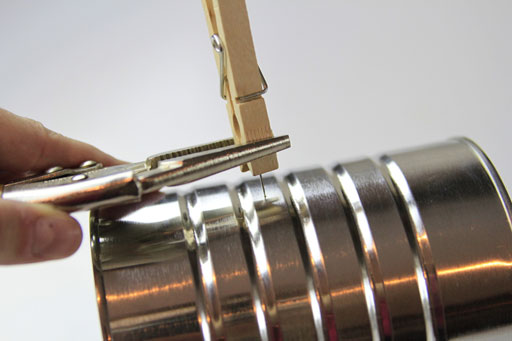
If you are impatient like me for glue to dry you can use pliers or a clamp to put some ultra-squeeze on it. Holding the needle twist the can back and forth to slowly drill the smallest possible hole imaginable into your metal can. It will take several minutes. You won’t want to go all the way through or your hole will be too big. Just twist until the needle head just pokes through:
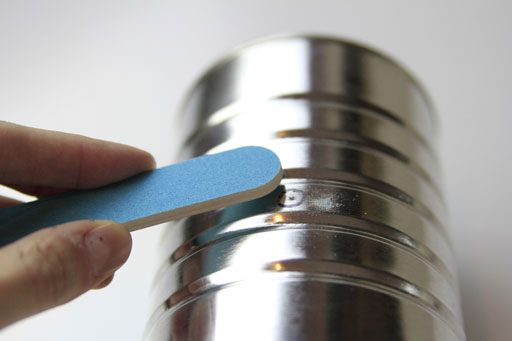
Step 3: Use fine sandpaper or a nail file to file away any metal on the inside and outside and repeat the drilling process a few more times. You want a tiny hole but with no metal edges sticking out. I use canned air to clear the hole out periodically.
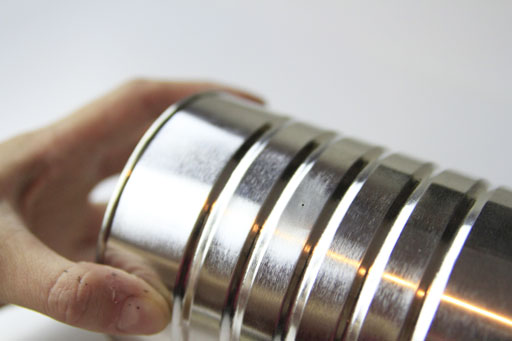
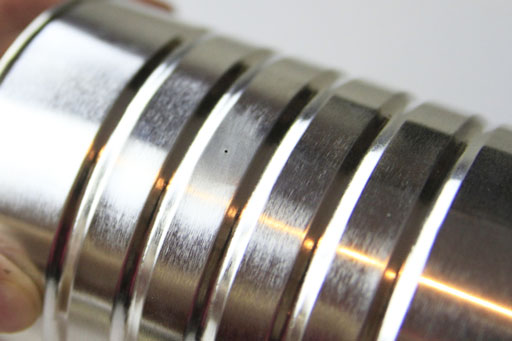
The perfect pinhole:
So tiny you can barely see it!
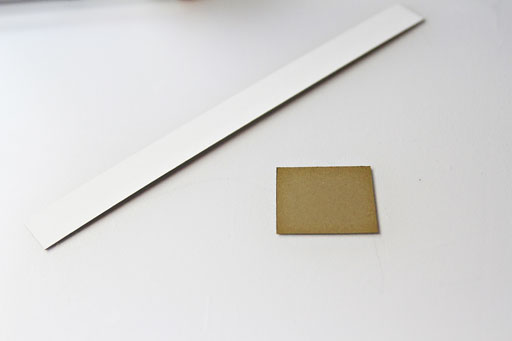
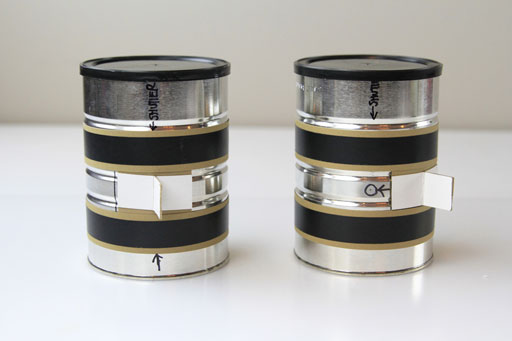
Step 4: Creating the shutter. Cut a 7/8″ wide strip of thin cardboard (like from a cardboard flat mailer). And a 2″ x 2″ square piece of cardstock.
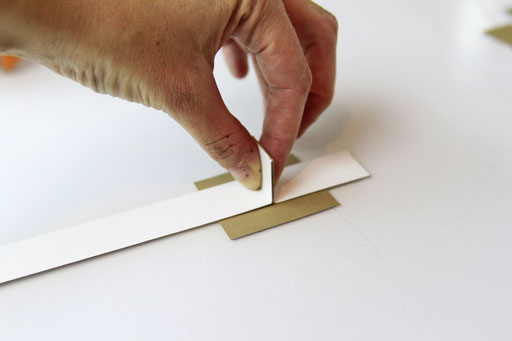
Fold the cardboard like the photo below so that there is a 3/4″ handle:
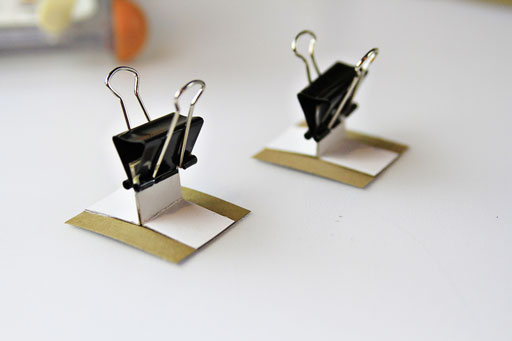
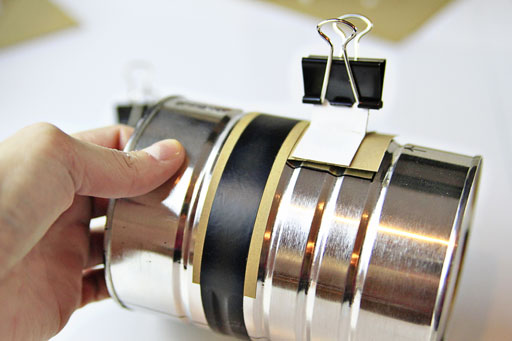
Glue the cardboard handle to the center of the cardstock square. Use binderclips or a clothespin to keep it in place until the glue dries:
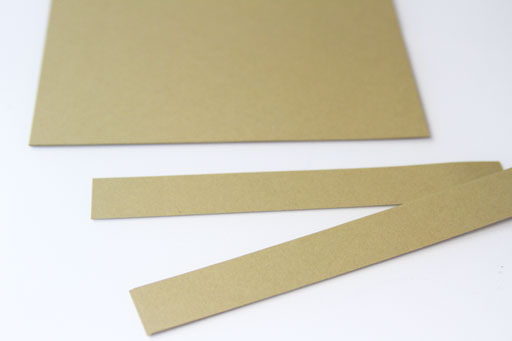
Step 5: Creating the shutter guides. Cut 2 strips of cardstock 1″ x 7″ long.
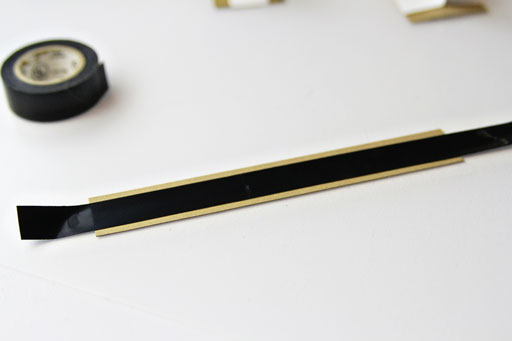
Cut a piece of electrical tape longer than one of your strips and place it directly down the middle as show:
Tape the strip onto the can, with the shutter in place underneath, directly over the pinhole:
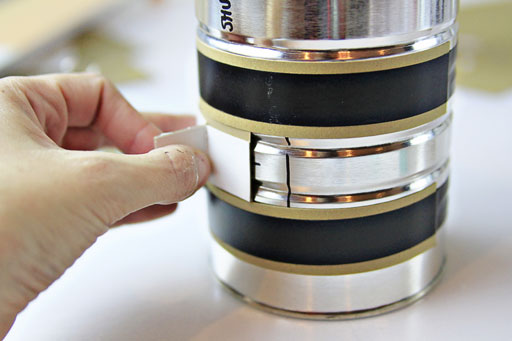
Add the second strip over the bottom half of the shutter. Test your shutter to make sure it glides smoothly along both the guides. You might need to loosen or tighten your guides.
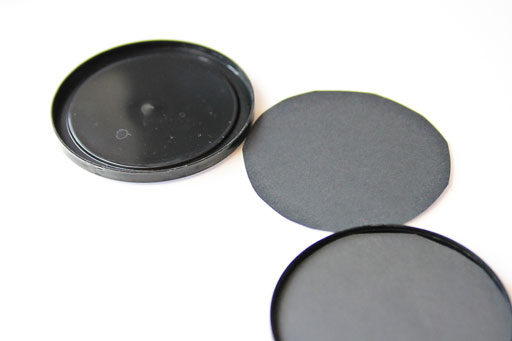
Make sure your lid is opaque by holding it up to the sun…..if you can see any light through it cut a circle of black paper to fit into the lid. Attach with glue or double sided tape:
Your pinhole camera is ready to go!
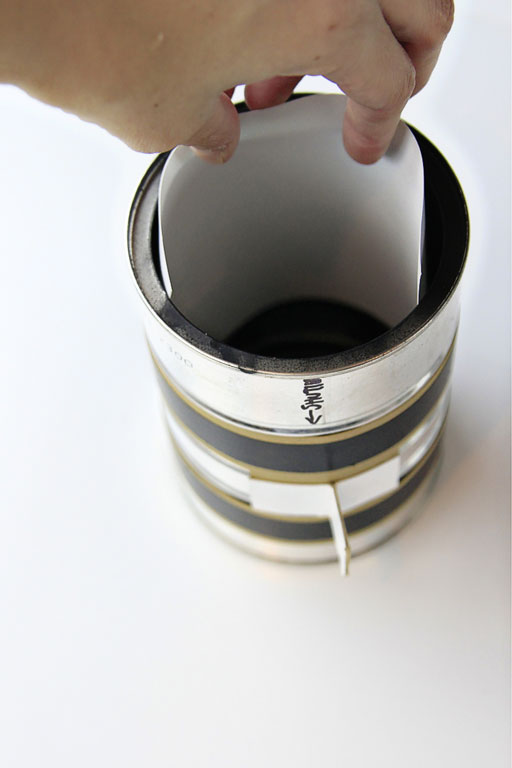
Now you can load the camera with B&W photo paper! (I’m loading it in the light below so you can see it….but this must be done in the darkroom!) Take a piece of photo paper and place it into the camera as shown. The glossy side is the side that is light sensitive. Make sure that side is centered facing the pinhole. Make sure your shutter is closed too!
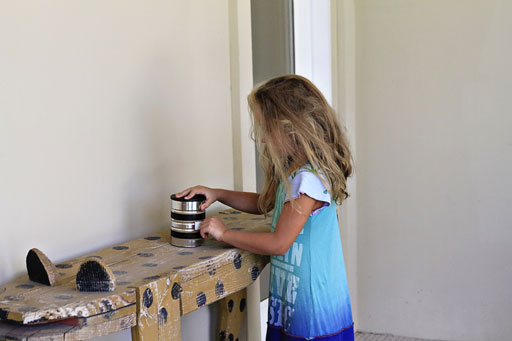
Boo setting up her camera and opening the shutter:
In a few days I’ll talk about taking a photo and exposure times.
And just so you know what you’ll need for the dark room in a few days:
Supply & Source Links: (all of the dark room materials and film paper will run you about $85.00)
A bathroom or laundry room without light
A small desk lamp
Film:
Foma Fomaspeed Variant III VC RC Paper 5×7/25 Sheets
Dark Room Supplies:
Datatainers for Storing Chemicals
In a few days I’ll be talking about taking the photo!
The whole series will be indexed here:


Hello… I am really wanting to do this project with a small group of 5 boyscouts on saturday. I went to school to be an art teacher and took a photography 1 class that required us to develop our film and make prints in the dark room. This looks pretty simple but I was hoping you could give me a run down of how the dark room worked in your situation. I have a general idea I was just wondering if you had any helpful tips?