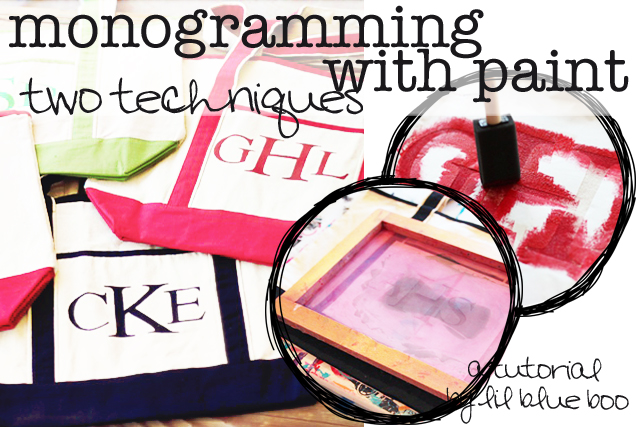
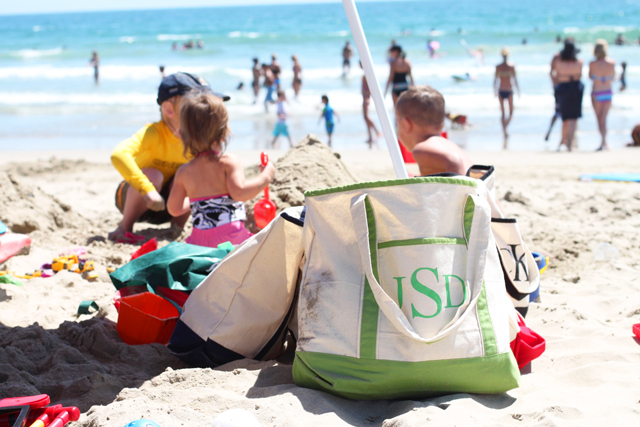
We are spending time with my husband’s family this week at the beach. I wanted to make everyone something special so I made these extra large personalized beach tote bags.
They are perfect for carrying all of our beach toys, towels and sunscreen down to the beach.
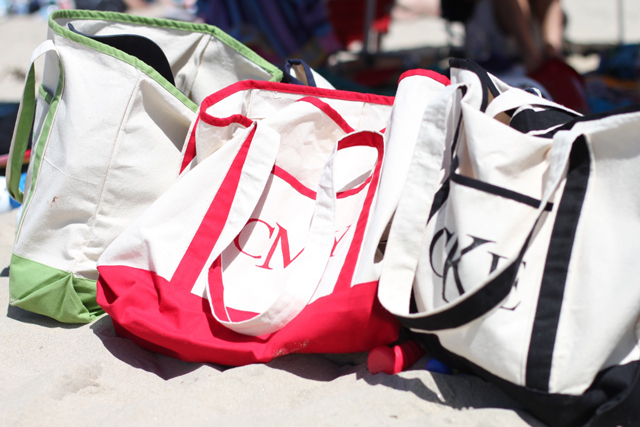
It’s easy to keep everyone’s things straight and they all look pretty cute together on the sand:
I bought the large totes at Marshall’s. You can find blank ones many place on the internet and other suppliers. I used two methods for these bags to give you a few options!
The first method I used is the freezer paper method. Freezer paper is typically used by butchers to wrap meat because it has a waxy finish on the inside and regular white paper on the outside. It can be used as a fabric stencil because when the paper is heated the waxy side adheres to the fabric but doesn’t leave any residue on it when removed.
You can purchase freezer paper at most large superstores. I know for sure that Wal-Mart carries it as well as Dharma Trading.
First, use an exacto knife and cut out the monogram letters into the freezer paper:
After the letters are cut out place the freezer paper stencil face down on the fabric, waxy side down.
Iron the paper (cotton setting) so that it seals to the fabric.
If your paper rips at all or if you “overcut” any of your letters just use some scotch tape to fix it so ink doesn’t flow through those areas:
Take a paint brush and fabric paint…..
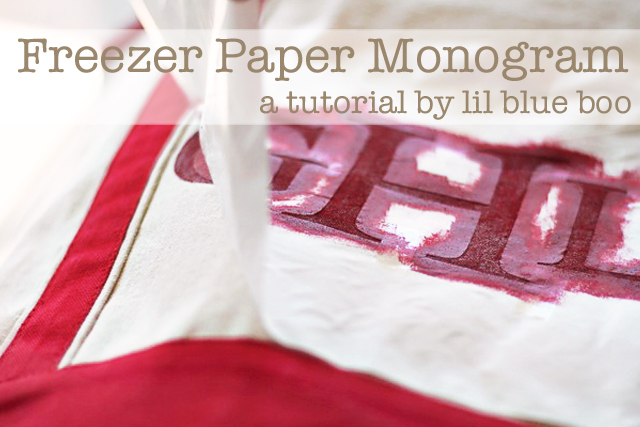
…..and begin dabbing it onto the stencil.
I usually do about 2 or 3 coats:
Once the paint has dried thoroughly.
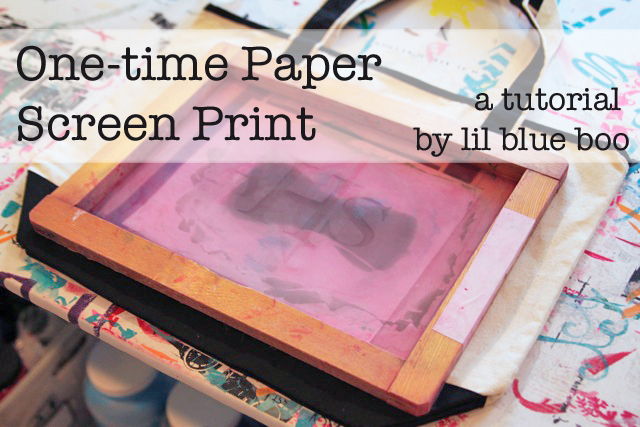
The second method I used was a “one-time” paper screen print. For a one-time paper screen print you need a stretched screen. It can be a silk screen or even just a large embroidery hoop with panty hose stretched tightly. (I recommend investing in an actual screen, you can use it over and over again….the paper part of this method is what is considered “one-time.”
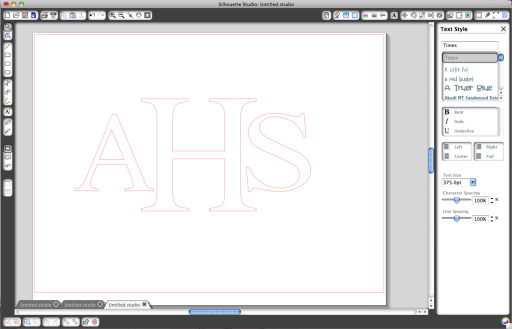
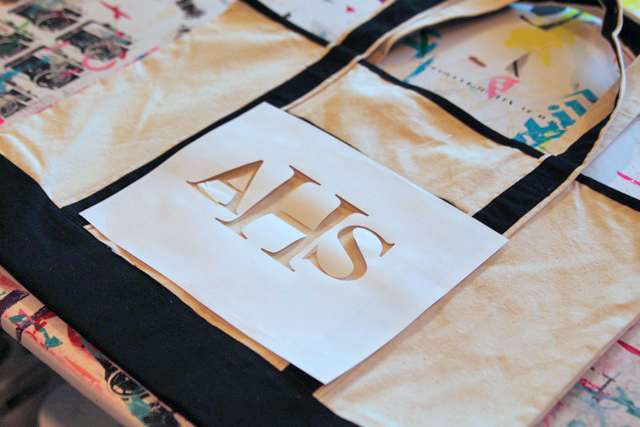
I used my Silhouette to cut out these initials. Or you can just use an Exacto knife.
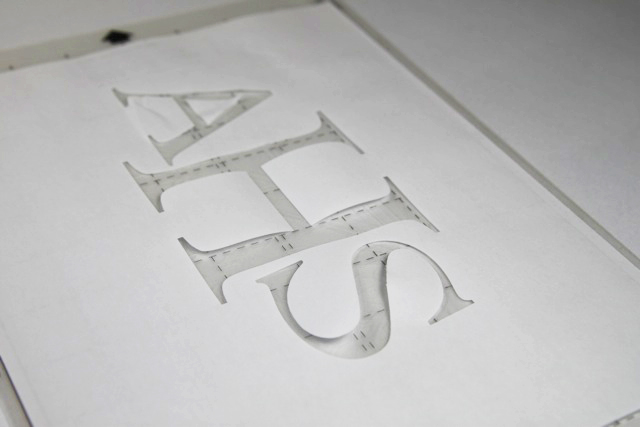
I used just regular 8.5″ x 11″ copy paper to cut out the letters:
Place the paper onto the bag:
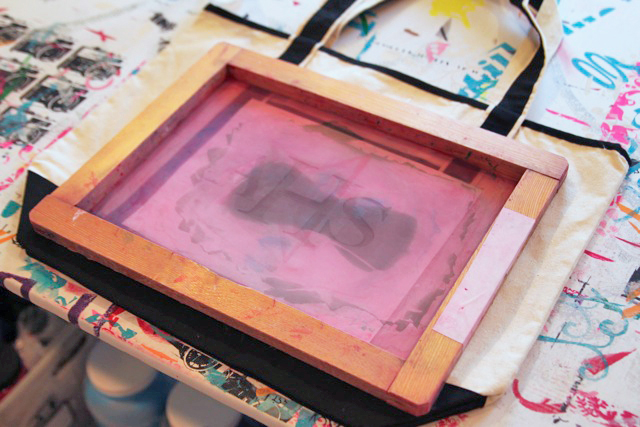
Carefully place the screen on top of the paper:
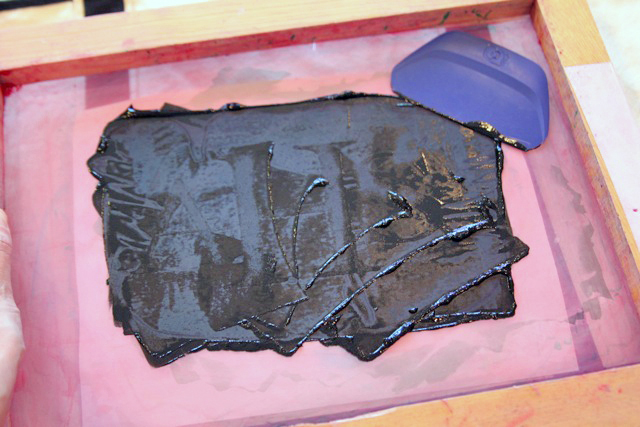
Put a small amount of screen printing ink or fabric paint on your screen and use a squeegee to pull the ink across the image (or I’ve used a credit card as well if you don’t have an actual squeegee). Use enough pressure so the ink goes through the screen. You can touch up any light areas with a small fabric paint brush.
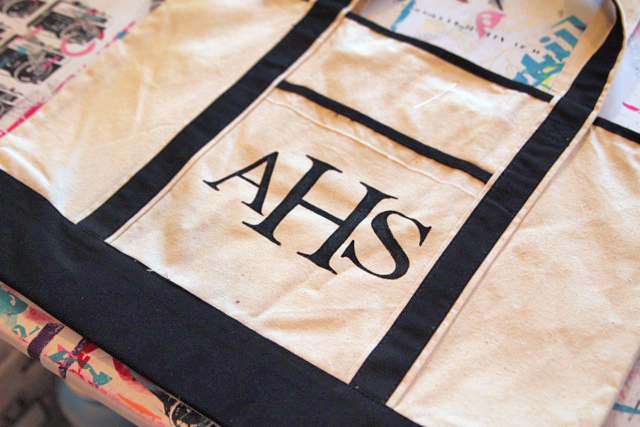
Lift up the screen (the paper will stick to the screen) and you’ll have your finished monogram. Iron to set the paint/ink:
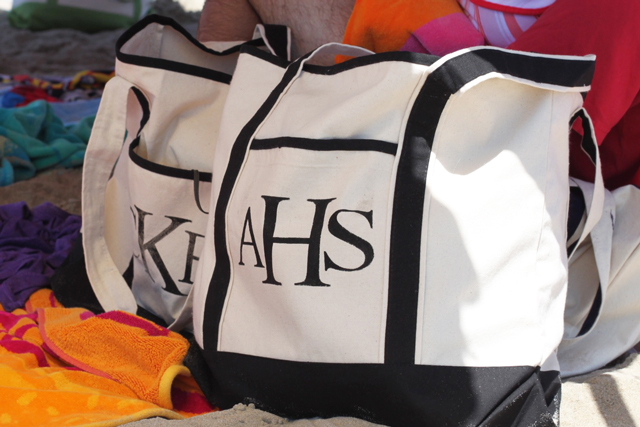
A few of the finished bags! They were filled with snacks, magazines, beach toys etc to greet everyone at the house when they showed up!
I made one special one for Boo using some of the artwork from our Spring nautical line:
Just beachy 🙂





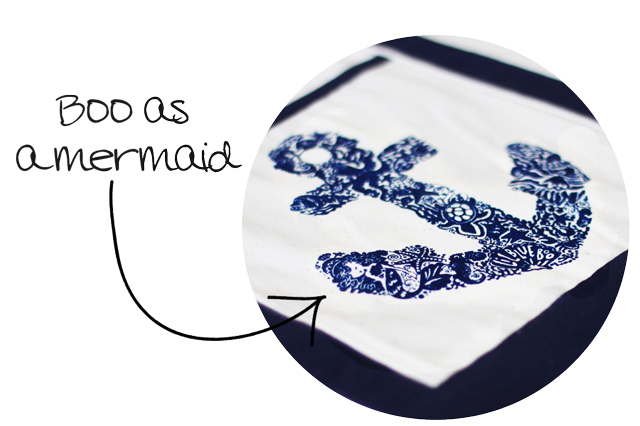
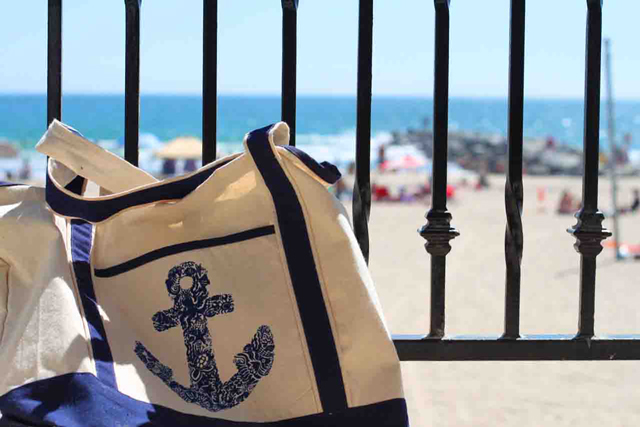
omg. love the paper screen idea ash!! you are too cool for school! and i truly love (get a wistful feeling) the little anchor bag for boo with her mermaid self on it. she will have such wonderful memories and special keepsakes from you throughout her life! -xo
Oh, I ADORE these!!! Just beautiful…
I love the idea of pantyhose on an embroidery hoop! We will have to try that one :).
Love it! I can’t wait to give this a try!!
Awesome Idea. Will be making a couple of these! Thanks 🙂
Thank you for this tutorial! I love the anchor bag–the artwork and colors are beautiful.
Brilliant.
I was just thinking about doing a bag with initials on it along with painting over a doily to give it some girly charm. Thank you so much for your tutorials, they are inspiring, well written and VERY helpful!!!!
SO cute!!!! Our family is going to the beach in two weeks…I might have to steal this idea! 🙂
Here in France it’s rainning all the time but making thoses bags will help me wait for the sun ! Thank’s a lot !
Who knew you could do that one time screen printing with paper! I learn something everytime I click over here… thanks!
Such a great idea! Thanks a lot!
As you know I am a long time follower and have used several of your tutorials!! Thank you again for all the great information!! Love your website. I am very interested in how you come up with your silk screen designs. Do you create them your self and if so how. I need some original artwork and would love to see how you create such great print designs!
Great tutorial! I needed this. Do you know if the freezer paper would work if you wanted to do the monogram on a painting canvas?
Oh my gosh! I can’t believe how perfect this is. I was just talking to my fiancé about how we need to do something for the welcome bags for our wedding. This is PERFECT! Eek! Thank you!!!
That is so sweet. Would love to show up to a vaction and find those.
Thanks so much for the great tutorials, your bags came out great! I like the first tute the best because it is easier so I’m going to give it a try.
Thanks for the inspiration!
Susan @ homeroad.net
What a great tutorial. It looks so easy. I can’t wait to try out. Love how your bags turned out.
Hi Ashley-
I just found your through babbles – The New Home Ec. I love this idea – so easy and the results fantastic. Can’t wait to try it.
My best- Diane
Hello! Just found your blog through another blog! Love this bag. I do have stenciled bags. But am having trouble getting paint that will withstand a wash in machine. Can you please tell me what type of paint you use? And where you purchased it. Any help would be greatly appreciated!
thanks
lisa
What a fantastic idea! Thanks you! Your such an insperation!
Where did u find the bags?