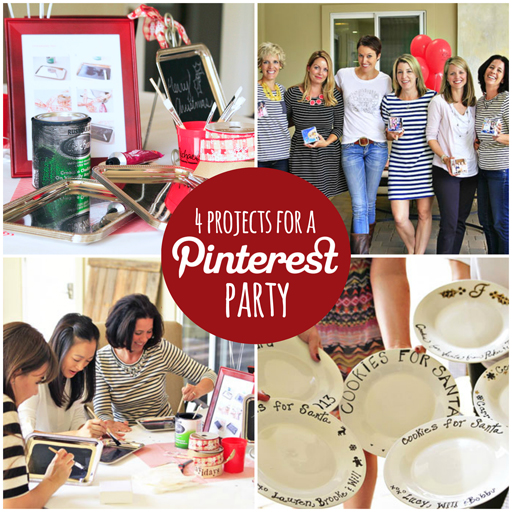
I had a Pinterest party recently for a few close friends I hadn’t seen in a while. 4 projects from Pinterest….in 2.5 hours.
I thought it would be fun to carve out a morning for them to try something new:
Here’s what we made, along with four PDF downloads if you want to have your own party:
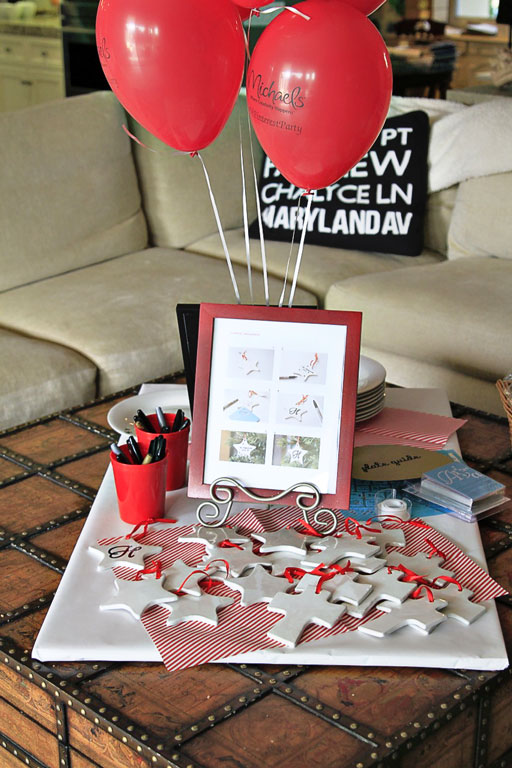
Here’s the Sharpie station:
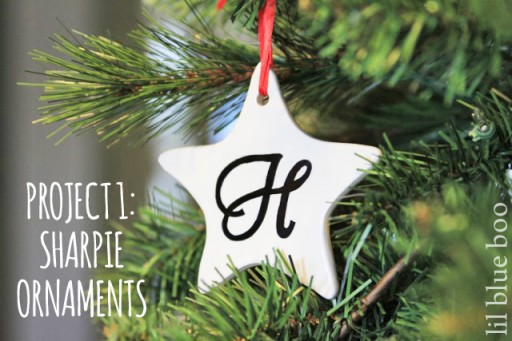
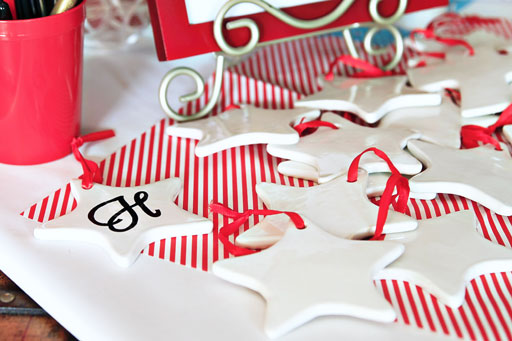
Ceramic ornament from Michaels Craft Store ready to decorate:
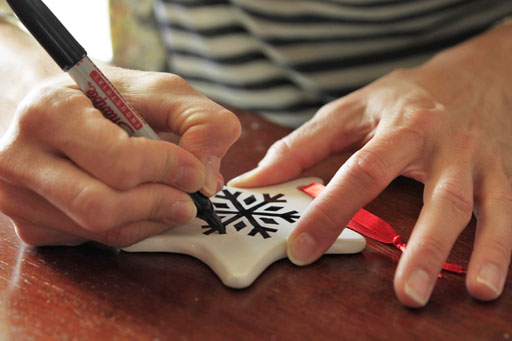
A snowflake ornament:
Download the PDF:
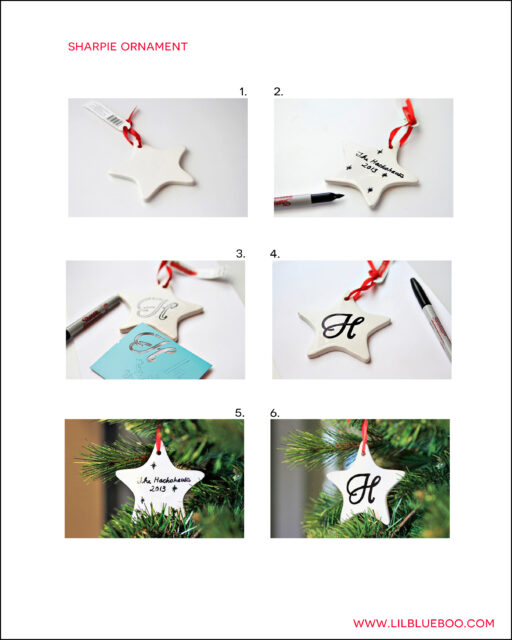
SHARPIE ORNAMENT
1. Materials: Industrial Sharpie, Ceramic ornaments
2. Hand write lettering.
3. Use initial stencils as a guide for calligraphy.
4. Let dry.
5. Hang from tree!
6. Not a step really. Just admire my nice “H”.
Download the PDF:
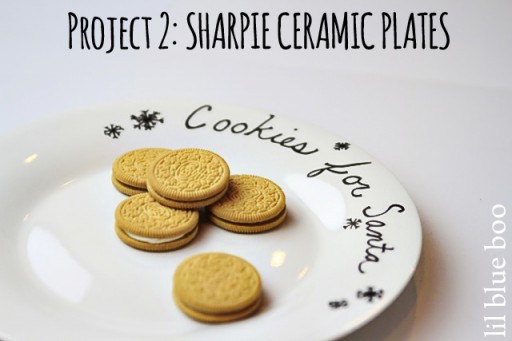
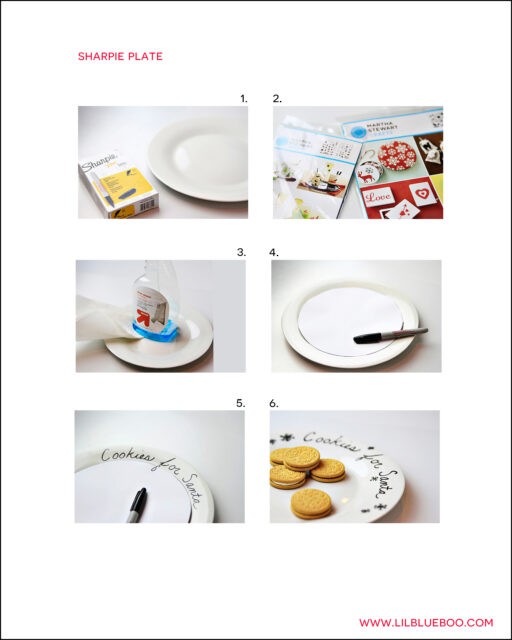
SHARPIE PLATE:
1. Materials: Industrial Sharpie, Ceramic Plate or Mug
2. Themed stencils are a great optional tool.
3. Clean ceramic thoroughly with Windex.
4. Cut out a circle and tape in center as a writing guide.
5. Use Industrial Sharpie to write your words.
6. Place cold plate into oven. Heat to 425 degrees and heat for 30 minutes to set the ink permanently.
(Hand washing recommended)
A finished set of projects:
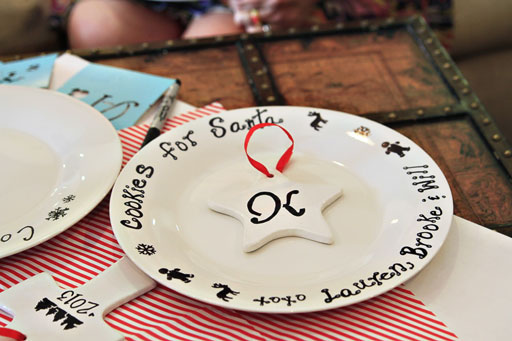
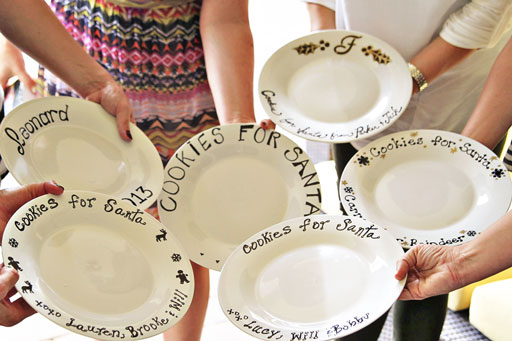
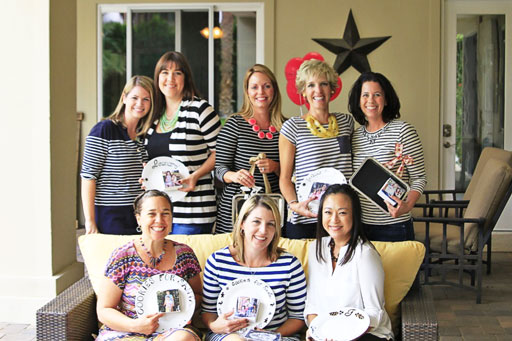
Finished Sharpie plates:
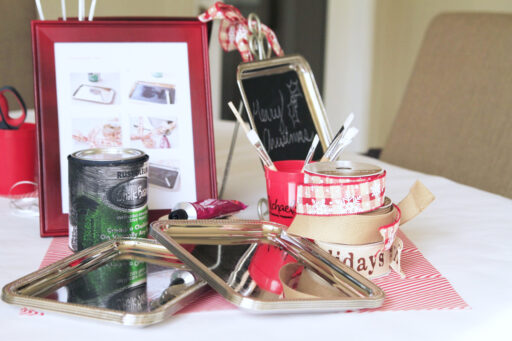
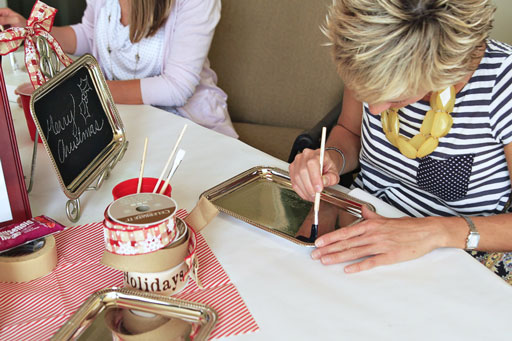
The chalkboard tray station:
The trays were from the Dollar Store:
Tip: Use a hairdryer to speed up coats!
Download the PDF:
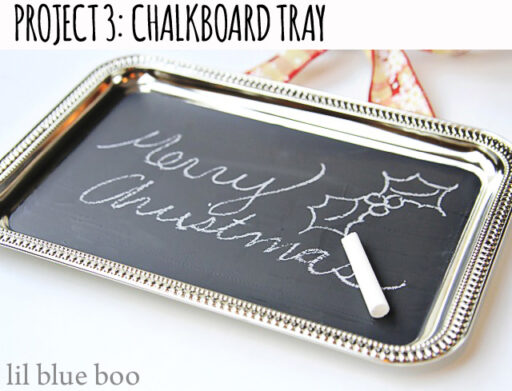
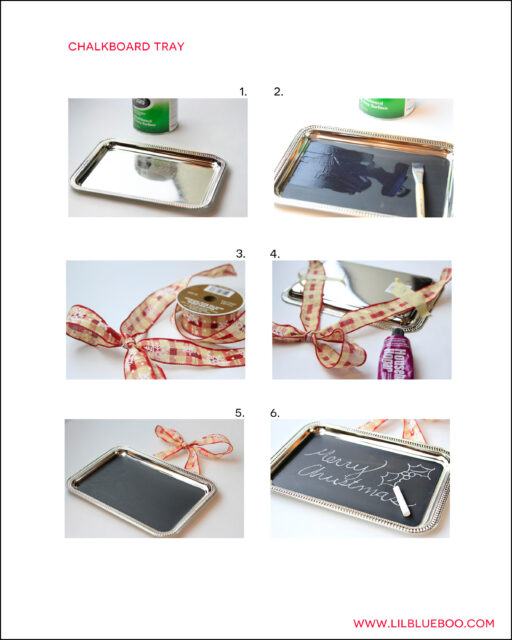
CHALKBOARD TRAY:
1. Materials: metal tray, chalkboard paint
2. Apply a thin coat of chalkboard paint to the metal tray. Let dry. Apply additional coats until the chalkboard surface is opaque.
3. Cut ribbon for the back and form a bow.
4. Tape the ribbon into place and use industrial glue to adhere it.
5. Let glue dry.
6. Finished! Use chalk to add a message.
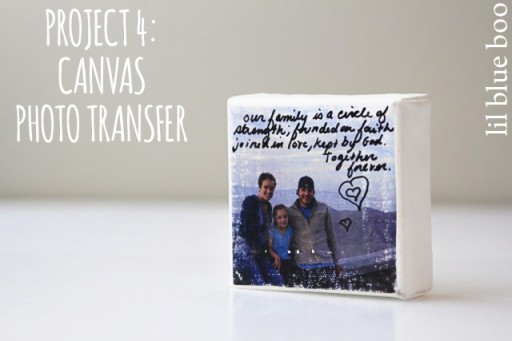
Love photo transfer medium! (See more transfer ideas here)
Download the PDF:
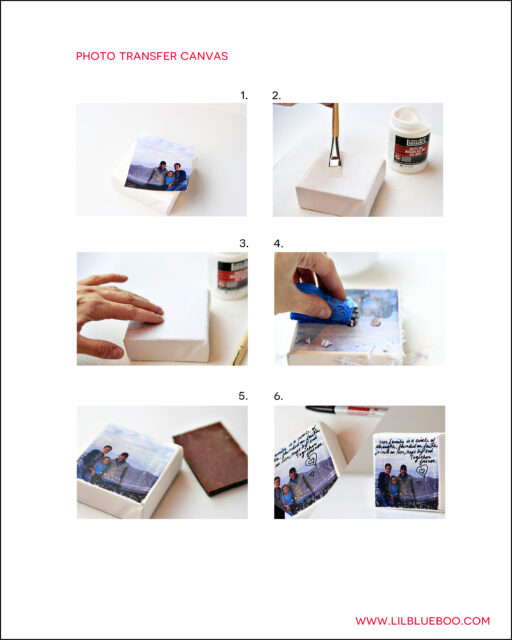
PHOTO TRANSFER CANVAS:
Materials needed: Gel Medium, canvas, photocopy
1. Print a photo on a LASER printer or COPIER. (must be DRY toner to work, not inkjet)
2. Apply a generous coat of gel medium to canvas.
3. Press photocopy face down onto the canvas and burnish back to remove any air bubbles. Let dry thoroughly.
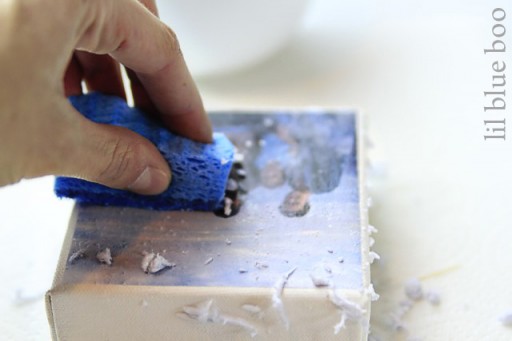
4. Wet the back of the canvas and use a non-scratch sponge to gently remove paper. Use small circular motion.
5. Use sandpaper to distress edges of image.
6. Use a Sharpie to add a quote or text.
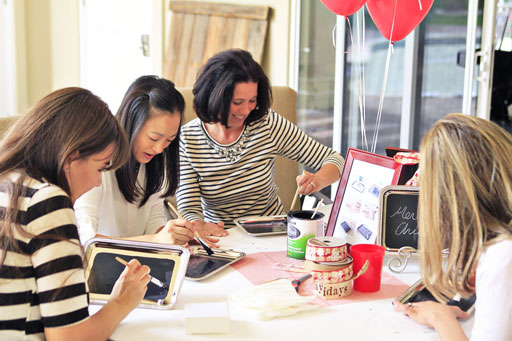
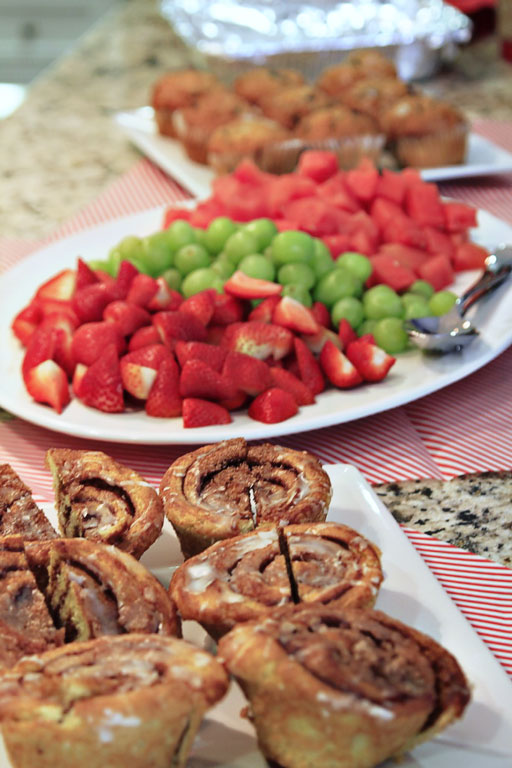
I think everyone had a lot of fun! I made sure we had more than enough food, coffee etc at 10 o’clock in the morning:
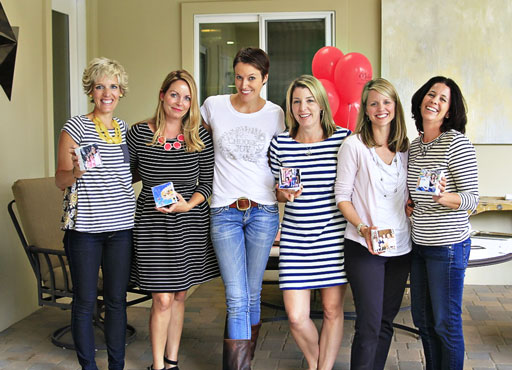
Do you think these gals like stripes?
I wrote a post over at Babble about ways to integrate mobile printing to share photos and design ideas at a party. Click here to check it out!
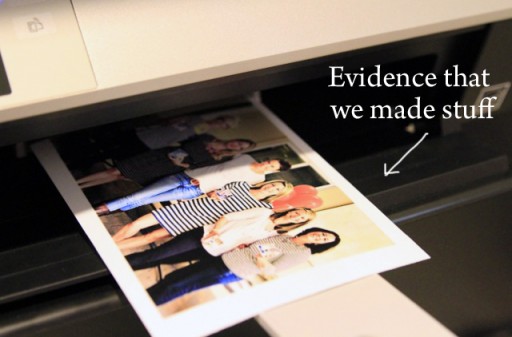
A big thanks to Michaels Crafts Stores for the help!

A Pinterest party! What a great idea. I love the ceramic plates idea. So much fun. 🙂
I love this idea!!! Now to find friends that will party with me. Thanks for all the easy and festive ideas.
How fun! I want to come to your party!! Is it a requirement to wear stripes? 🙂
Had my first Pinterest party in January…on the same day I had my first radiation oncology appointment. Having another in 2 weeks and may be using some of your ideas! You are inspirational! Thanks so much for sharing 🙂
Love this. Ashley you are so creative and such a gift!
Wow, I could do birthday plates and tons of other things. Thanks so much, Ash.