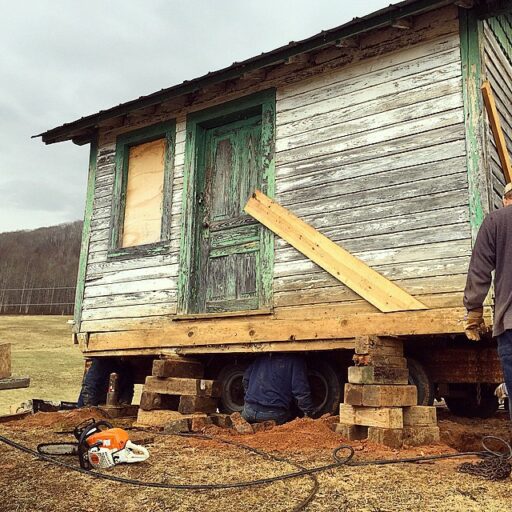
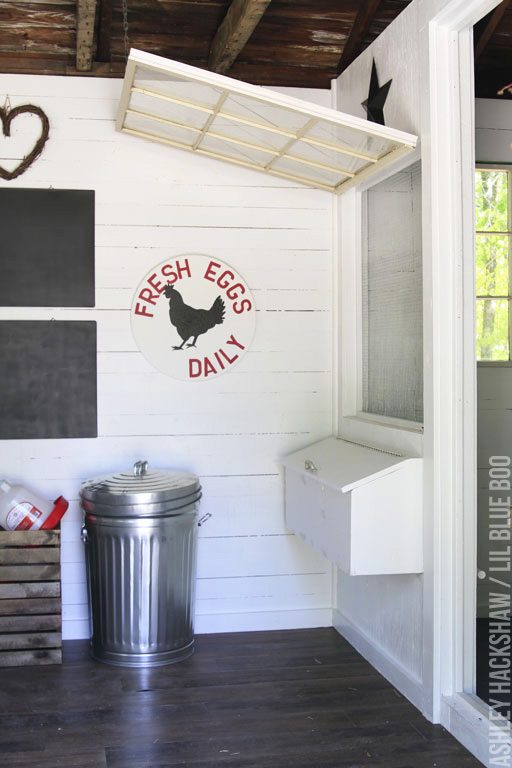
Our chicken coop renovation of the depot is going great…we are so close to finishing and it’s a good thing because the little chicks are starting to fly out of their box! When I first found the old train depot I wasn’t entirely sure what I was going to use it for…only that I was sure that I needed an old train depot. This is what it looked like the day we moved it 50 miles from Waynesville to our property (a cool story in itself if you have time for a quick read):
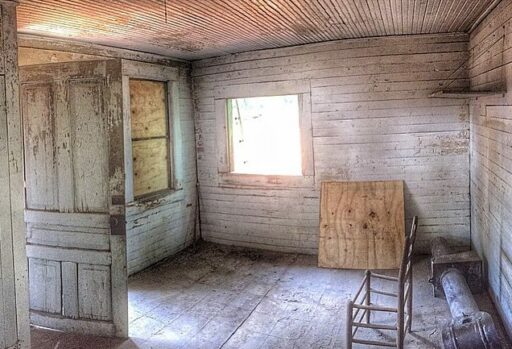
This is what it looked like inside once we cleared it out. The coal stove had been venting into the attic for years so Brett and our friend Warren tore the whole ceiling out soon after I took this photo:
The depot is bigger than it looks….it’s 15 feet by 12 feet. I thought at first that I would use it as an office/studio but then the basement became my studio. We decided that we wouldn’t need all that space for potting shed/playhouse etc if we planned well. It takes a lot of materials to build a large chicken coop…and so many people have sheds in their backyard…what if we could convert half of our shed to a chicken coop?
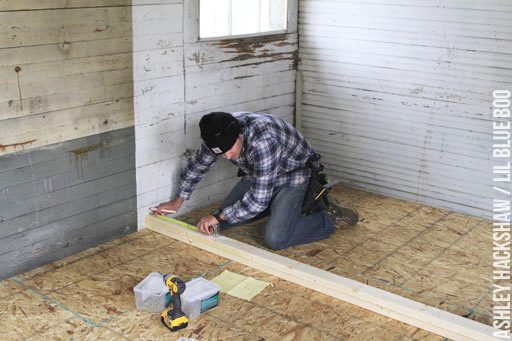
To convert the depot/shed to a chicken coop we needed to build a wall, make sure there was enough ventilation and add a little outside door for the chickens to enter. In the construction of the wall we had to allow for a large window, a human-sized door and nesting boxes. The wall needed to have a large lip to hold in sand or shavings, whatever bedding we decided to use, so we started with a base of two 2x4s:
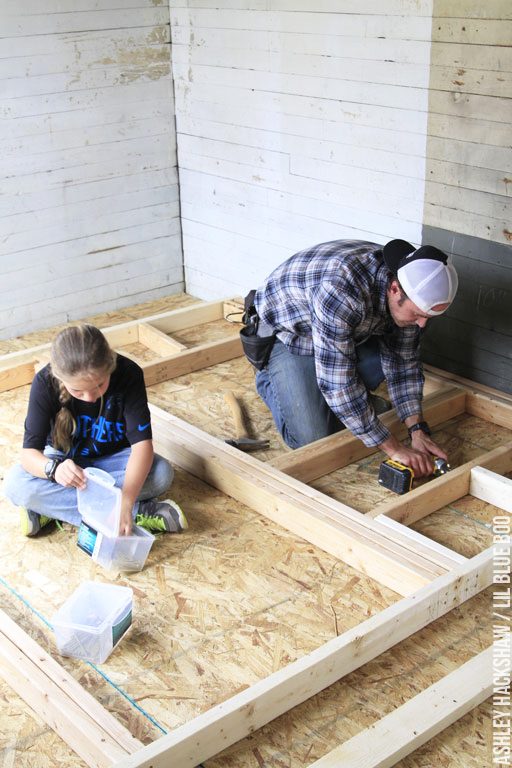
Brett drew a basic diagram for the wall and we constructed it on the floor. We used Grip-Rite 3-inch deck screws because they are the easiest to use without any pre-drilling.
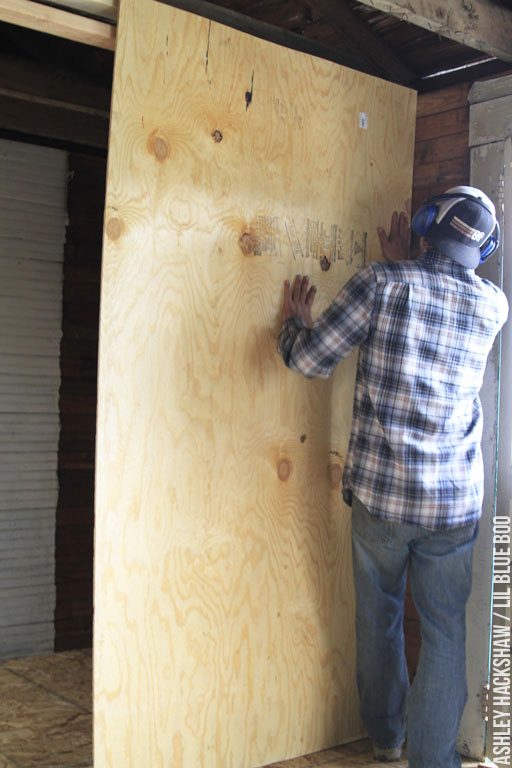
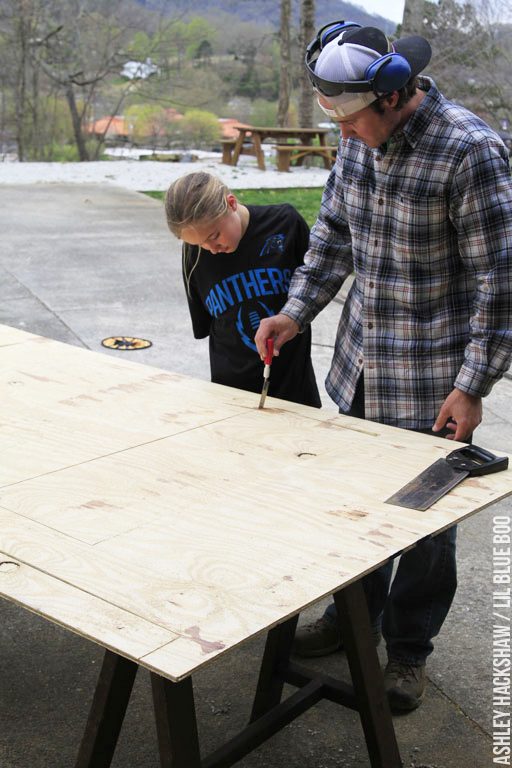
Once it was lifted into place we placed plywood against it and traced the openings that needed to be cut out:
Brett cut out the opening with a skill saw up to the corners and then a small saw was used to chip out the last piece:
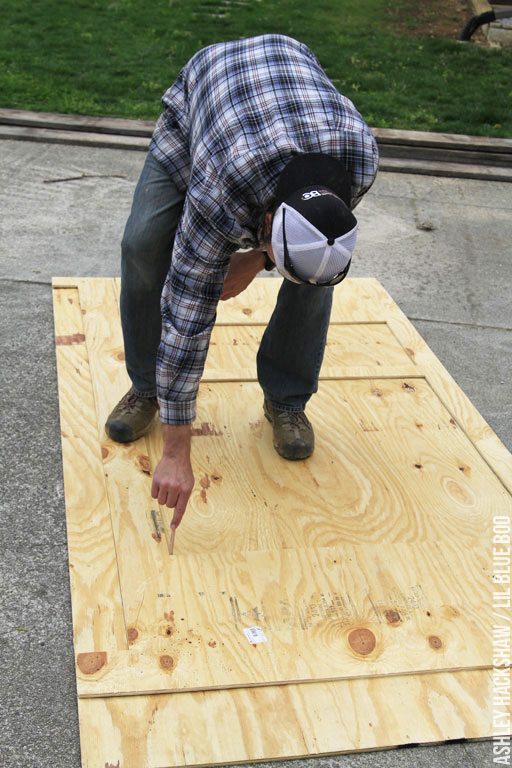
For the reverse side of each wall we could just trace the plywood:
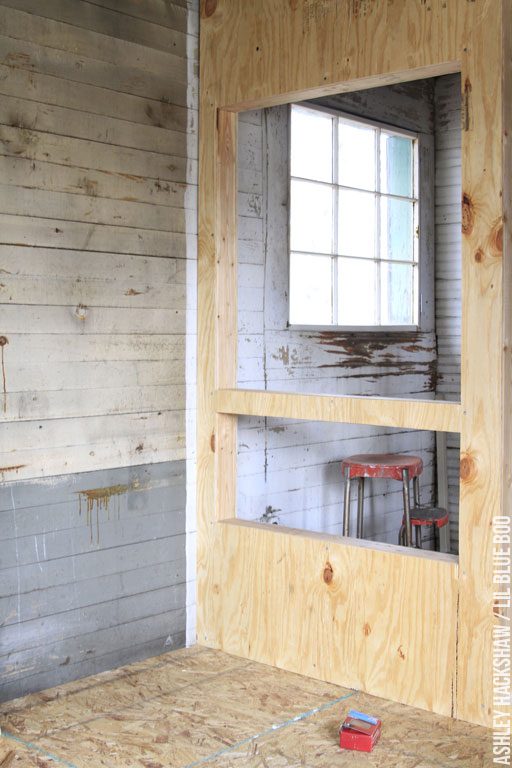
The plywood was then nailed up to the wall. The right side of the wall is a solid wall. The left side will have a window and the nesting boxes where the chickens can lay eggs:
Materials used for this wall were:
Grip-Rite 1-lb #9 x 3-in Countersinking-Head Polymer-Coated Star-Drive Deck Screw
15/32 CAT PS1-09 Pine Plywood Sheathing
2″ x 4″ x 8′ Dimensional Lumber
Here’s a sneak peek on the progress and next “coop” post I’ll share how we built the nesting boxes!
Read more about the Old Depot Project here.
A big thank you to Lowe’s Home Improvement who made much of this project possible!

