Every November as a Michaels Maker I have the opportunity to reveal a new Christmas tree theme and this November is no exception. This year’s dream tree, my fifth tree for Michaels, is my favorite one yet. This year to mix it up a little I’m revealing my process first, all the DIY ornaments and details first and then the big tree reveal will be in two weeks at the end of all the tutorials. So here’s one of the first steps to this years tree: How to age galvanized metal bins and buckets!
I love the rustic, aged, vintage look of old tin and most galvanized bins and buckets come way too shiny for my taste. For the details of this year’s Christmas tree I needed to age some tin first:
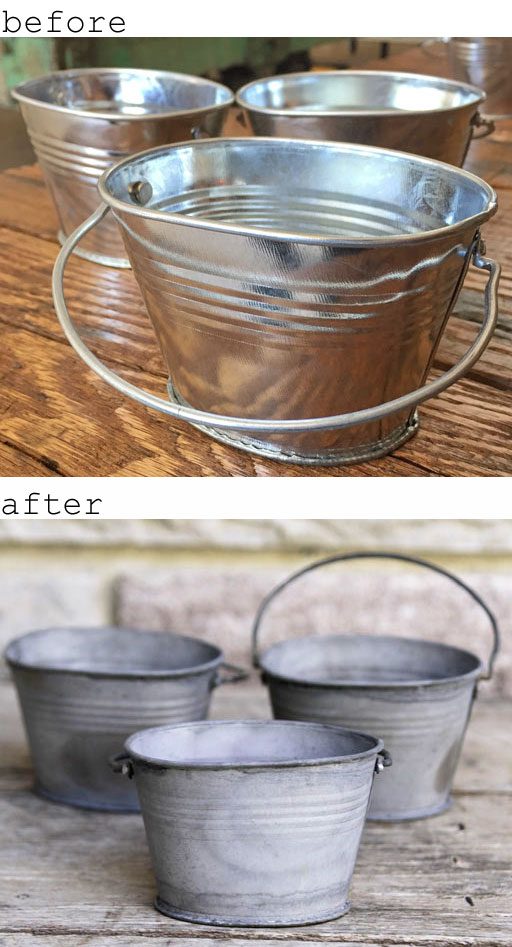
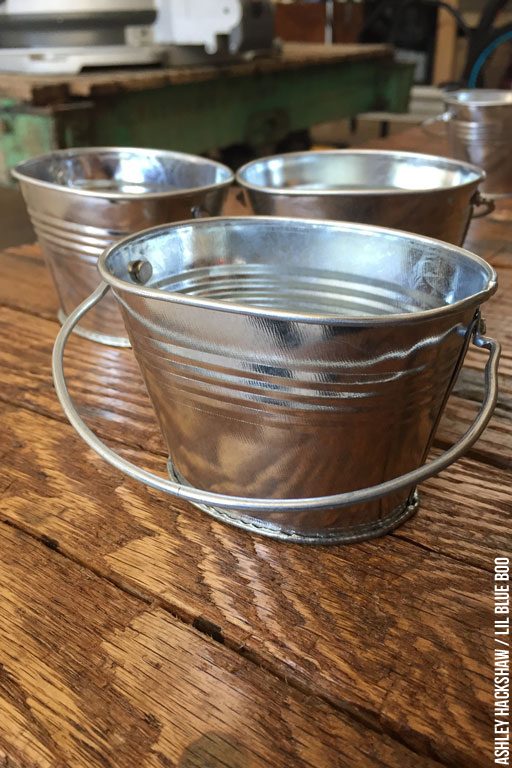
Some aging processes use bleach and muriatic acid but I try and steer clear of chemicals. There are a few ways to age the tin using just heat! I started with these shiny little galvanized mini-buckets from Michaels:
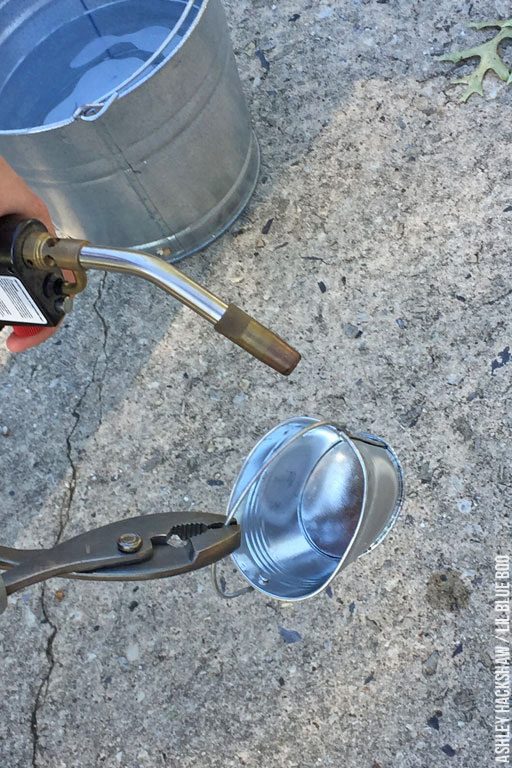
And used my Bernzomatic torch to apply enough heat to burn off the shiny exterior finish.
A few crucial SAFETY tips first:
- Wear gloves and use rubber gripped pliers to handle the metal.
- Wear a mask and do this outside where there is adequate ventilation! You don’t want to breathe in any fumes.
- Keep a bucket of water or a hose close by to quickly cool the bucket when finished.
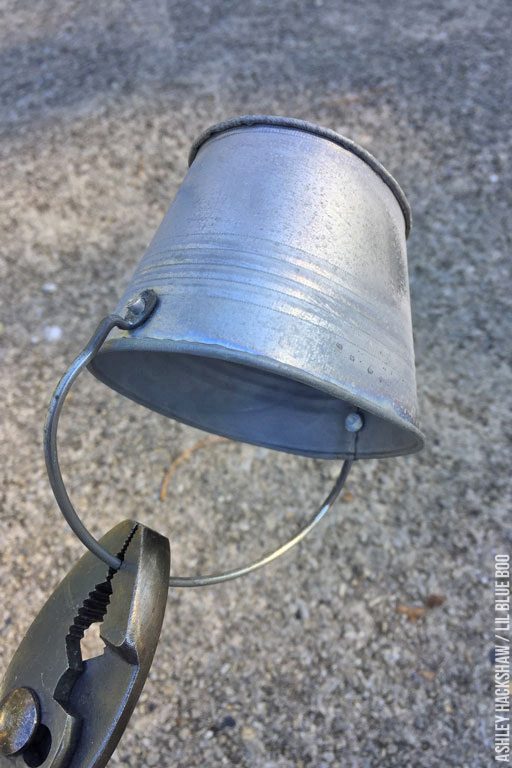
A Bernzomatic torch is easy to use. Just click the igniter and it’s off and running. I just applied heat around the small bin until I could see the finish start to turn matte:
It took about two minutes to change the finish of this small bucket:
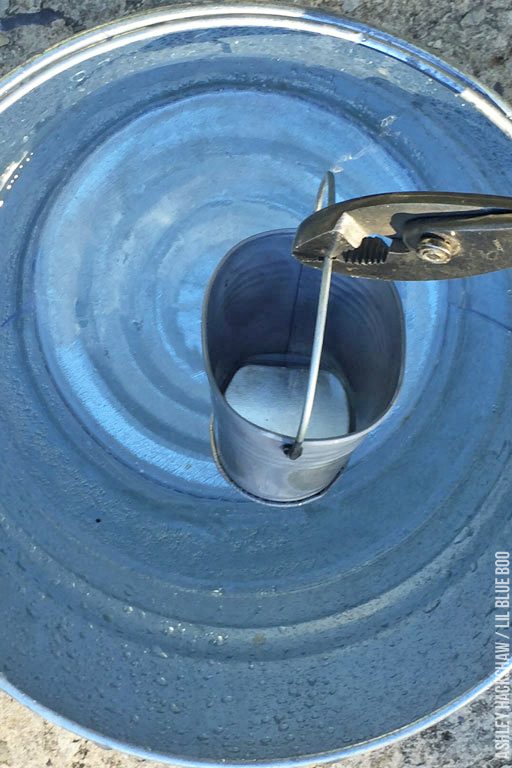
I carefully put down my torch and dropped the bucket into the cool water. It sizzles!
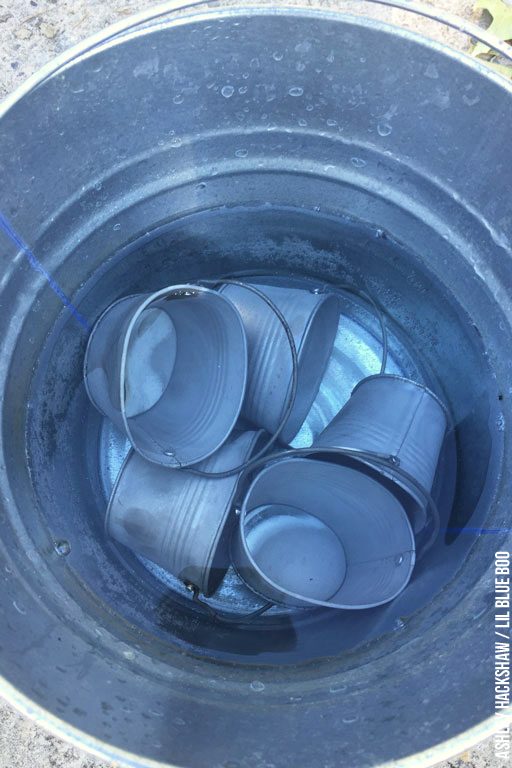
All the finished buckets!
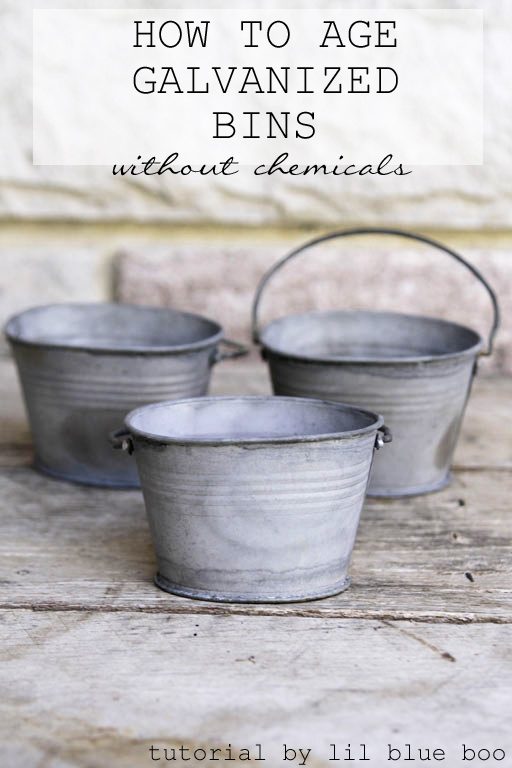
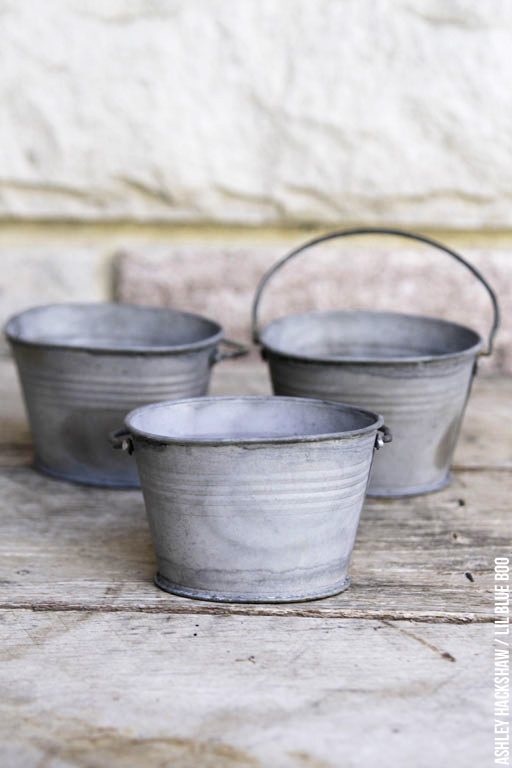
Now the shiny little buckets look like they’ve been around forever:
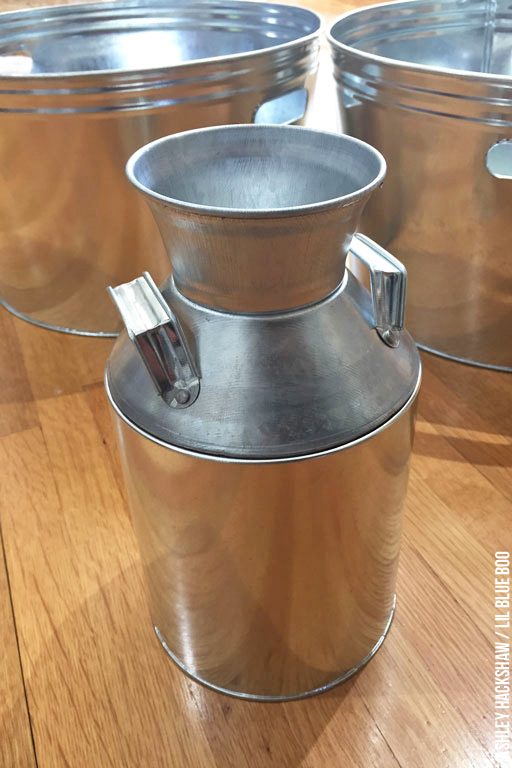
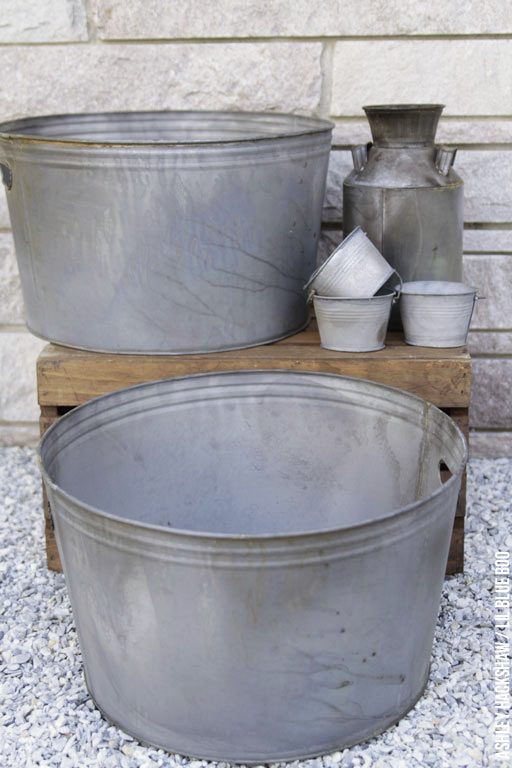
Michaels Stores also has these larger bins and even a antique style milk tin:
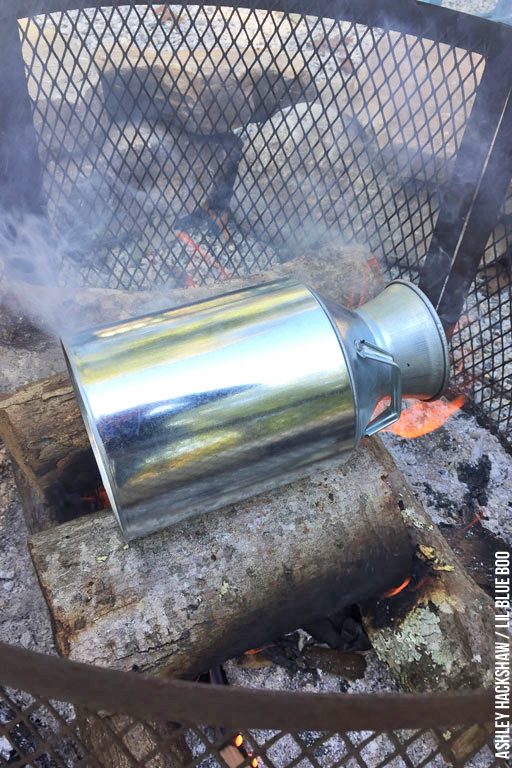
There’s a much easier way to instantly age these buckets and it just involves a small campfire! I built a small fire outside our fire pit. If you don’t have a fire pit just ask a neighbor if you can borrow their’s for an hour or so. I wouldn’t burn these inside because of potential fumes from the tin’s finish. Also, the milk tin has a plastic liner inside that will quickly melt and burn off and you don’t want any plastic fumes in your house! When the fire was nice and hot I laid the milk tin onto the flames and left it there until the finish changed on one side and then I flipped it over to the other side. It only took a few minutes:
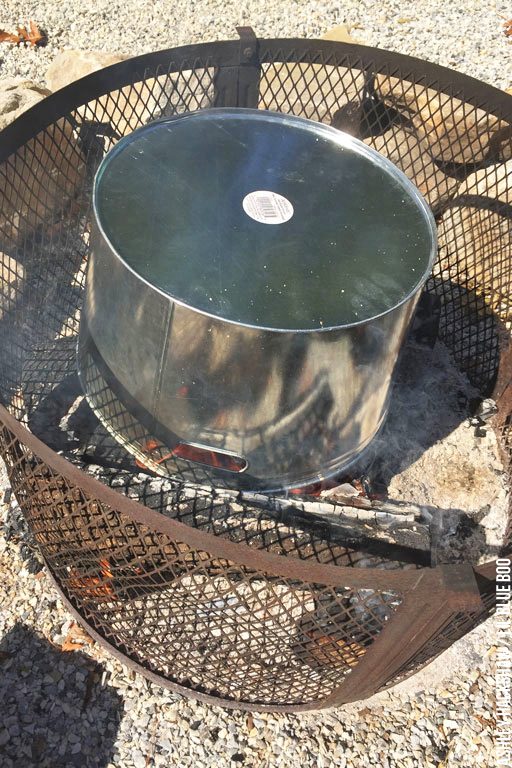
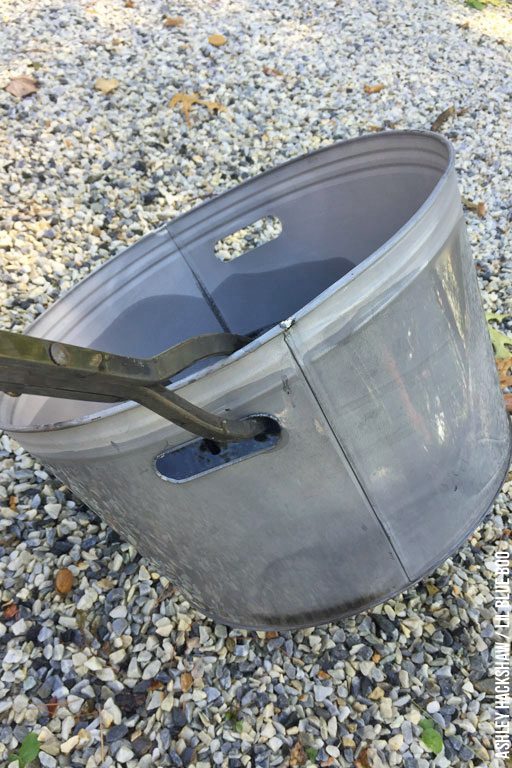
Here’s one of the larger bins. Putting it upside down on the fire traps the heat inside and the aging will be much more even all the way around:
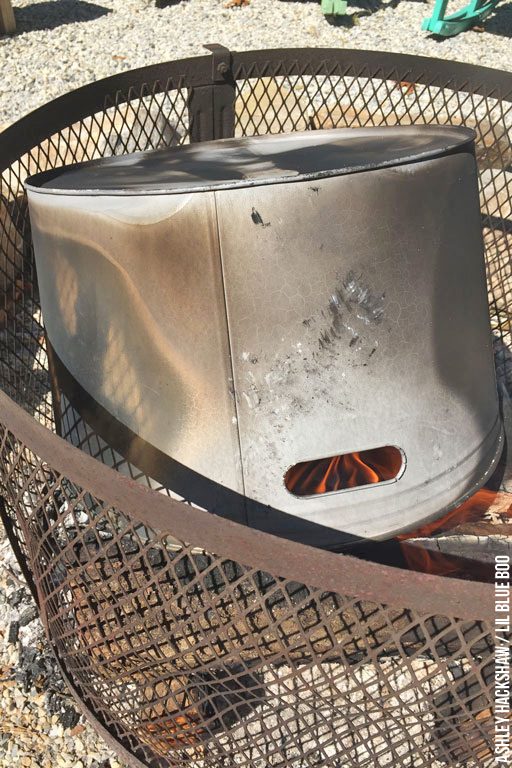
Here’s what it will look like as it heats up:
Carefully, CAREFULLY, pull each metal bin out using fireplace tongs and rinse with a hose to cool it off quickly. Once it’s cool you can use a scrub brush to knock off any stubborn ash:
All of this shiny galvanized tin now looks old, antique and vintage! Perfect to go with any old, antique and vintage theme. To add some rust you can try spraying vinegar or bleach on the bins as well but mine rusted on their own!
Here’s a list of the buckets and the torch I used with links!
Small Galvanized Metal Buckets
Next time I’ll show you what I did to finish them off!

wow!!! this is awesome! it’s so easy and looks so much better!!
Thank you for interesting post. I look forward to following the journey with the finished Christmas Tree.
Heating galvanized metal is super dangerous! It causes poisonous fumes that can lead to metal fume fever, especially in welders & metal workers. This is not recommended!! ??
Thanks for the concern Amy! I am not very risk averse. I made sure to add some extra BOLD to my safety concerns in the post. I still prefer this method over using acid and other chemicals that are typically used for this process! Crafting can be dangerous!