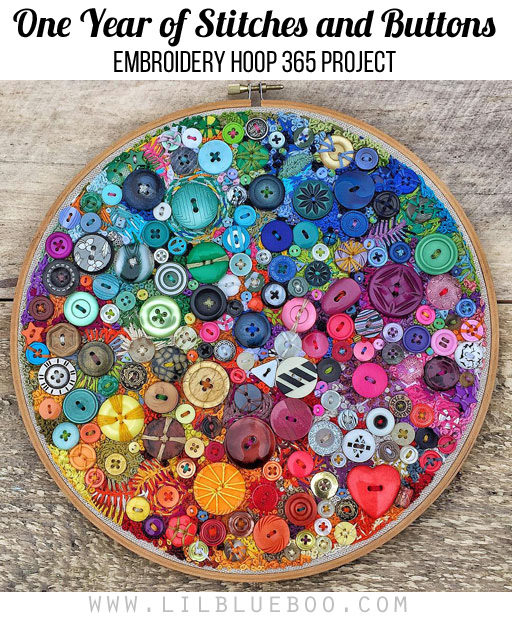
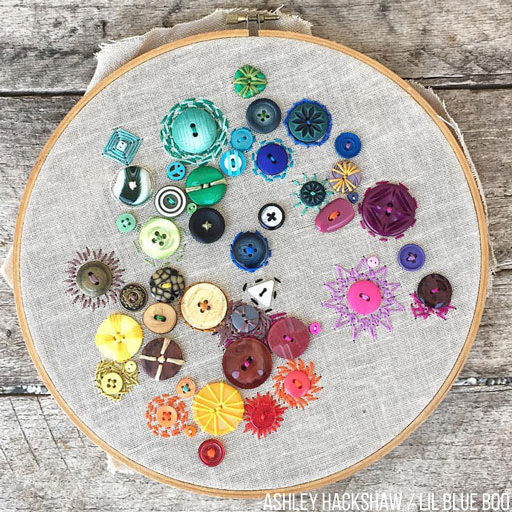
I can’t believe that I finished my One Year of Stitches and Buttons 365 Project…but I did! A project that lasted an entire year. Here’s the end result and I had so many questions on social media about the details that I’ve put together this post to try and answer all your questions! It’s pretty straightforward project and what I loved about it was that it was very portable. It stayed in a travel bag and I took it on road trips, to the carpool line, and I even stitched during Netflix.
Materials Needed:
10-Inch Embroidery Hoop
Linen Fabric
Assorted Buttons
Micro Buttons
DMC Embroidery Thread
Embroidery Needles
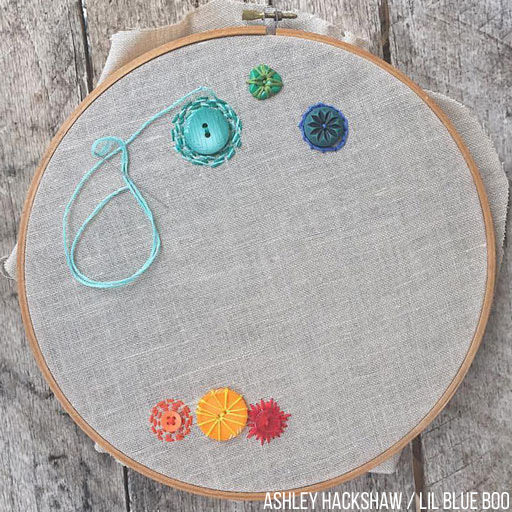
I started with a ten inch embroidery hoop with linen as the base fabric just so it was sturdy. Each day I added a button or some extra stitching and this is what it looked like after a week:
Progression at the end of last January:
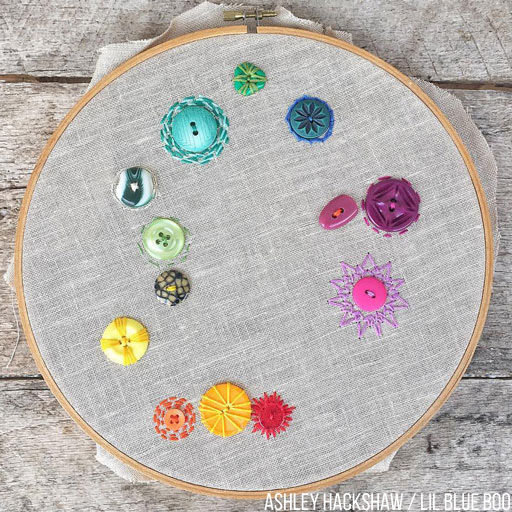
It was starting to fill up around February:
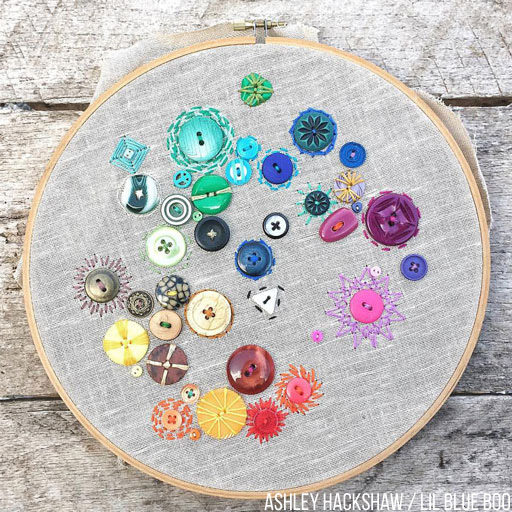
And then March:
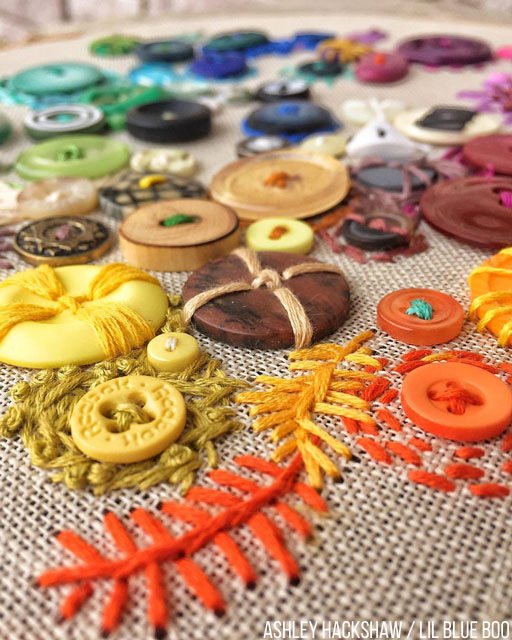
There weren’t really any rules just that I had to account for one button or set of stitches per day. Sometimes I would add cross-stitching to a button or stitch a simple leafy shape:
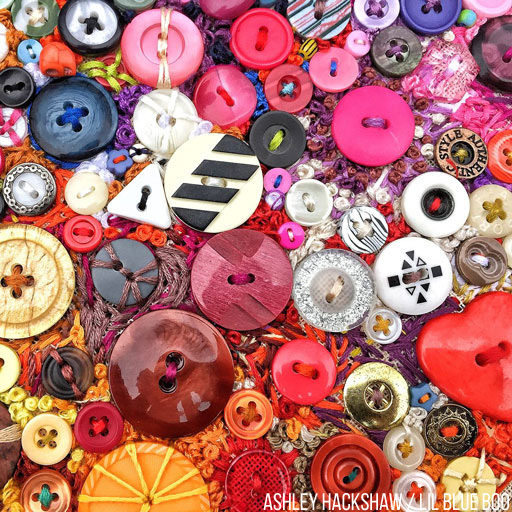
At some point I began to run out of room for buttons and I purchased some tiny Micro Buttons and then began adding some beads as well:
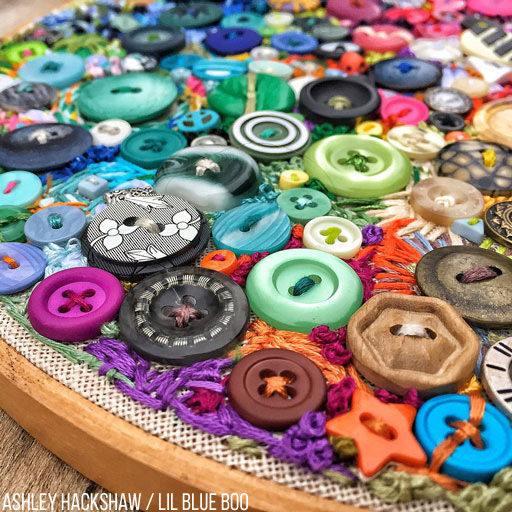
I used French knots (or candle wicking) to fill in small gap areas:
I used buttons I’d collected over the years and even purchased some when I thought they would be an interesting addition:
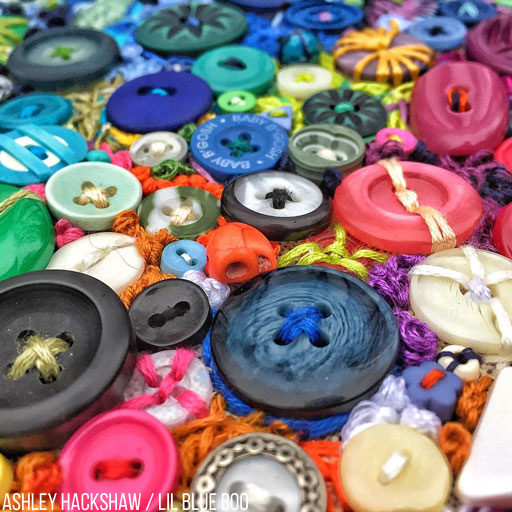
I stitched over stitching and under stitching and added contrasting stitching. It made it more and more interesting as time went on:
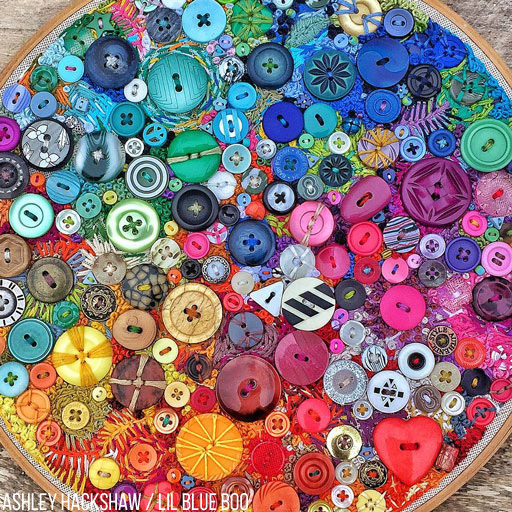
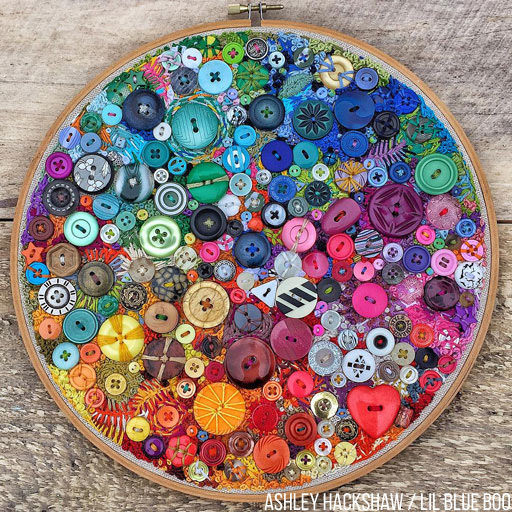
Visually you can see that I did have some color order…I had blues and greens running together along the top of the hoop and then into purples, reds and yellows:
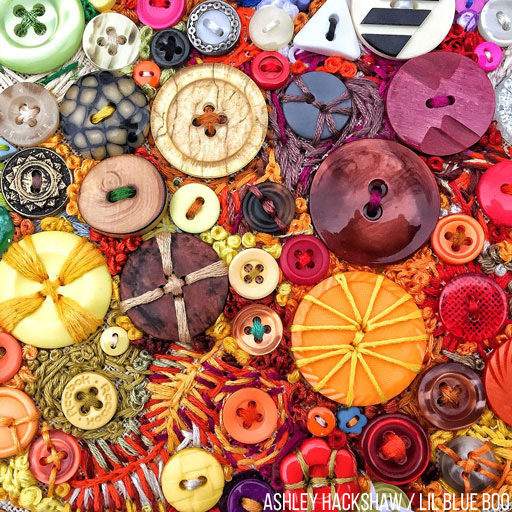
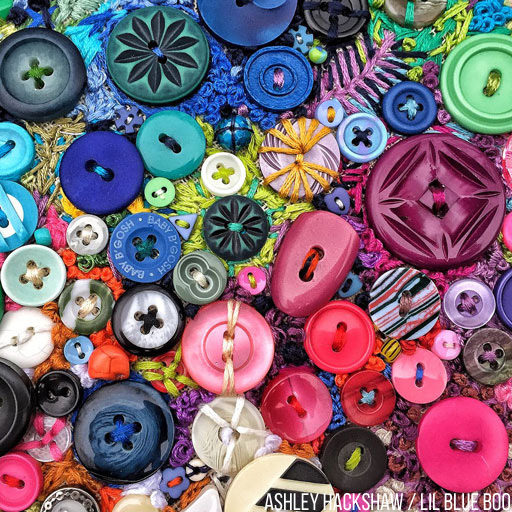
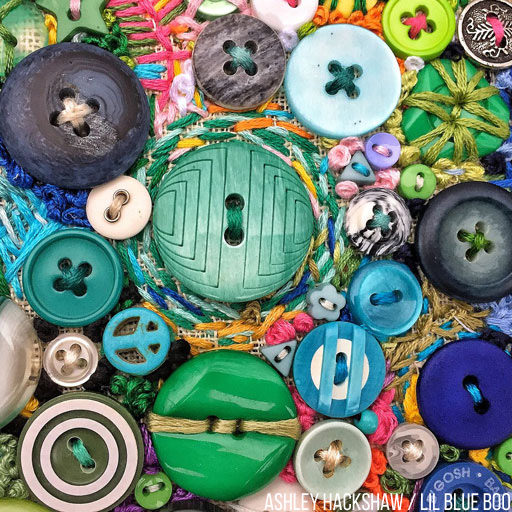
So much was added and it’s fun to just look at the detail:
Everywhere you look there’s an unexpected button or stitch color. The key was not to be so hard on myself if I missed a few days…it’s very easy to catch up on this project so you can even make it a weekly project.
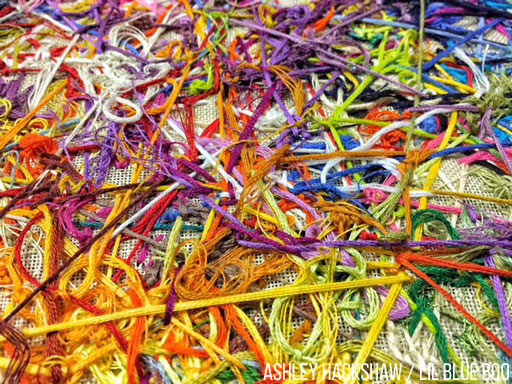
As I sewed I kept re-stretching the fabric and sewing in the loose edges into place. The underneath is a mess, but also just as pretty in a way.
The finished hoop! And it’s going to hang on the wall just as it is!
Thanks so much for following along this past year! If you make your own make sure to tag me in it and add the new hashtag #oneyearofbuttons so others can find you! I did finish my painting project as well so I will try to post some of those photos as well but for the time being you can see the most recent paintings on Instagram!
(Click here to view the finished piece in hi resolution!)

I love this project! I’m going to try it when I find my mom’s stash of buttons (I think she might have Grandma’s button stash as well!!)
That is a really cool idea! I really love how colorful it is!
I love this so much. I am starting mine today and will do it in colour wise like you have. Its serendipity cos i tidied up our basenent yesterday and found a 10 inch hoop which i choose to take as a sign.
I am also making a journal diary and will add in blank pages for art etc. I want one journal with everything in….
I have been looking at bullet journals and will use some of those ideas but I need a slightly different system.
I haven’t tried bullet journals yet because I need another system too! I’m a hybrid journaler.
This was so need to follow. When you shared the pic of back of hoop, I could not help but remember a store I read and serves as a reminder to all:
The Story:
When I was a little boy, my mother used to embroider a great deal. I would sit at her knee and look up from the floor and ask what she was doing. She informed me that she was embroidering. I told her that it looked like a mess from where I was. As from the underside I watched her work within the boundaries of the little round hoop that she held in her hand, I complained to her that it sure looked messy from where I sat. She would smile at me, look down and gently say, “My son, you go about your playing for a while, and when I am finished with my embroidering, I will put you on my knee and let you see it from my side.”
I would wonder why she was using some dark threads along with the bright ones and why they seemed so jumbled from my view. A few minutes would pass and then I would hear Mother’s voice say, “Son, come and sit on my knee.”
This I did only to be surprised and thrilled to see a beautiful flower or a sunset. I could not believe it, because from underneath it looked so messy.
Then Mother would say to me, “My son, from underneath it did look messy and jumbled, but you did not realize that there was a pre-drawn plan on the top. It was a design. I was only following it. Now look at it from my side and you will see what I was doing.”
Many times through the years I have looked up to my Heavenly Father and said, “Father, what are You doing?” He has answered, “I am embroidering your life.” I say, “But it looks like a mess to me. It seems so jumbled. The threads seem so dark. Why can’t they all be bright?”
The Father seems to tell me, “My child, you go about your business of doing My business, and one day I will bring you to Heaven and put you on My knee and you will see the plan from My side.”
Author Unknown
Although, I think the mess of threads on the back are beautiful in their own way.
Happy New Year – Cara
I love that! Thank you for sharing Cara!
That is really amazing and inspiring!!! Thank you so much for sharing it!!
My grandma always told me the back of your sewing should be as neat as the front. While I appreciate the thought, I always seem to have a pretty mess back there too! Beautiful work, Ashley.
Thank you! And I don’t know how anyone keeps the back neat…I can’t even conserve thread….look how much I waste going from one side to the other!
So beautiful! I really love that it’s so colorful and that it’s a long-time project, but one that doesn’t consume much time!
will probably start doing something similar myself *-*
Ashley, what a great project. How fun it would be to do this daily with a grandchild that lives a distance away and then exchange it with them. That could be a great project for shut ins too.
I love the idea of exchanging! Or even mailing buttons and beads periodically to add!
Gorgeous!
I found this very interesting and quite charming. I am going to challenge my sisters to try this project this year.
It is amazing. If I had it in my hands I would sit and study it with joy. I’ll bet you can stare at for days and still find something you missed. I’m thinking of doing something similar but maybe with gears and clock innards for a little steampunk vibe. Thanks or the inspiration.
Last year I found this so inspiring that I had to try it with all my buttons. A button a day….didn’t seem like a lot and I have so many and lots of hoops too. So I started with some favorite glass buttons in January, in February it was a snowflake background with clear glass buttons, in March I fell behind a little and decided to glue the buttons on linen fabric with pearl buttons. That was the end of that! But I have 3 hoops on my bedroom wall and I love them so much. I have to say thank you for that inspiration, and perhaps I’ll start doing them again. I think I would like to do more of the stitching like you did this time around. Its really beautiful.
Love that you just made it to your liking! That’s all that matters!
I love everything about this! Your use of color is inspiring, anything with buttons catches my eye, and the fact that you kept up with it all year long is commendable! I really like that just a few stitches were all that needed to be added each day so it wasn’t too much of a commitment. And, in the end, you wound up with a beautiful piece of artwork!
GLORIOUS!!!
Amazing – love it – great inspiration – thanks for sharing!!
Amazing and inspiring! I’ve started one for 2018 – thanks so much for the inspiration!!
Fabulous finish and I love seeing the process pictures as well. Great inspiration!
I have a huge stash of buttons. I am going to try this project – it will be nice to put the buttons people give me to good use. I will try a pair of hoops which will add a different dimension.
I love this. I started mine on an antique hoop I bought at an auction and found some old buttons. Now I’m relearning embroidery stitches so I can fill it in. Thanks for the idea.
This is so cool!!! Going to do it with my daughter!
Kelly
This is so lovely and what a great idea.
I love this creation and am going to try to do one of my own. Warning, I will try to replicate what you have done because it is outstanding. Thanks for sharing.
Haha….replicate all you want! So glad you want to make one!
I’m making one of these for my hallway, could you tell me how many skeins of thread you used and what size needle?
Hey Helen! I have no idea….there was so much use of partial thread. I even used scraps! I just used a regular embroidery needle that would be used for cross stitching….sometimes I had to switch to a small needle because of buttons sizes. I don’t think the needle will matter much,
Thank you, yours is stunning, I love it so much. I’m using variated threads because my built in colour palate isn’t too good haha. I’m hoping that will give some extra layer to it