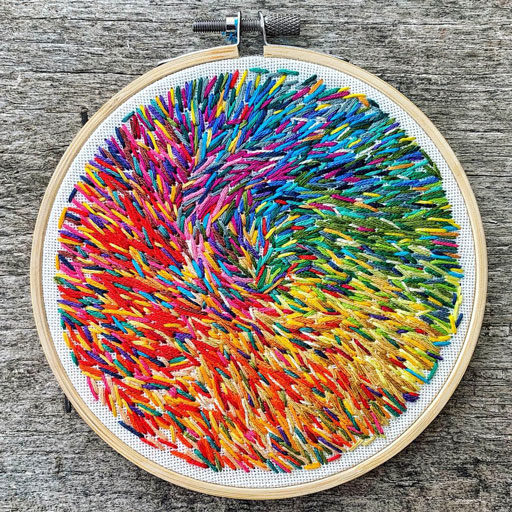
We just got back from a spring break road trip and whenever we are going to be in the car for an extended amount of time I try and pack something to work on. This year I worked on this small 6″ embroidery hoop:
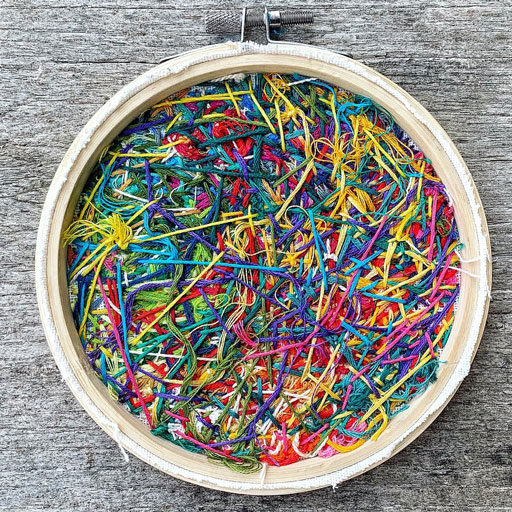
Here’s what the back looks like…I like the back just as much as the front!
I posted this on Instagram and there were a few questions so I thought I’d post some answers here as well about making your own.
1. I used just a plain cotton duct fabric as the background (not waffle weave). You can use any upholstery weight fabric…something that won’t tear easily.
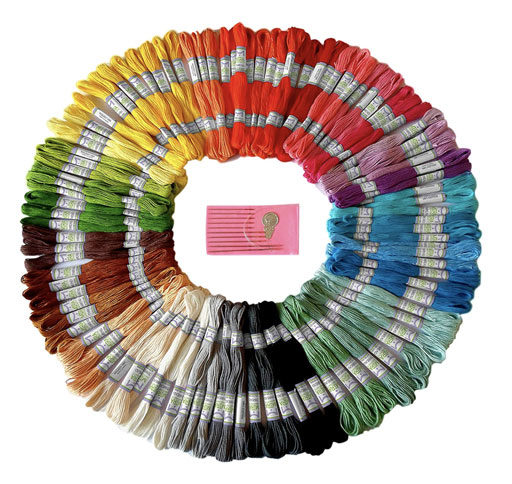
2. I use embroidery thread and any old needle I can find. If you are just starting out I recommend buying a large variety pack of thread so you have lots of colors to work with! I separate them by color group into ziploc bags to help keep them somewhat organized.
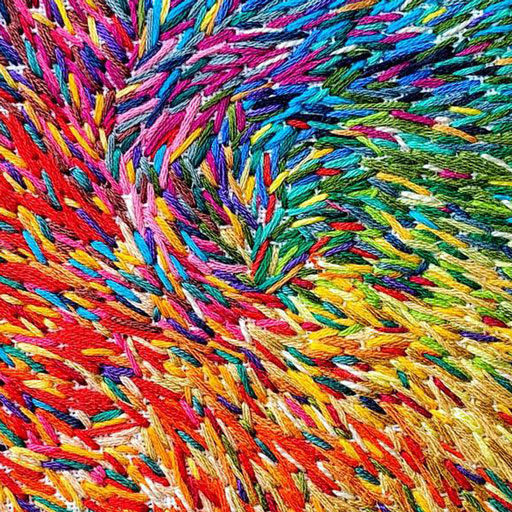
3. I don’t split the thread because I like how thick the stitching gets as I go. I also stitch with one color at a time (going back and forth between colors until it look balanced to me). I’m not careful or efficient. My stitching is random except that in this one I concentrated some colors to make a rainbow. The only thing I keep pretty consistent is my stitch length. I also stitch over other colors. You can see from the back that I am all over the place. Also, a thimble is my friend when the fabric and stitching starts to get thick.
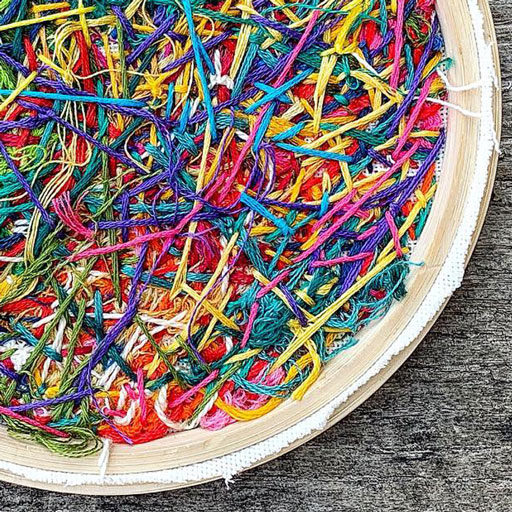
4. Someone asked about my cutting of the fabric behind the hoop. I usually just hang the piece in the hoop! Also, I recommend using small hoops…it’s easier to finish in one road trip and isn’t so overwhelming.
The hoop I used for this project was a 6″ diameter but there are even smaller hoops. There are even tiny miniature hoops you can hang on a necklace!
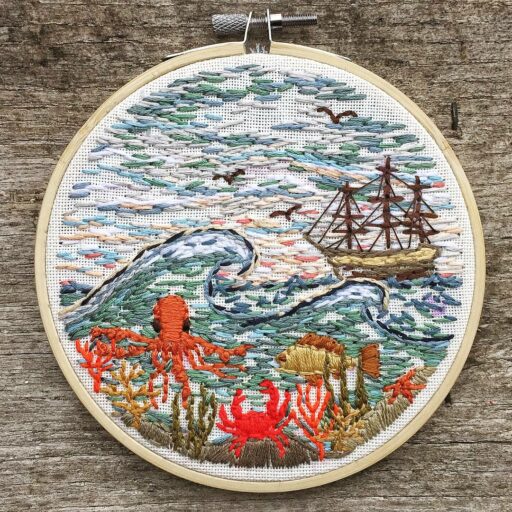
Here are a few others I’ve work on when traveling as well:
This one was New England-inspired (from our NE trip) you can click here or the image for more detailed photos:
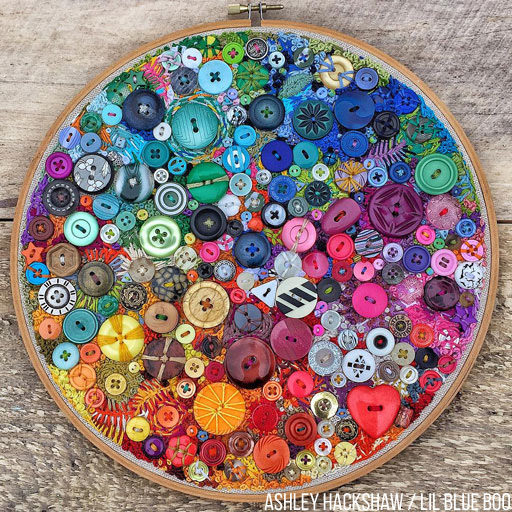
And of course there is the button art from my “Year of Stitches” project. This could definitely be done on a much smaller scale!
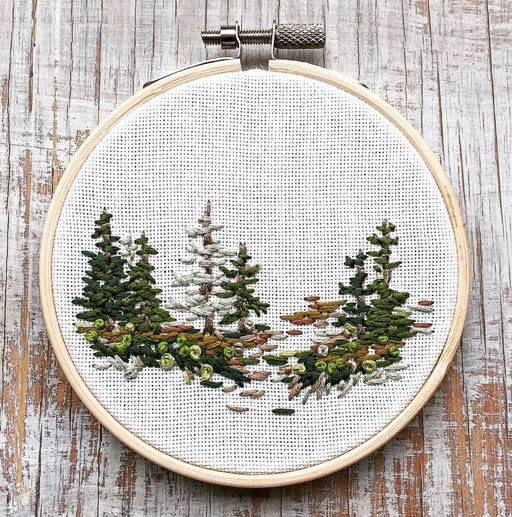
I never wrote about this one but it was a grouping of trees inspired by our hike to Mt. LeConte (one of the most amazing places I’ve ever been!) I sketched these trees trunks out first with a Dritz Marking Pen…if you don’t have one you NEED one because it’s a disappearing ink pen. You can sketch out and then the marks will disappear over time you can spritz with water to speed up the process.
Embroidery is so much fun as a small bite project. The awesome part is that you can pull stitches out if you don’t like them. I think it’s very forgiving. I learned to “candlewick” as a small child and it’s stuck with me forever. It’s just a French Knot and I love the additional texture it adds. Here’s a good quick tutorial:
Enjoy!

