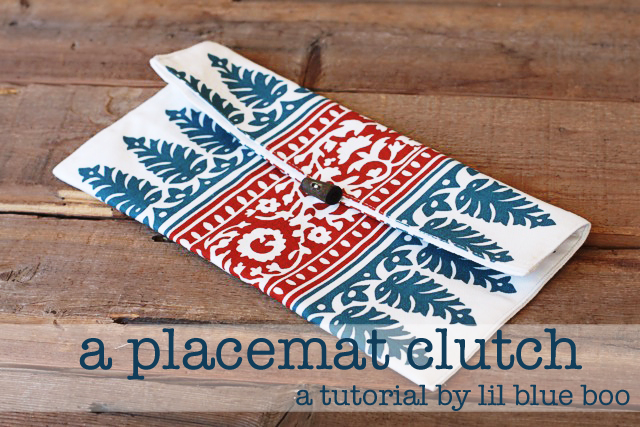
I’m revisiting a tutorial from the past! The placemat clutch tutorial…..but I’ve changed the design
(read more after the jump)
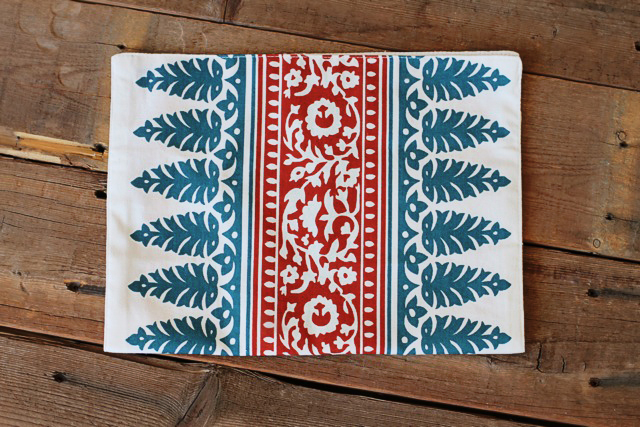
I found this pretty red and blue placemat at World Market:
To make the foldover clutch I first folded the placemat in half…..
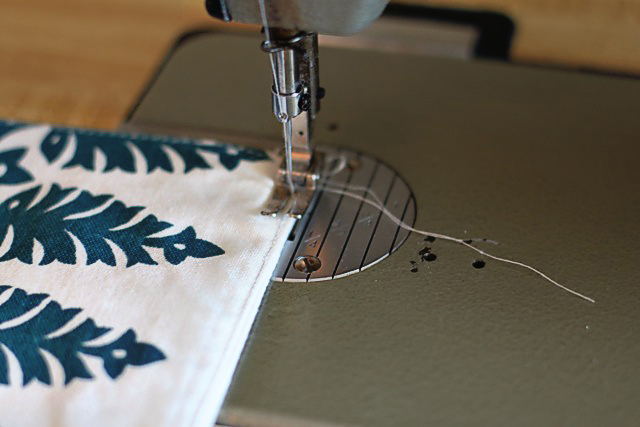
……and sewed up both sides:
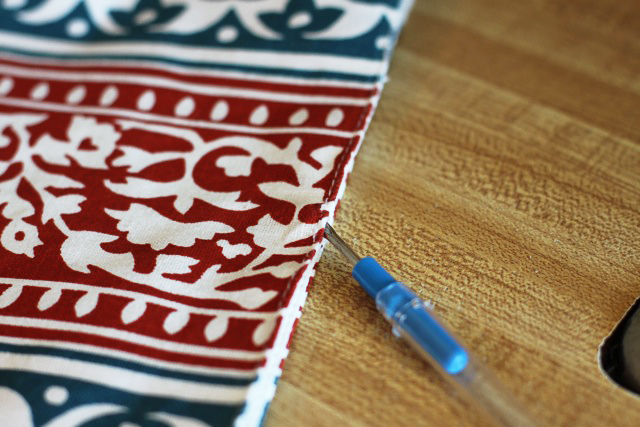
I used a seam ripper to open up a few stitches in the top of the placemat…….
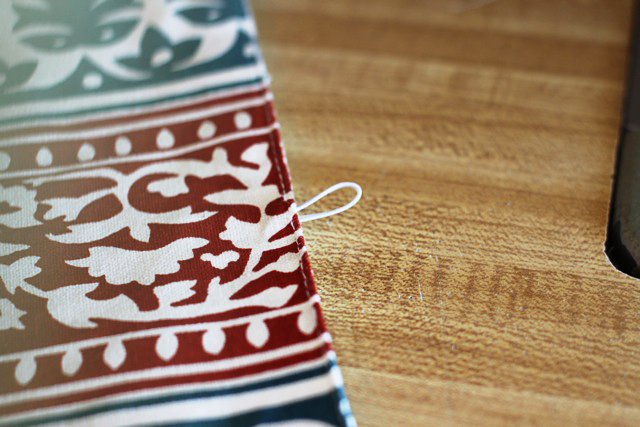
…..and inserted a loop of elastic. Then sewed the opening shut.
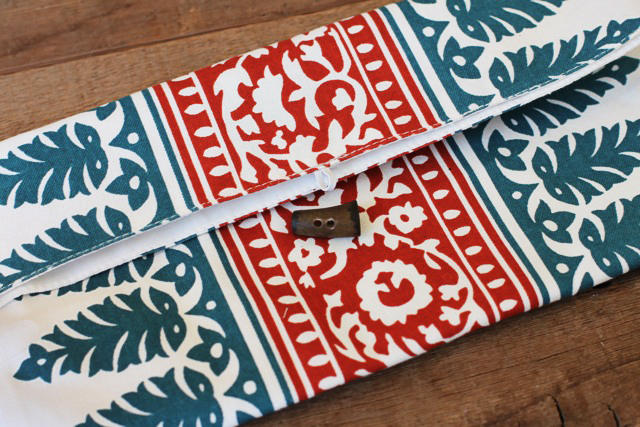
I folded the placemat down to gauge where this button would need to be attached:
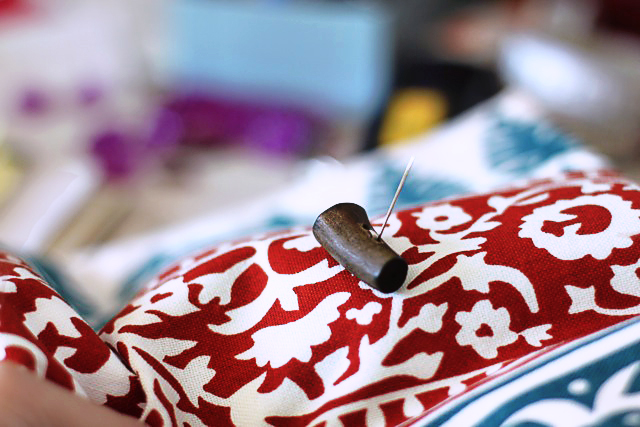
And then carefully attached the button:
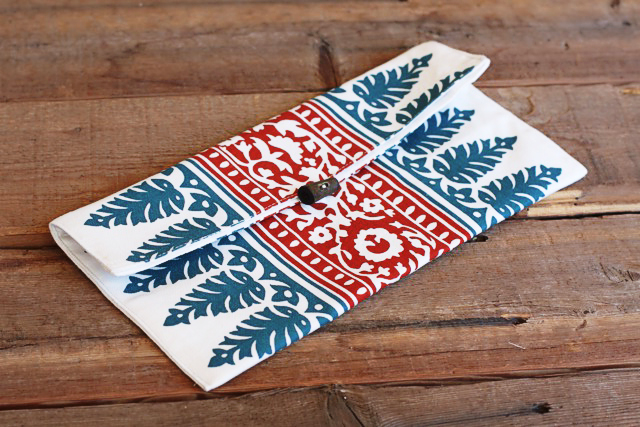
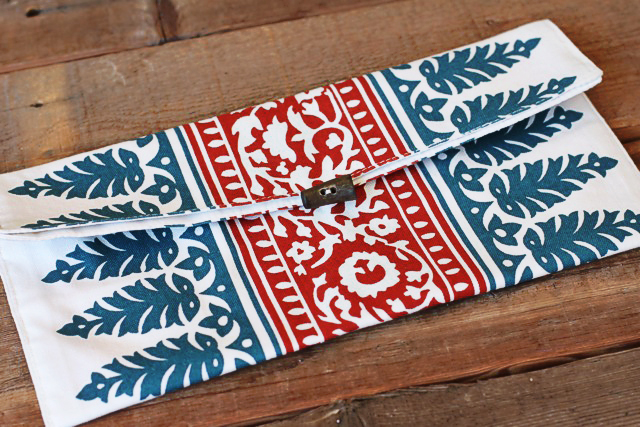
A finished clutch or maybe even just a makeup bag!
So bright and colorful…..the perfect addition to an outfit!
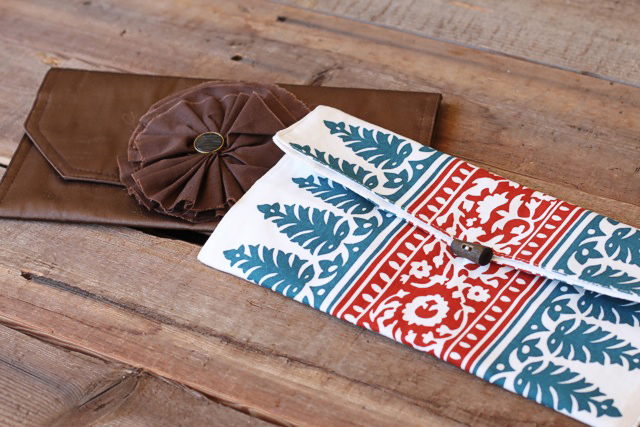
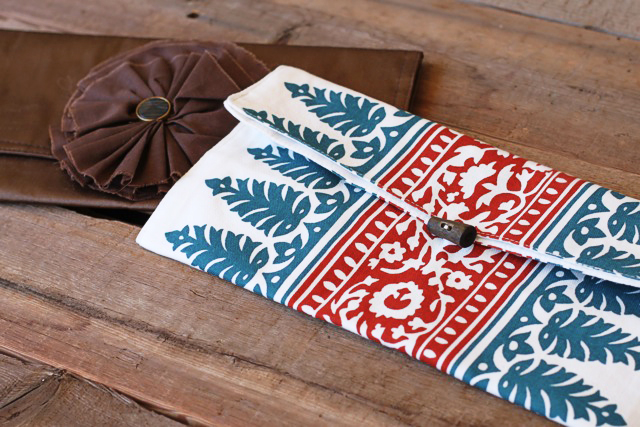
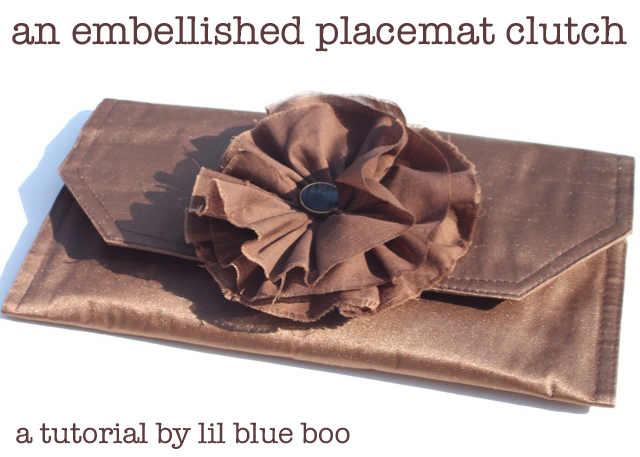
Make sure to check out the foldover clutch I made using a placemat from the 99 cent store…..and a tutorial for the fabric flower I added to the front:


very cool! love the placemat
Great idea! 🙂 Can’t wait to make this as well, Have to add it to my list 🙂
Super cute! I love idea of using a placemat. Quick, easy project!
Super cute placemat…love the idea! Thanks for sharing.
This is great! I love it! On the lookout for pretty placemats!
I love to collect pretty placemats. Thanks for a great new idea for them!
I really LOVE this and need one… 🙂
Very cute, a great idea.
i have a many clutch
and i want to a buy
what i can do
Hi Ashley,
Loved your tutorial so much I made a placemat clutch and have linked it to your tutorial on my blog. You have done such a lovely job.
Karen
I stumbled across your placemat clutch shortly after I posted this blog post as a guest post about placemat pillows… http://buzzmills.typepad.com/blog/2012/01/placemat-pillows.html
I reposted the post over the weekend and have since included your clutch too, hope you don’t mind ( i did link back here!!) I liked it so much!
Where can we buy this clutch I love it!!!!
I added straps to the clutch to make a sort of bag. Too cute! Thanks for the tutorial.