Have a great weekend!
Wooden Pendant Necklaces (and Keychain) Tutorial
This was my entry into week 7’s “gift” theme in the SYTYC contest. These are some small gifts I made for Christmas presents. I transferred images onto small pieces of wood and made them into necklaces, bracelets and key chains. I love them because they can be for girls, boys, adults or children. Each piece is about 1” tall and matched with coordinating leather cord or a key chain attachment.
Here are a few I made the kiddos….a robot necklace for my nephew (you can get the robot image here), a star-shaped super hero necklace and a princess and frog necklace with a distressed image from the movie for Sienna:
I made one for myself too…..a distressed piece with the latitude and longitude coordinates of where my husband, myself and my daughter were born:
They are super easy to make. You can find these little wood pieces in the woodcraft/dollhouse section of the craft store.
I printed out some tiny images and took them to the office store to be copied in reverse (you have to use a copier because of the dry toner).
Then I took one of my favorite mediums, Golden Soft Gel…..
….and spread a thin layer on one of the wood pieces.
Then I placed one of the images face down onto the gel, burnished it with the end of a paint brush, and then let it dry.
Once it was dry I wet the back with water….
….and used my finger to rub off all the paper. The image is left behind in the gel.
Then I marked the top center and drilled a small hole using a tiny drill bit. You can spray or coat with varnish after this step if you like.
Just add a jump ring and a some leather cord or string and you have a perfect gift for someone special!
Screenprinting Techniques: Using Contact Paper (Tutorial)
This technique is super easy and great for designs that are not too detailed. You can cut a simple design into contact paper (you know, the adhesive vinyl used for lining shelves and covering text books!) and start screening in a matter of minutes. For more detailed designs and small lettering I recommend the Photo Emulsion Method. Below I’ve put together 3 tutorials for the following three designs using contact paper and screen printing techniques:
Using Contact Paper to Create a Simple Design:
Step 1: Start with a blank screen printing screen:
Step 2: Cut a piece of contact paper slightly larger than your screen…..
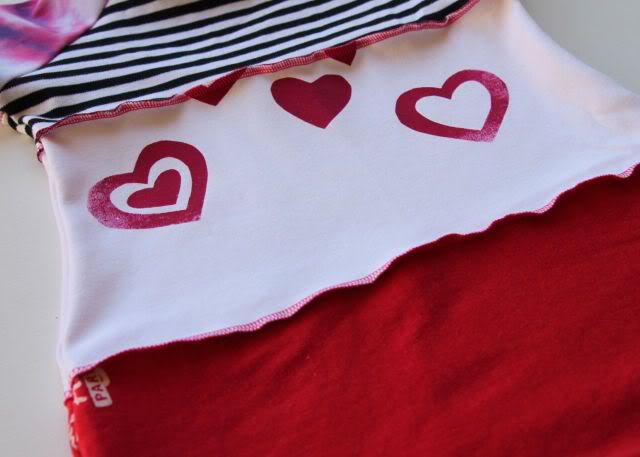
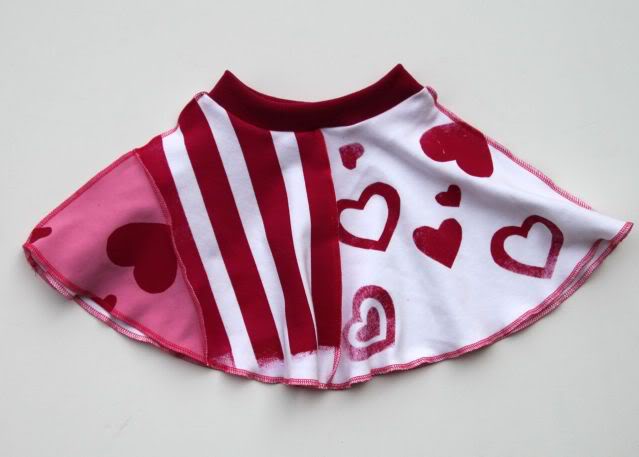
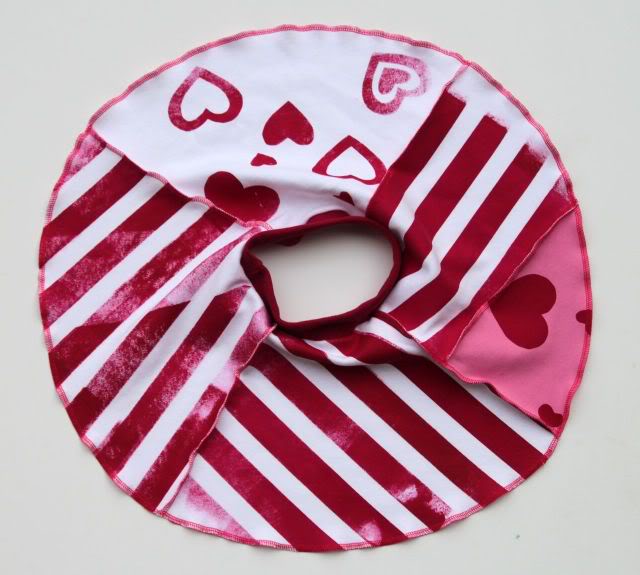
….and draw out your design on contact paper. Note: either draw your design on the front of the contact paper or make sure you reverse the design if you are drawing it on the paper backside. I made this heart design for Valentines day dresses:
Step 3: Cut out your design using a razor or Exacto knife.
Step 4: Adhere the contact paper to the bottom of the screen (on the non-recessed side).
Step 5: Lay the screen down on the fabric you want to screen the design onto (recessed side up):
Step 6: Place a small glob of screen printing ink on your screen and using a squeegee pull the ink across the design. (I used Versatex ink for these prints because there are more colors available).
So easy a 2-year-old can do it!
Step 7: Carefully lift your screen off and you have your finished design!
Let your design dry and then use an iron to heat set the ink.
Cleaning: I use a sink sprayer to make sure all the ink is removed from the screen….and as long as the contact paper remains on the screen you can reuse it!
Using Contact Paper to Create Stripes:
Step 1: Cut strips of contact paper and adhere to the bottom of the screen. Note: I actually used electrical tape for this project because it was the perfect size.
Step 2: Place the screen down onto the fabric either diagonally or straight depending on the angle of stripes you want.
Step 3: Place a small glob of screen printing ink on your screen…..
……and using a squeegee pull the ink across the stripes.
Step 4: Carefully lift up your screen and move it to the end of your stripes to start another set.
I like the distressed look so I did my stripes a little haphazardly, but you can be as careful and tedious as you want to be in order to get them perfect.
Using Contact Paper to Create a Distressed Plaid Design:
You can also use different sizes of stripes and screen separate colors to create a simple plaid design.
Step 1: First I started with the large stripes. I cut 3″ strips of contact paper and placed them on the bottom of the screen as shown.
Step 2: I screened my first set of stripes….
….then turned the screen 90 degrees to create new stripes perpendicular to the old ones. Then I set the fabric aside to dry.
Step 3: I cut new strips of contact paper to create smaller sets of stripes……
….and screened them in the exact same way using a different color. I used the size of a small plastic ruler as a “mini” squeegee.
A distressed plaid design! So easy…I didn’t even measure the stripes…just a rough estimate.
This one was perfect for a plaid dress!
This tutorial is part of a series for the Lil Blue Boo / Dharma Trading Challenge running this month. If you haven’t checked it out yet please do! All levels of design/sewing/printing encouraged to enter!
- « Previous Page
- 1
- …
- 589
- 590
- 591
- 592
- 593
- …
- 659
- Next Page »