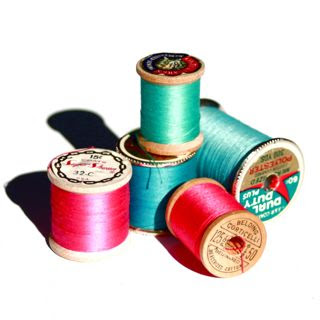
I was looking for some teal thread this morning and found it in an old sewing kit that was my step-grandmother’s. I took a photo of the vintage thread spools….check out the beautiful colors she was using: teal, fuschia, dark pink, aqua! I wonder what she was sewing with them?! One of the spools says “15 cents”, another “30 cents” and another “60 cents”…..they are almost a sewing timeline.
When my grandmother Marjorie passed away in 1985 (I was in the 1st grade), my grandfather re-married to the most wonderful woman named Cynthia, who we called “Brownie.”
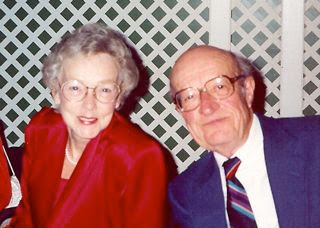
Brownie and my grandfather “Paw-Paw“
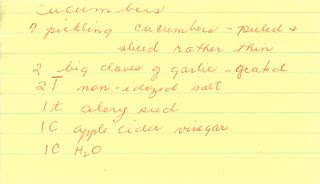
Brownie was the most amazing cook (my husband would have chosen to eat dinner at my grandparents over any restaurant). One of my favorite things that she made was pickled cucumbers….. here is the recipe she wrote out for me:
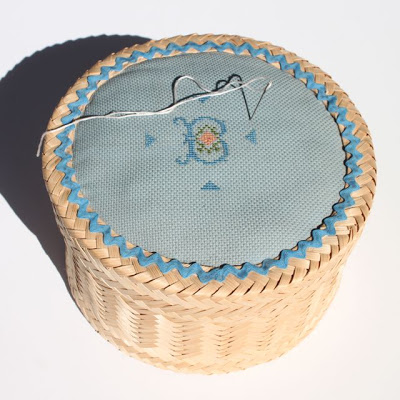
My grandfather passed away in 2003 and Brownie passed away very soon afterwards. They spent 18 wonderful years together active in their church, traveling all over the world and bringing both of their families together for holidays and annual beach trips. As their house was being cleaned out, I came across Brownie’s sewing kit in the “to throw out” pile. I made sure no one else wanted it and I knew immediately that it was perfect for storing all my sewing tools……and that it would remind me of her.
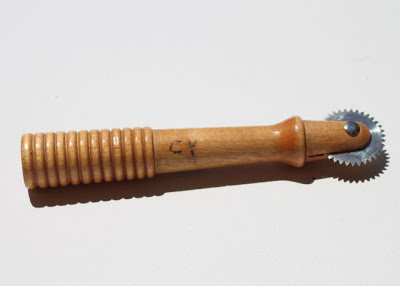
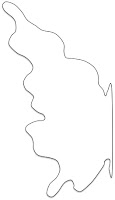
Some of her tools have her initials “C.Y.” carved into them like this pattern marker.
Brownie was “lucky” (sarcastic) enough to experience the “worst” of my teenage years when I was rebellious and overly-independent. She was the most supportive, loving step-grandmother and accepted our family as her own.
That sewing kit brought back a ton of memories this morning!

