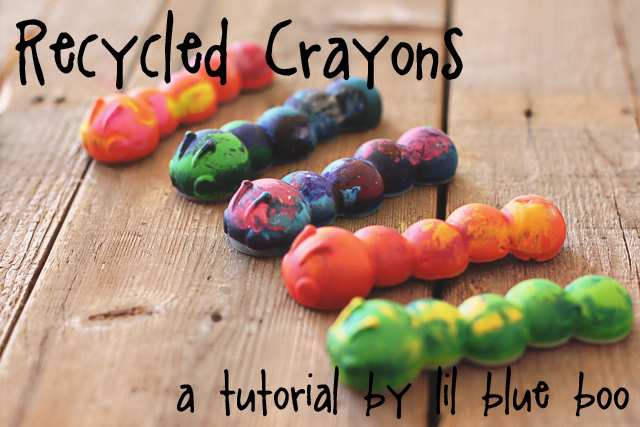
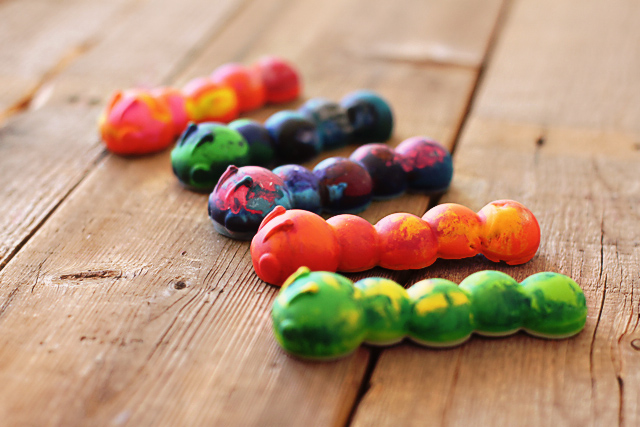
Recycled crayons have been around forever but Boo and I wanted to share our take on them: colorpillars! These are great as a fun weekend project or as party favors and gifts.
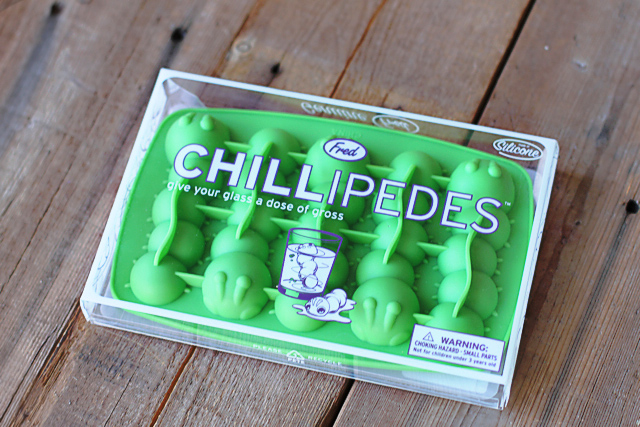
We bought our centipede silicone mold from TJ Maxx….they have some really cute ones at Marshall’s too now and then: dinosaur bones, legos, robots, butterflys etc. You could just do an internet search for “silicon ice cube mold” if you are looking for a specific theme.
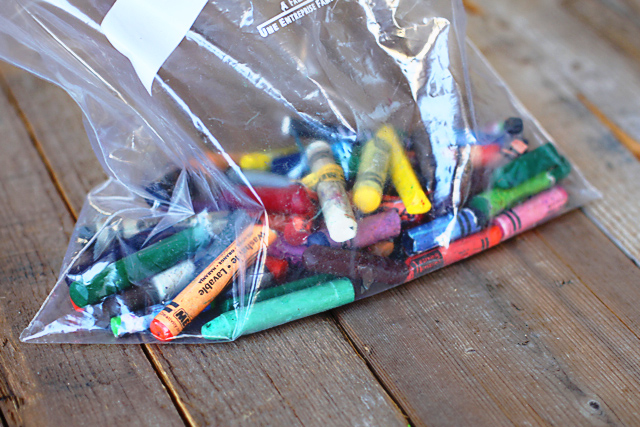
I keep a Ziploc bag around to collect broken crayons so we always have a supply of them:
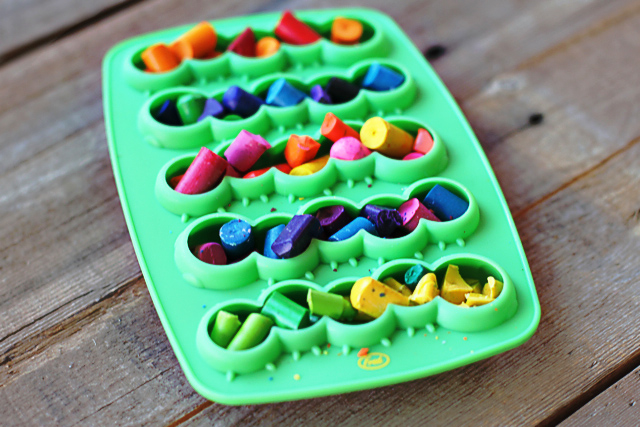
Boo and I broke the crayon pieces into small pieces and filled the molds:
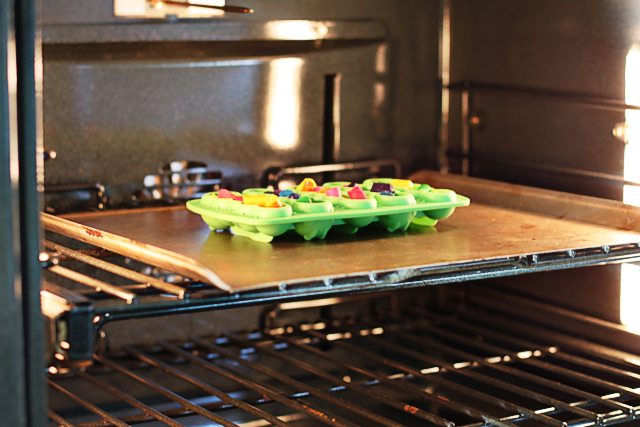
I set the oven to 175 degrees and put the crayons in to melt:
It’s a slow process and took about 30 minutes for them to melt entirely. You don’t want to melt them any faster or the colors will become too soupy and turn a brownish color. Once the crayons were melted I removed the pan from the oven and let the mold cool for about 2 hours.
The finished colorpillars! Aren’t they cute?
A few tips!
1. The smaller the bits of crayon….the better the result. It will take less time for the crayon bits to melt and the colors won’t mix as much. Chop them up using a sharp knife.
2. Using the lowest heat possible on the oven is ideal…..you’ll just have to be REALLY patient for the bits to melt. 150 to 175 degrees is recommended.
3. Allow ample time for the crayons to cool so they won’t break as you remove them from the mold.
4. Stay away from washable crayons….they have a wax in them that will float to the top. I use them anyways just in very small amounts.
5. Don’t mix too many colors….in case you end up heating the crayons too much you’ll keep the colors brighter. Mixing across the color wheel results in brownish colors!
6. Quality of crayon can make a difference! I had some cheap dollar store crayons that took too long to melt and left some large chunks. The color seemed duller too.

