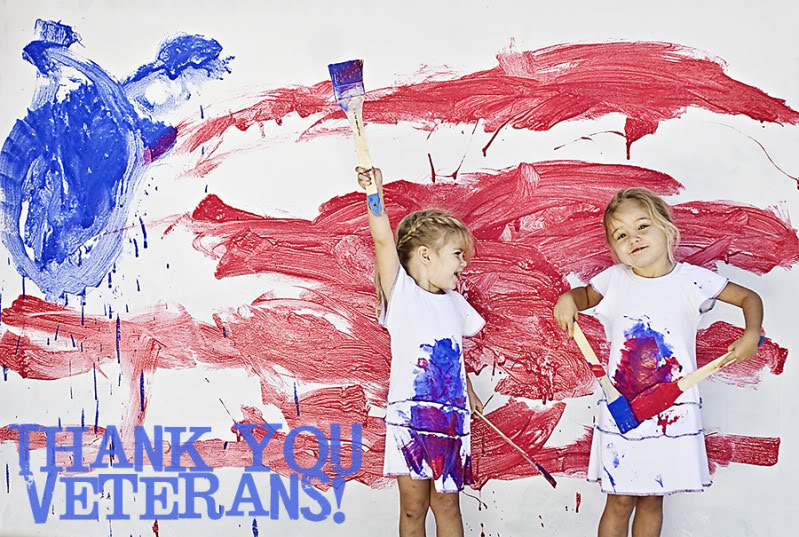
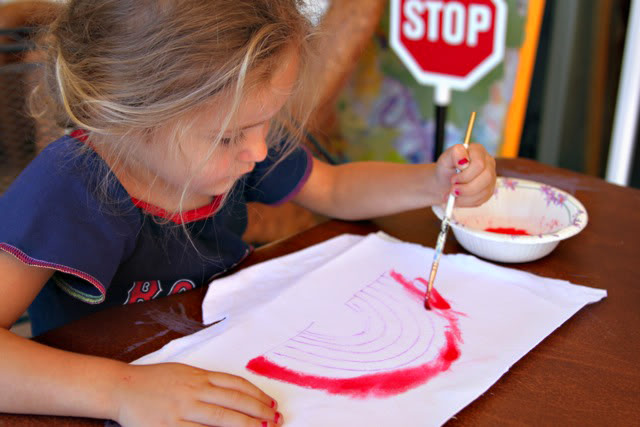
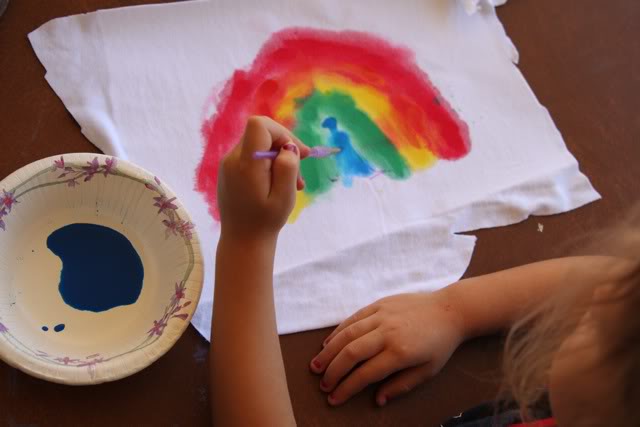
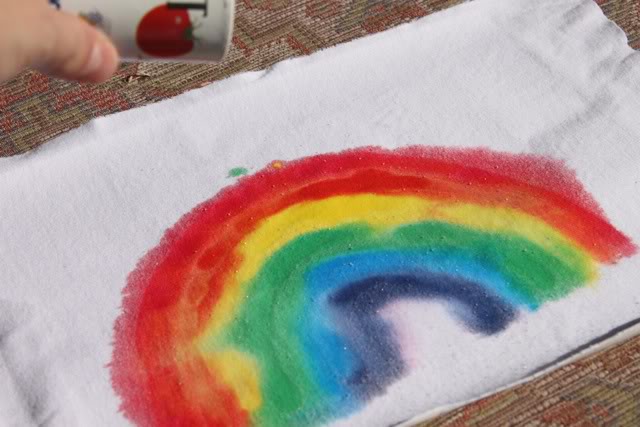
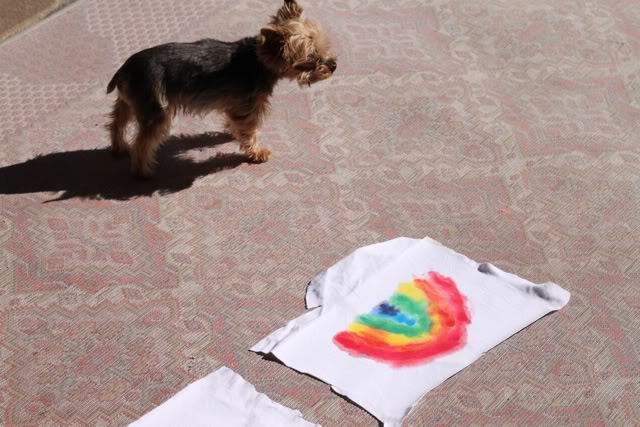
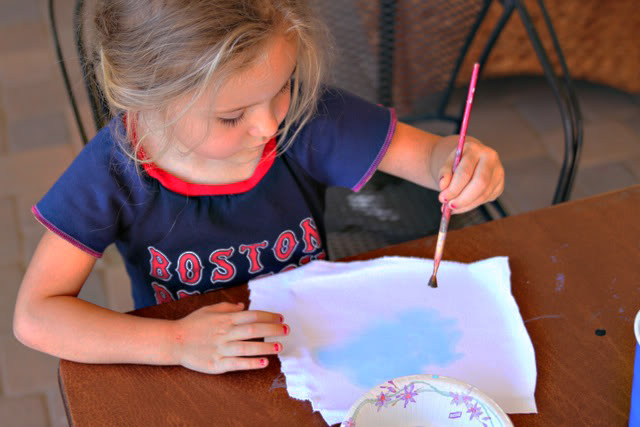
Everyone at Lil Blue Boo was up bright and early this morning to create a painting in honor of our veterans! Thank you to all the men and women who serve and have served our country to ensure our liberty. We thank you and your families for your tremendous sacrifice!
Painting on Fabric (A Tutorial)
Boo and I did some fabric painting this weekend! She made a cute rainbow applique top and I transformed a stained t-shirt into a bright, fun top!
We started with this Setacolor transparent fabric paint starter kit:
Other materials we used:
Freezer Paper
Light colored knit or woven fabric (or an old t-shirt)
Disappearing ink pen
First, I cut out freezer paper and ironed it to the back of my white knit to stabilize it for Boo to paint on (waxy side to wrong side of fabric).
I used a disappearing ink pen to sketch out a rainbow shape for a guide:
I mixed each paint color with a bit of water and spritzed the fabric a little to dampen it so the color would flow onto the fabric easier:
After the entire rainbow was painted…..
…..we sprinkled it with a little table salt and spritzed it with a light mist of water again to get a “crystal” look….
…..and then laid it in the sun to dry (with a guard dog):
The artist added some light blue paint to some more fabric for clouds:
Once the fabric was dry I removed the freezer paper from the back and ironed both sides of the fabric for 2-3 minutes to set the paint:
To make the rainbow applique I ironed paper-backed fusible adhesive to the back of the painted fabric and then sketched out the rainbow and clouds on the paper:
I cut out shapes and ironed them to activate the fusible adhesive paper:
I used my sewing machine to secure the appliques and add decorative stitching:
The artist happy with her work:
I did some painting of my own inspired by this landscape painting I did last year using an old t-shirt:
I dampened the entire t-shirt and painted in horizontal lines across the entire shirt:
I just kept adding color until I was happy with the look. Then I sprinkled it with salt and left it to dry in the sun.
Layering Paint for Depth (A Tutorial)
I recently finished this custom painting for a client and thought it would be a great chance to share how easy it is to use layering to create an interesting background for a painting.
Here is the finished painting framed:
This tutorial is just an example of what you can do…..the more layers you add the more interesting your painting will become. I use acrylic craft paints and spray paints for my layers and I always love to experiment with different gels and mediums as well!
First I start out with a small piece of hardboard or Gessoboard (gesso means it is pre-primed). It won’t warp and it doesn’t have sap or woodgrain. It is also thin enough to frame under glass. You can buy it in several sizes.
Step 1: Paint a base coat.

….and then added a brown block. You’ll have to paint in stages using the painters tape.

Step 3: Once all my color blocking was dry, I took the piece outside and used a wall stencil and some spray paint to cover it with a design:
Step 6: Once the top layer was dry I took a sanding block and sanded down different layers of the painting until the previous layers began to show through.
Step 7: After I have a base of a painting finished…..
…I use a simple stencil to draw out letters with a pencil and then I paint over them carefully with a tiny brush.
The finished lettering:
I’ll use a paint pen to add some other small details.
Step 8: To complete the painting I use a sanding block to distress the edges and then I coat with thin coat of water based varnish!
Here is a similar one I did in pink. Just change up your paint palette!
A gift they’ll treasure forever!
See some of my other painting tutorials for more ideas and information on materials and supplies:
Nursery Art – Layering with Collage
Transferring an Image with Gel Medium
How to Fake a Landscape Painting
- « Previous Page
- 1
- …
- 26
- 27
- 28
- 29
- 30
- …
- 42
- Next Page »