———————–
How to Make the Most of your Point & Shoot Camera
It is an honor to be posting here today – as long as it is on photography and not sewing! My best sewing tip would be to buy lots of extra fabric to cover your mistakes! So I’ll stick with a camera related topic. I admit I LOVE my dslr. It is actually hard for me to imagine life without it. Hardly a day goes by that I don’t pick it up to capture some part of my everyday life with 4 kids. However, there are times that it just isn’t practical to lug a dslr with me. It also isn’t always possible for every mom to even own a dslr, but that doesn’t mean you have to settle in regards to your photographs. Today I want to share with a few tips on how to make the most of your point & shoot (p&s) camera – even without much photography knowledge. So here are a few tips...all with my p&s and primarily on the fully automatic mode with the flash off.
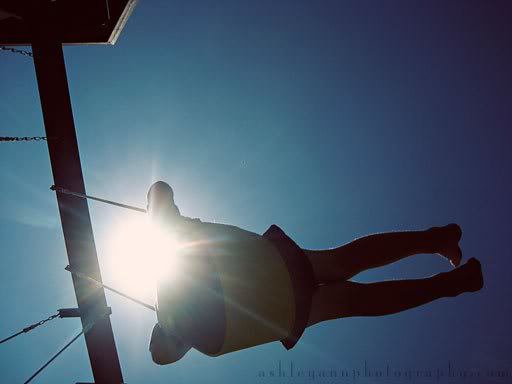
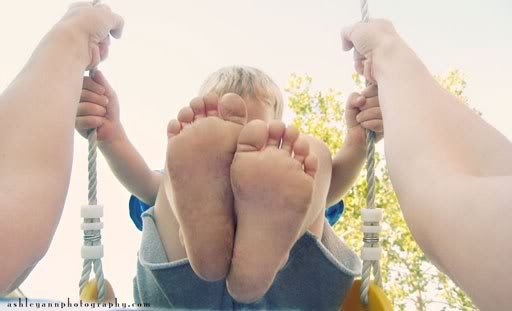
By looking for new angles you are able to take something very ordinary and give it some bang. In the photo below I laid on the ground and shot into the afternoon sun as my son swung above me.
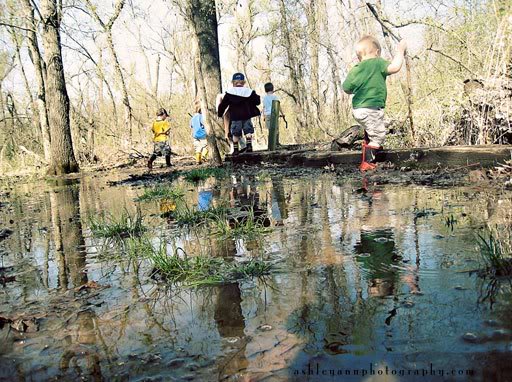
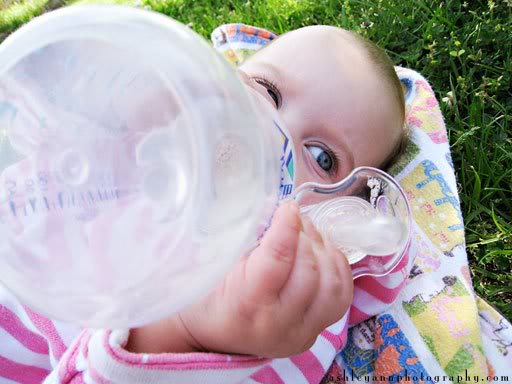
This is probably my favorite tip. Every angle you shoot from tells a different story. Lay on the ground, stand on chairs, get eye level with your kids…just keep moving. I wrote a post on my blog on this topic in regards to using a p&s camera, if you want to see more examples go HERE.
3. A p&s camera works best in bright daylight
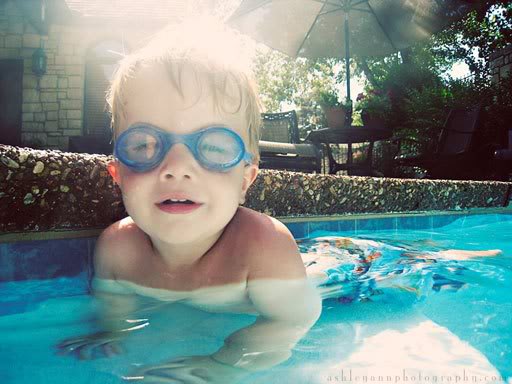
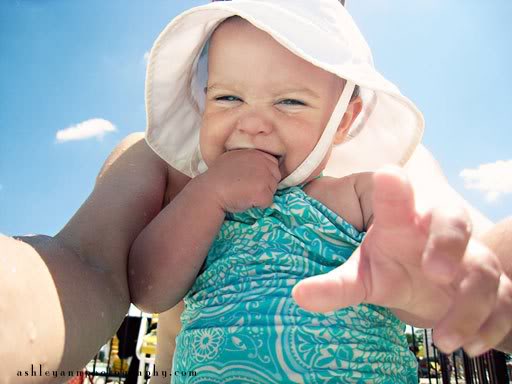
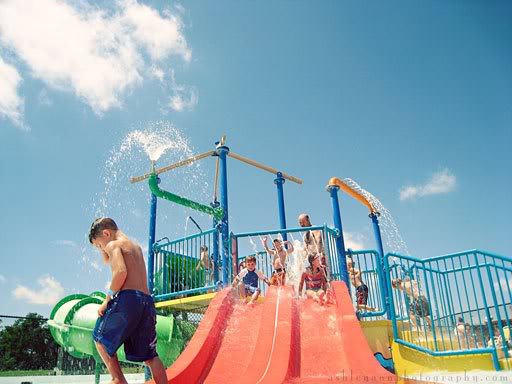
For most p&s cameras you will get the brightest and sharpest pictures when you are shooting in bright daylight. This type of lighting isn’t always great for a portrait sessions, but for everyday action shots it works nicely. If you are wanting to capture action, plan to do it when you have a lot of light.
Since most p&s cameras are fairly small, you can attempt shots that would be a lot harder (if not impossible) with a dslr. In the photo below my son & I are swinging together. I put my camera on the self-timer mode and held it between my collar bone and chin. It took a few attempts, but I got a shot that is unexpected and fun. Please ignore my son’s feet…he has an disdain for shoes.
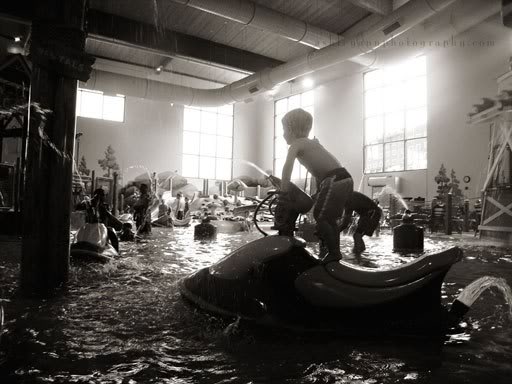
Without getting very technical…let me explain a bit about ISO. When you have tons of light (bright sunny day) you can use a low ISO number. When you don’t have much light you will have to increase the ISO number. The higher the ISO number gets, the more digital noise (fuzziness, grain) you will see. Increasing your ISO is a way to take a photo without using your flash. In the photo below my flash was off, but my ISO was very high. You can tell the photo is grainy, but I prefer the grain over what this image would have looked like using a flash. If you are curious that is one of my sons at an indoor waterpark.
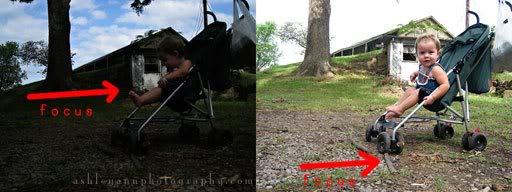
In the two photos below you will see a huge contrast in lighting. I wanted a pic of my daughter so I just focused on her (pressed shutter button halfway down) and took the picture (pressed it all the way down). The camera took into consideration all the bright light in the background and set the exposure according to that light. When I saw how dark it was I re-shot the picture. On the second photo, I focused on the stroller wheel – pointing my camera down so the sky wasn’t in the screen. After I focused on the wheel I moved the camera up without releasing my finger. Once I had her in the frame I fully pressed the shutter button down. This time the camera set the exposure for the area the stroller was in, leaving the sky overexposed. You can’t see the blue sky in the 2nd photo, but you can see my cutie. I decided the cutie was more important than the sky, the camera had chosen the sky. I did not change any settings on the camera between the 2 photos.
Photography, capturing the moments that make up your days, should be fun. If you don’t own a dslr…don’t let it get you down. Practice with your p&s and learn ways to ‘trick’ your camera into getting the shots you want. Have fun with it!
Ashley & Lisa, thanks for having me! You two are amazing!


